Soooo, I really need to finish up the written saga of Myrtle’s transformation. For several reasons: to begin with, she has actually been completed since late May 2015, which means this blog is sadly out of date; furthermore, this final entry will have all of the fun stuff (up until this stage it was mostly just really hard work, with a decorating payoff at the end that I have yet to write about!); and last but not least, I may possibly have bought another vintage camper in need of restoration.
Okay, I definitely did buy another one. A 1973 Red Dale Coach Travel Trailer. You’re no doubt thinking: Way to go! This is definitely a logical and reasonable thing to buy! I appreciate the kind thoughts, but it’s obvious that I have contracted some sort of obsessive disease –traileritis vintagicus, perhaps. My husband seems to have contracted this disease as well, as he made absolutely no effort whatsoever to talk me out of this, and in fact, was an enabler.
The Red Dale will need entries of its own to document what I‘m sure will be a painless and glitch-free restorative process (snort!), so best to wrap up Myrtle’s journey through my blog before I embark upon the same journey all over again !
Well, that’s enough about that. That’s just a teaser for you, sort of a ‘heads-up’ on what’s coming. But that’s not what I’m here for now. Today is all about Miss Myrtle. 🙂 So let’s do this!
After a considerable amount of renovation and restoration work that was physically challenging, quite often tiring, and almost always dirty (literally -I came in most nights covered in an assortment of substances including, but not limited to, paint, chemical stripper, metal polish, sawdust, silicone, polyurethane, et cetera, ad nauseam), there finally came the time when there was nothing left to do but decorate Myrtle in the grand vintage style to which she would like to become accustomed. I had been collecting special vintage items for Myrtle for months at every yard sale, thrift, and flea. I was always keeping an eye out, and my family grew weary of the constant refrain: Oh, my God, this will look perfect in Myrtle!

This motel sign print was a must for Myrtle’s bathroom.
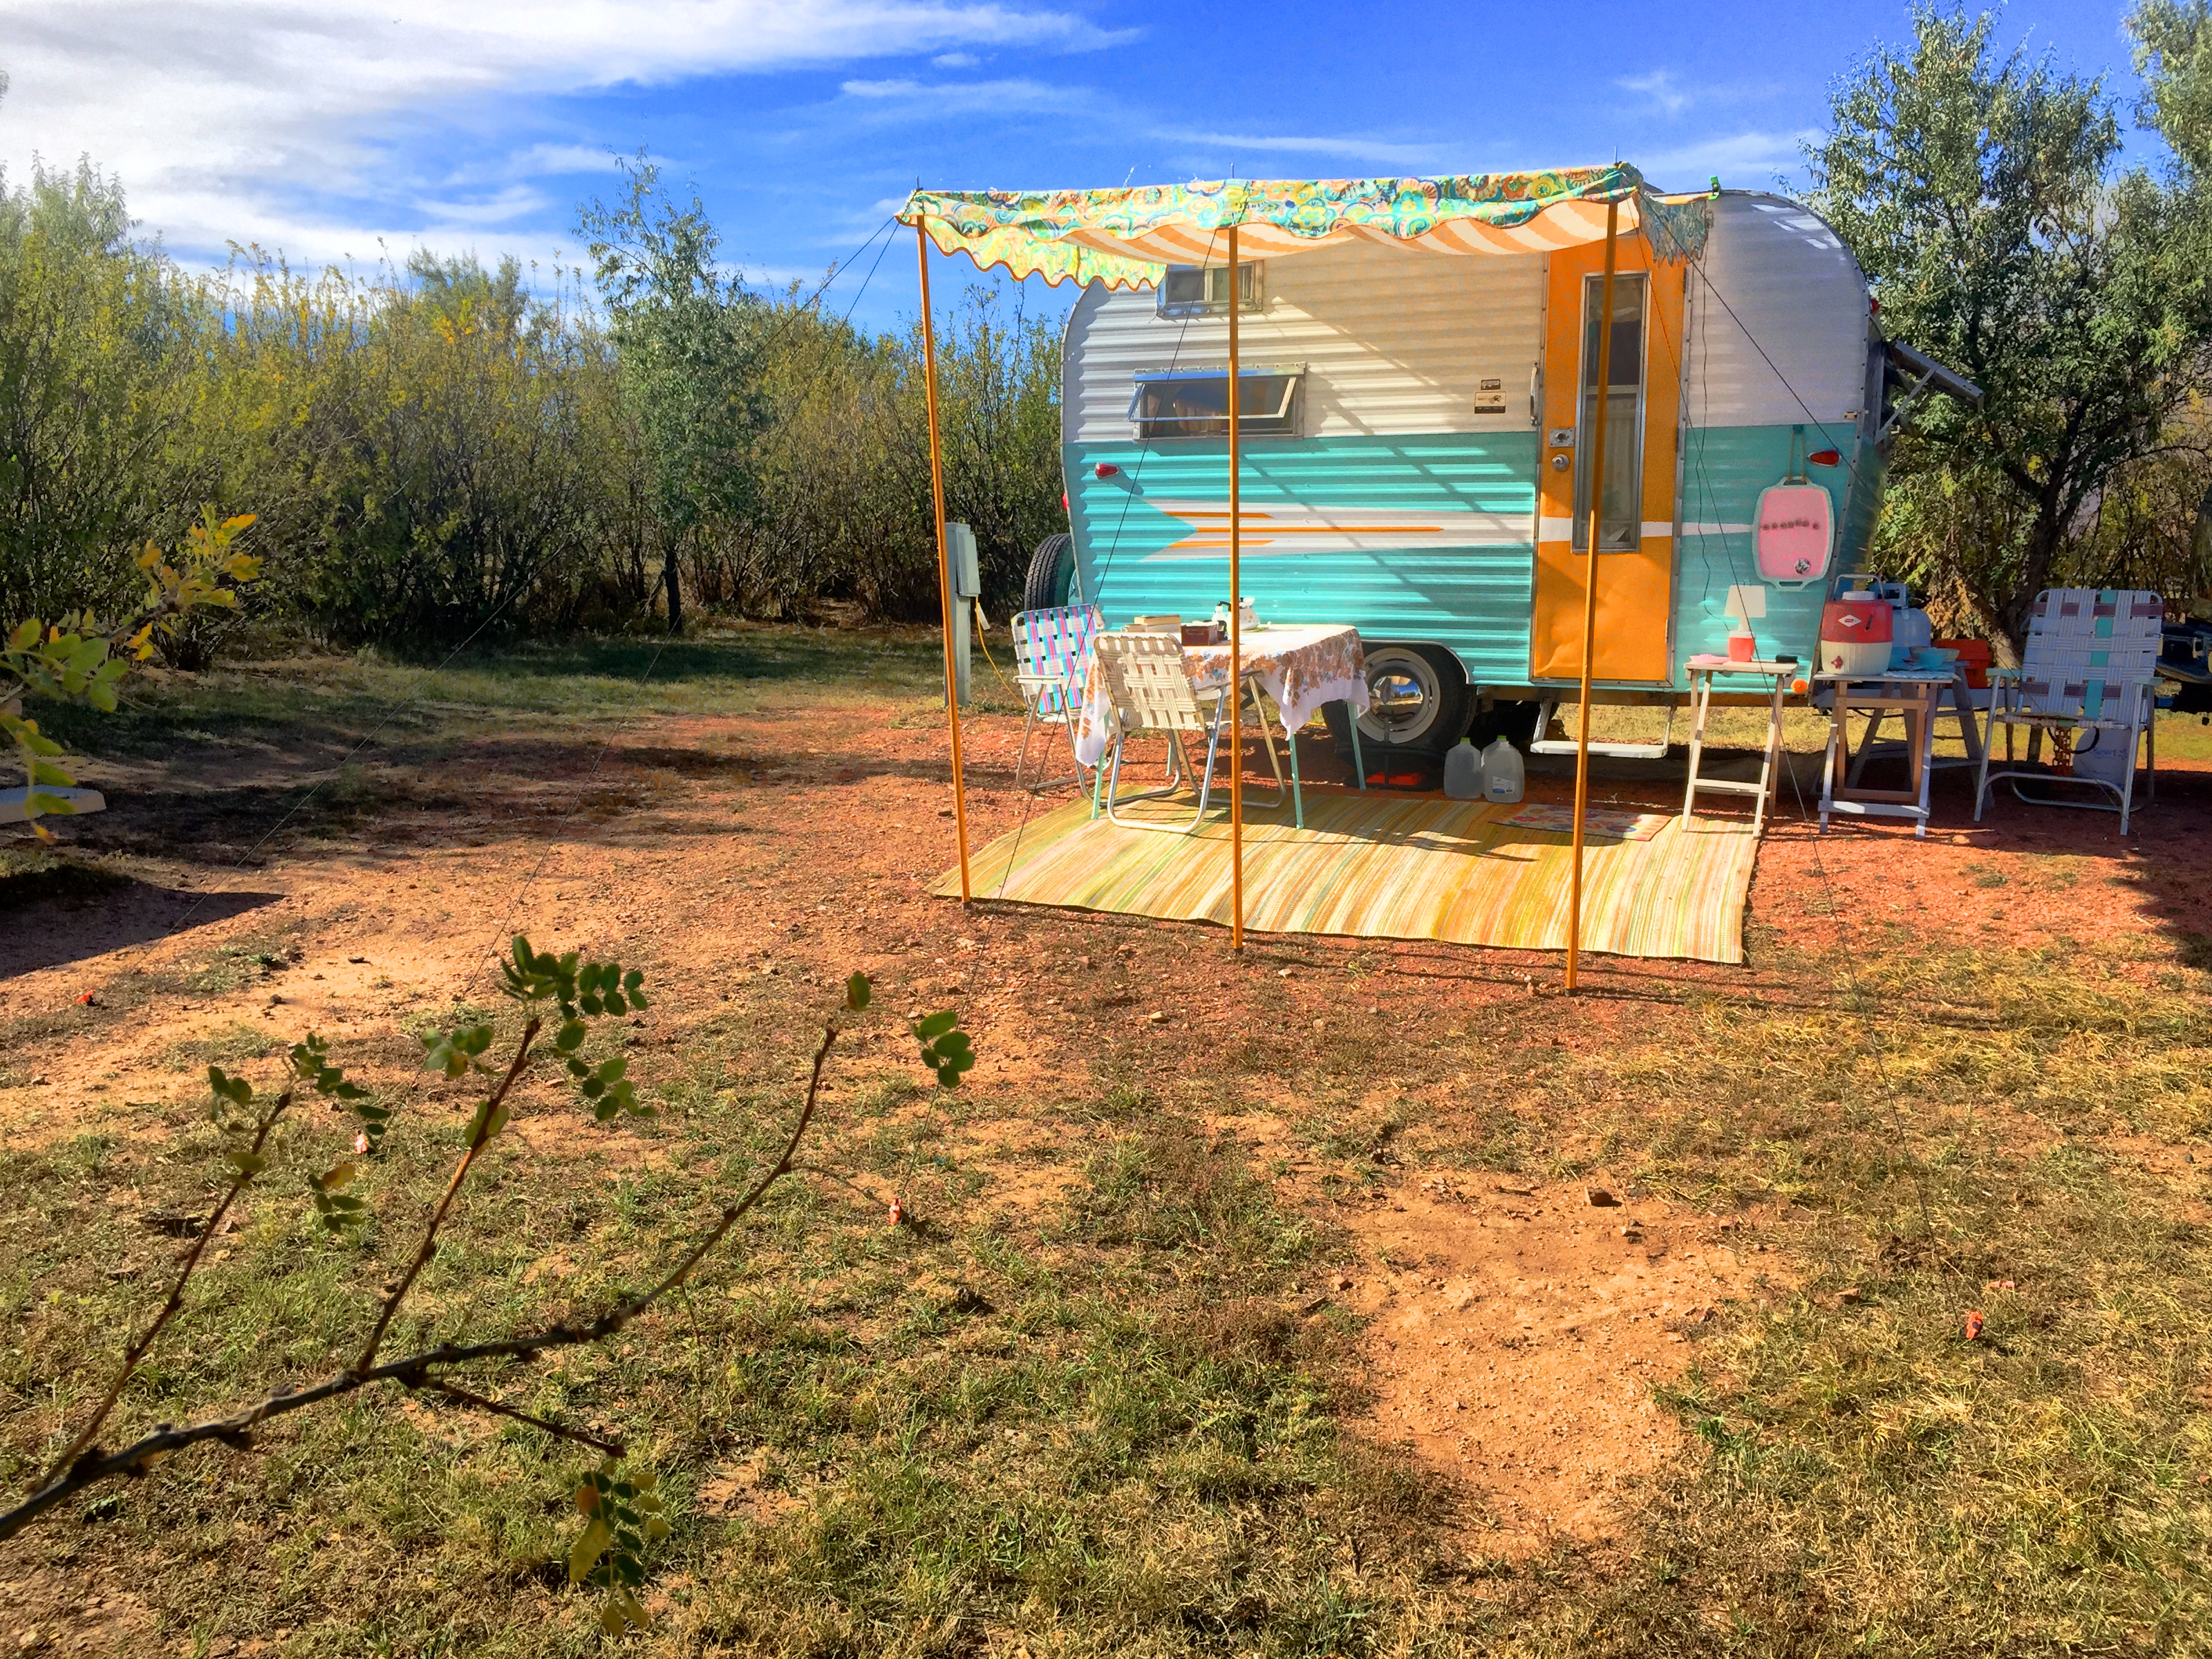
But before I made it to this last stage of decorating, there were a few final touches to the outer ambiance. Sometime during the final interior painting phase, a very special package arrived for Myrtle. Inside said package was her custom, vintage-style, pole & rope awning. Truly, the icing on my vintage camper cake. I ordered Myrtle’s awning from Tin Can Awnings, where what you want is what you get! Rather than keeping a standard selection of outdoor fabrics on-hand, the proprietress steers you to a wide selection of outdoor fabrics available online; you make your choice, and she orders what you’ve chosen to create a truly custom awning.
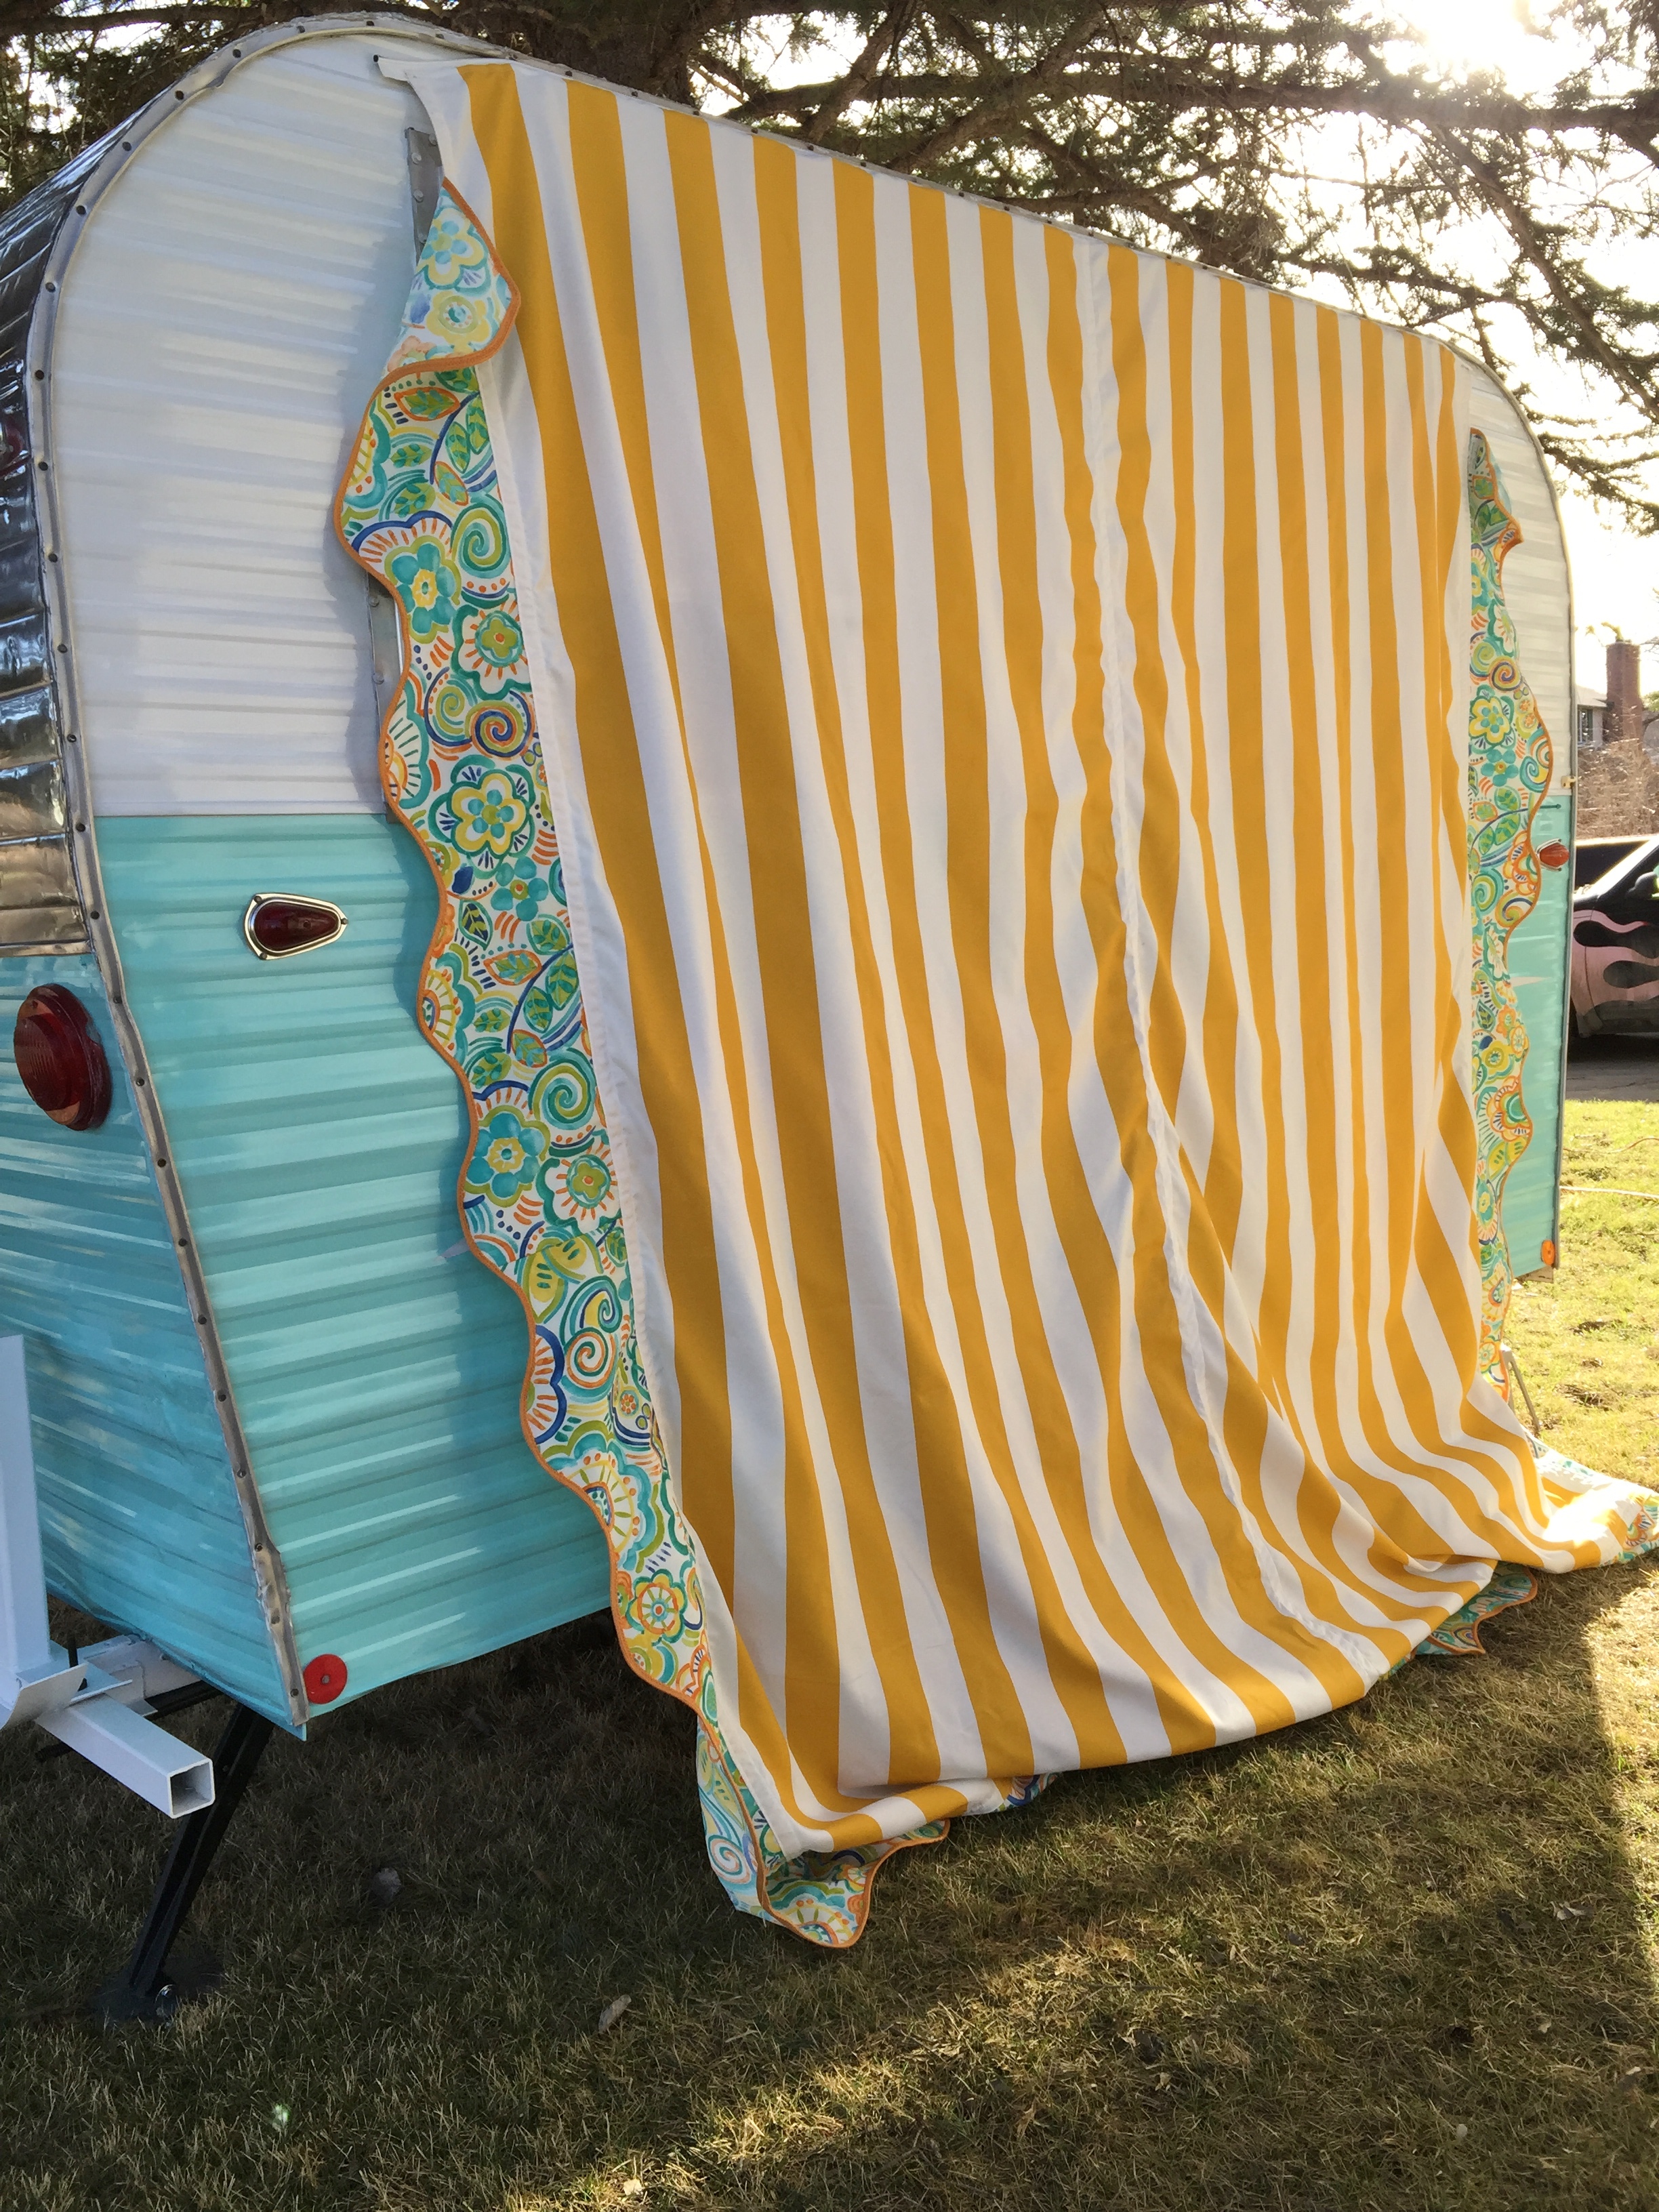
Myrtle still possesses her original awning channel, and from the very beginning, I knew she would have to have a period-appropriate awning, with scalloped valances on three sides, and stripes running perpendicular to the trailer in true vintage style. Choosing the fabric pattern and color scheme was no small thing –so many choices !! I briefly considered a wild little alligator print for the scalloping; the colors weren’t a perfect match for Myrtle, but there were alligators! Little, cavorting alligators!

Swavelle/Mill Creek Indoor/Outdoor fabric- Glade Runner Morning Mist
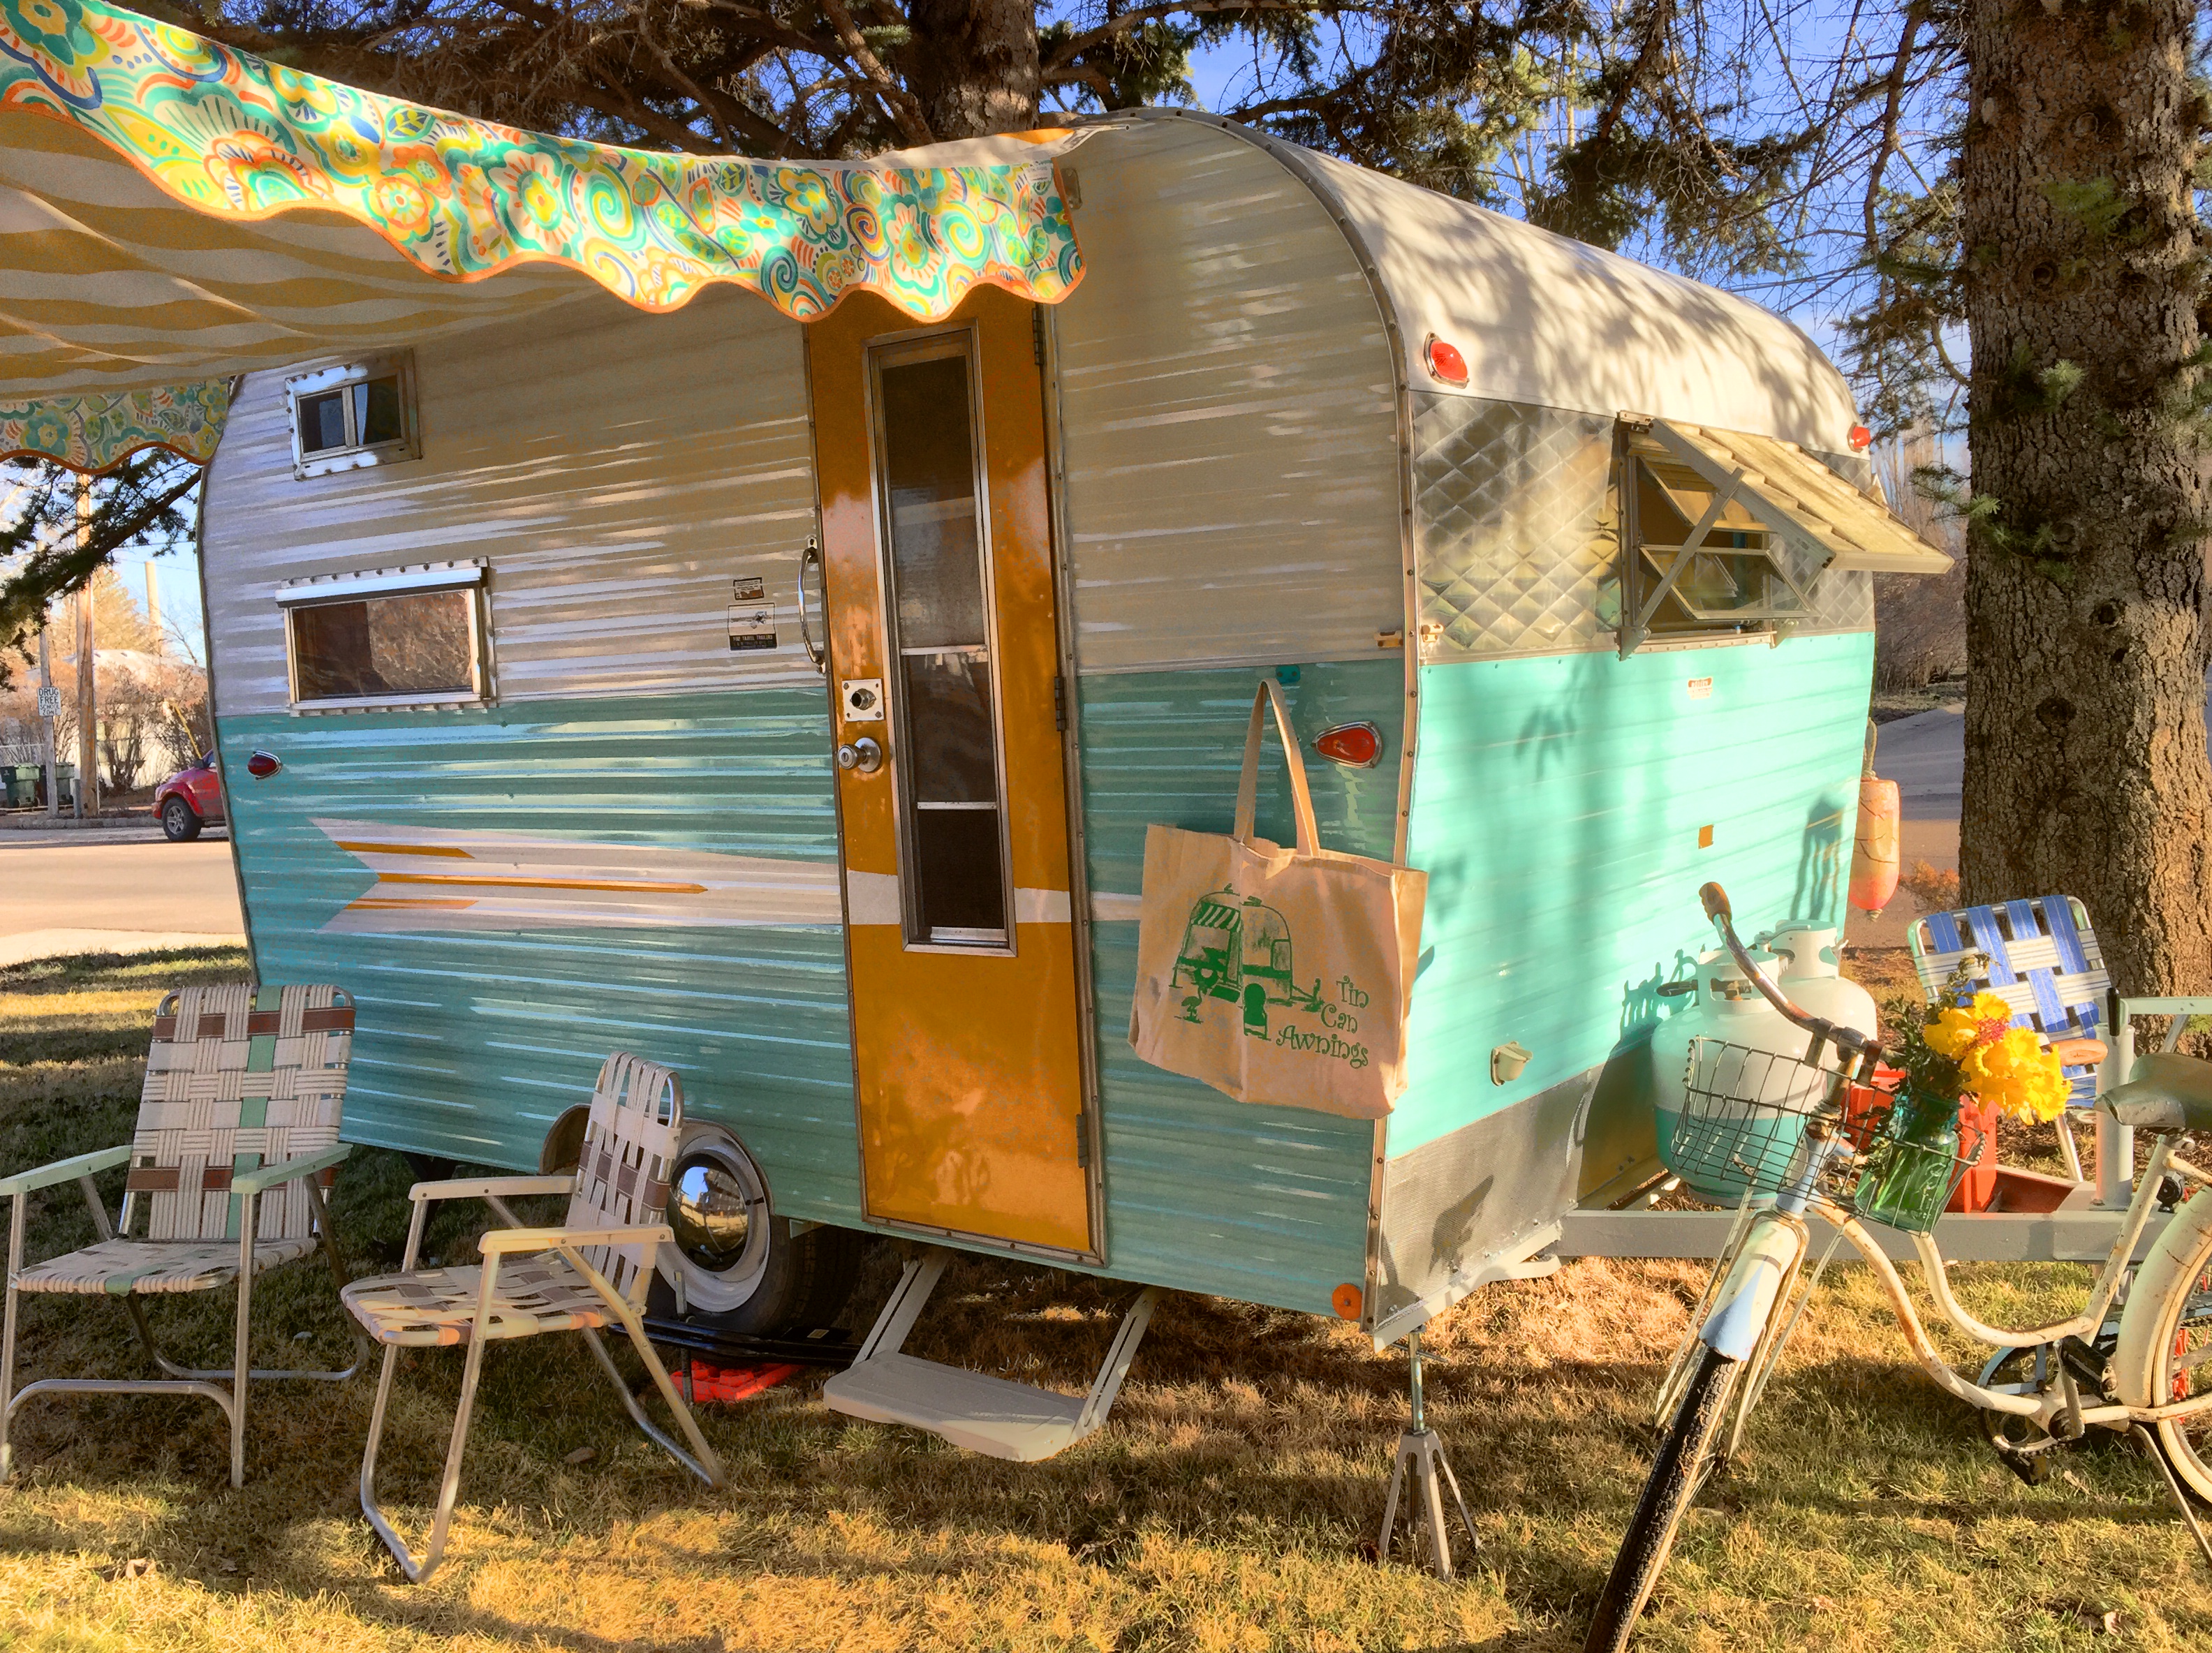
In the end, though, I chose a citrus stripe pattern for the main body of the awning, one that closely matched Myrtle’s Atomic Tangerine door, and a vintagy-style floral in turquoise, white, and orange for the scallops. The awning was delivered with three Kelty aluminum adjustable tarp poles that just happened to be a perfect matching citrus shade -Score!
First step: slide the built-in awning welt into the camper’s awning channel.
The colors are a good match for Myrtle, I think.
The day I helped Myrtle try on her new awning is a perfect example of how I frequently start out to do one thing, but instead end up doing something(s) entirely different: On an unseasonably warm Friday in March, I decided to do more painting on Myrtle’s interior. I literally woke up with the thought “Today, I think I’ll paint.” Once outside, though, I thought: I better set up her new awning first, to make sure it fits (But mostly because I absolutely couldn’t wait to see how spectacular Myrtle was going to look in her new awning).That meant I would first need to clean out the awning channel railing, which most likely hadn’t been cleaned since 1969. And then, since I already had the soapy water and ladder out, I went ahead and scrubbed the entirety of Myrtle. She’d been sitting out all winter after all, and needed a little pick-me-up.
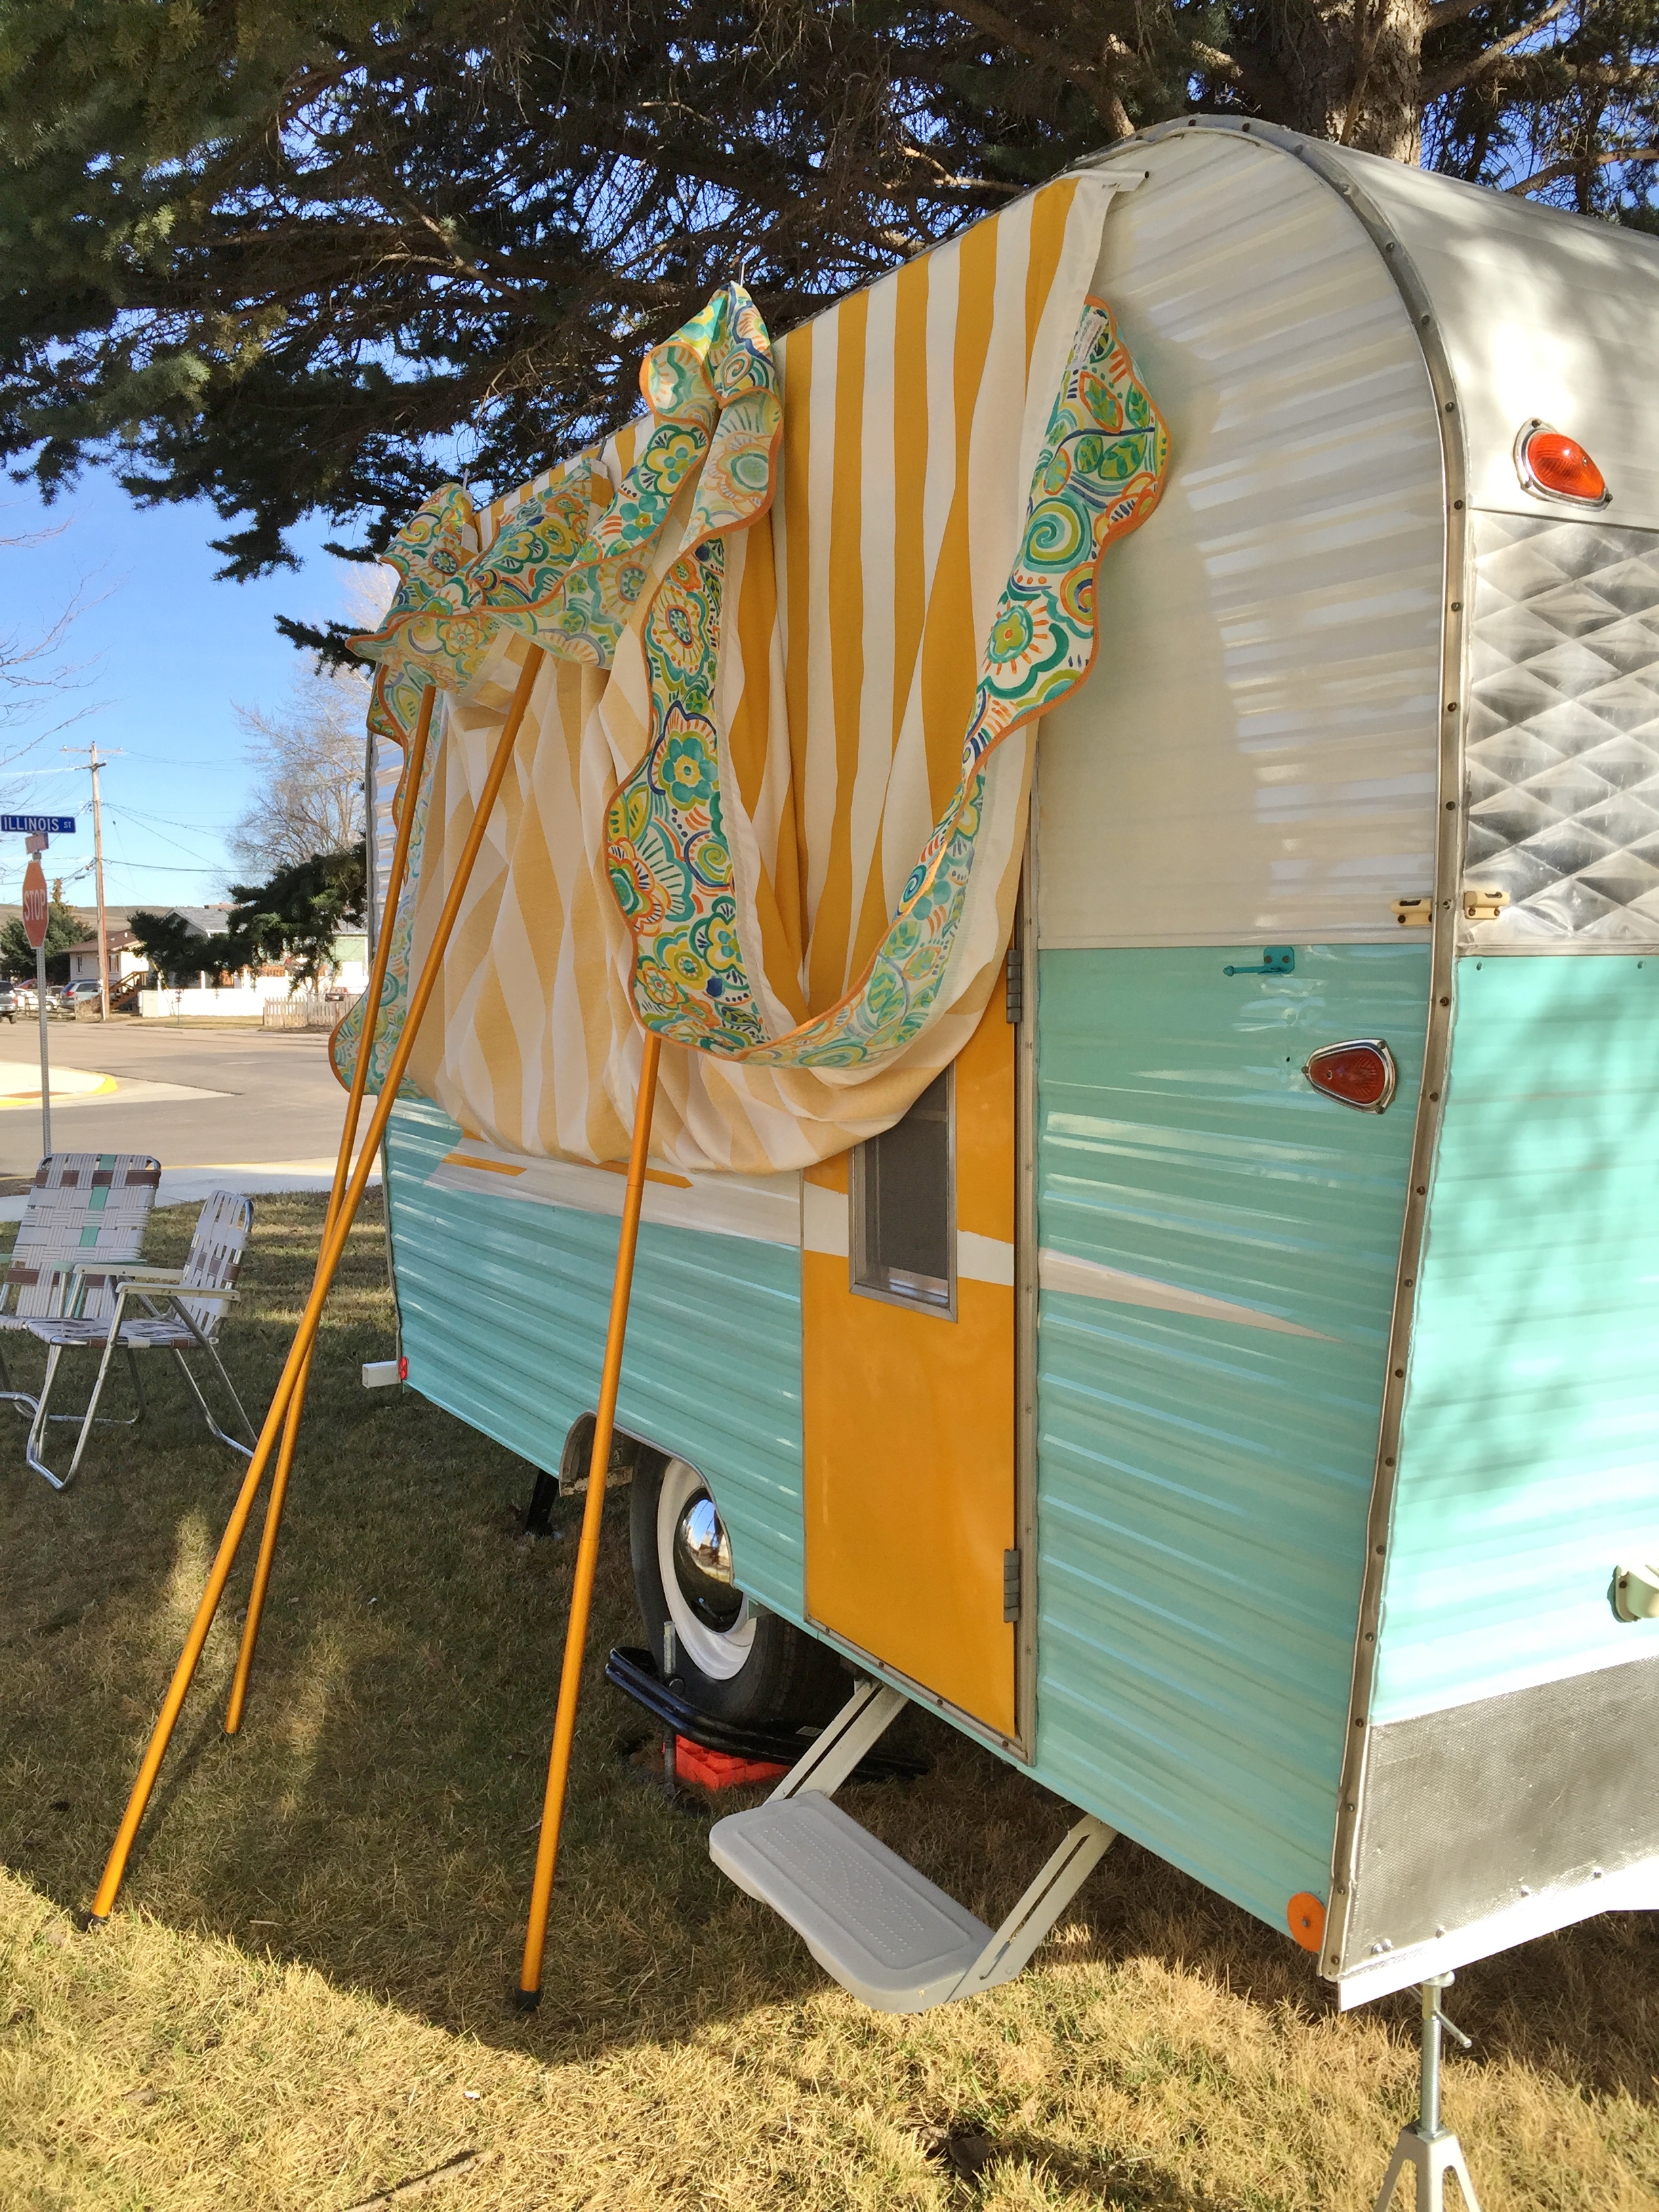
Figuring out how to erect the awning wasn’t too difficult. The puzzler for me was whether the nylon ropes should attach to the poles under or over the awning. The awning looks better when they are under, but I have since learned that the awning withstands wind better when they are over. POtato, PAHtato, I guess.
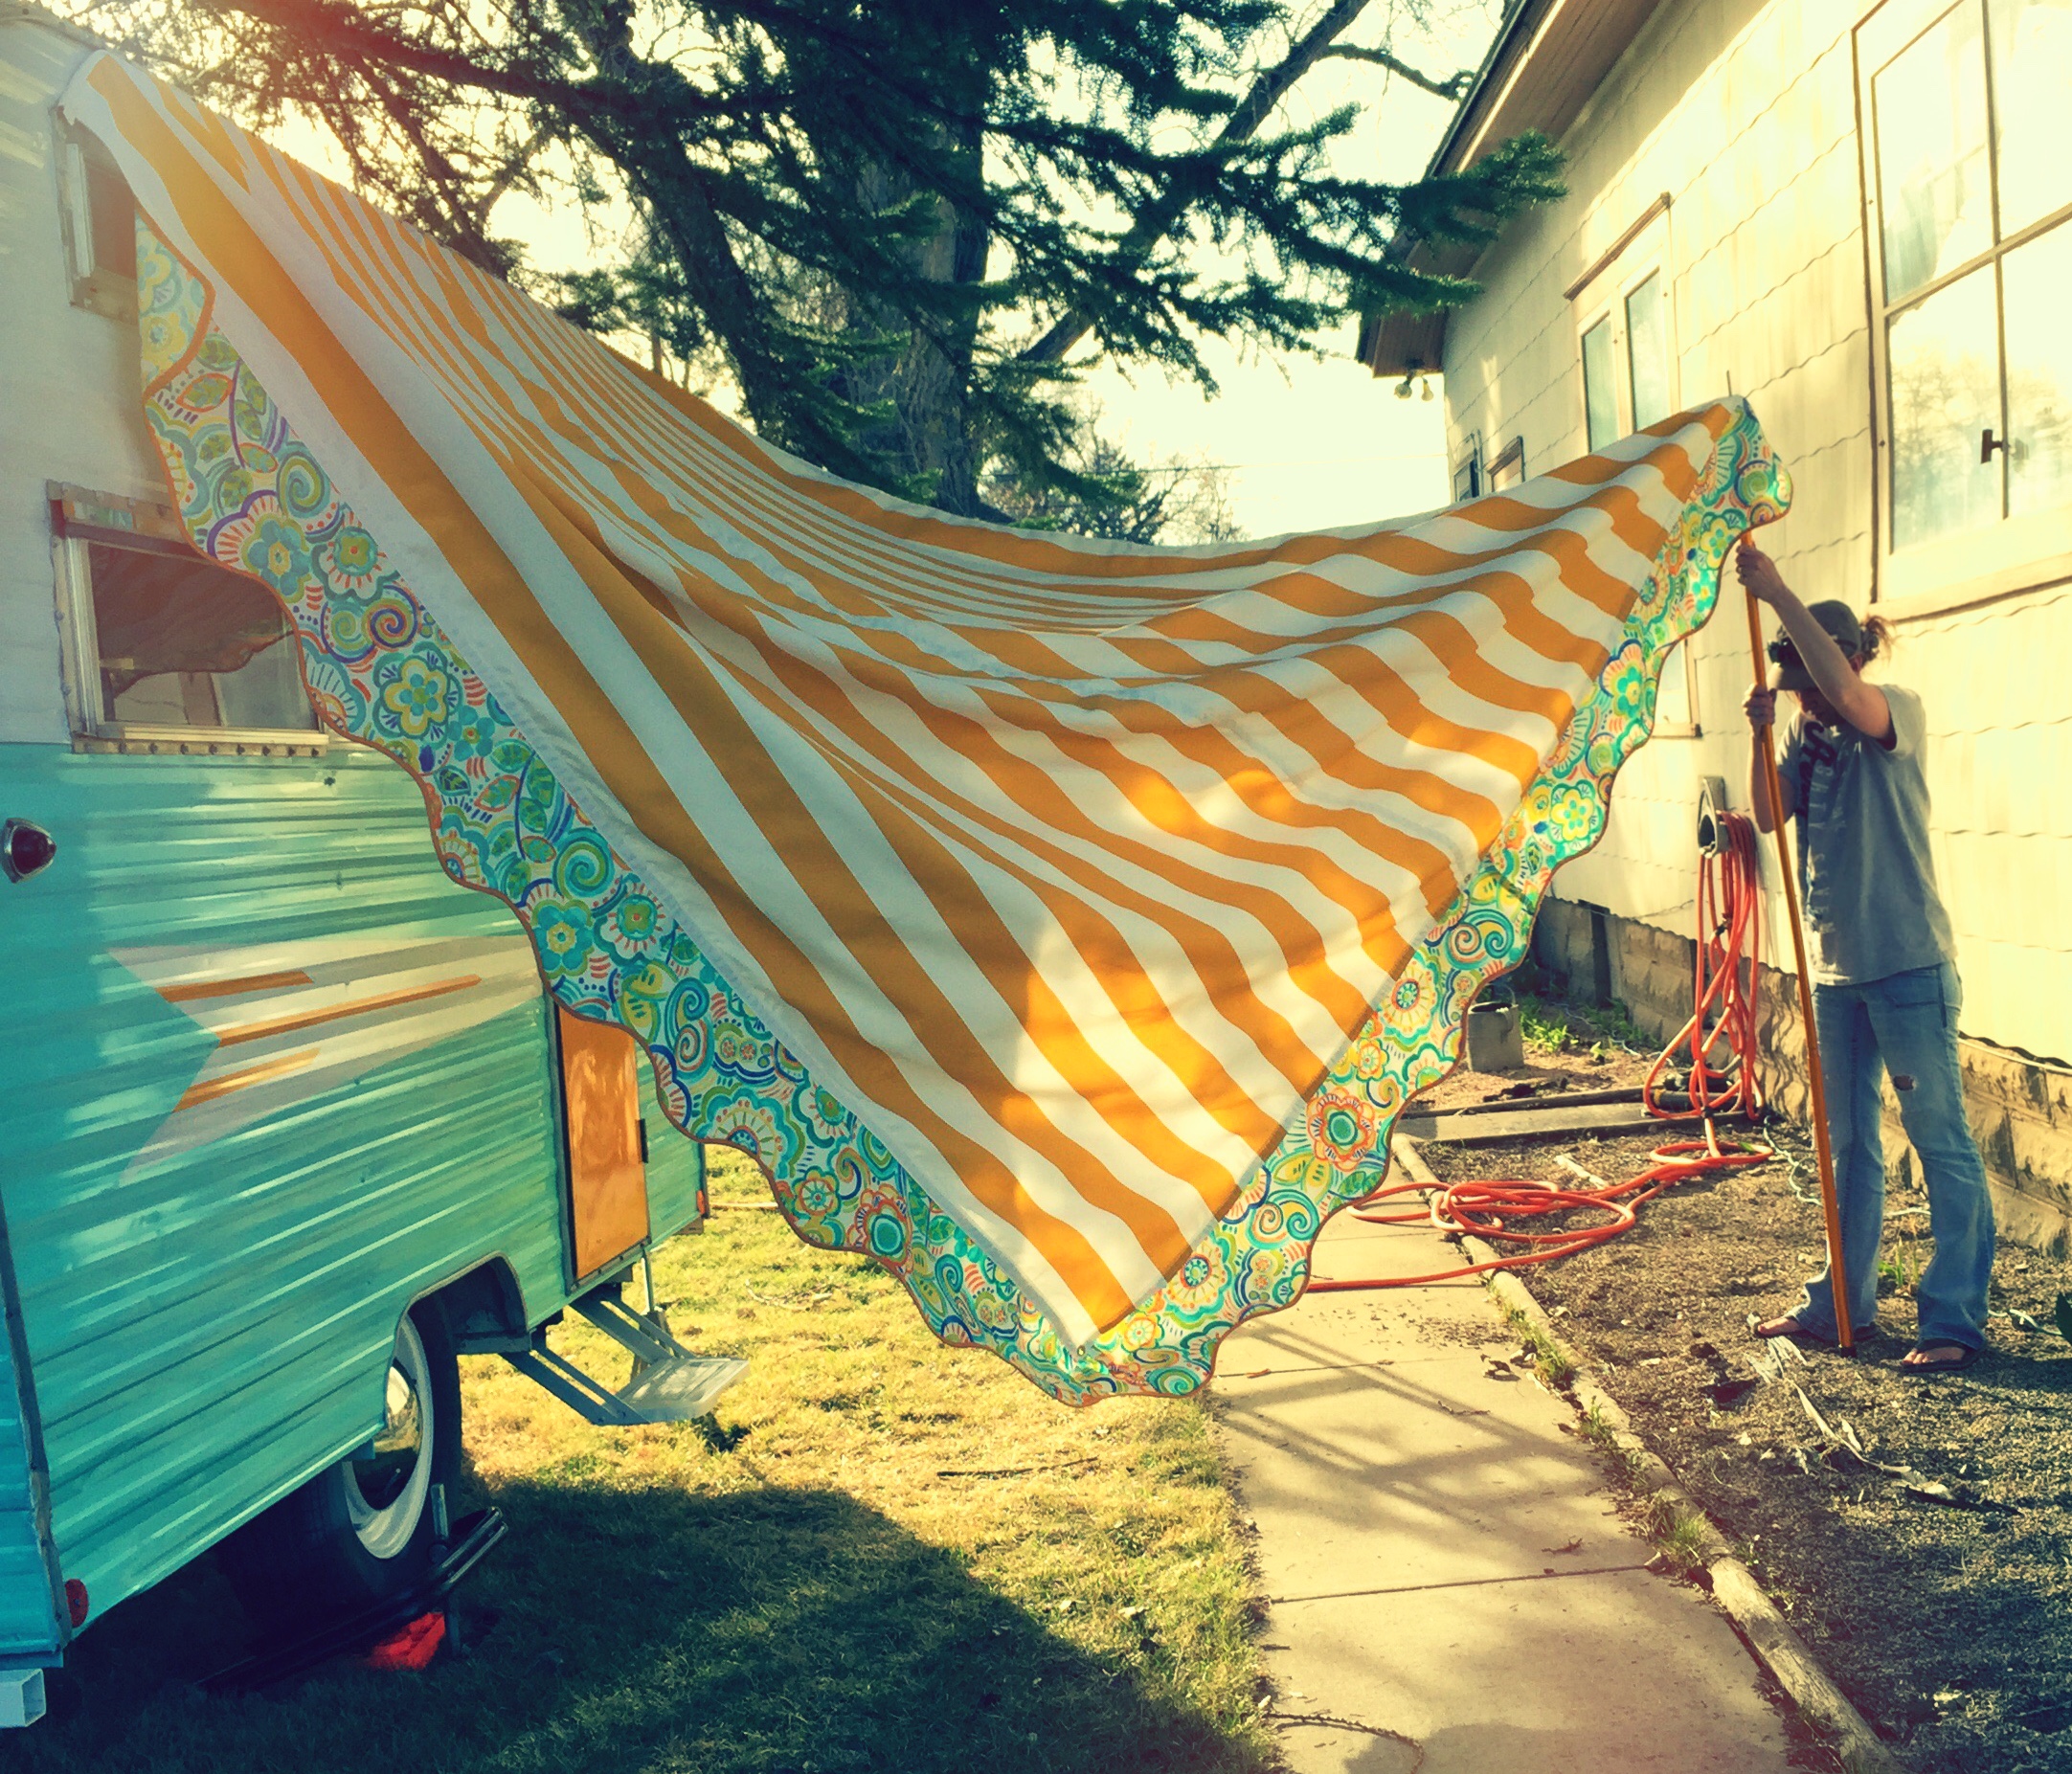
Setting up the awning the first time.
The awning was so delightful when installed; I absolutely had to take pictures. For the best photos, though, I thought I better park my ‘ole vintage Schwinn in the shots. The Schwinn was still in the back of the shed for winter storage, so I had to wrestle it out. It needed to be hosed down thoroughly. Youngest offspring noted that she’d like her bike out, too, so I wrestled that one from the depths. It needed the tires aired up. I finally parked the Schwinn, with a few flowers I’d rustled up stuck in the old metal basket for good effect, and realized that the photo wouldn’t be complete without the vintage flamingos and lawn chairs.
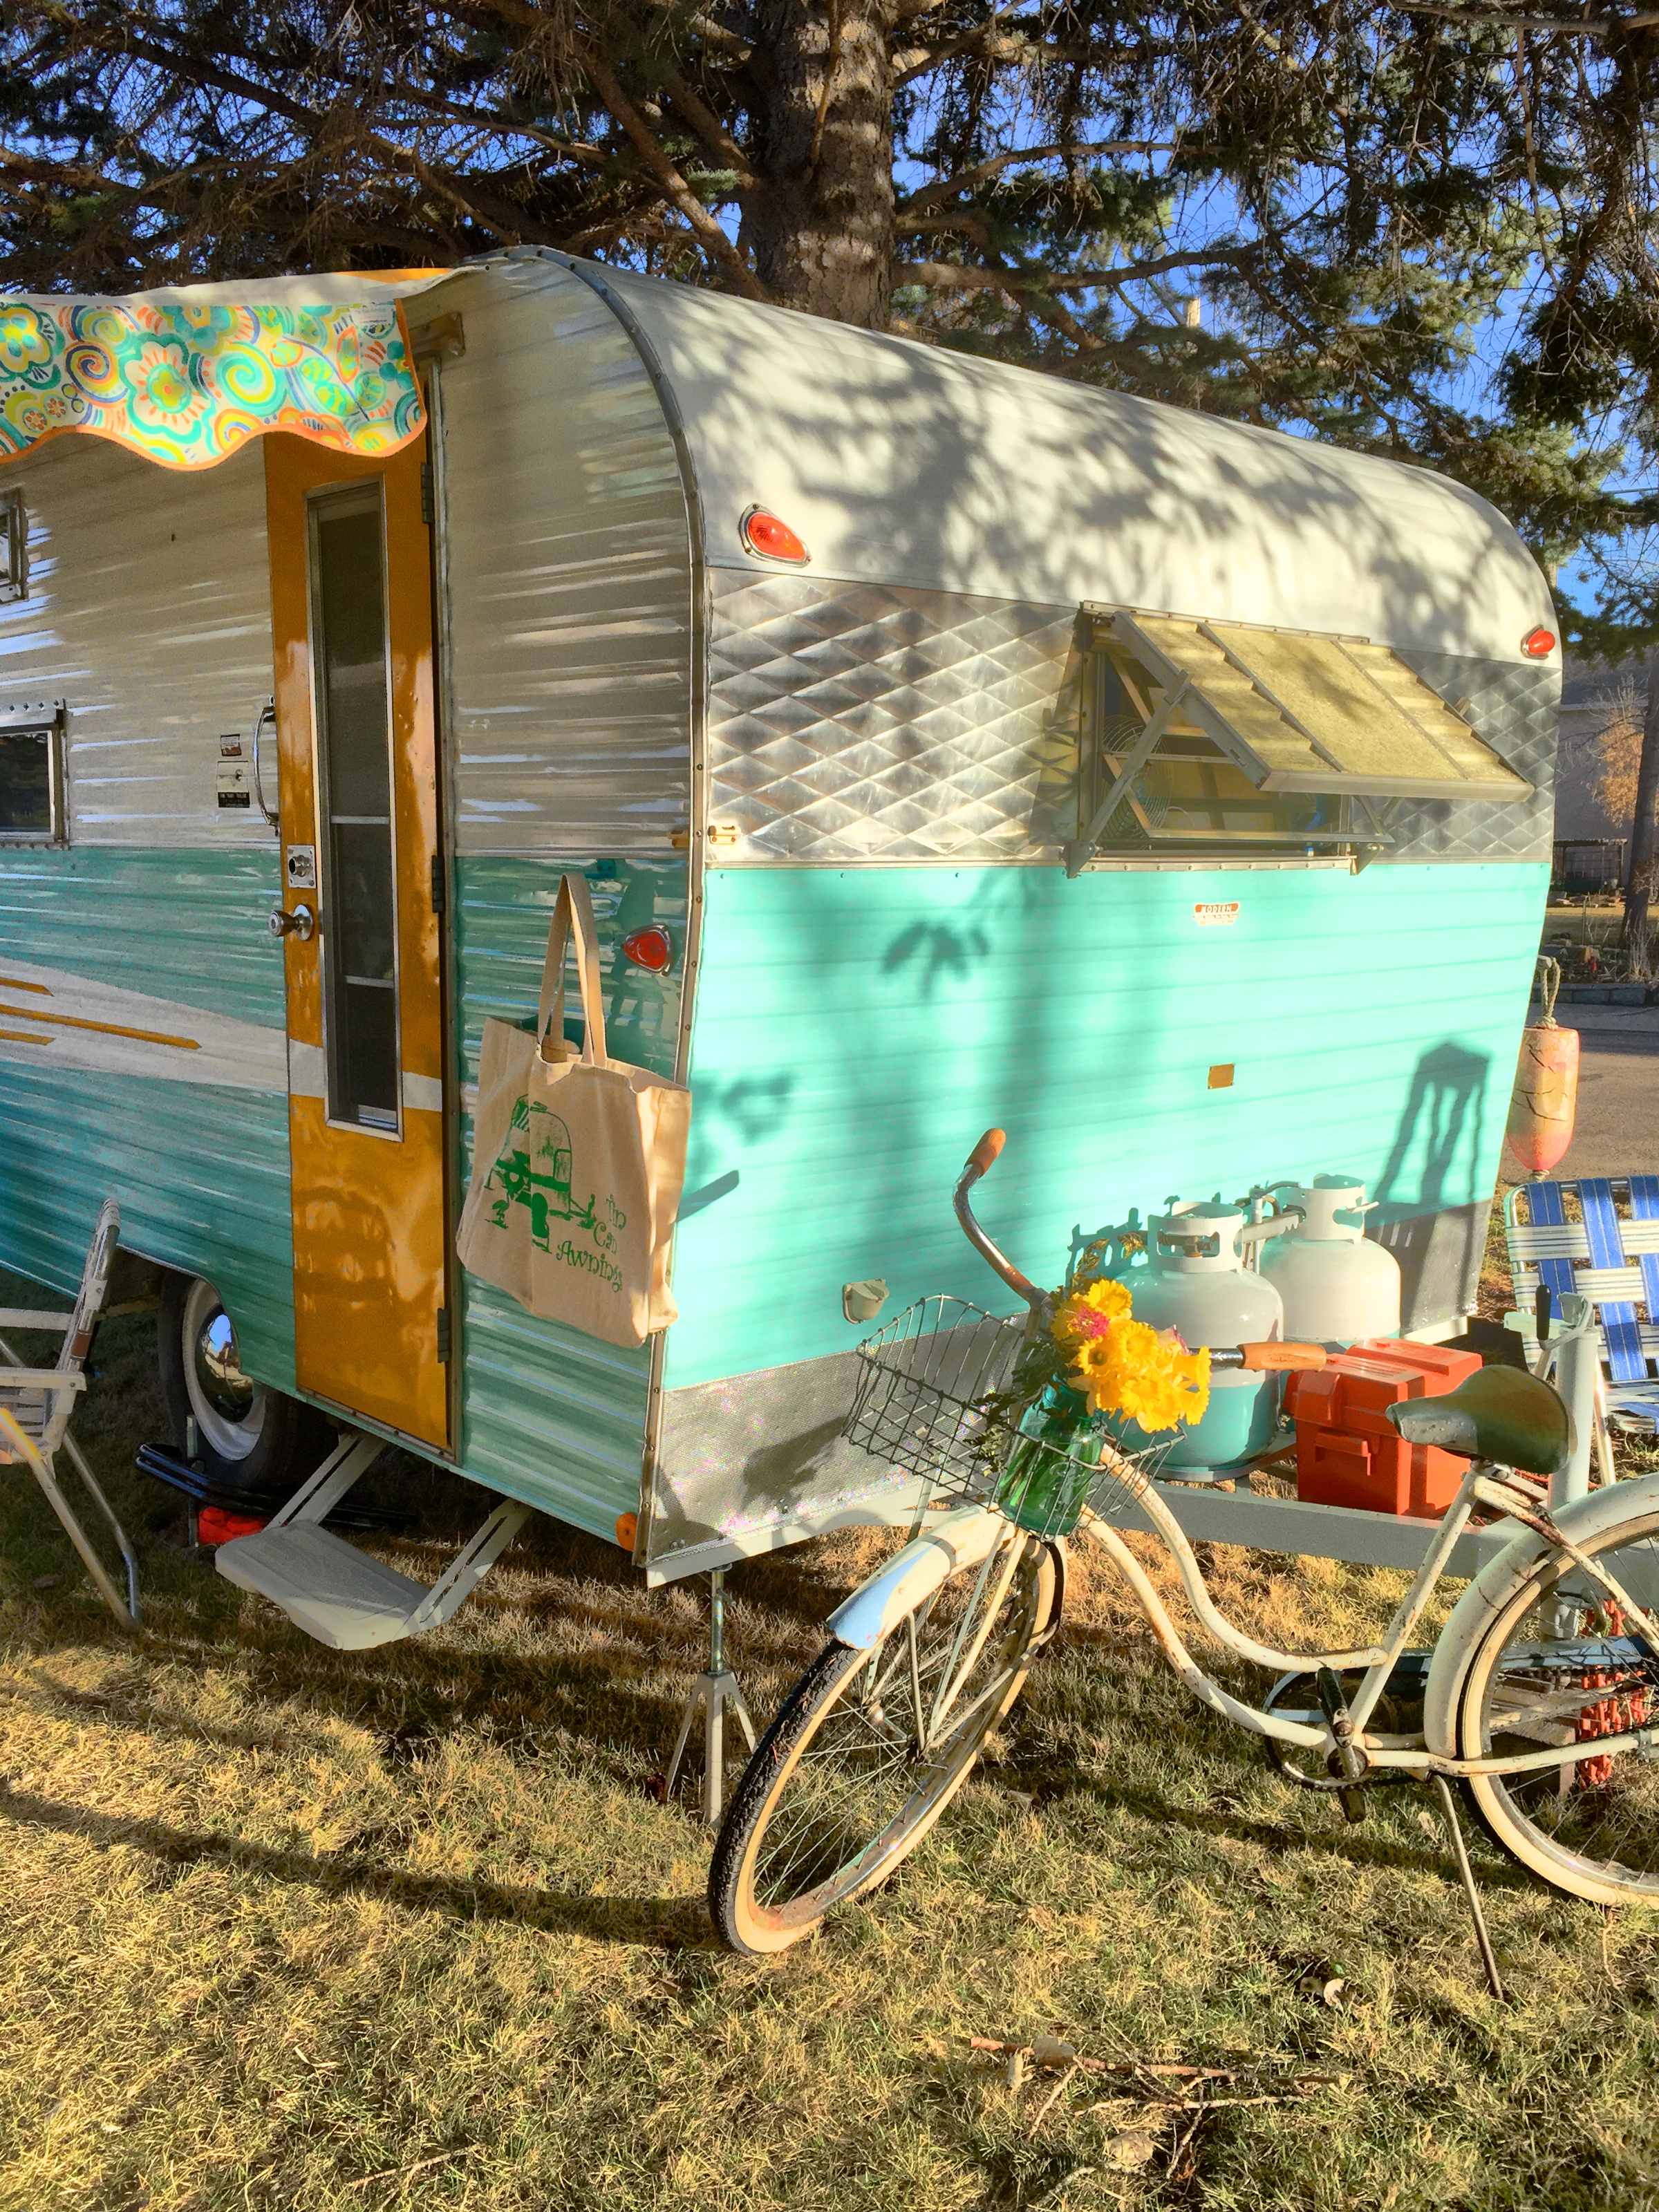
My awning came with a cute little carry-tote sporting the ‘Tin Can Awnings’ logo
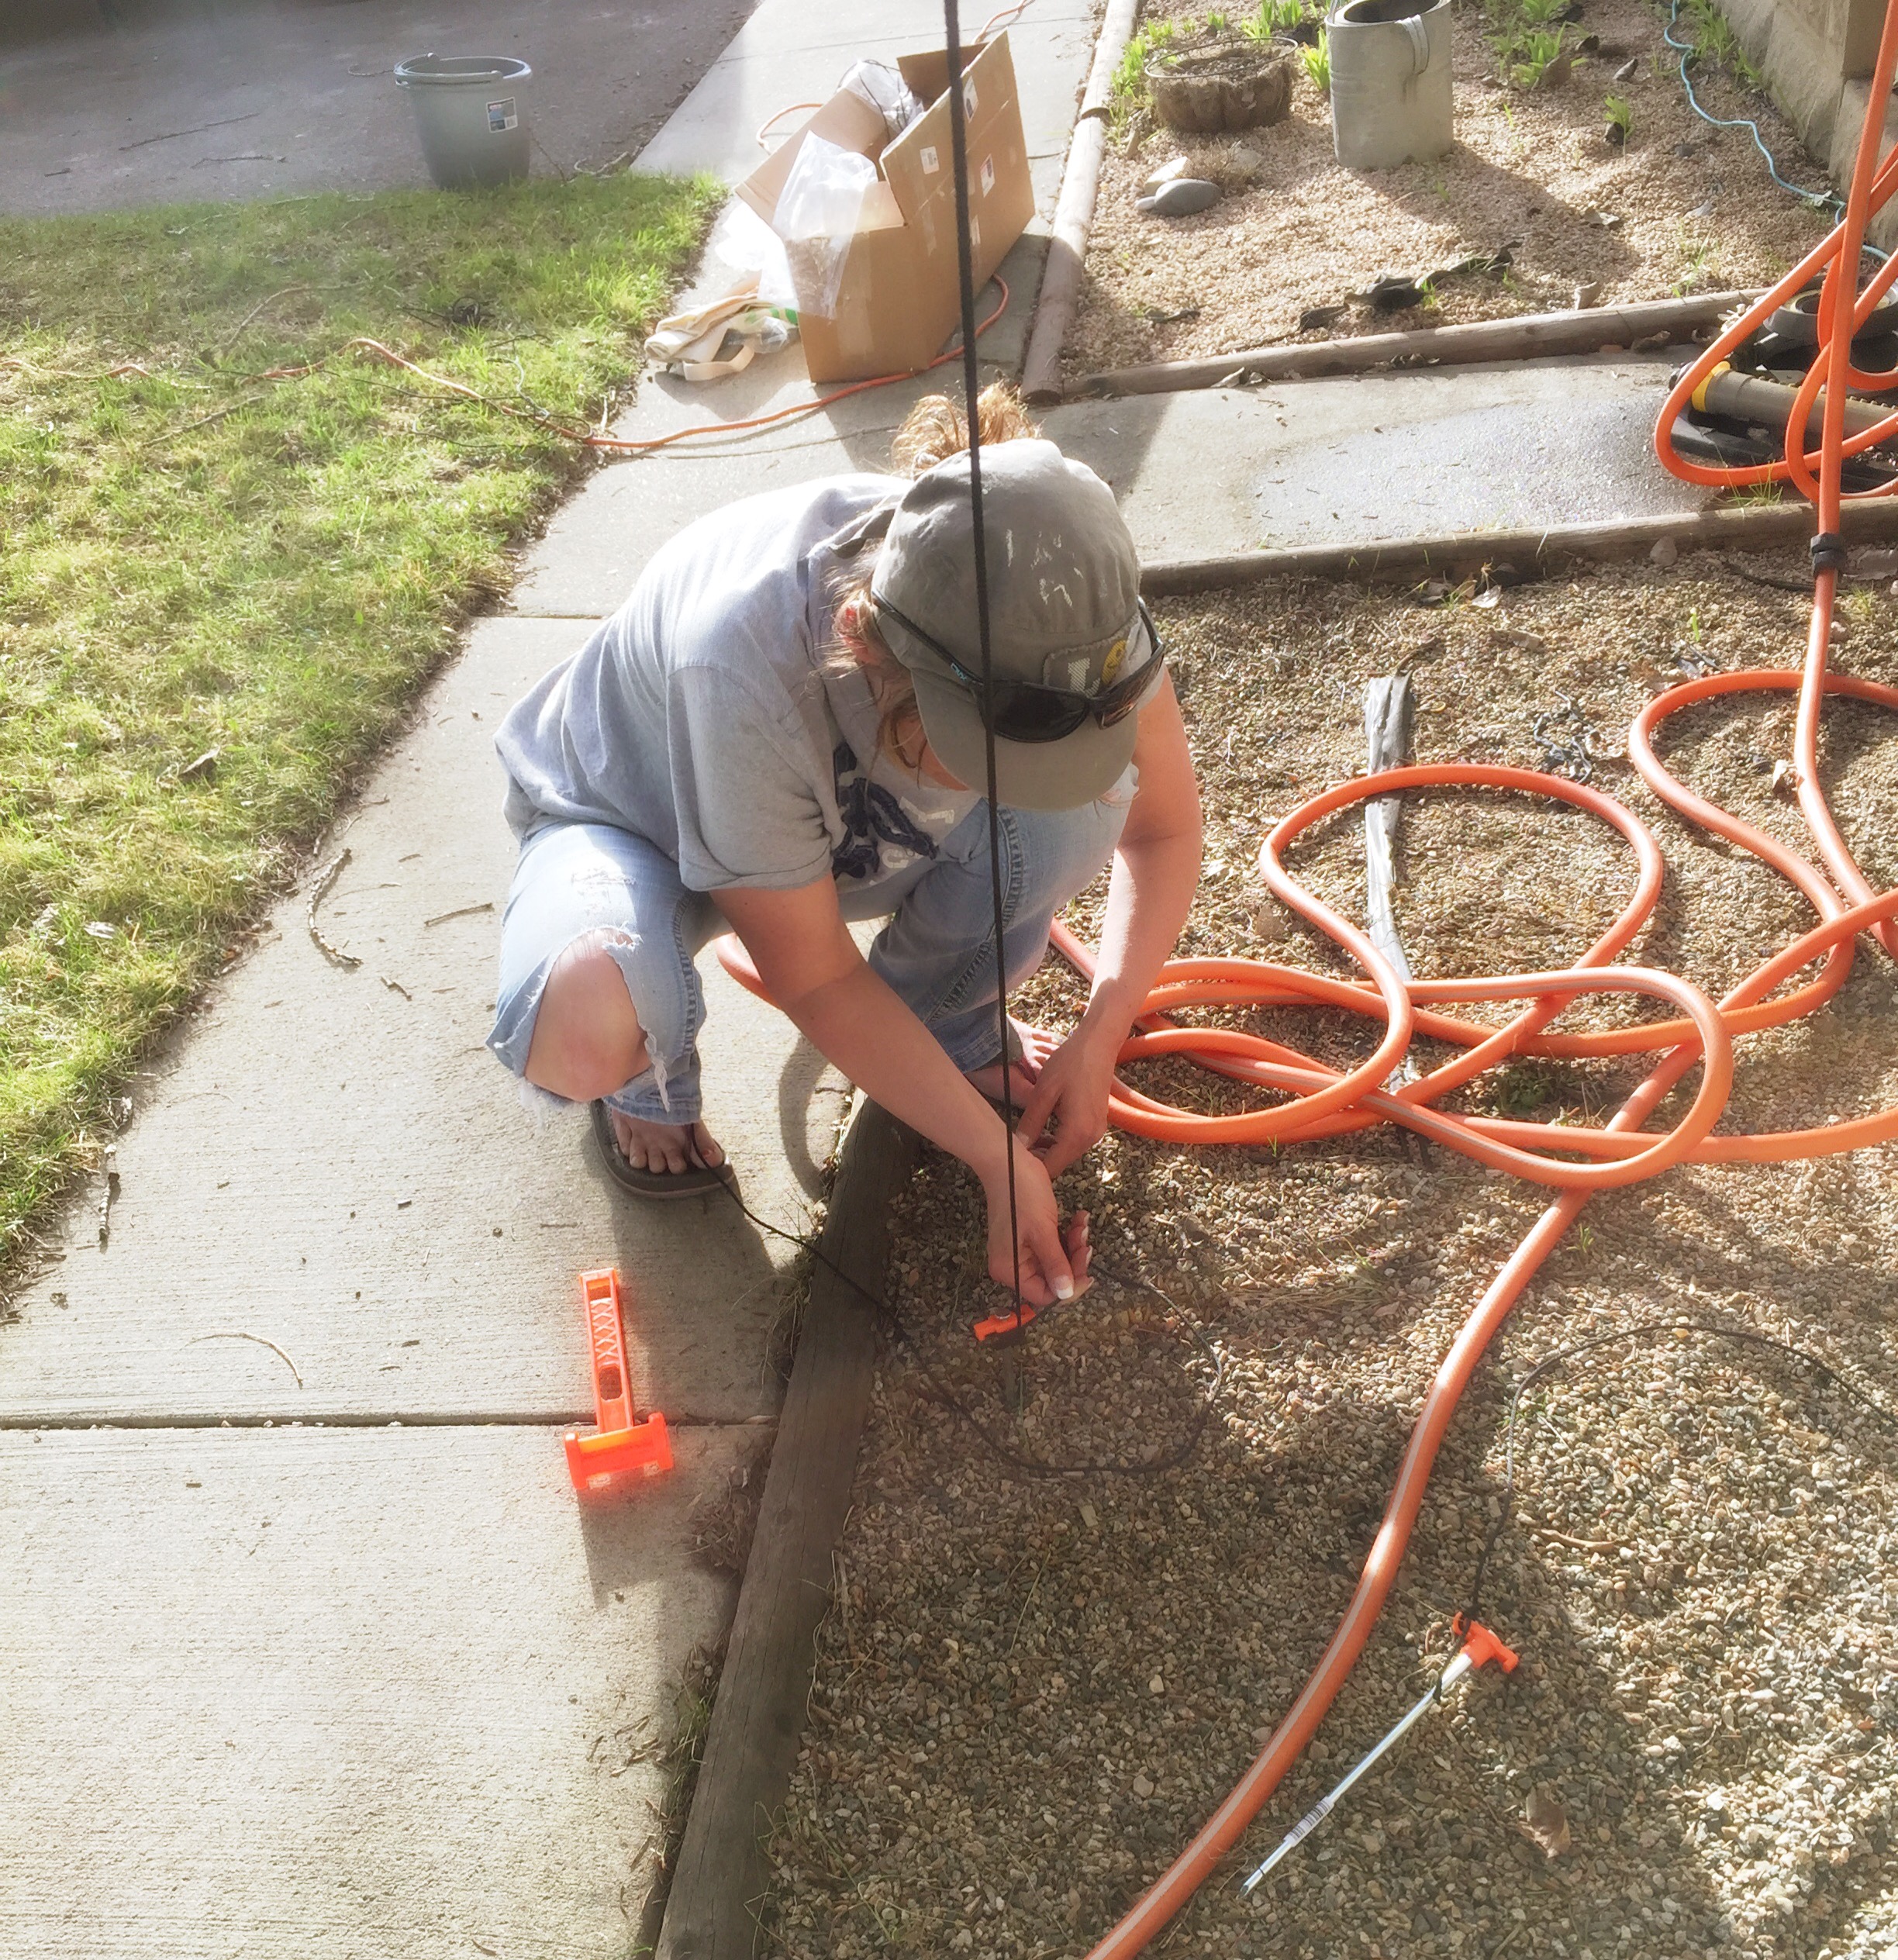
This necessitated digging through the shed for the flamingos & chairs, only to recall that I hadn’t yet re-webbed the tattered old vintage, aluminum lawn chairs I’d picked up for change at Salvation Army over the winter. Next step, scrounge through the closet for the ‘new old stock’ 1960’s era webbing I’d found the previous summer at a yard sale. One chair needed a complete re-webbing save for three pieces, one needed half re-webbed, and one needed just a single replacement piece.

Since re-webbing these three chairs, I’ve been lucky enough to find three more vintage lawn chairs in great shape, that closely match Myrtle’s paint scheme. I can seat a crowd, now.
I took the afternoon to discover that the learning curve for re-webbing vintage lawn chairs, while not steep, is still at least mildly sloped. In the end, I had three functional chairs and managed to get some photos before the sun went down. Saturday morning when I woke up, I thought “Today, I think I’ll paint.”

Once Myrtle was in possession of a “porch roof”, she obviously needed a “porch floor”. My original plan was to paint / create a DIY outdoor rug from canvas painter’s drop cloth, but two things derailed this plan. First, we had a plethora of rainy weather in April and May, to the point that there was never any good time to lay a 9 x 12 dropcloth outdoors for painting. Second, I saw a Mad Mats outdoor rug in person at the local gardening shop, and was severely impressed with how low maintenance it was. (Mad Mats are long-lasting, environmentally friendly, recycled plastic indoor/ outdoor rugs.) They didn’t have any colors that I liked for Myrtle, but I searched around online until I found a Mad Mat that was perfect. I have been extremely happy with this outdoor rug. It’s impressively sized, reasonably priced, is lightweight with great vibrant colors, is soft on my bare feet, and stays clean regardless of foot traffic.
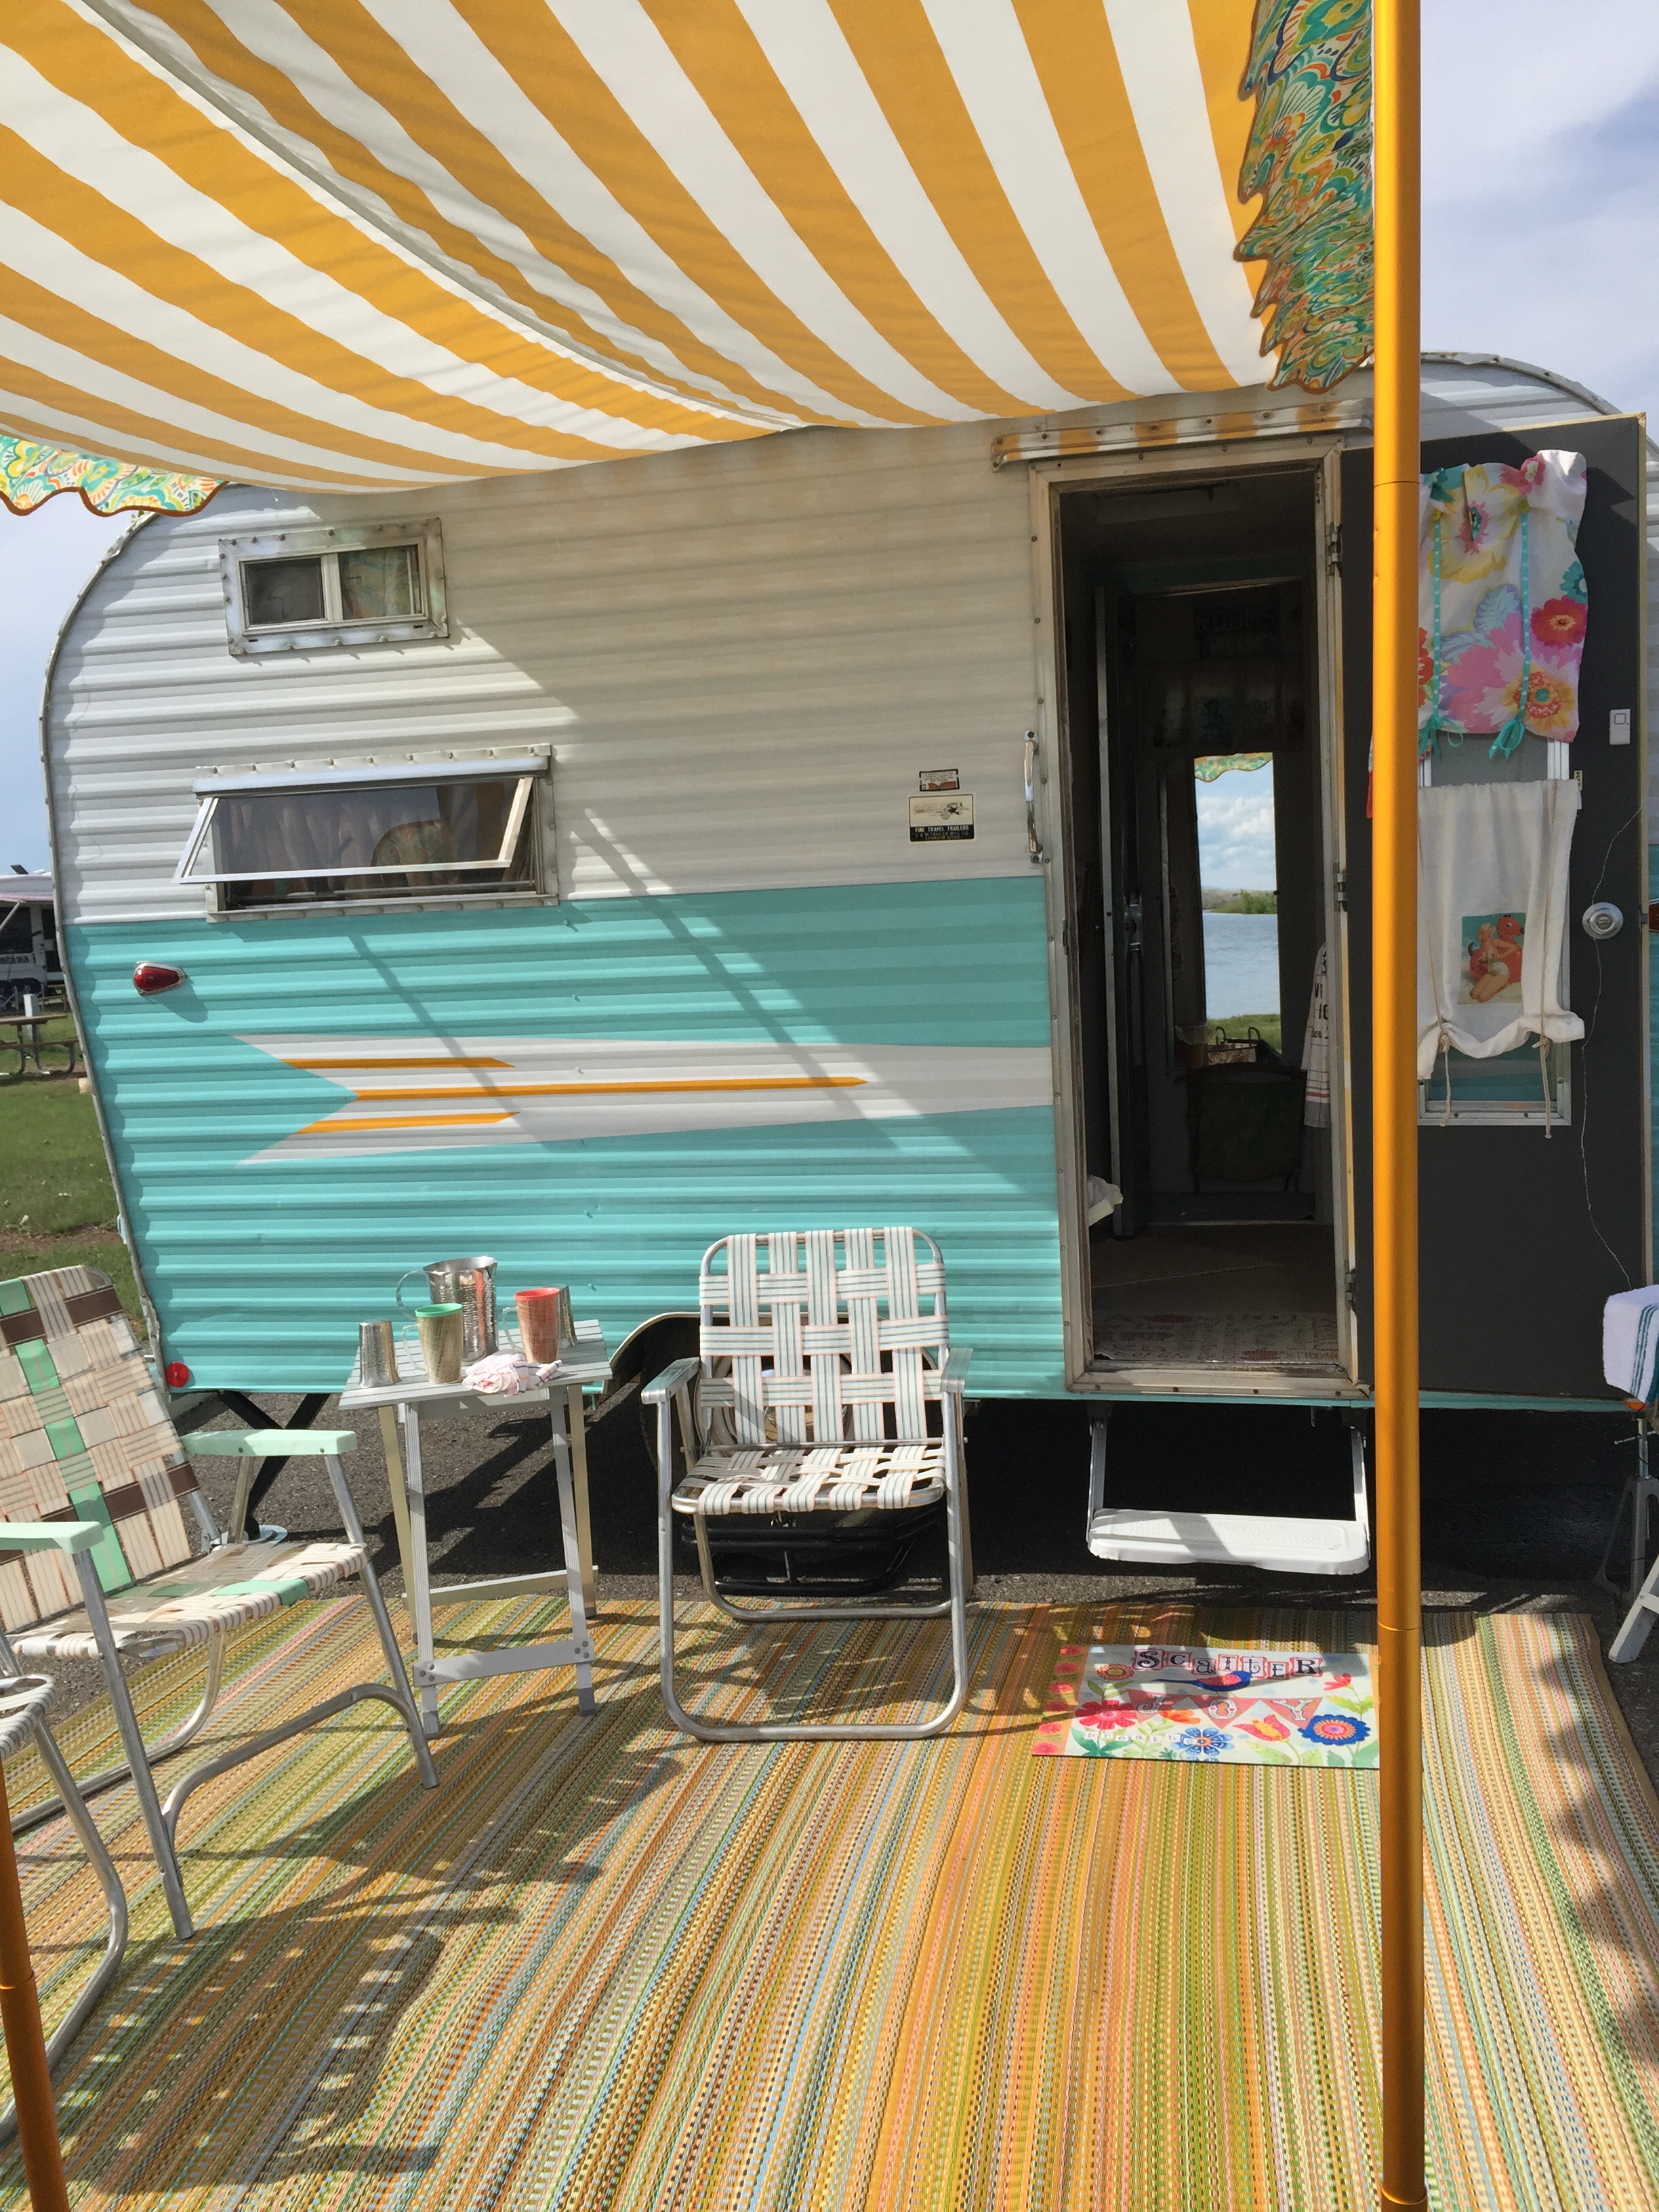
I love my Mad Mats outdoor rug.
Myrtle needed all new curtains, and I had found nothing in my vintage shopping sprees that spoke to me. Ideally, I wanted to custom make all of her curtains, so they would be exactly right, but if life was ideal, I suppose I would be Betty Homemaker, with all of the sewing knowledge in the world in my head, and all the hours in the day to devote to my crafty ideas. In the real world, though, I can’t sew beyond getting a button back on. Thankfully, this is not a problem because, Stitch-Witchery. This stuff rocks. Armed with scissors, a measuring tape, and copious amounts of fusible fabric tape, I proceeded to create all of Myrtle’s curtains. The first pair I fashioned out of a 1960’s bed-sheet, and they took place of pride in the dinette area.

DIY No-Sew curtains from a vintage bed-sheet

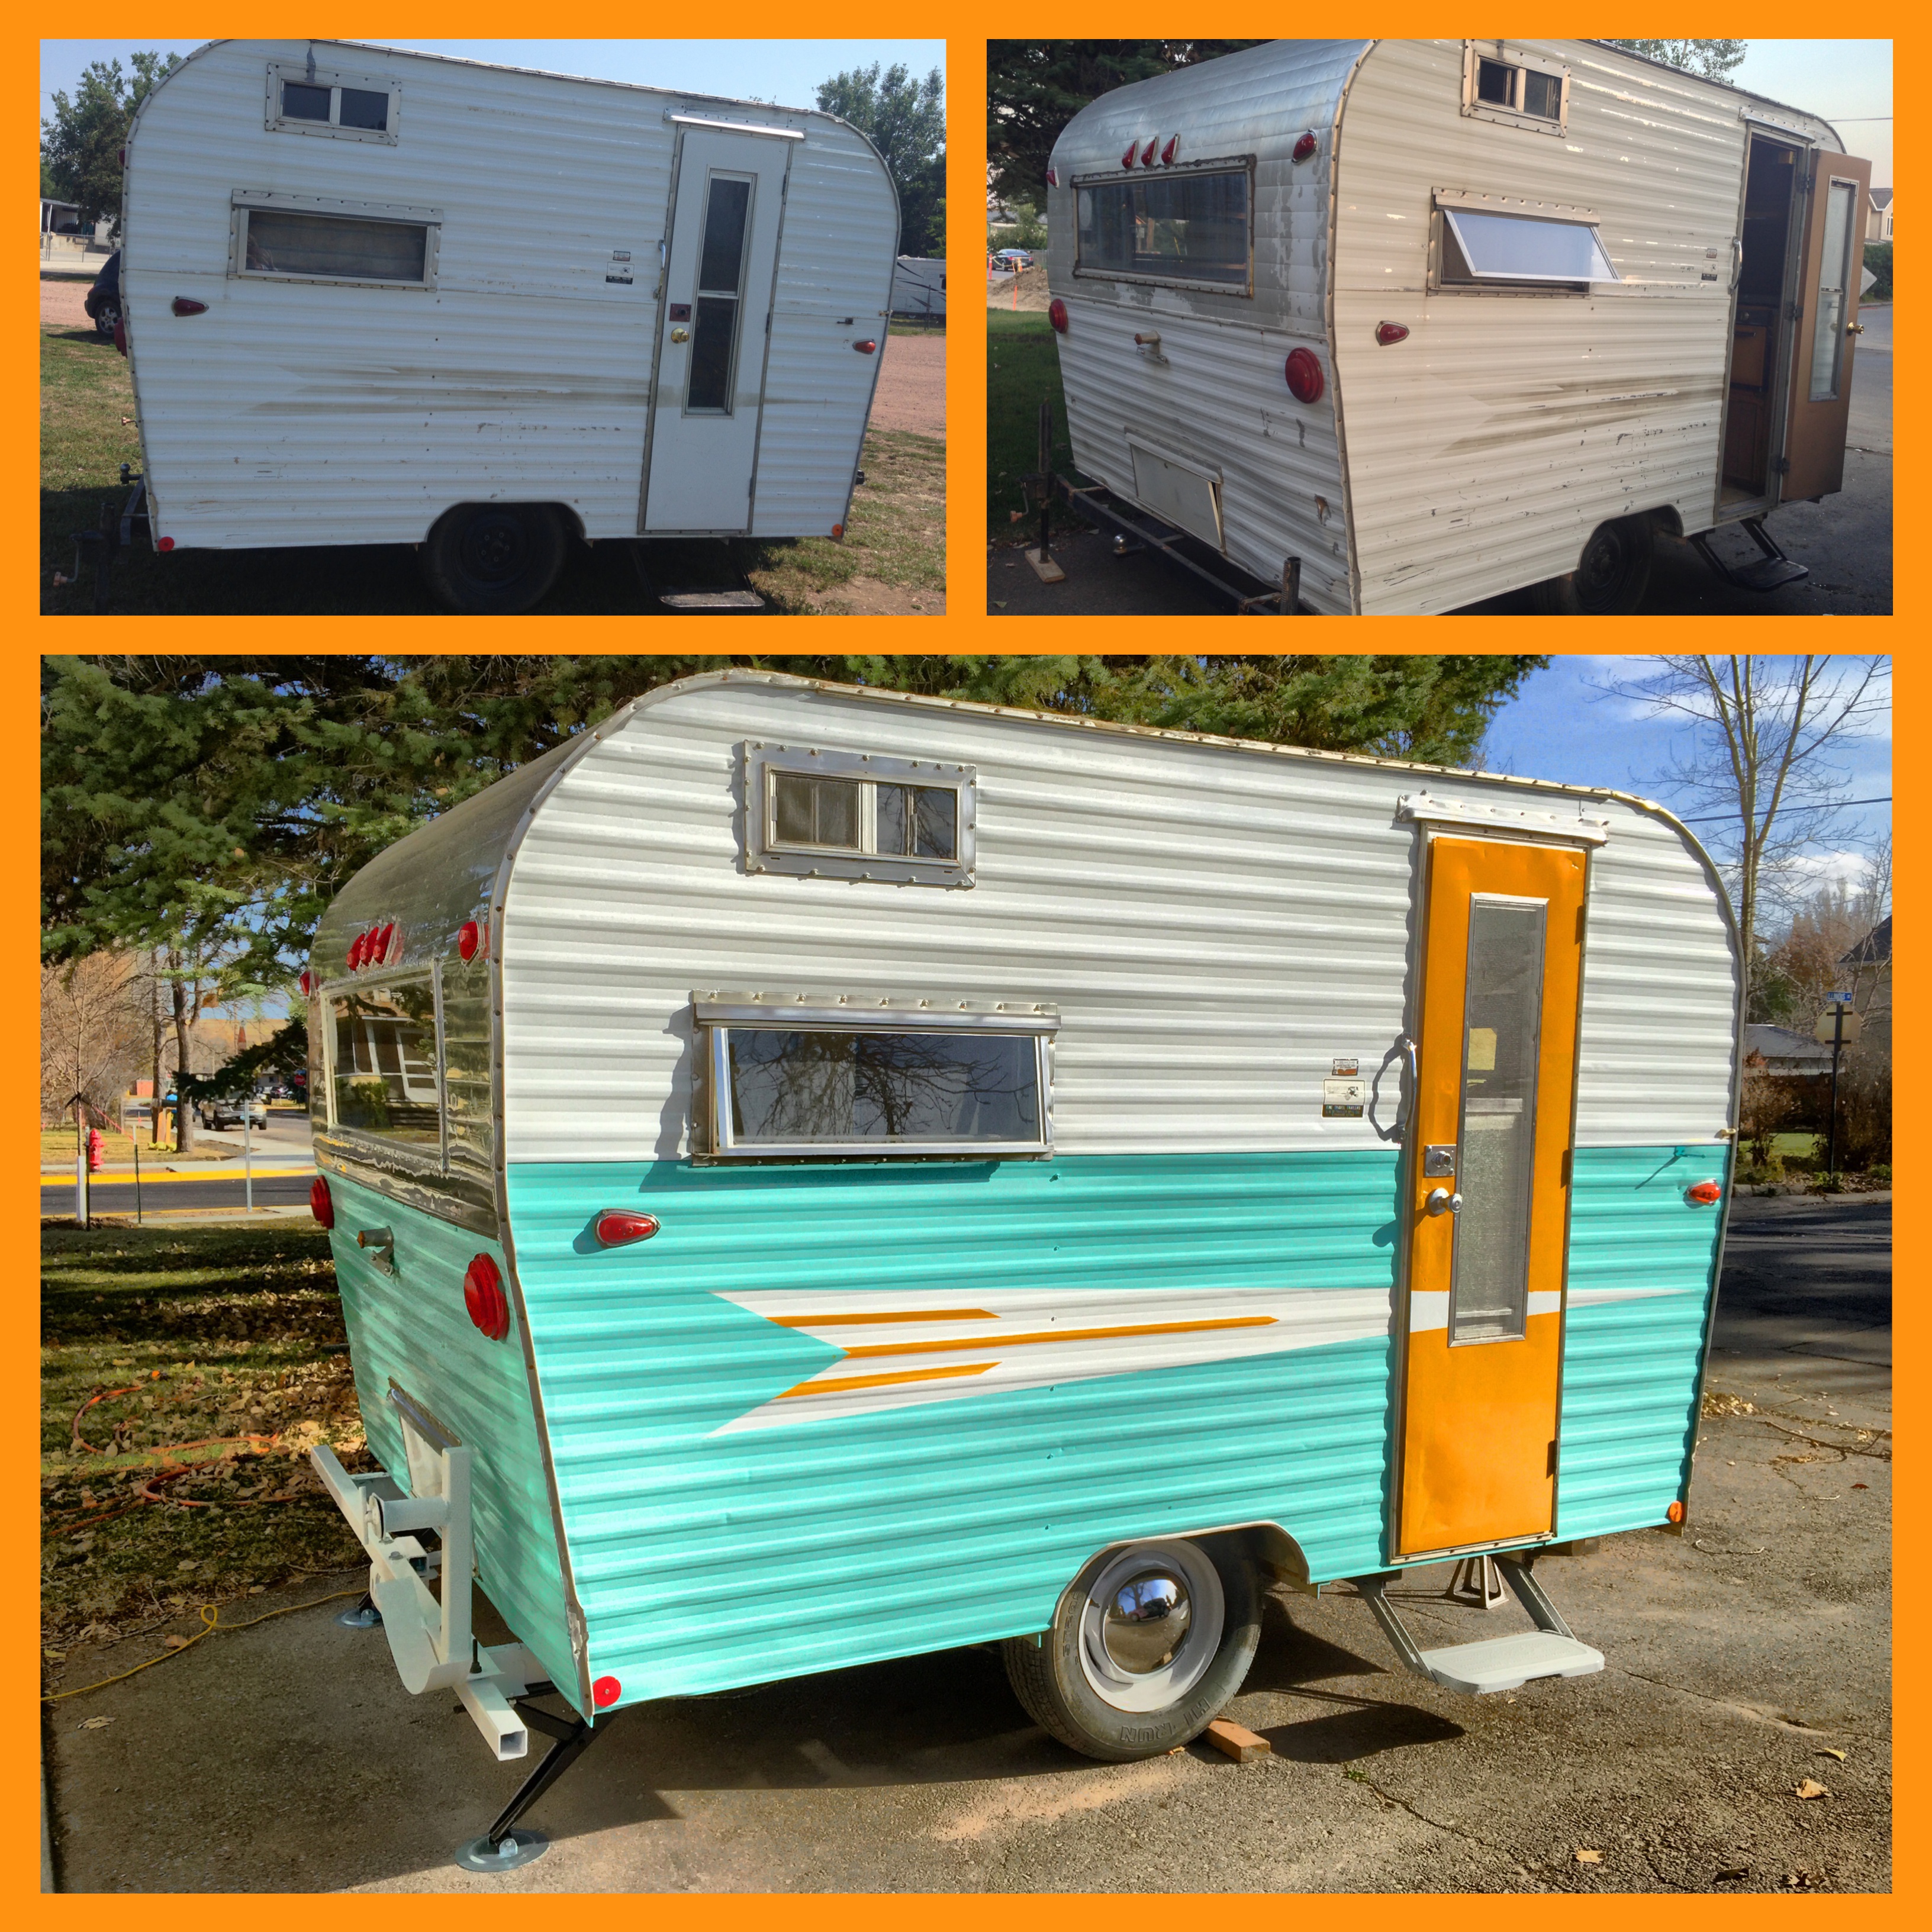
Before & After
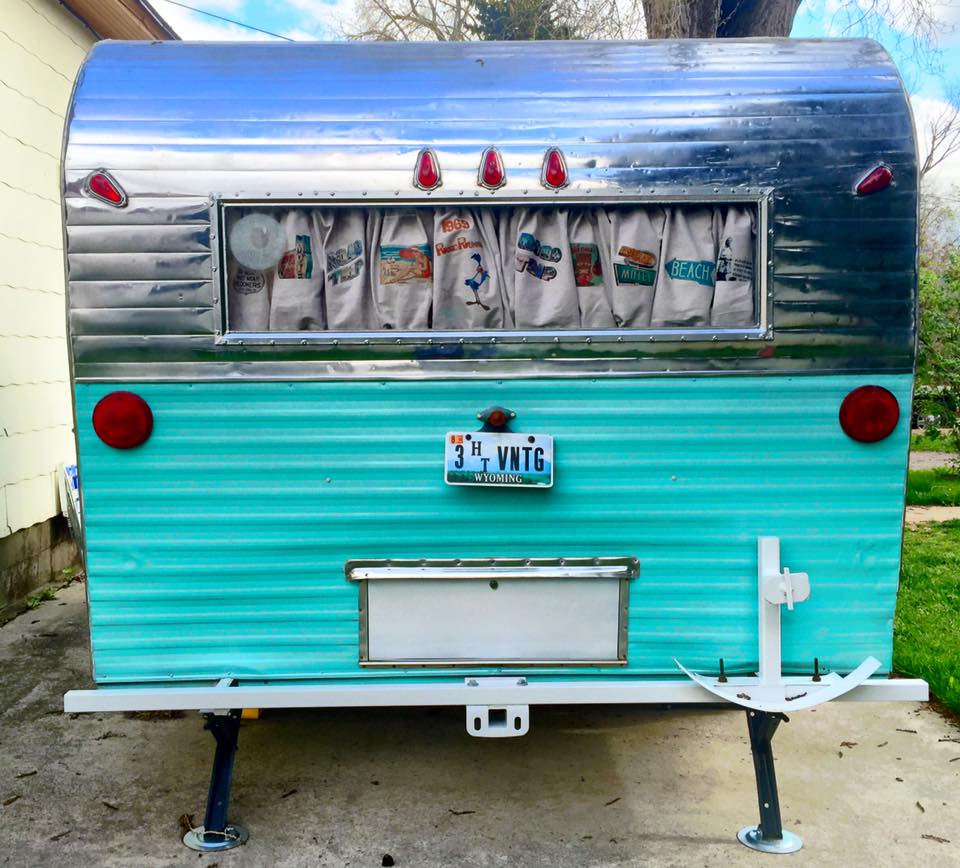
For the large window that runs the length of Myrtle’s backside, I used that ‘ole stand-by fabric, canvas painter’s drop-cloth from Home Depot. To embellish, I chose images for the out-facing side of the curtains, and printed them with my home ink-jet printer on Lesley Riley’s TAP Transfer Artist Paper. I then transferred the images to the fabric with a hot iron. This transfer paper is absolutely amazing. It costs significantly more than store brand transfer paper (I ordered mine on Amazon) but is worth every penny. The colors transfer brightly and permanently to the fabric, they are washable, and the fabric remains pliable.
I was lucky enough to find a pair of matched, uncut, unused vintage ‘Flaky Bake’ flour sacks that I stitch-witched into becoming Myrtle’s kitchen curtains.
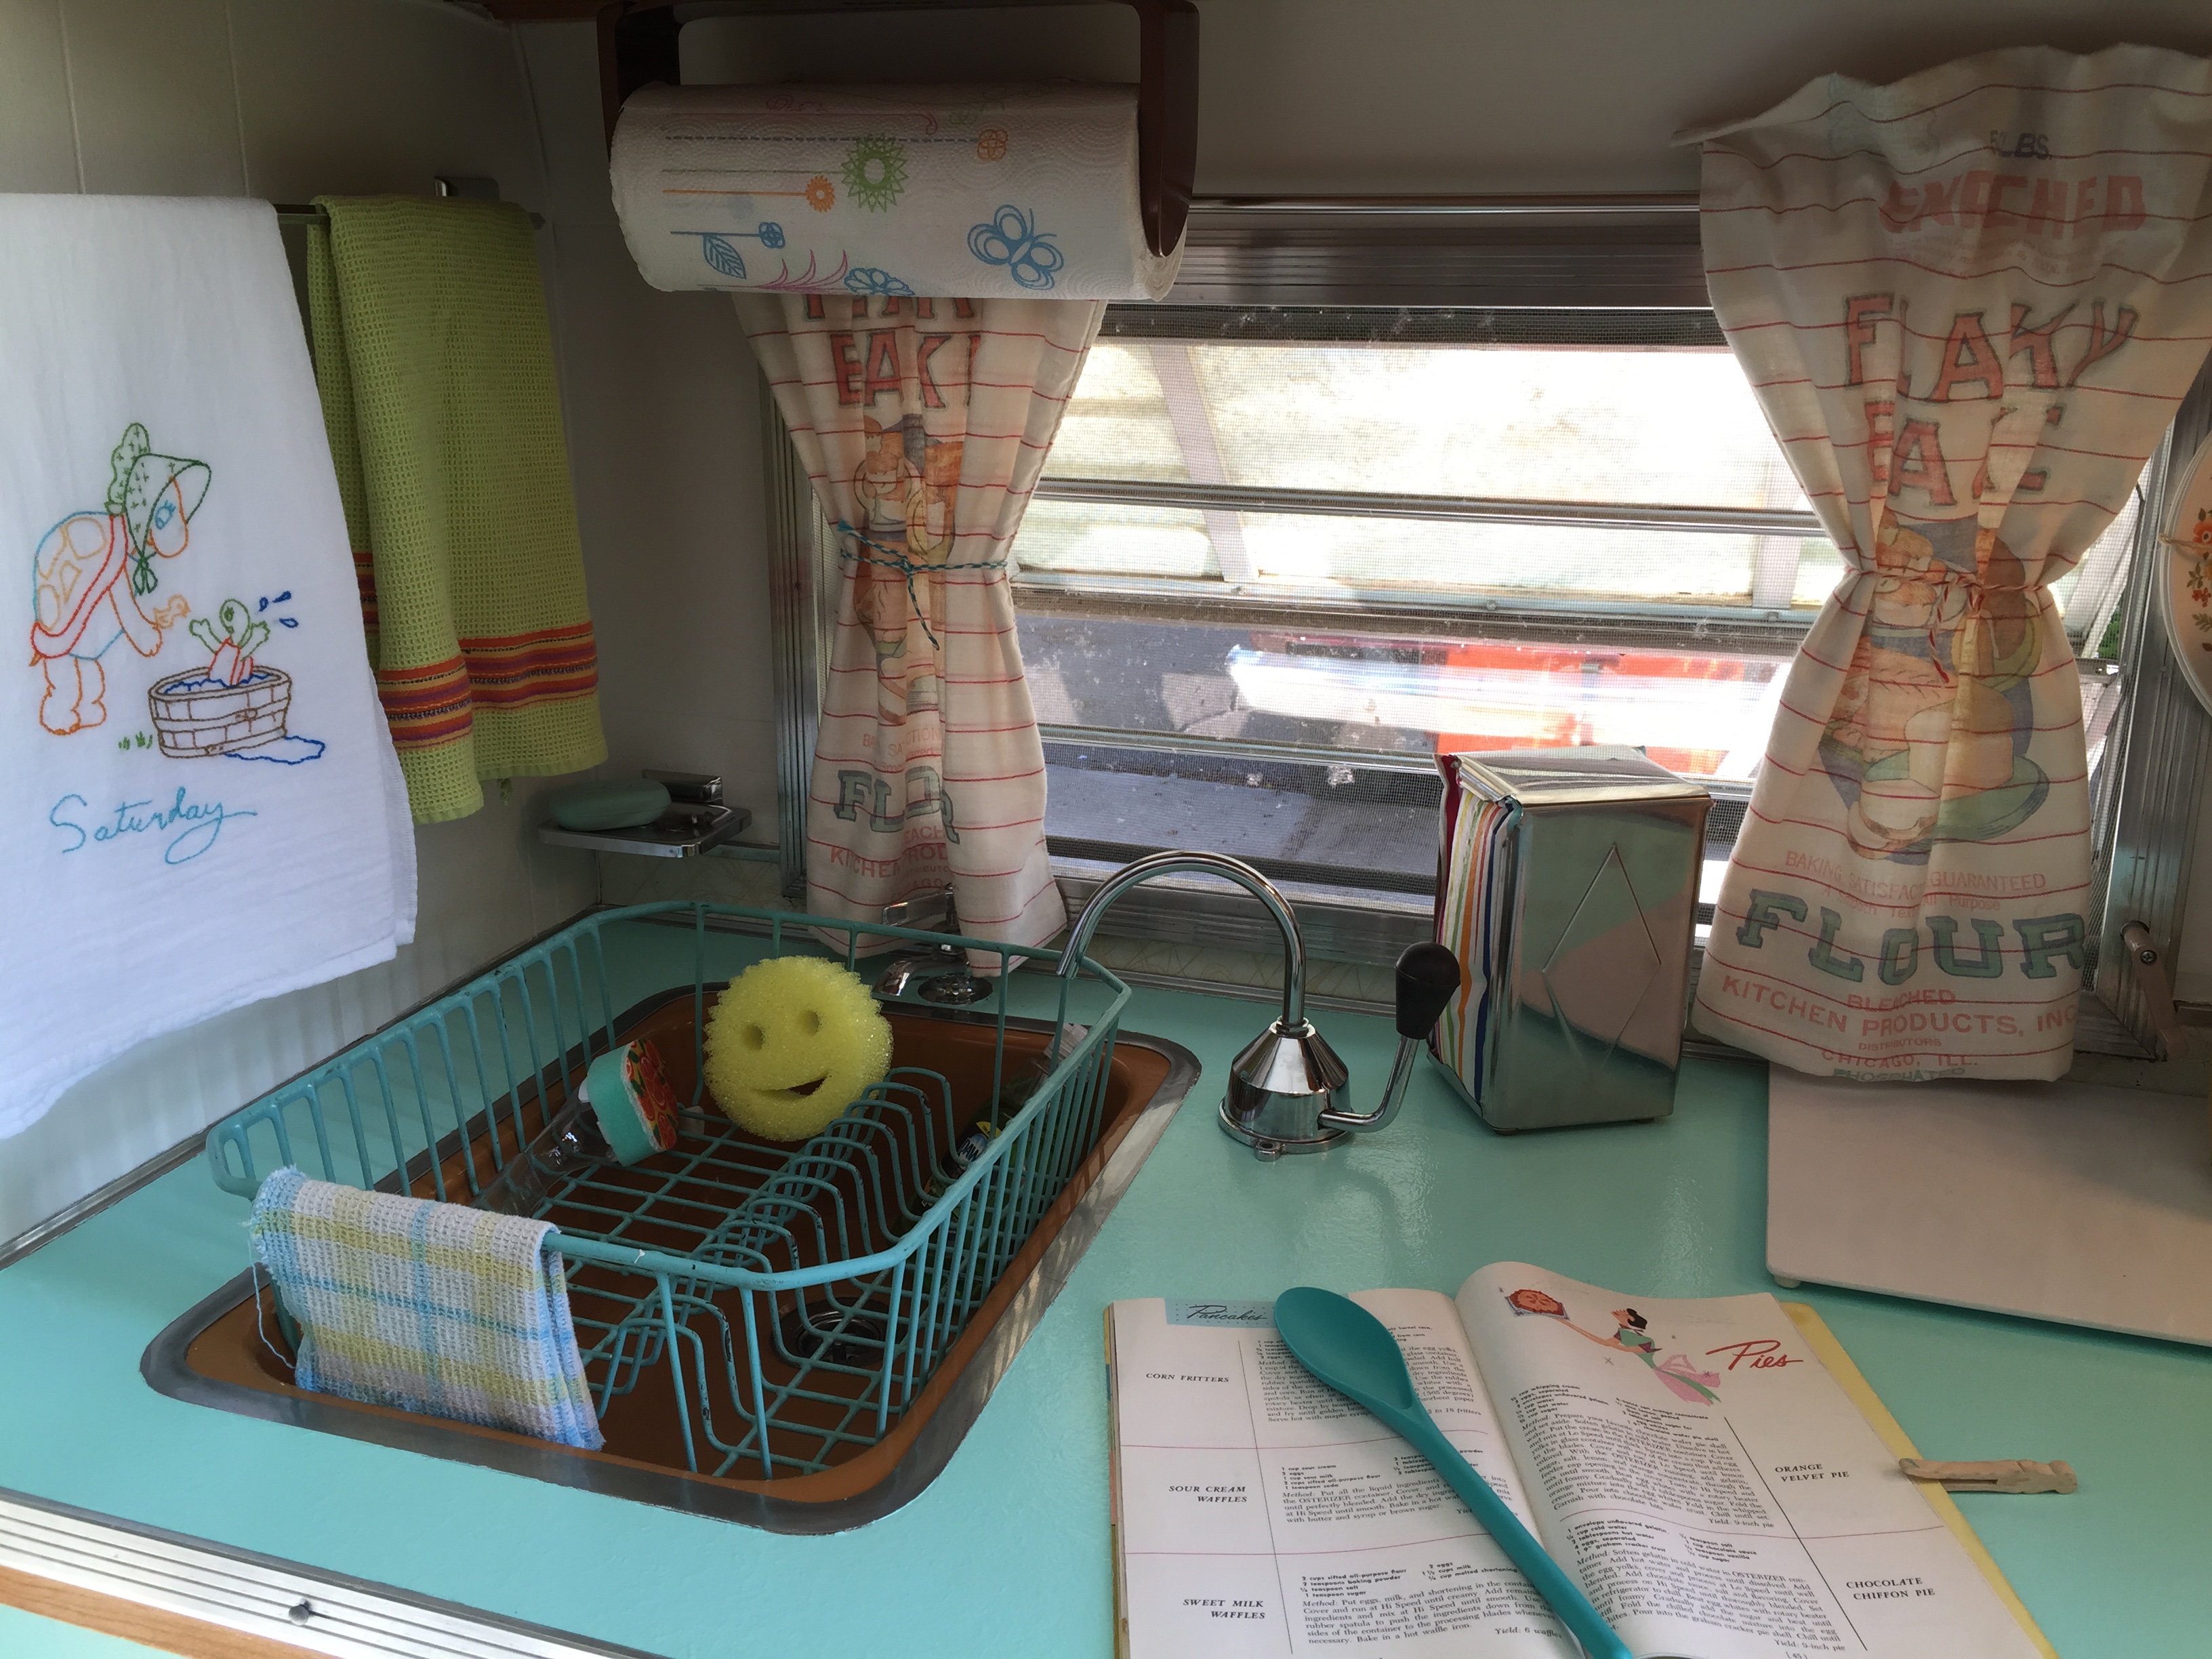
Kitchen curtains out of vintage flour sacks.

One of my favorite curtain transfers is a page from a 1950’s telephone instruction manual…
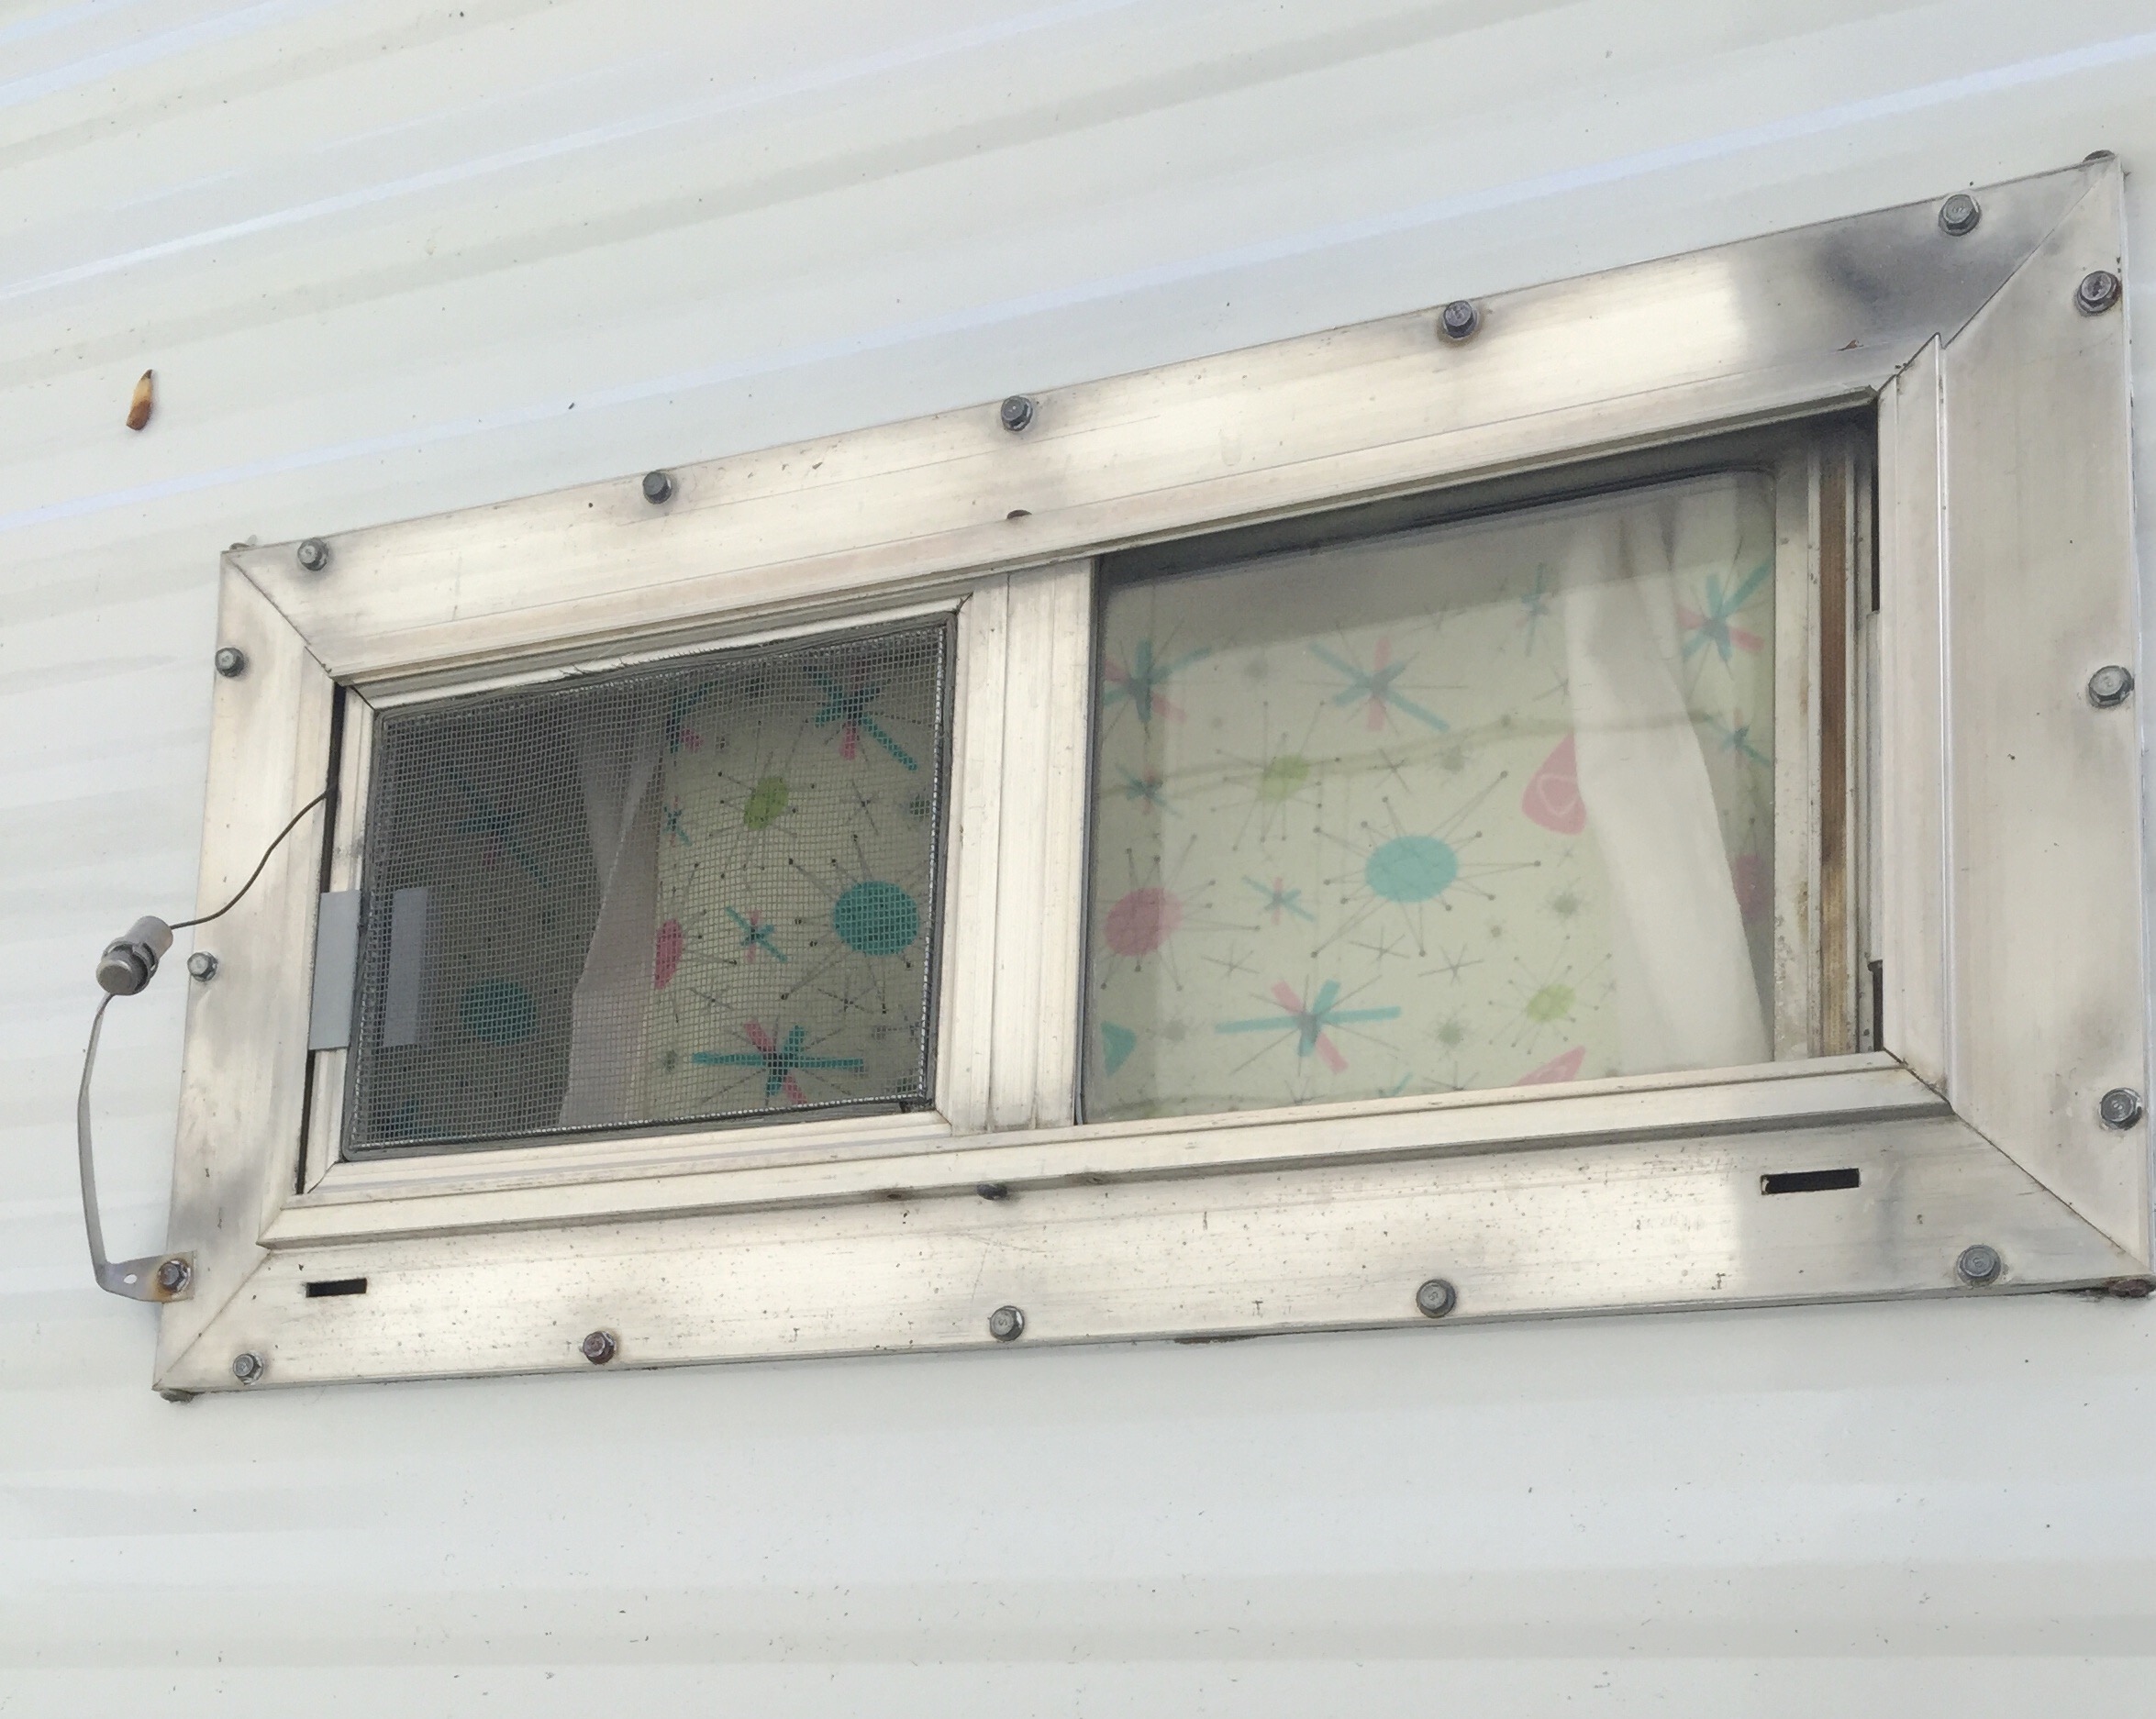
The outer facing side of the small curtains received transfer images of Atomic Starbursts and Atomic Boomerangs.
For the smaller windows, including the bathroom window, I used faded, vintage cotton sugar sacks as the fabric, and added transfer images. The lower window on the door received this same treatment, and for the upper door window, I created a Roman-style curtain out of a vintage pillow-case.
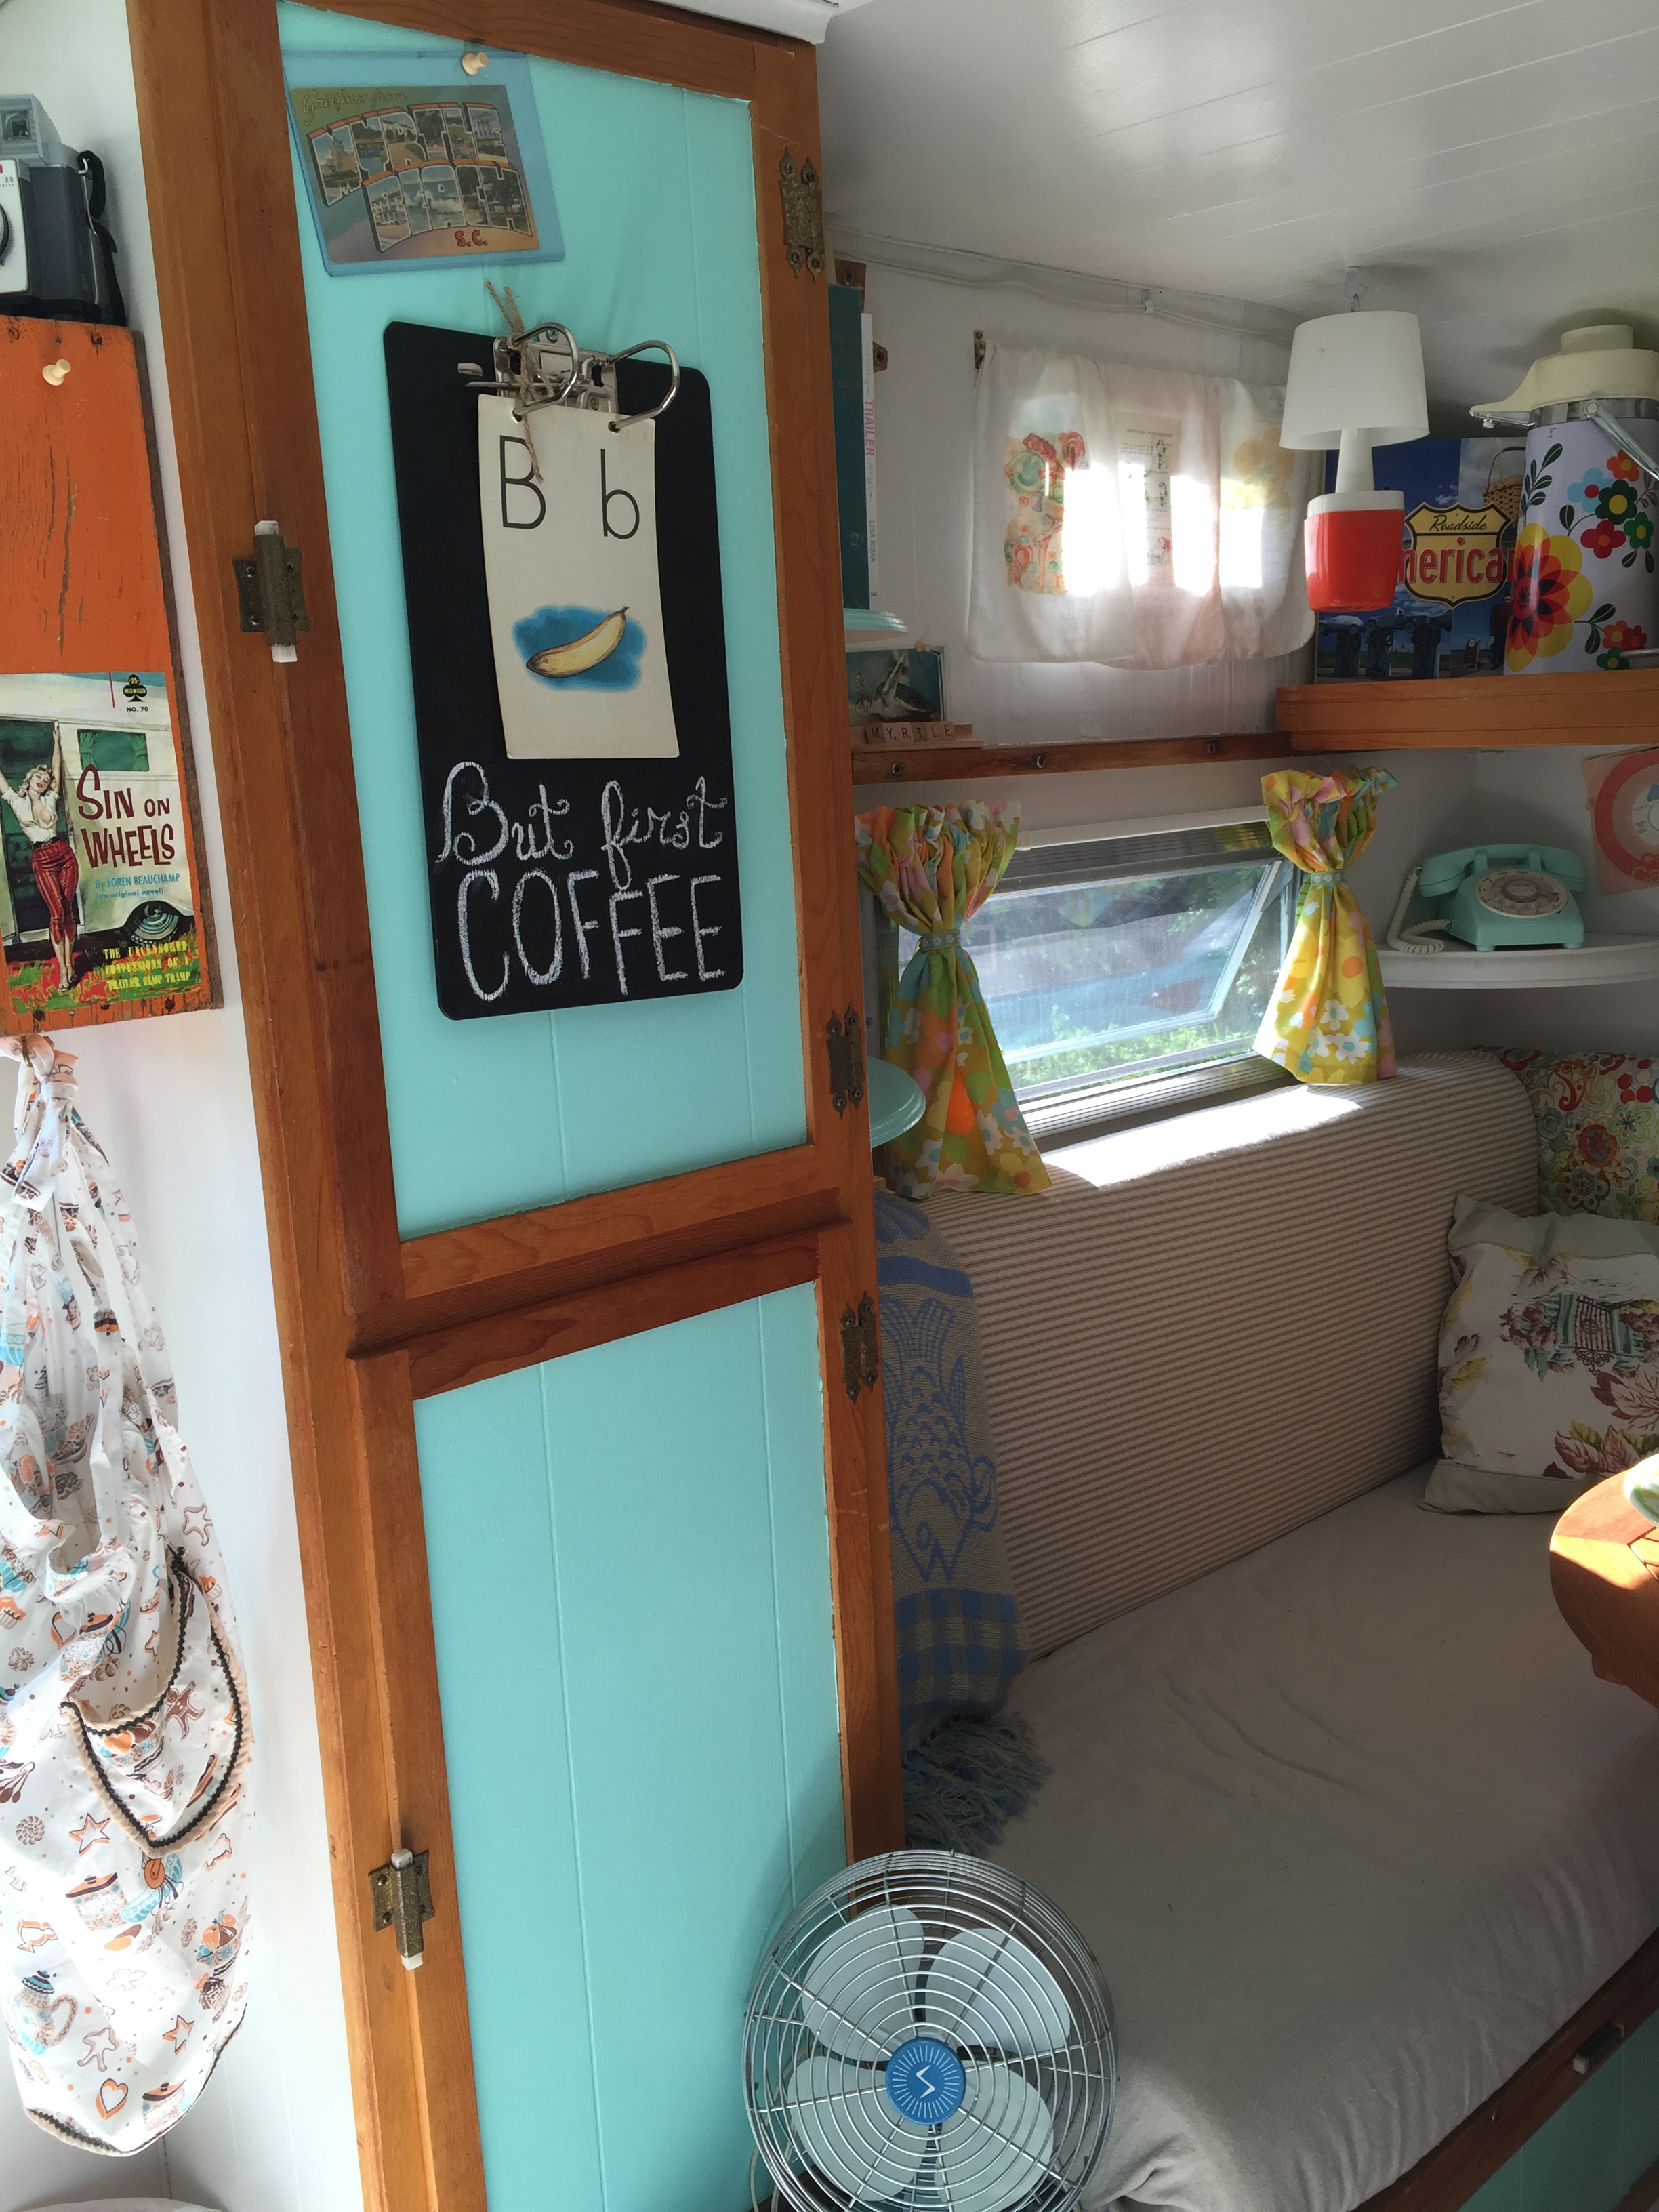
But first, coffee.

Snack cart.

Dinette / bed area

Night snack.
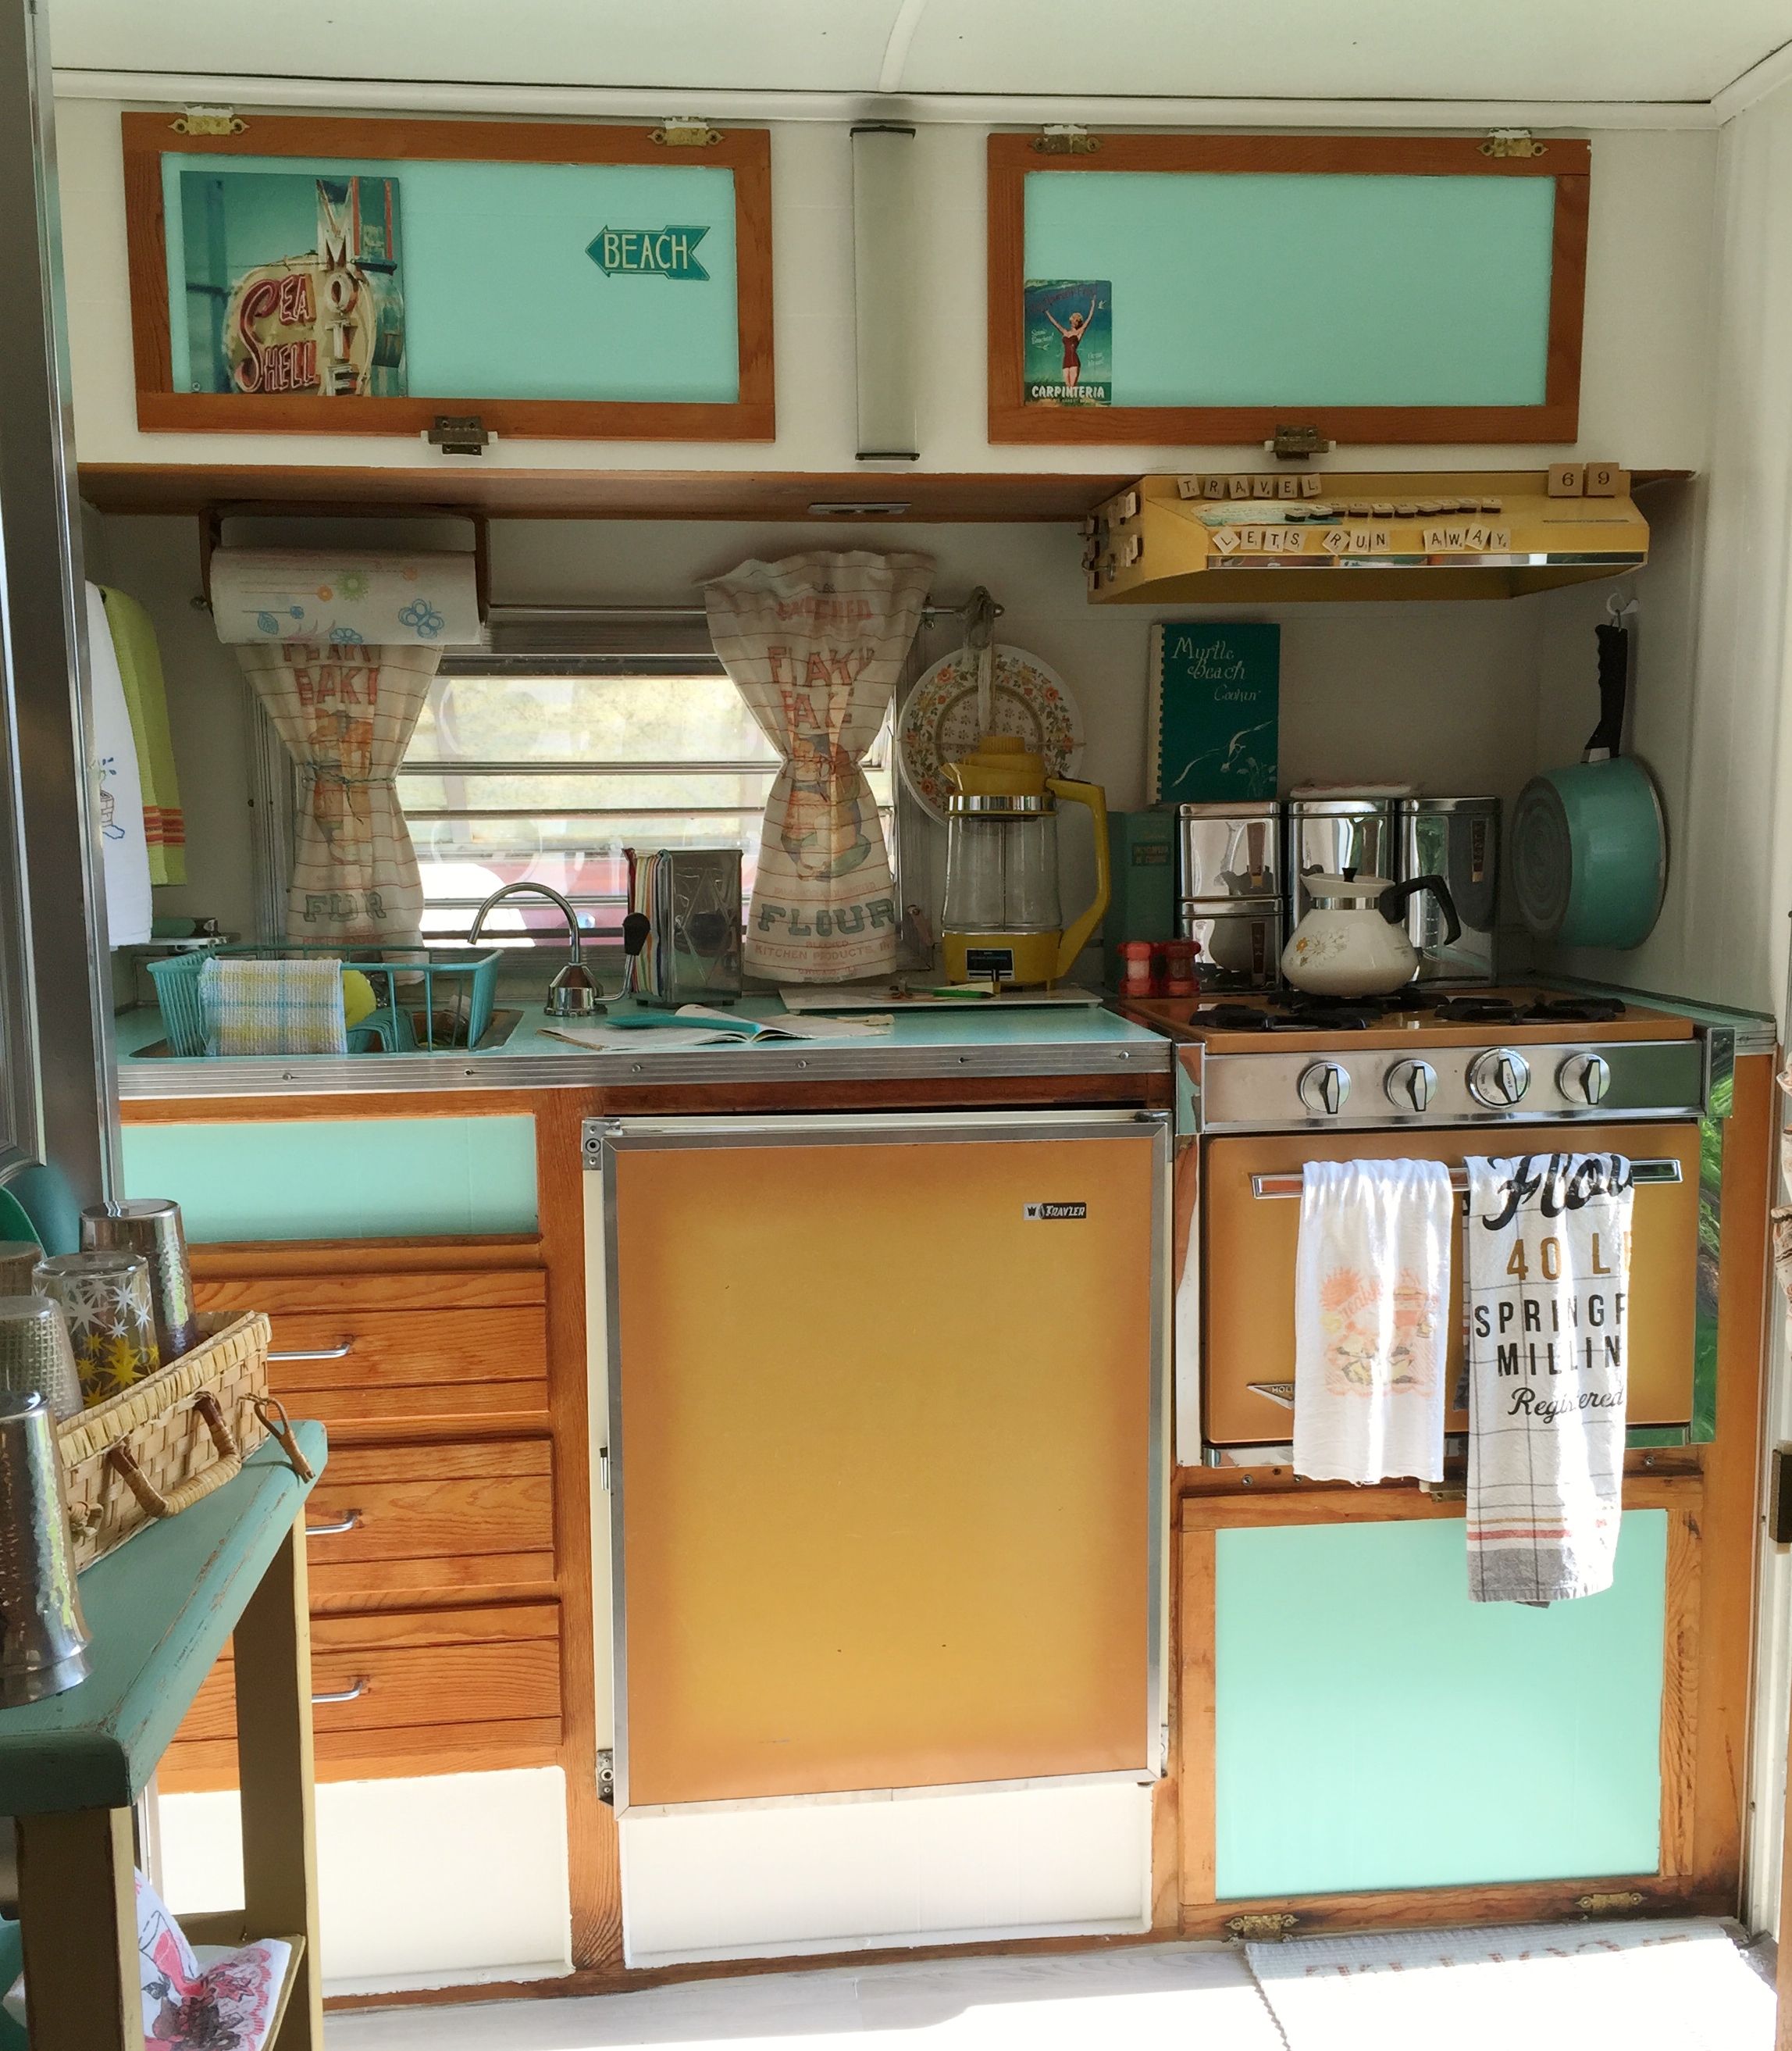
Kitchen
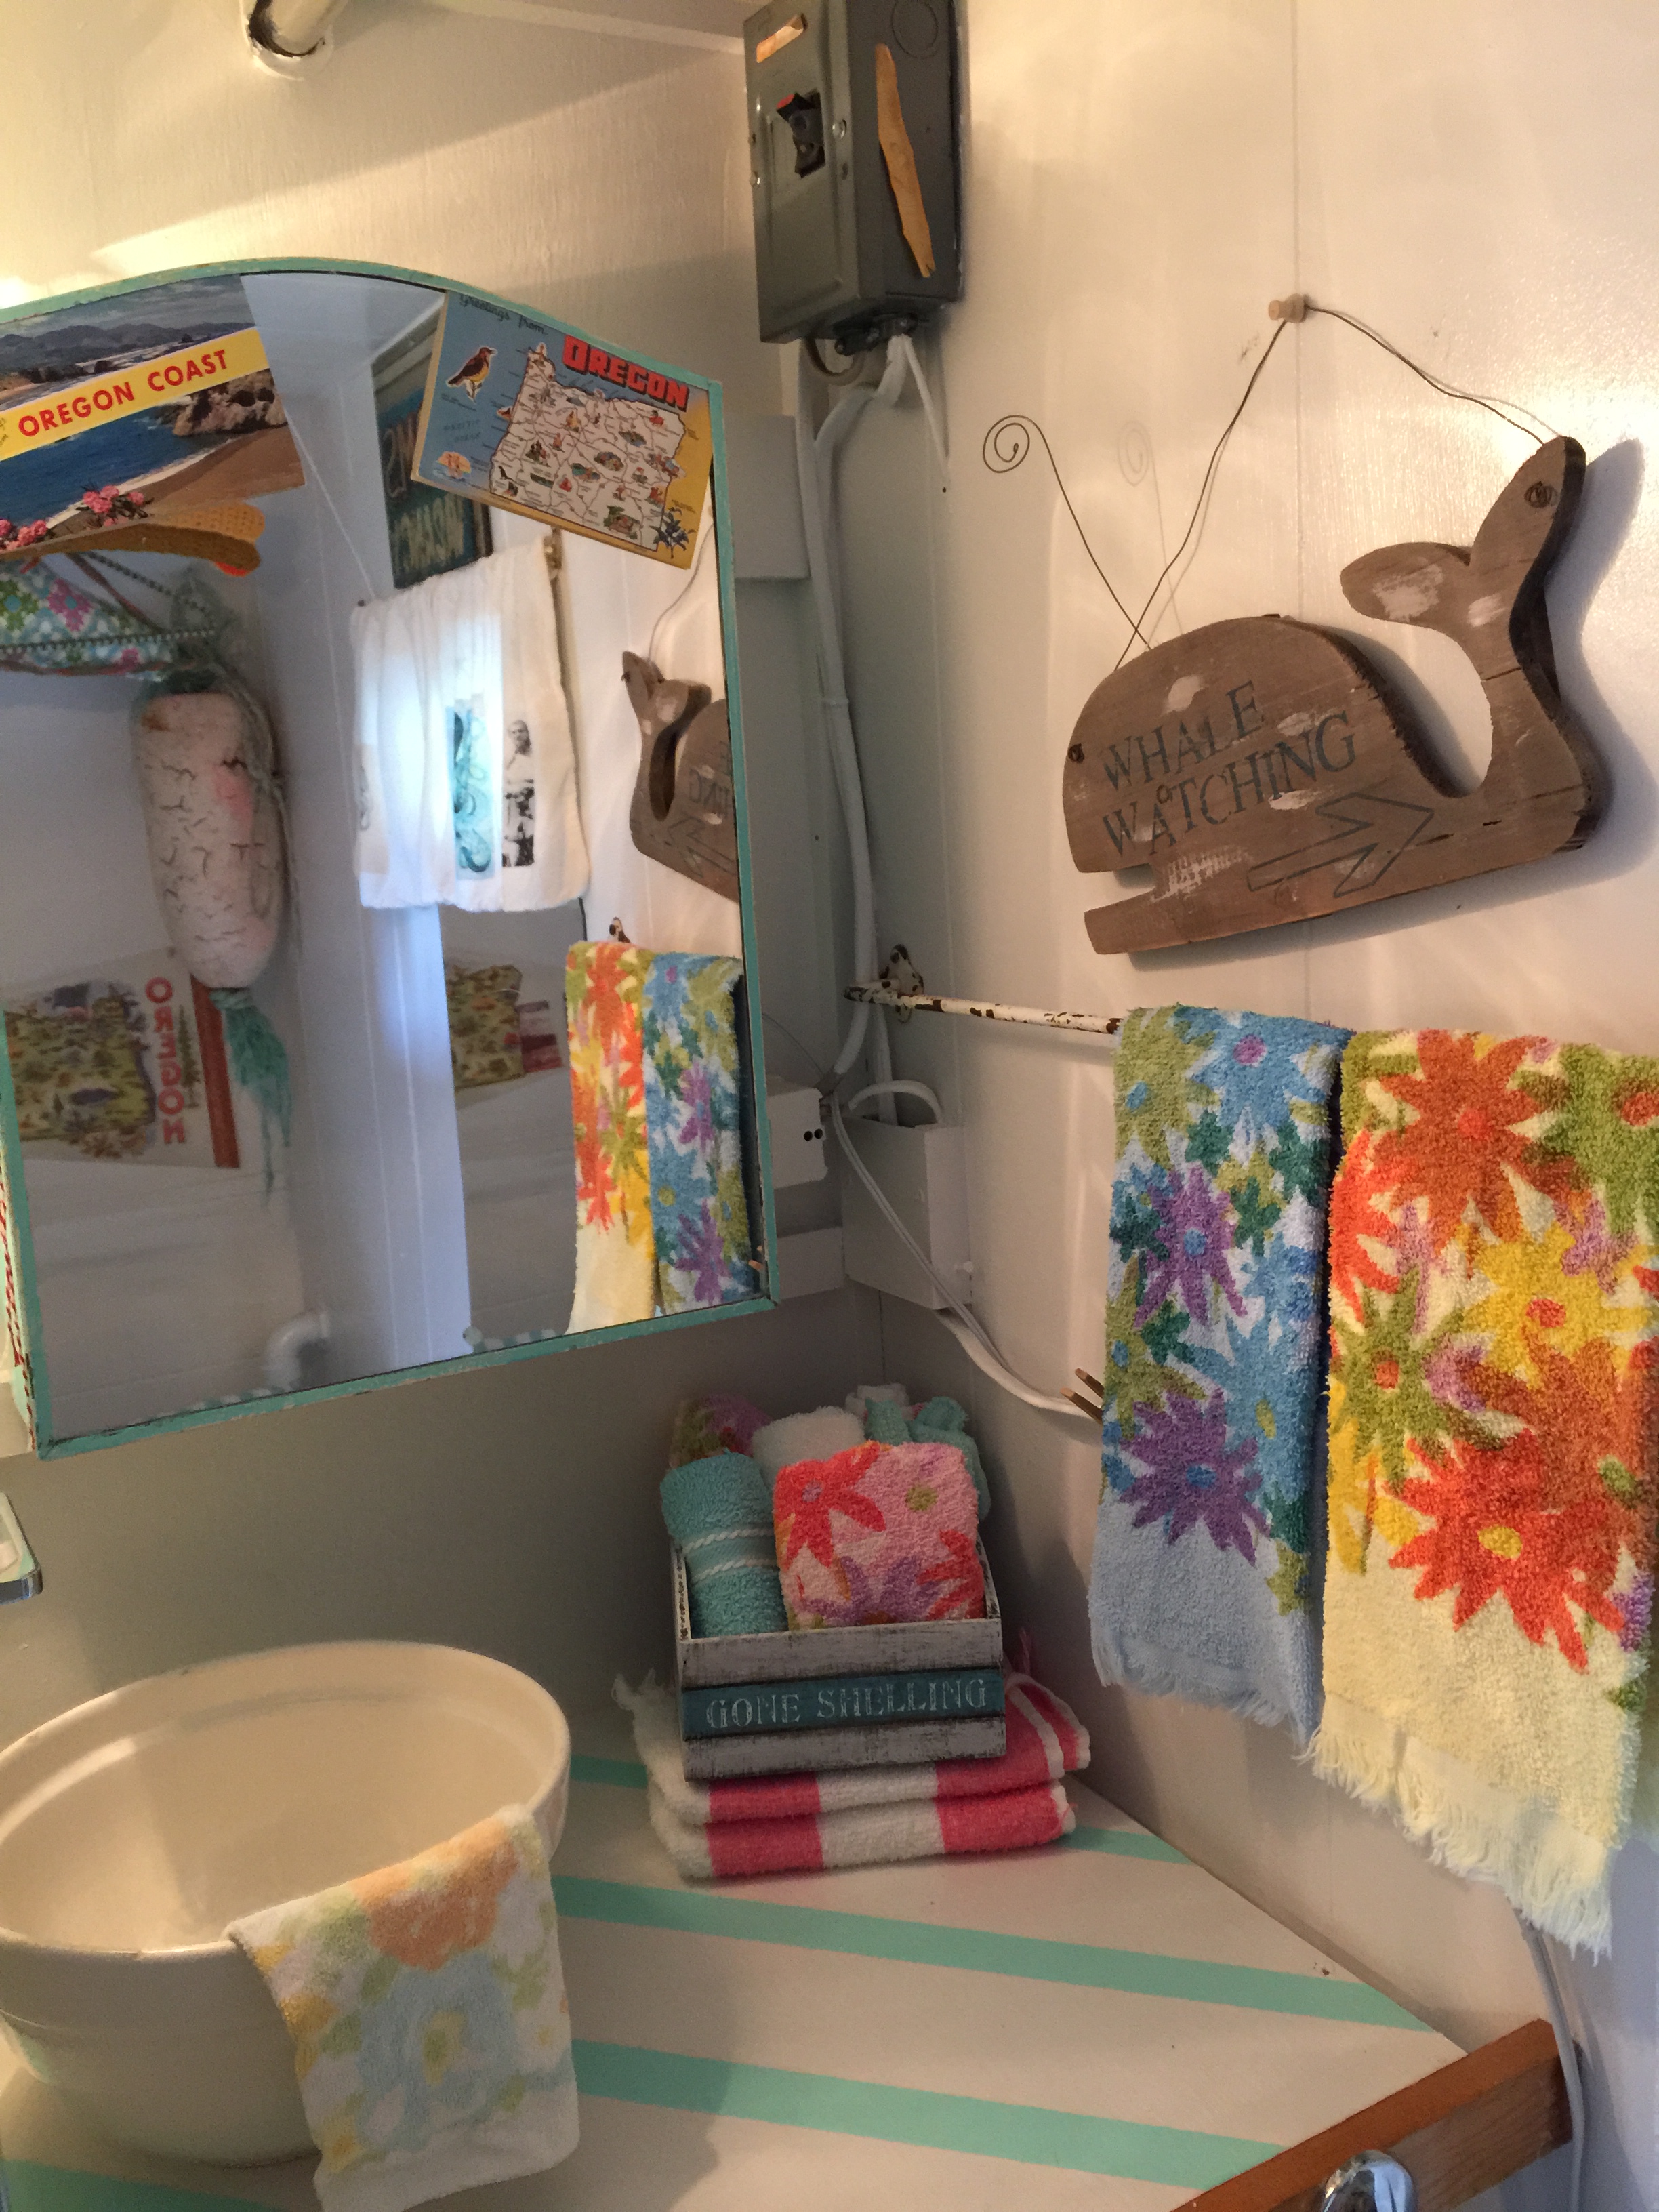
Bathroom
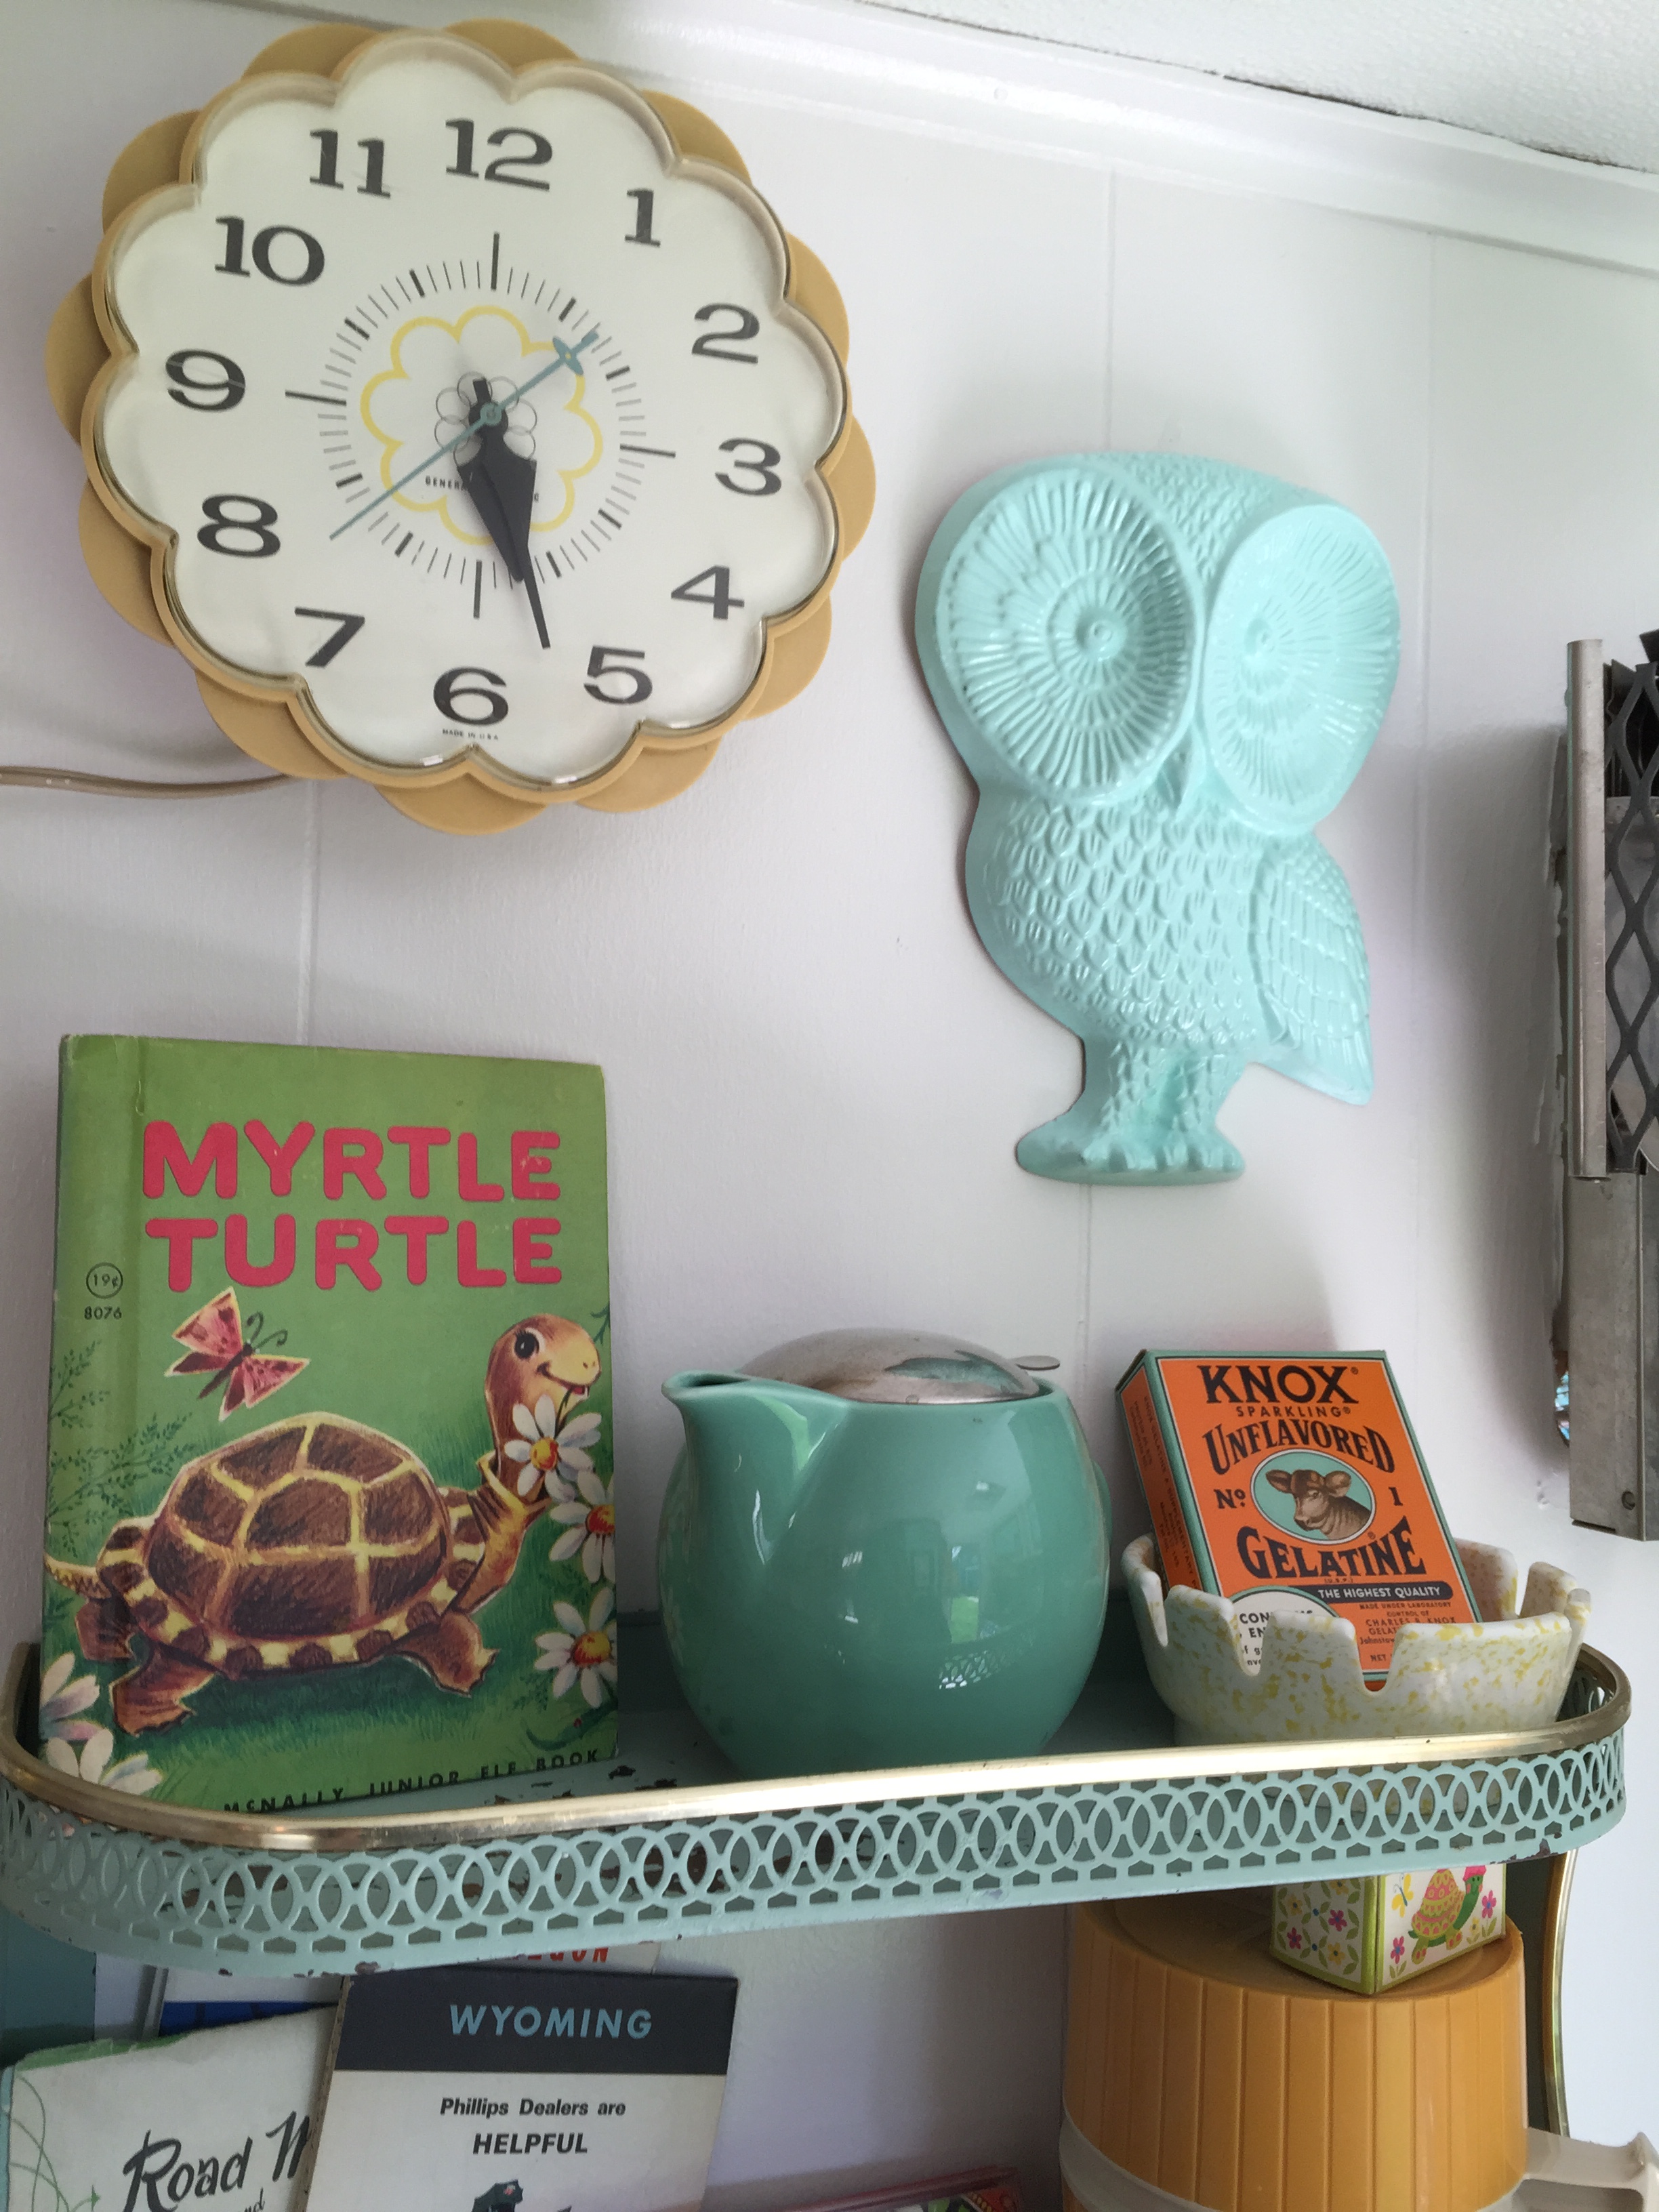
1960’s GE wall clock
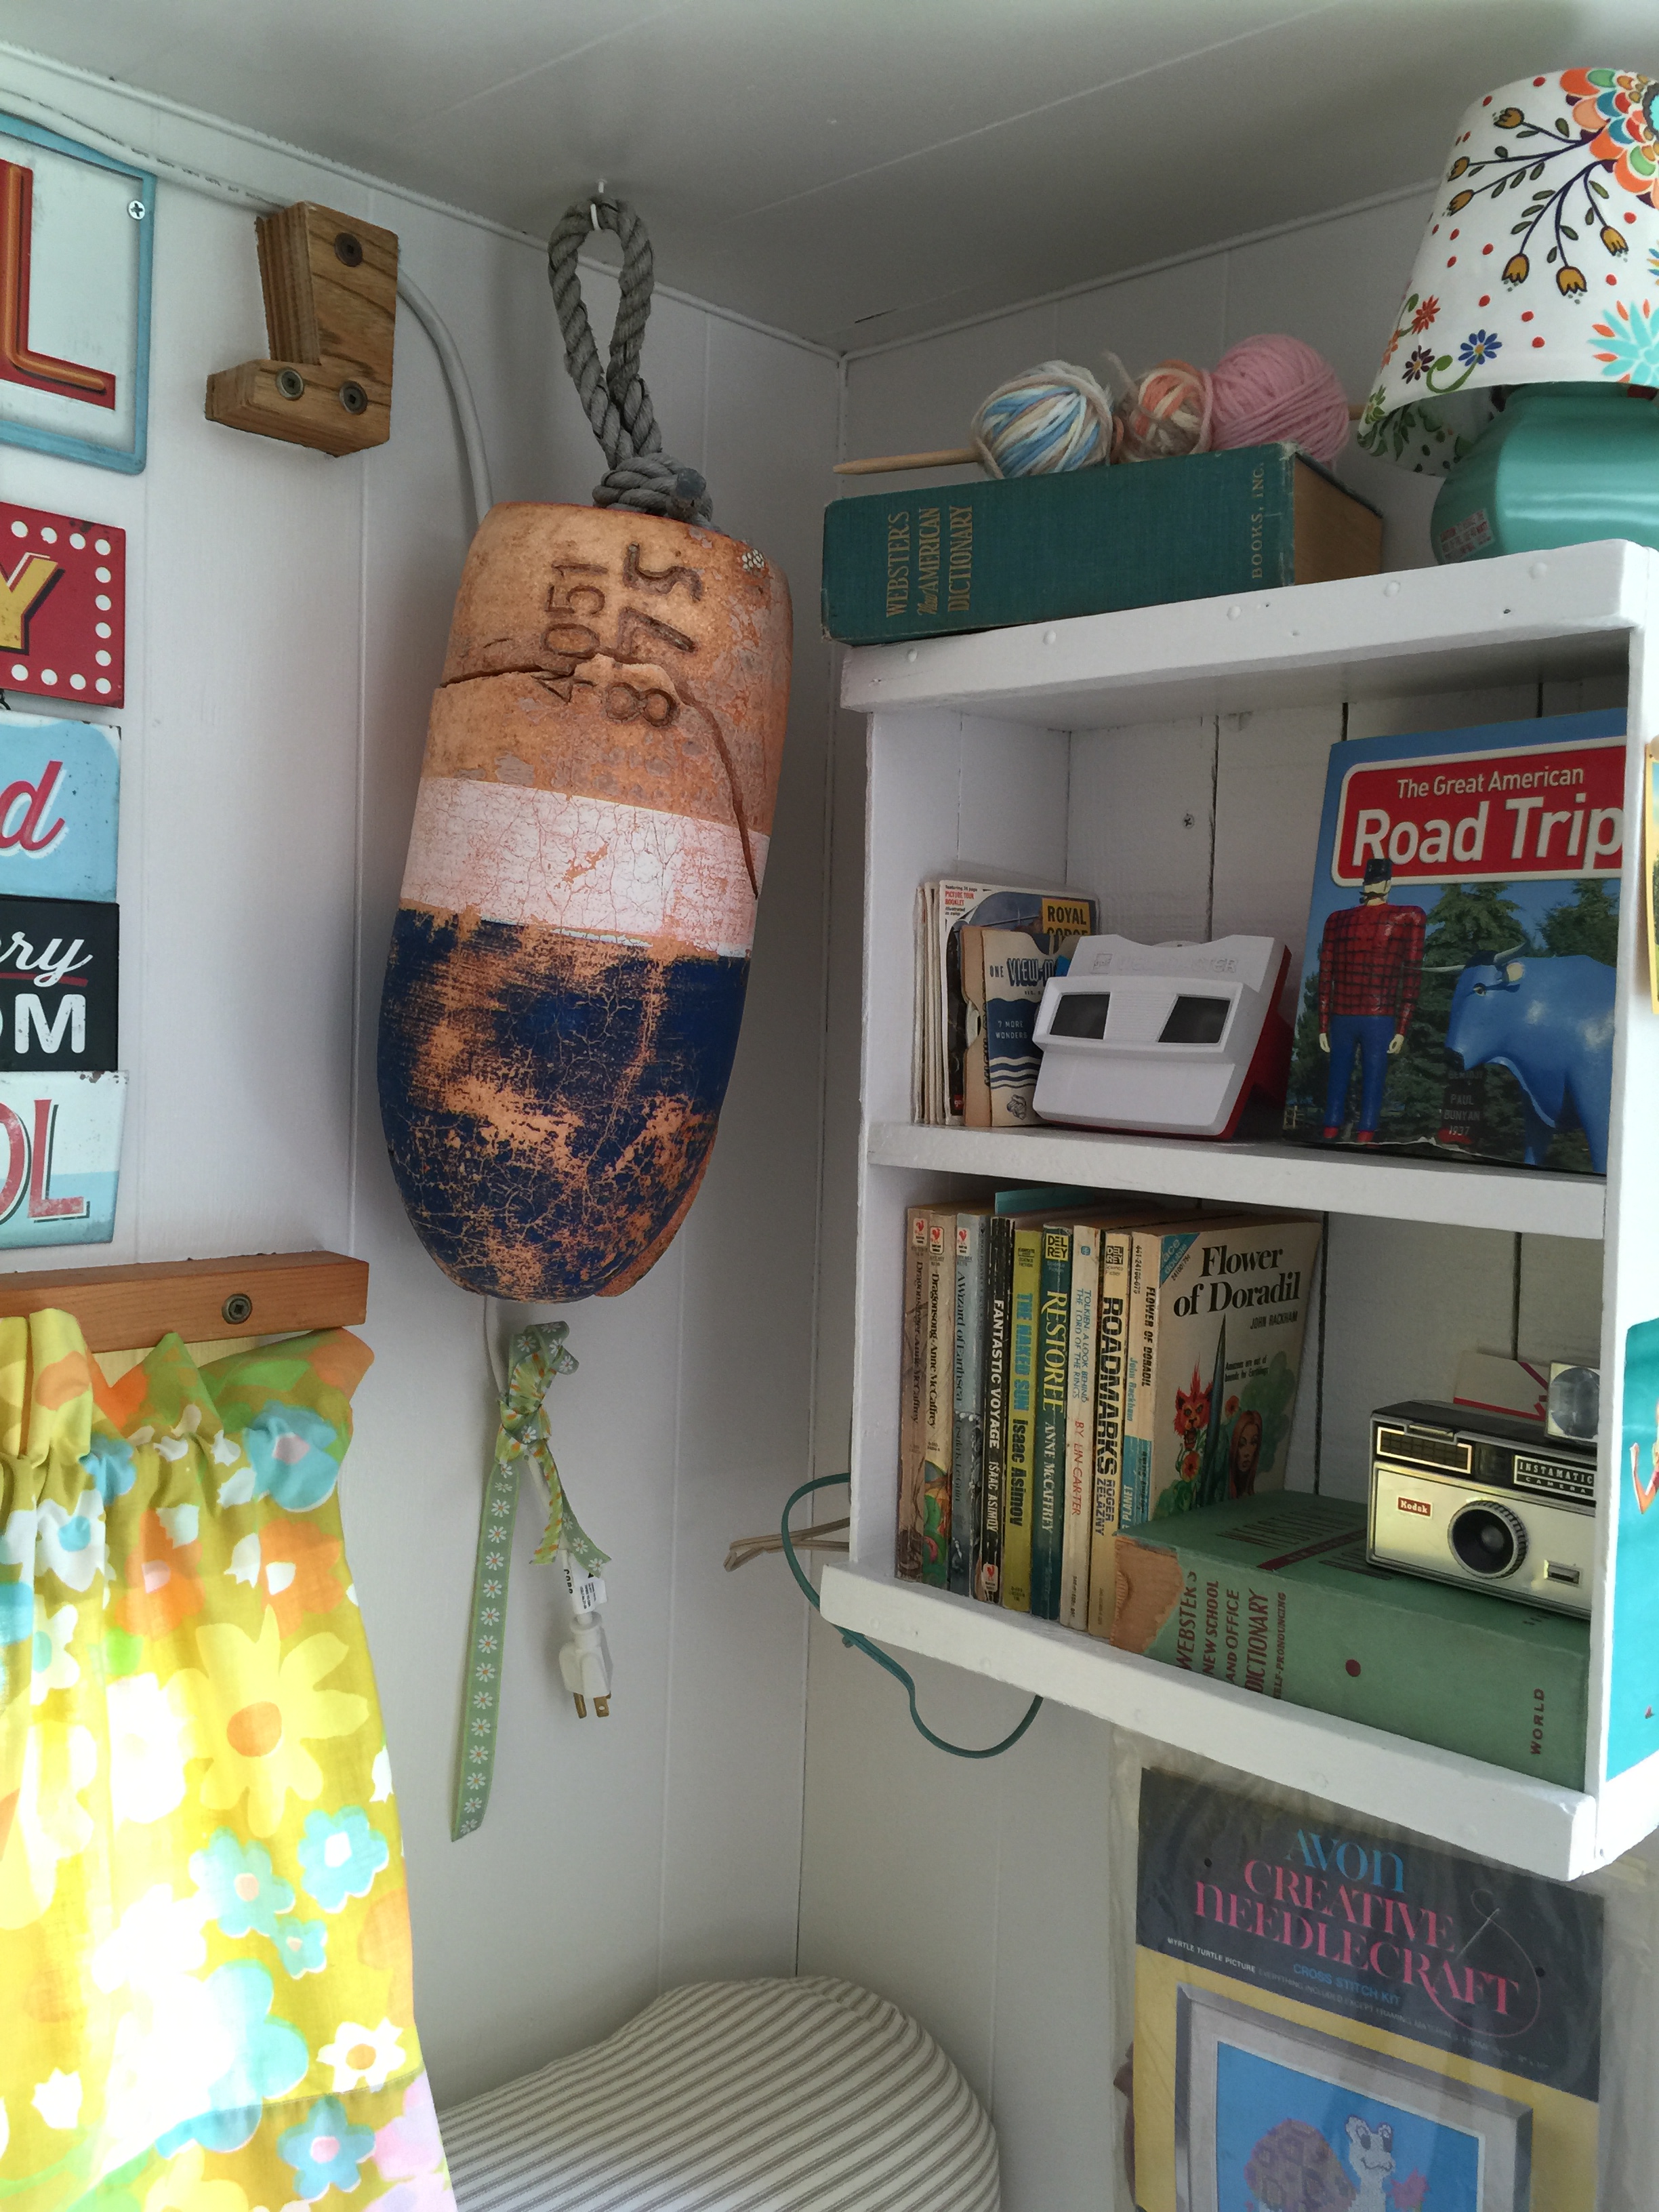
Shelf O’ Fun

Rotary dial phone!
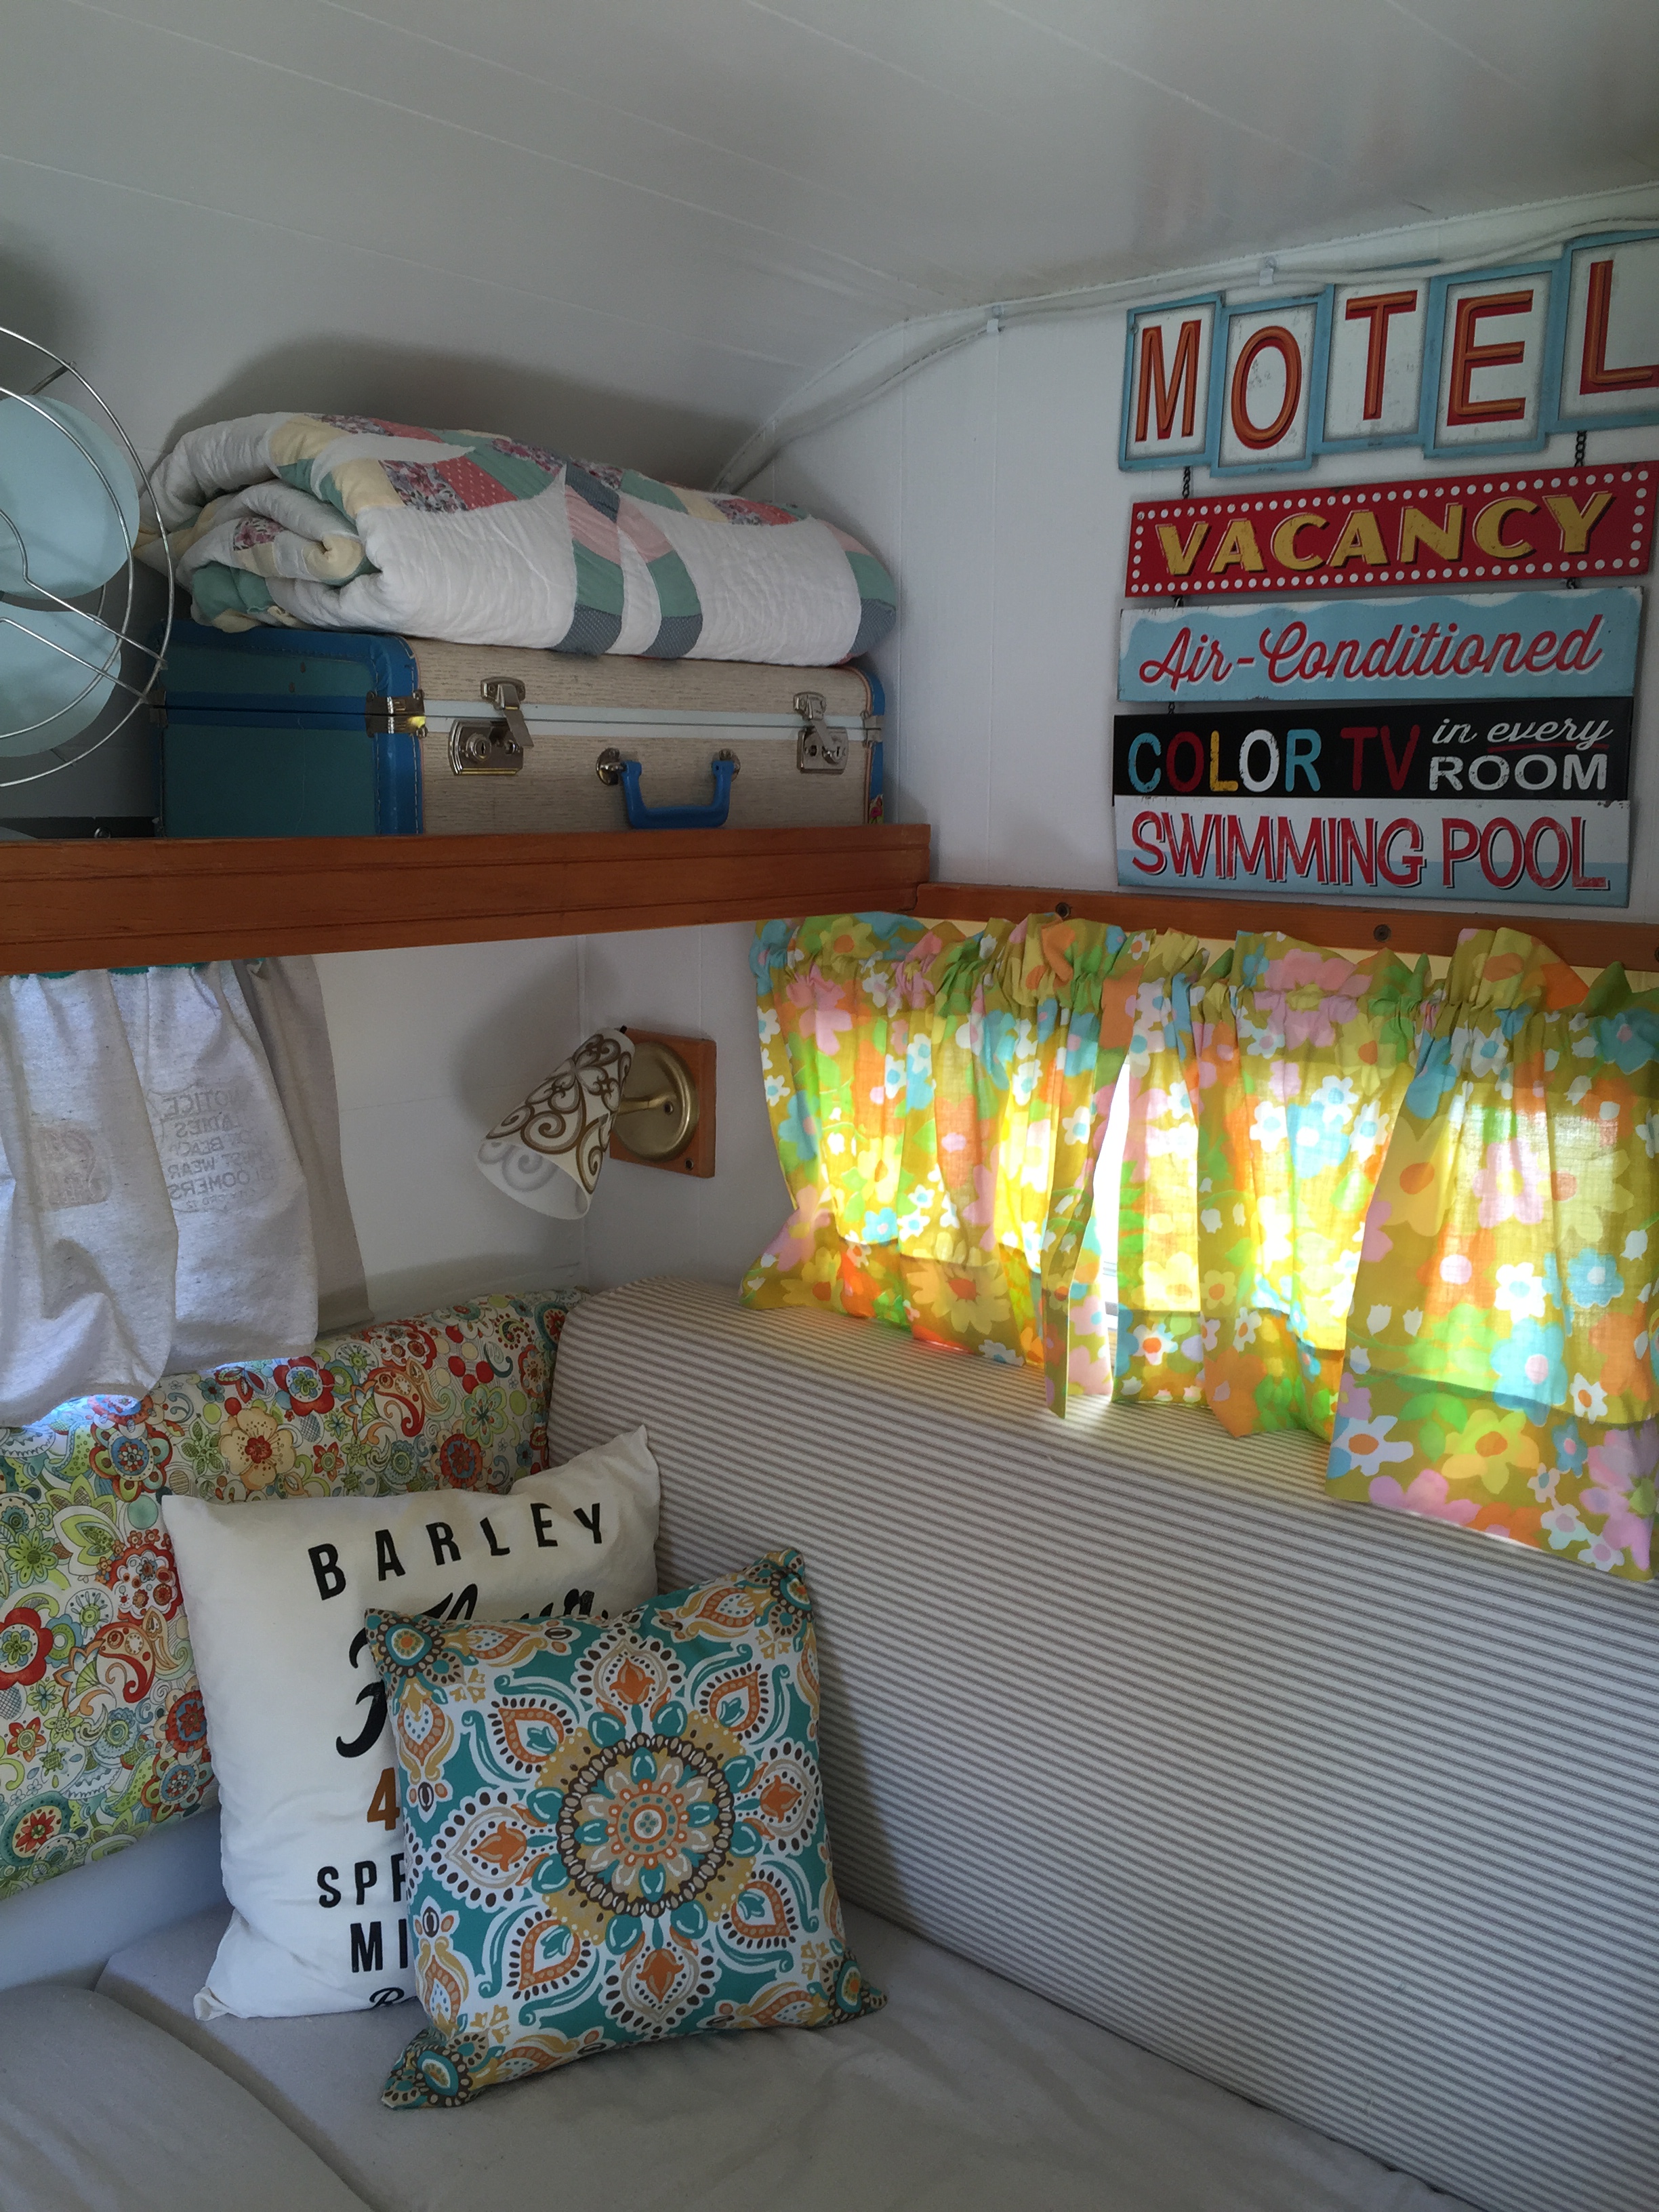
Vacancy

Stove-top cooking; Myrtle style…

Left side

Right side

Night light
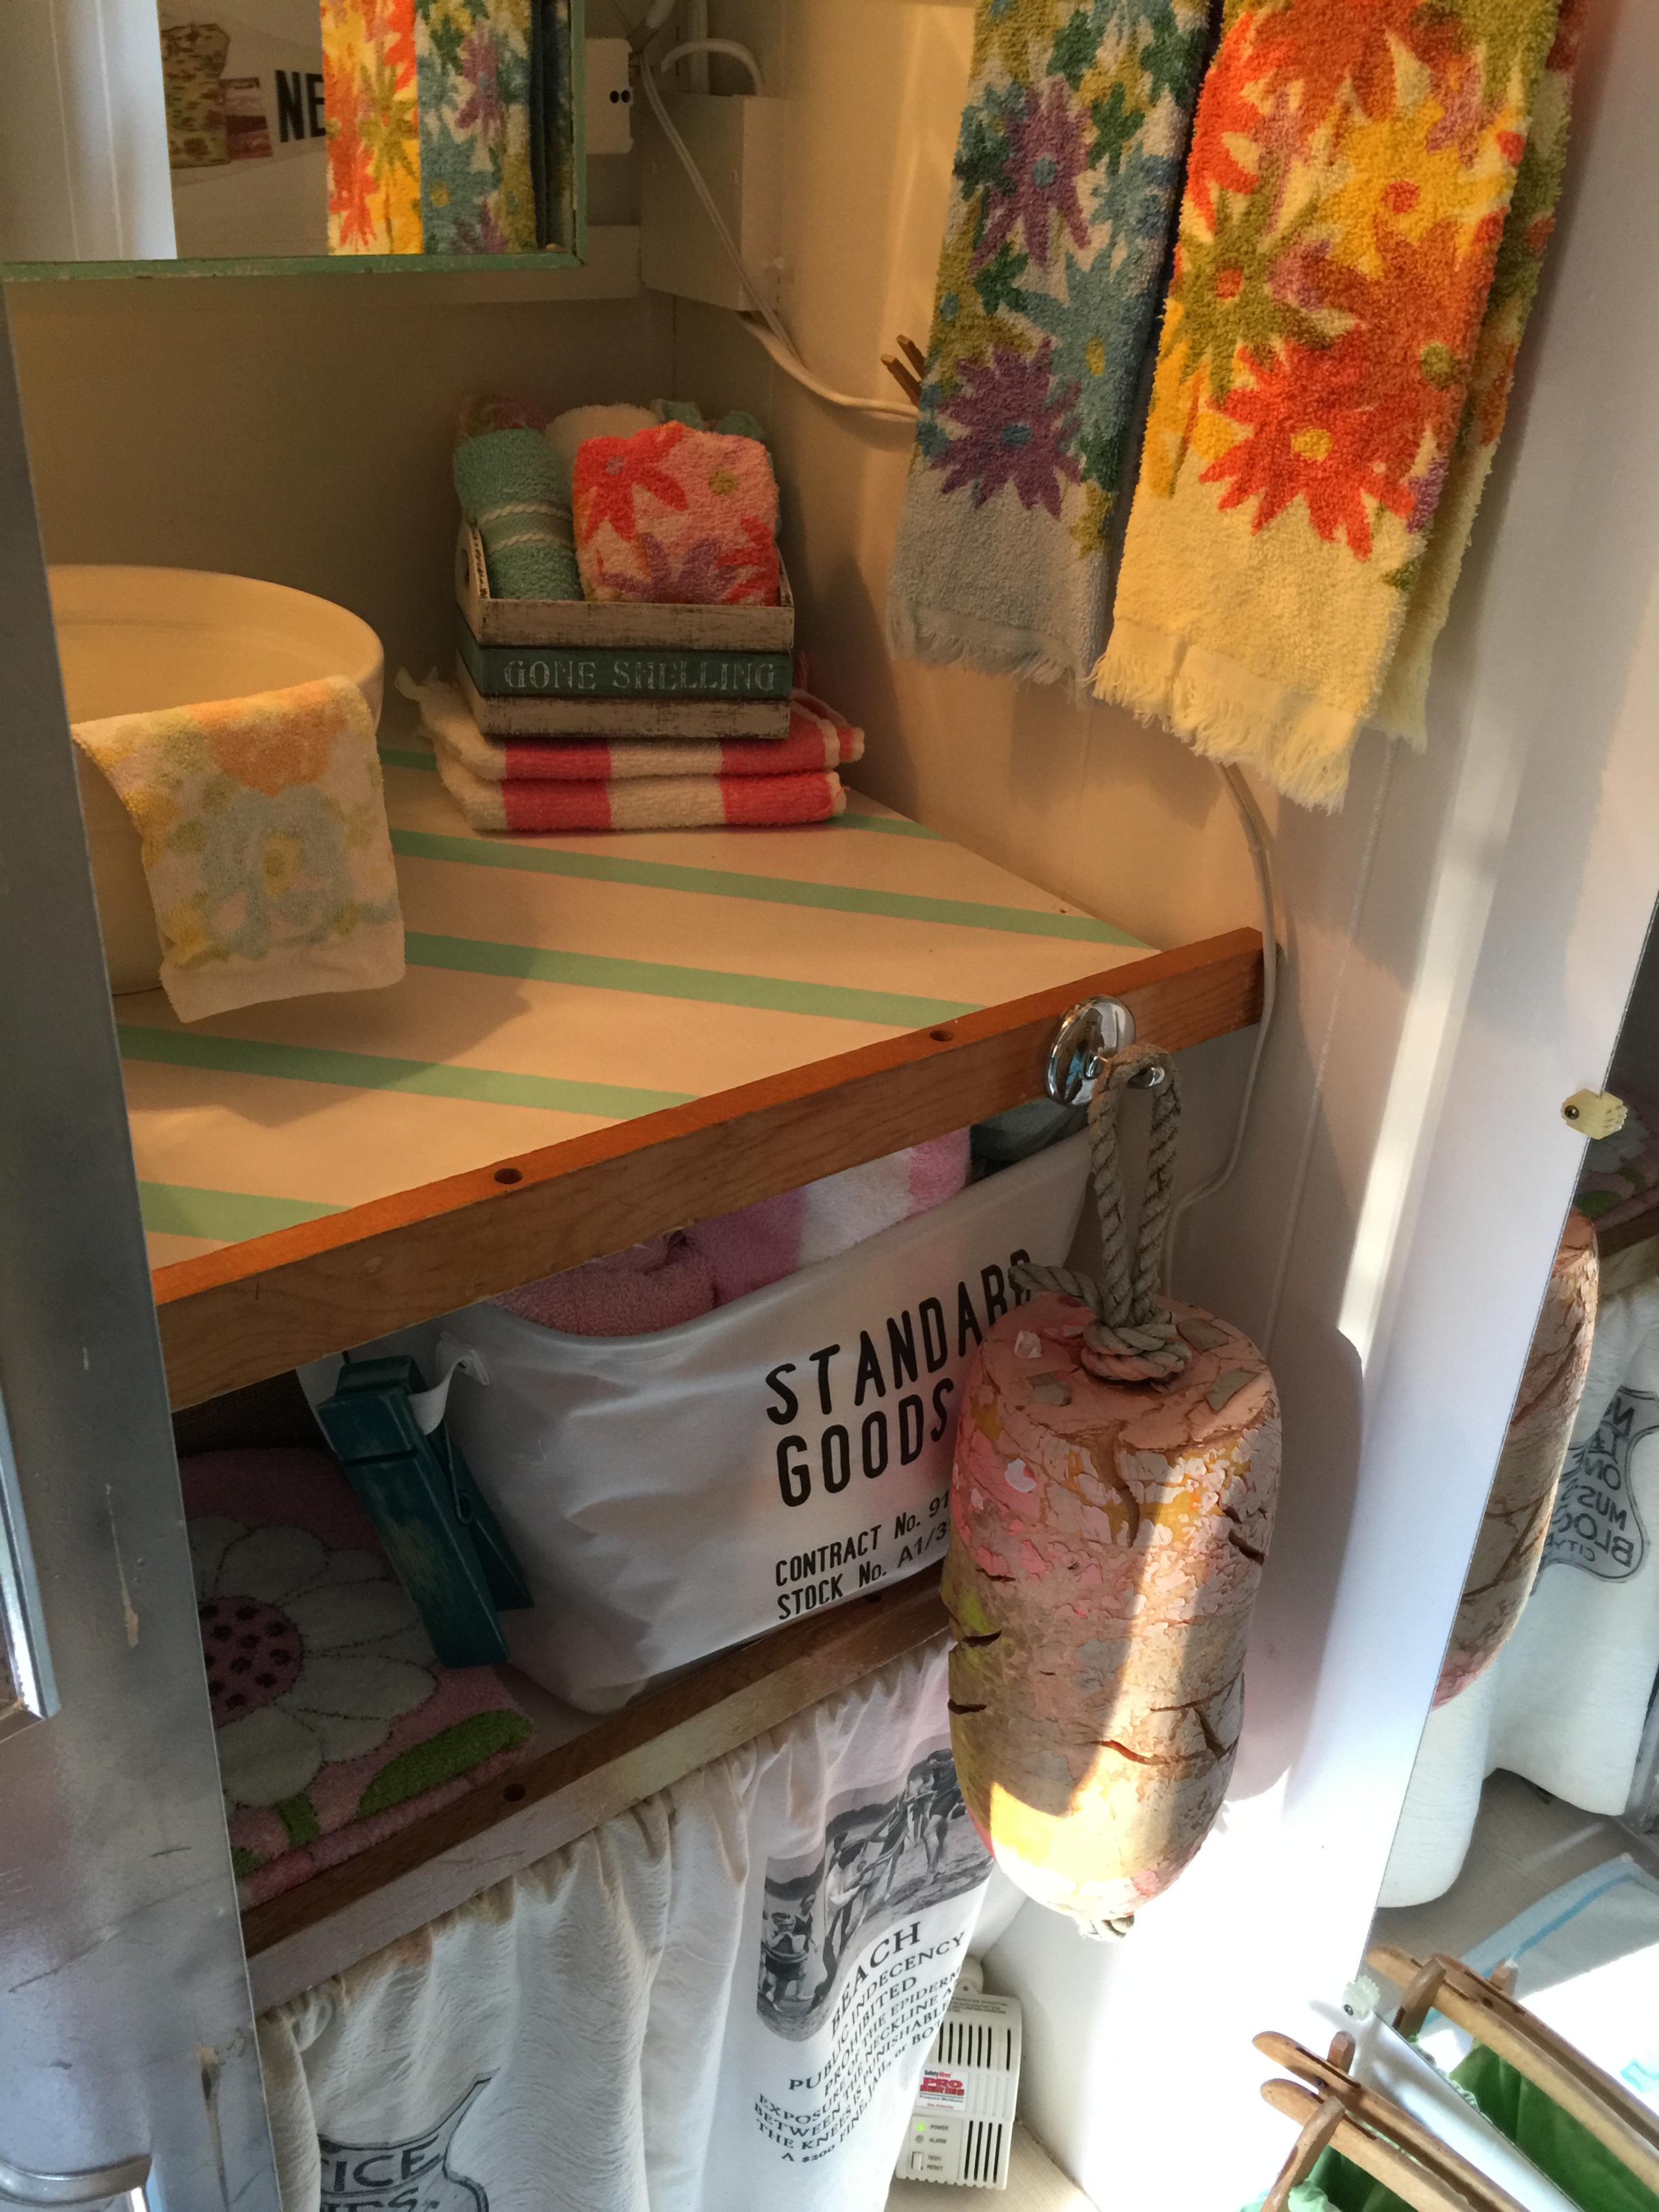
Standard Goods
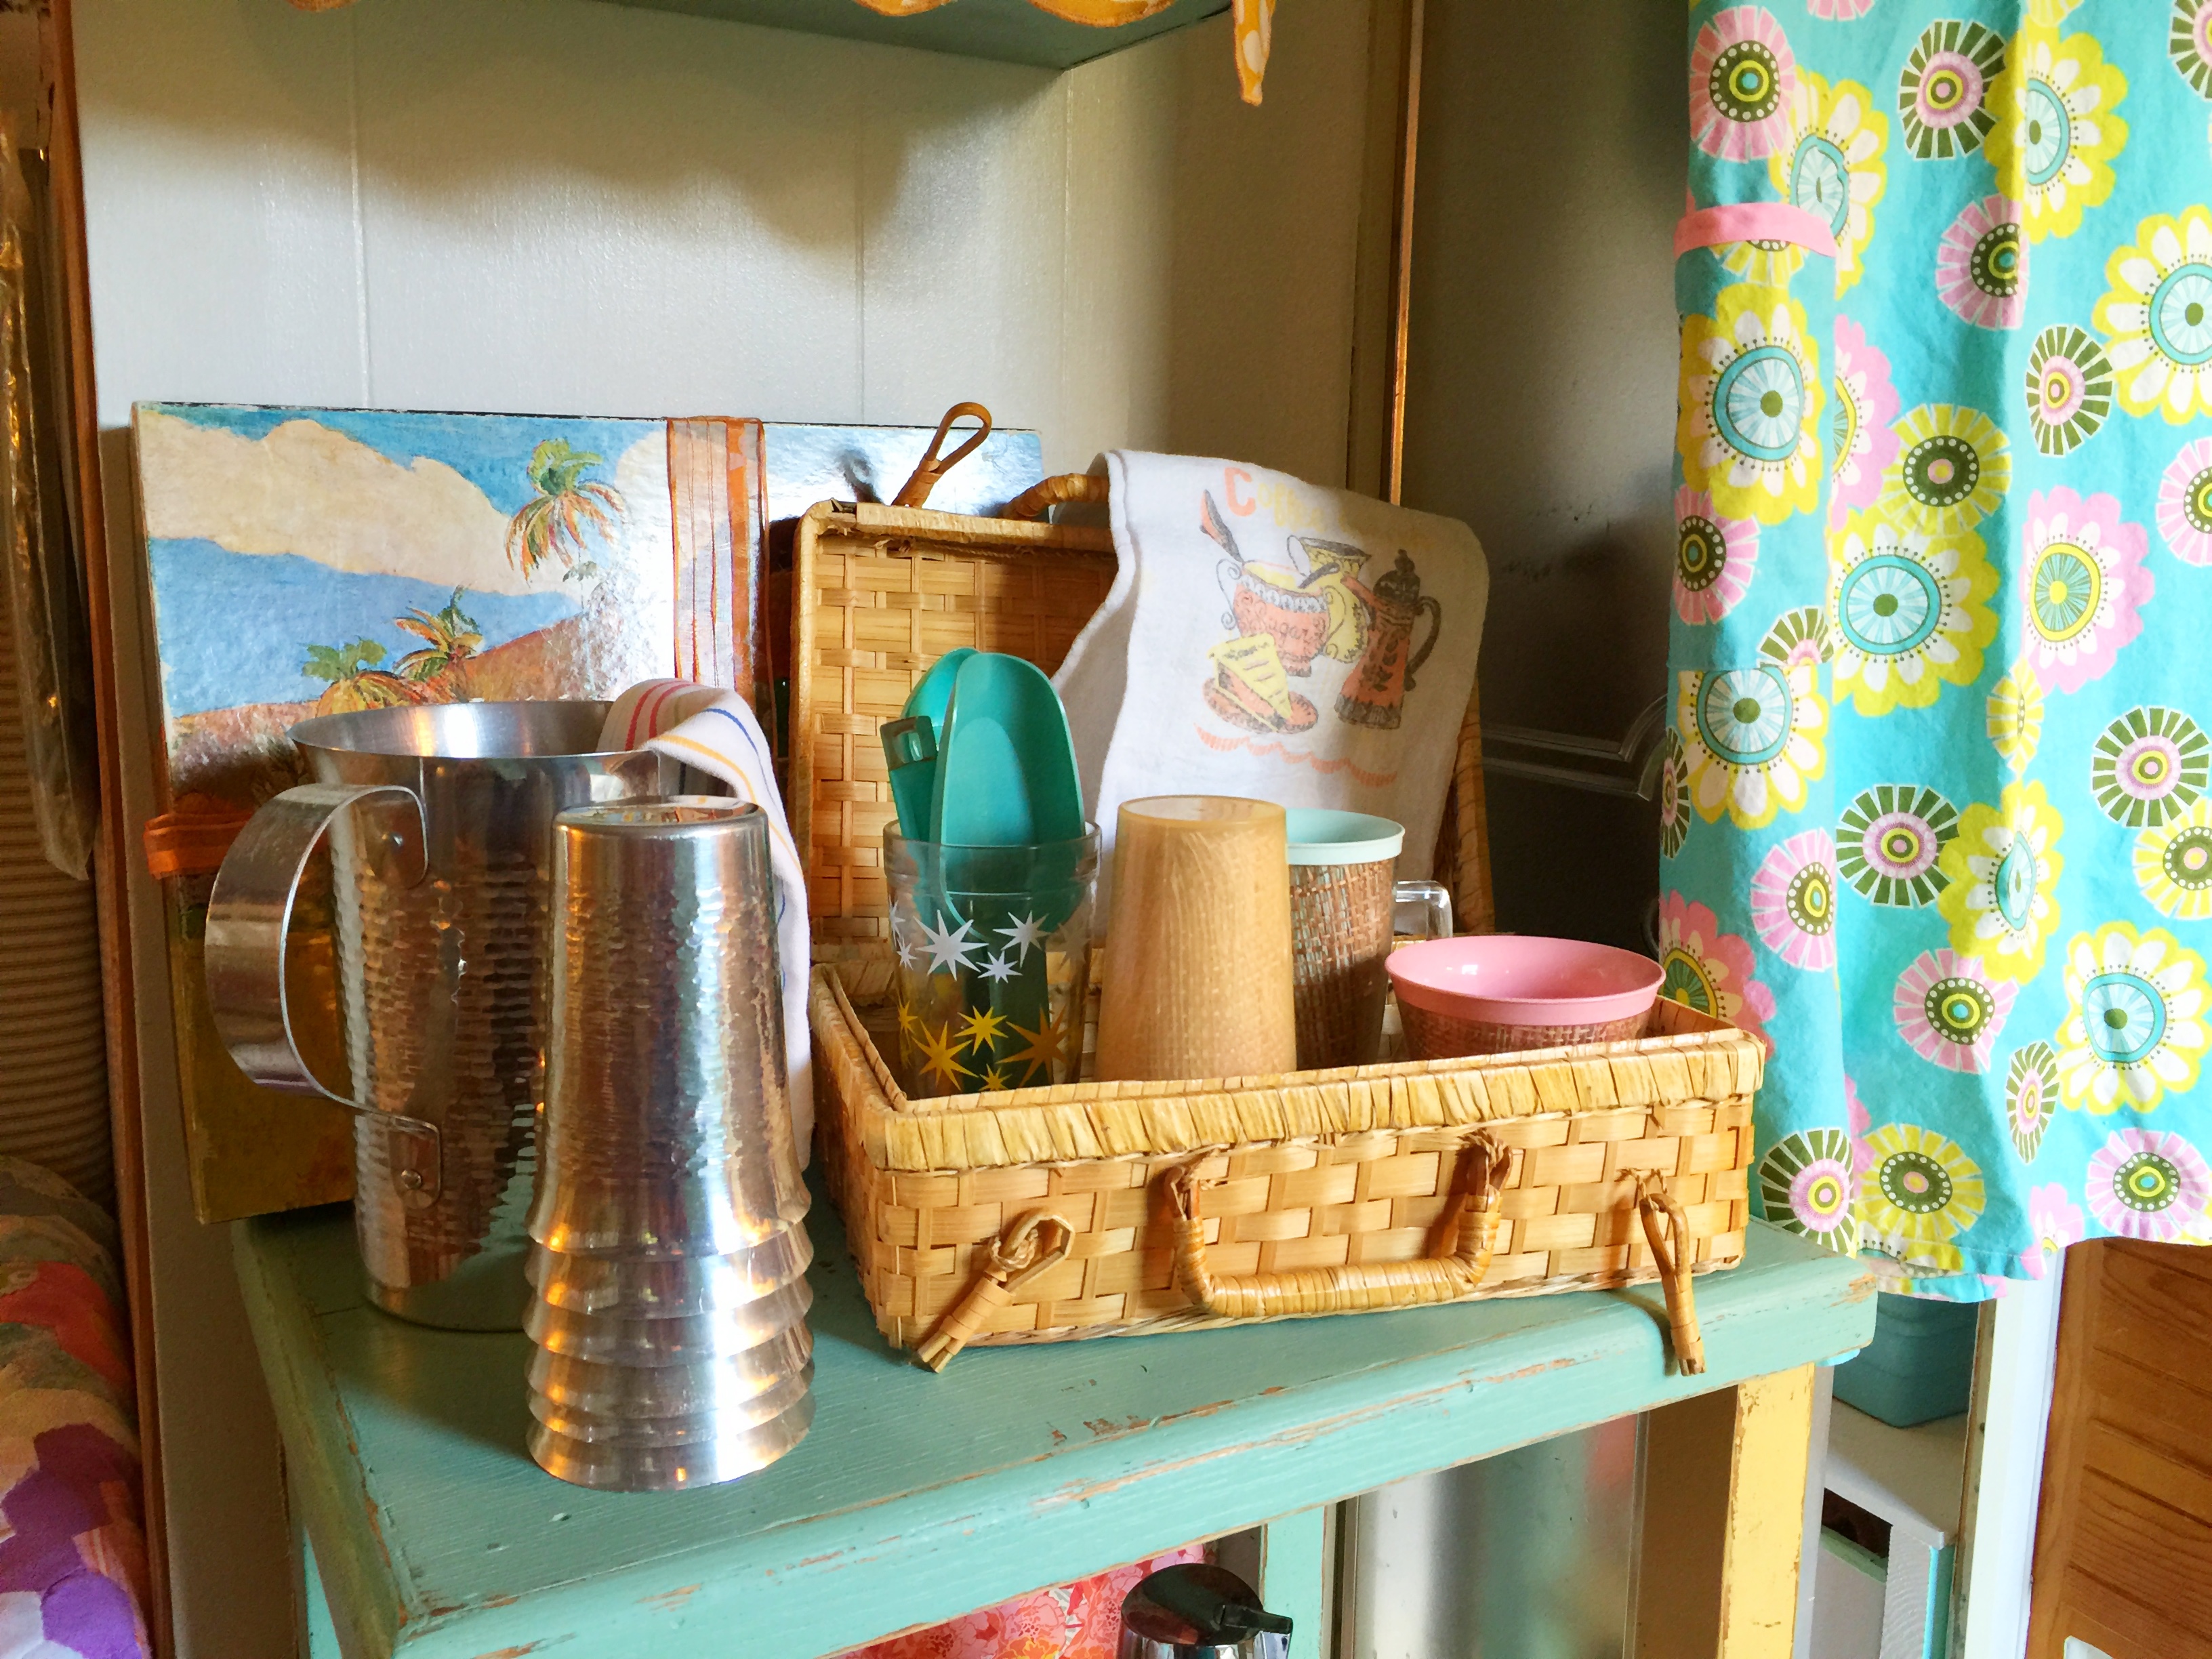
Tiki time…
Myrtle was truly a labor of love. She is full of vintage goodness: her shelves hold an assortment of mid-century games, puzzles, View-Masters, slides, and cameras. Her bookshelf holds travel tomes and 1960’s Science Fiction pulp novels. All the road maps in Myrtle would be sure to take you on an interesting journey, as none of them date past 1969. Her cupboards are full of vintage melamine dishes, Raffiaware, mid-century pots and pans, and 1950’s utensils. The bathroom offers only vintage towels, and the bed linens are all mid-century. Her Zenith radio is a 1958 tube, and her electric fans hold all the charm of their mid-century origins (and all of the quirks -one only works sporadically; you know, when it’s in the mood).
This final Myrtle entry wouldn’t be complete without some before and after shots!


Myrtle was never meant to just sit in the driveway, and already, she has become a well-traveled gal. Her maiden voyage in late May of 2015 saw her lakeside.

Myrtle’s maiden voyage, and my first time towing and backing a camper in 🙂
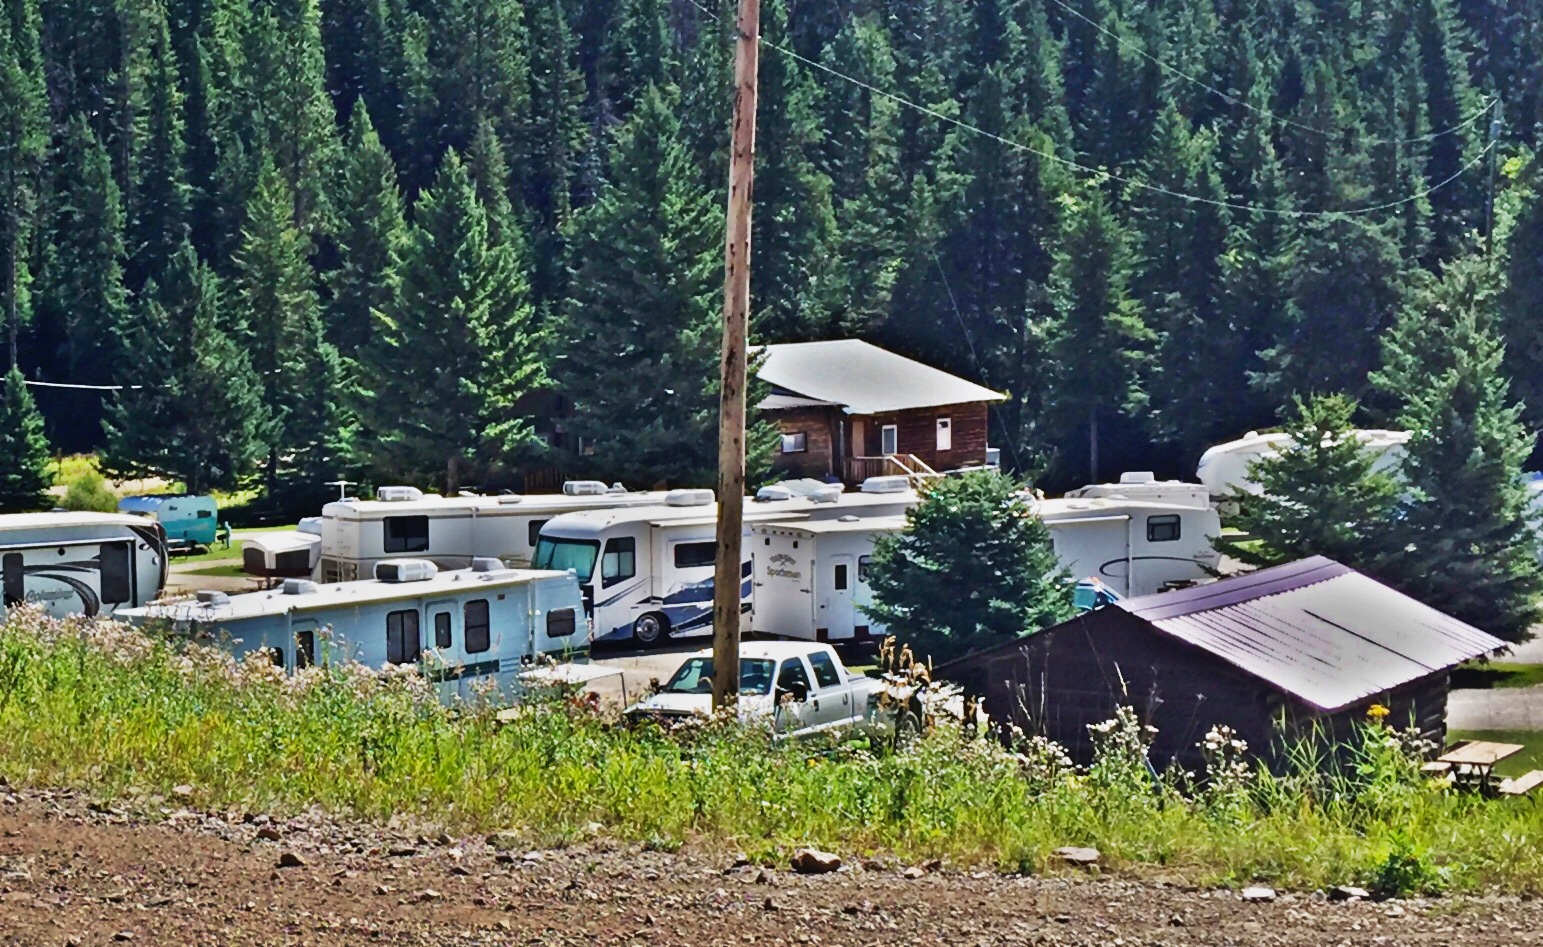
Shortly after this first trip, Myrtle and I took my mother and younger daughter for a girls’ getaway at the annual summer Vintage Trailer Rally held by Starlite Classic campground in Cañon City, Colorado.
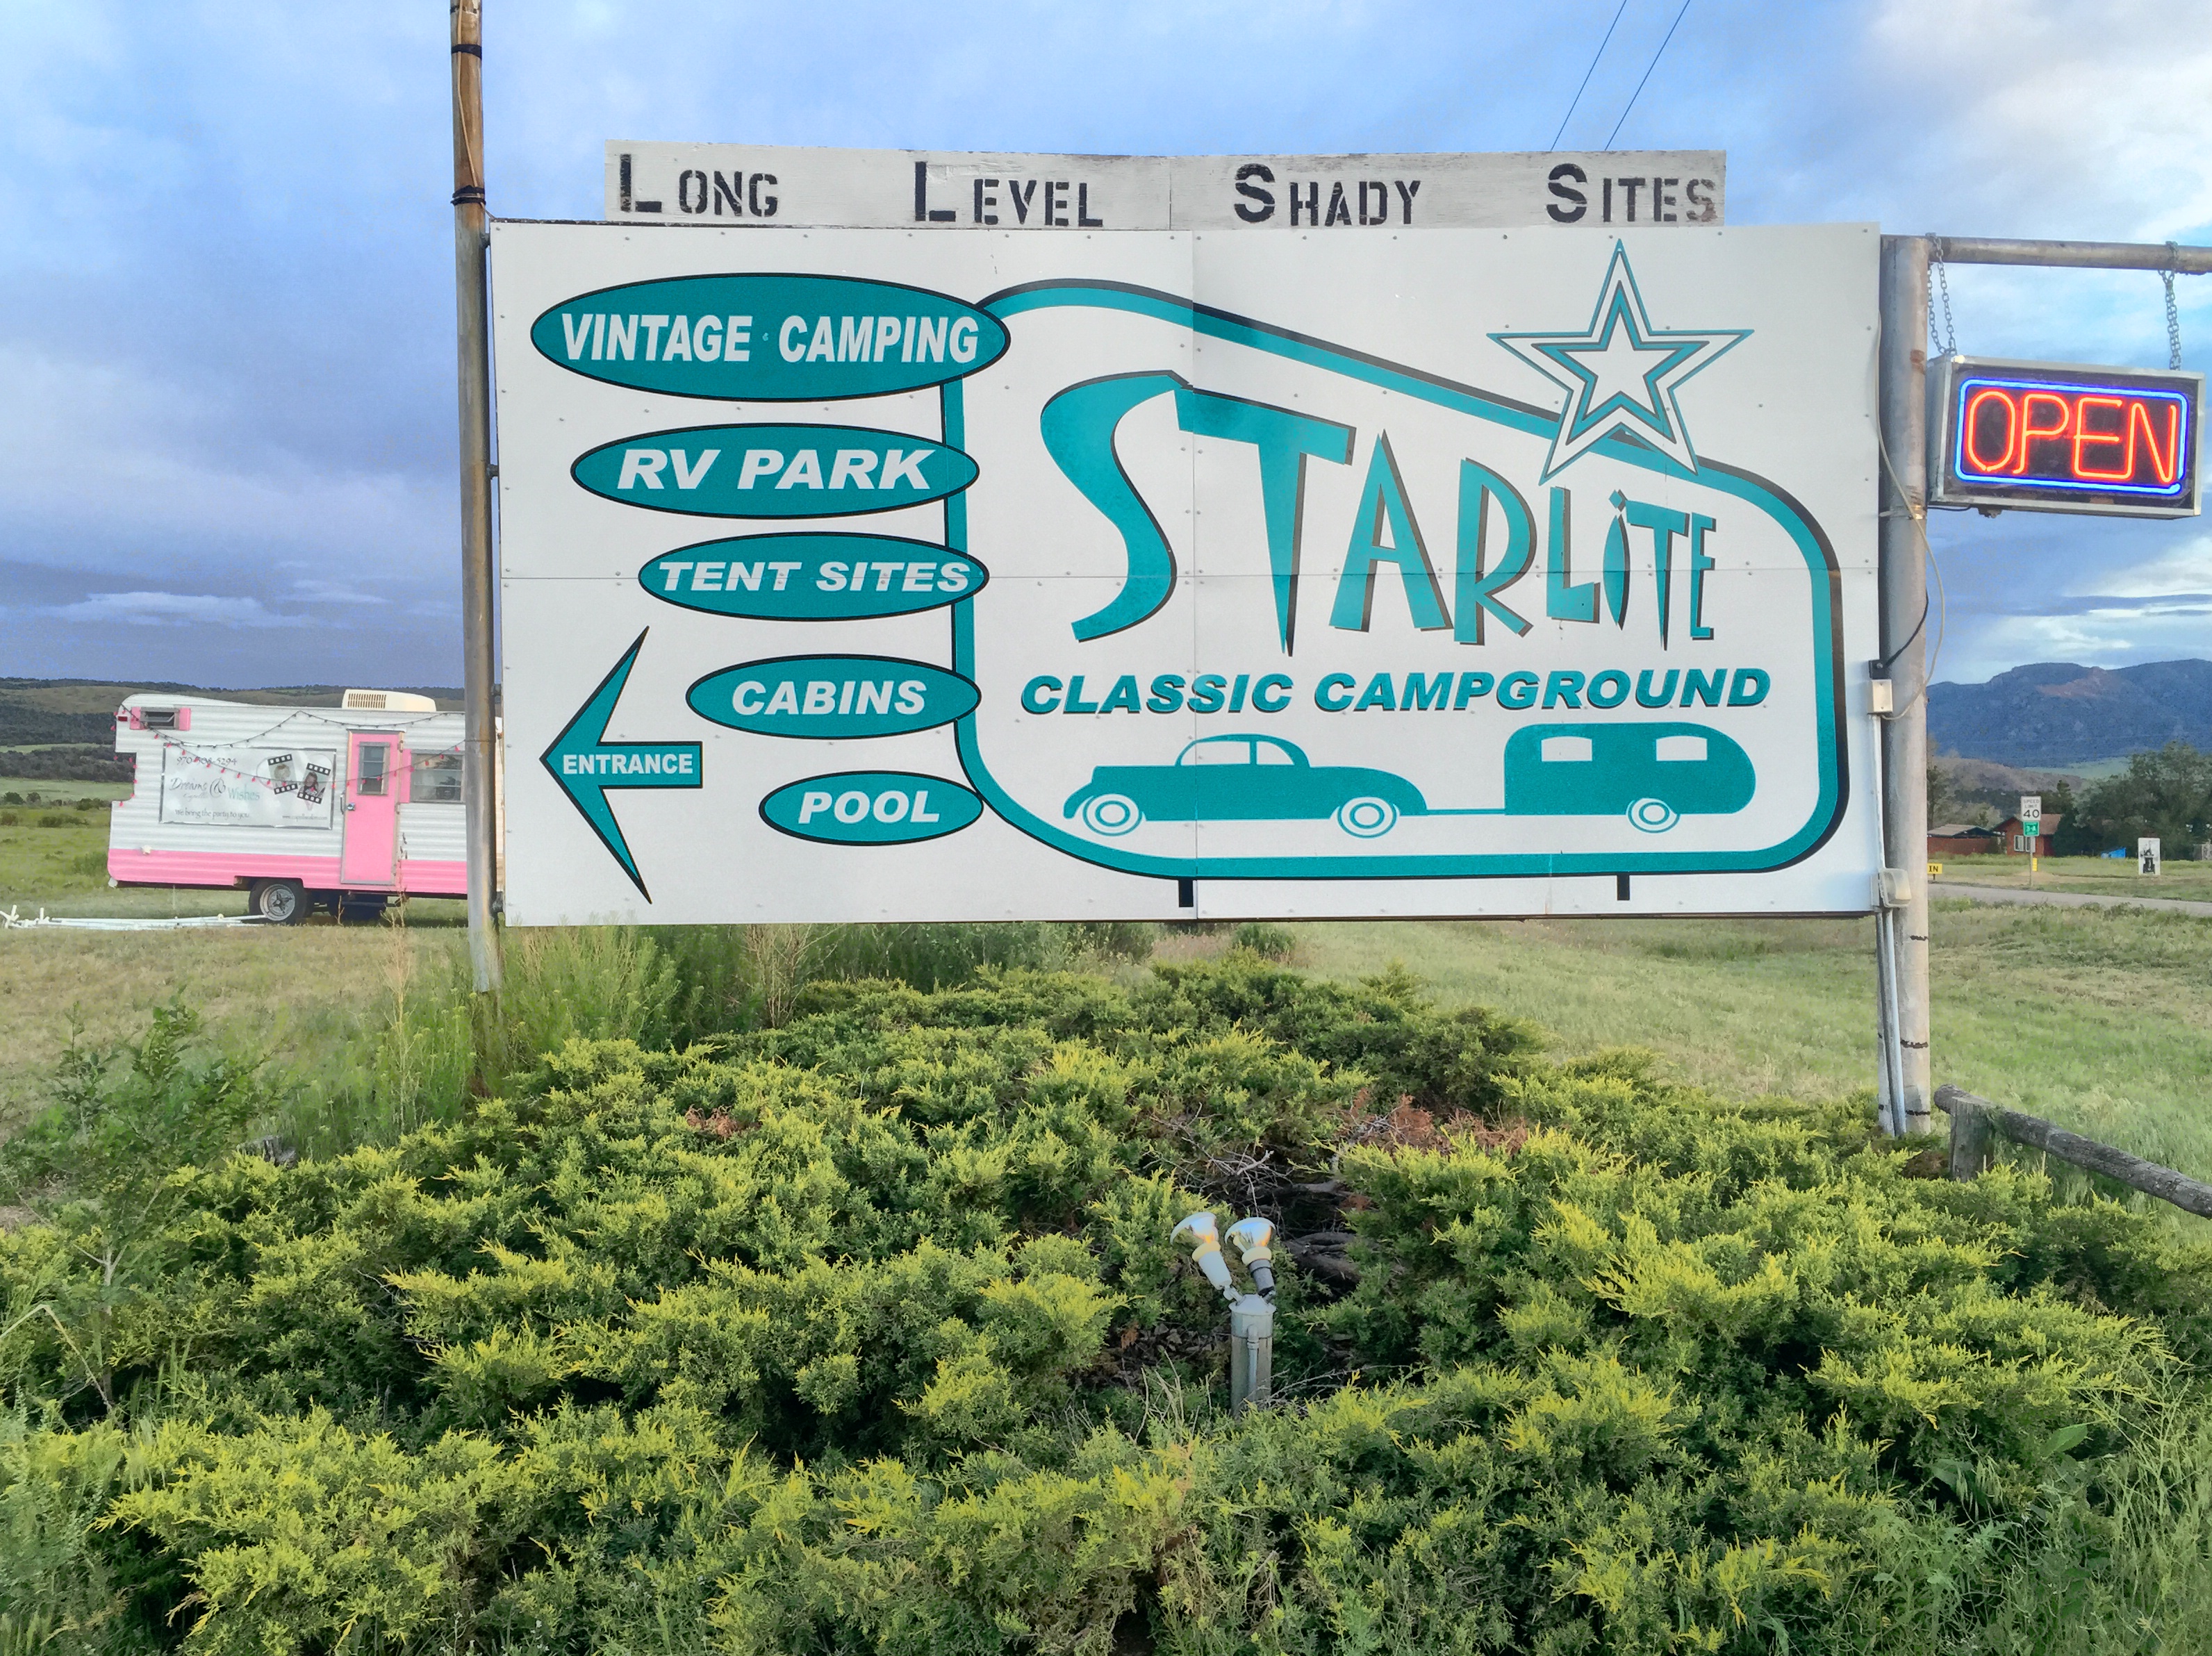
Starlite Classic Campground!
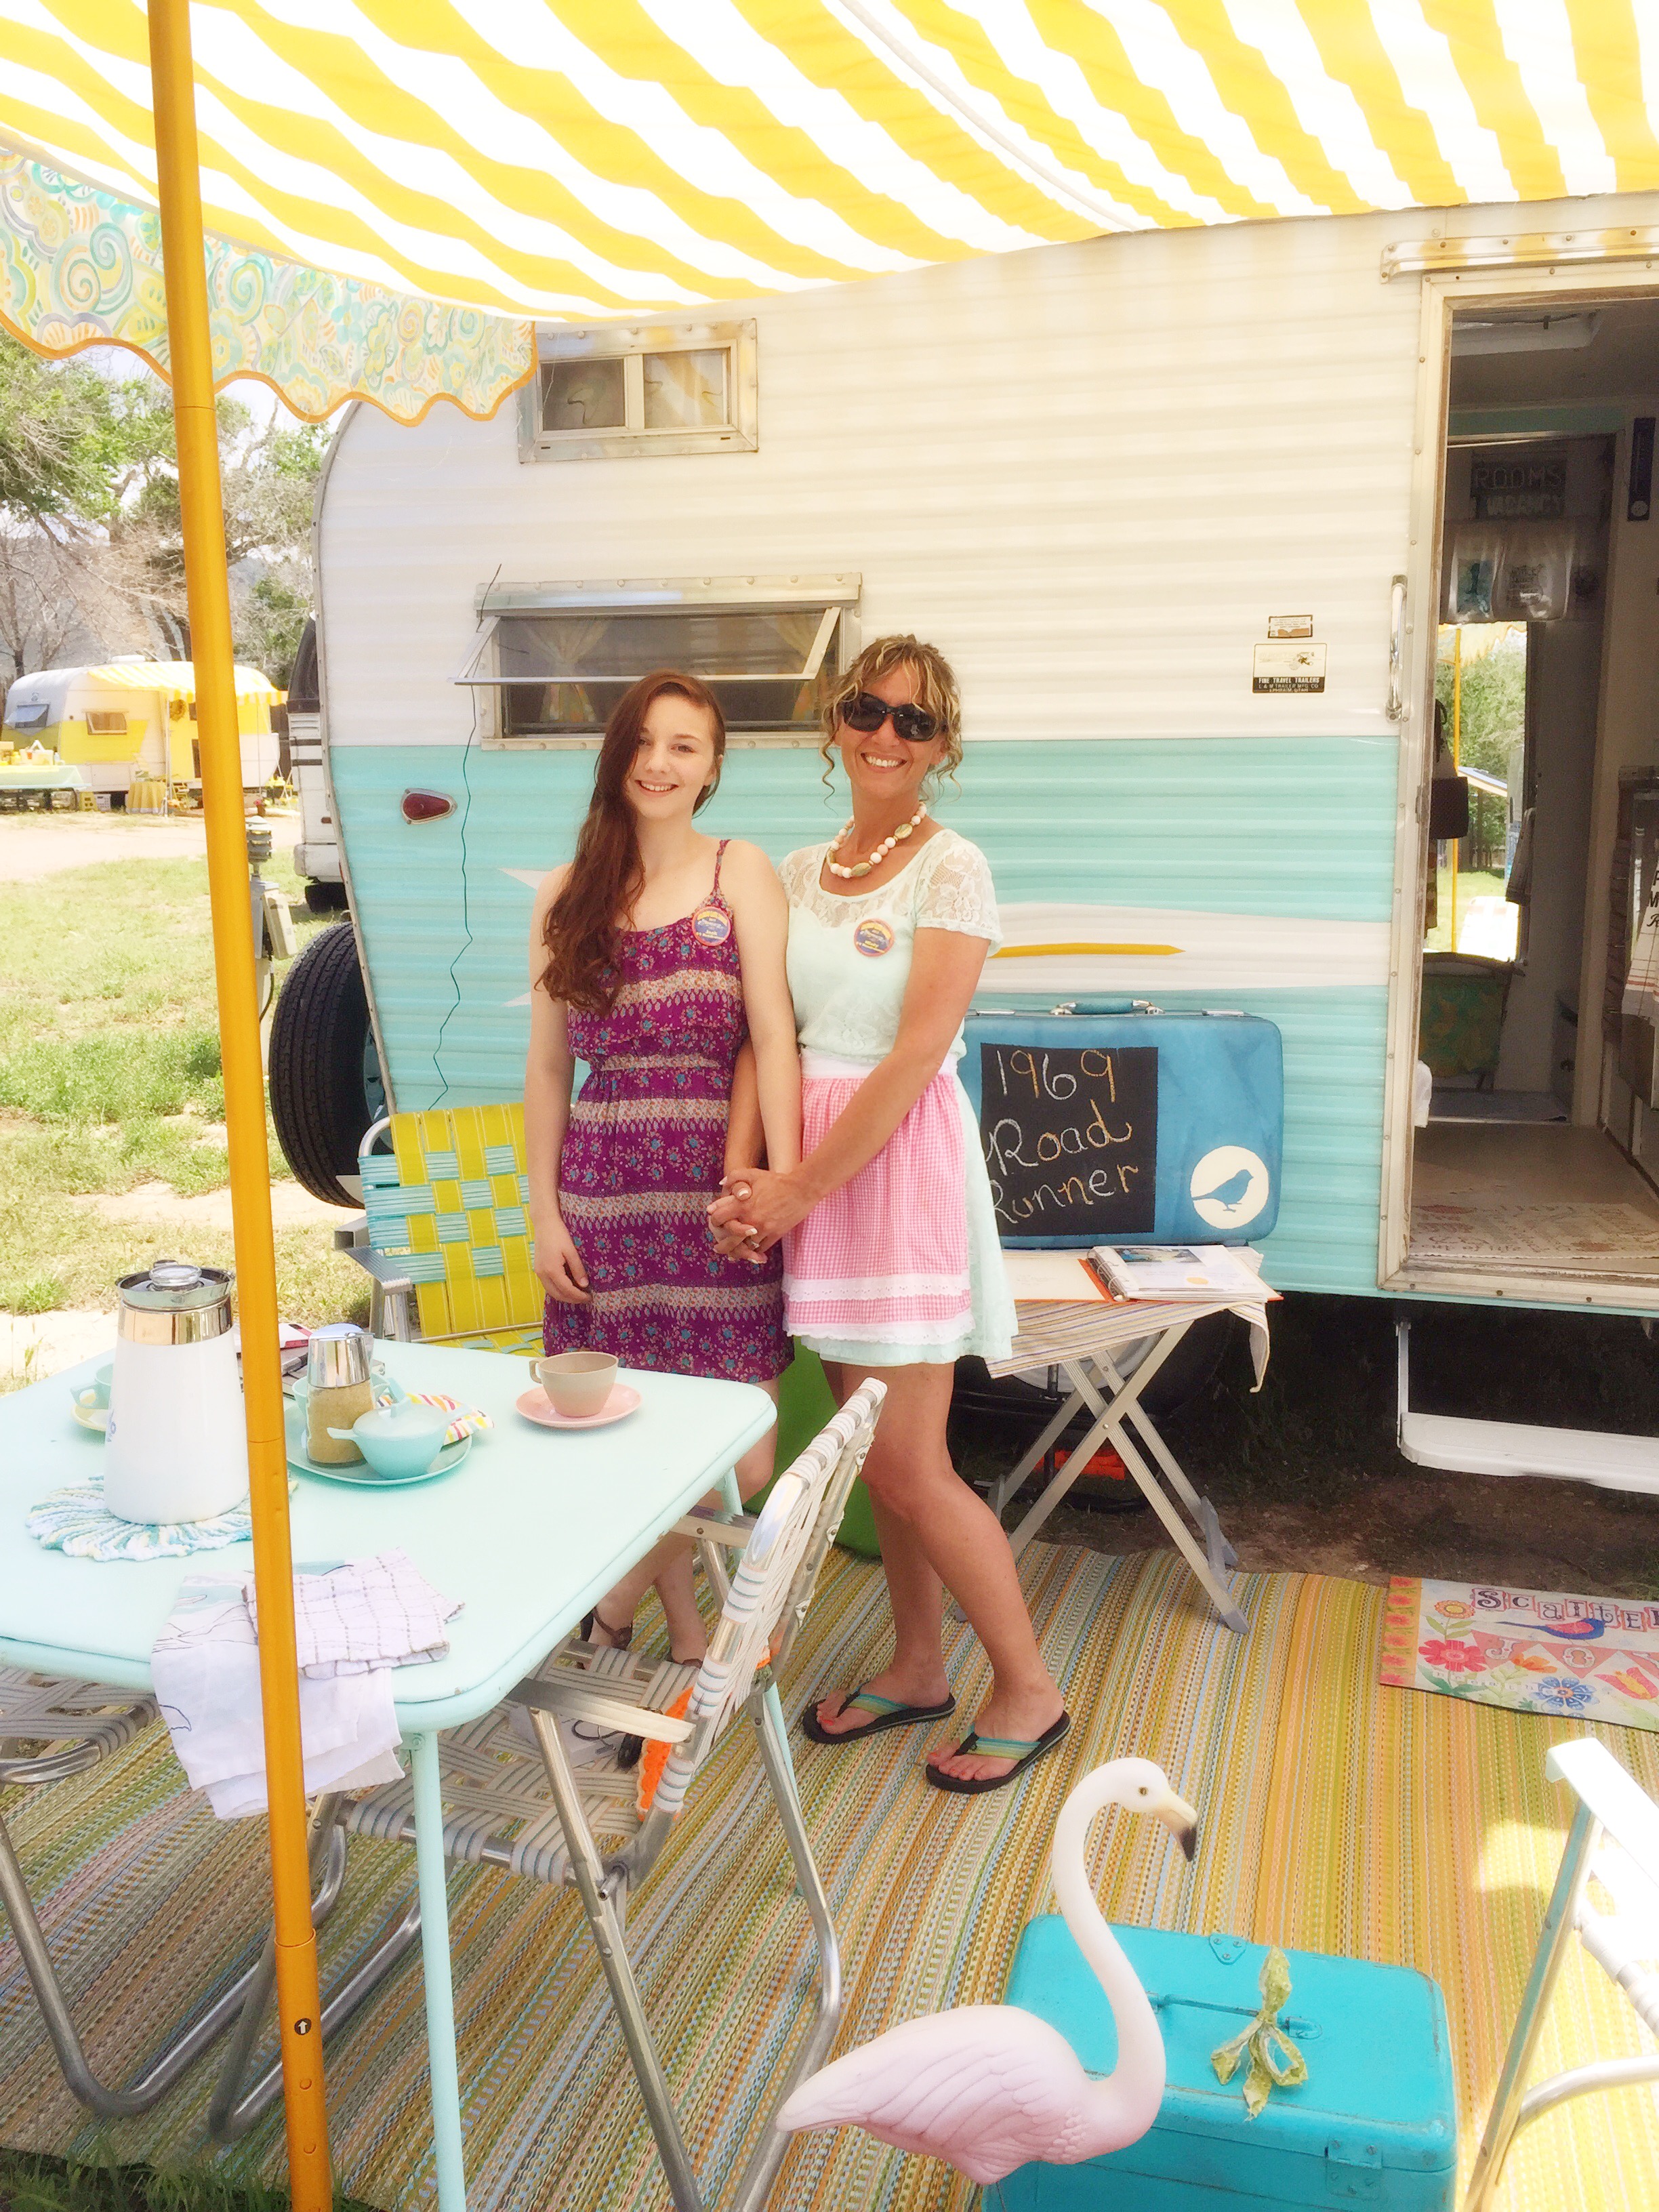
Vintage Trailer Rally Open House!
Then Myrtle and I occupied ourselves throughout the summer operating at various vintage markets and shows -it turns out that Myrtle is the perfect venue for the vintage items I sell in my shop ! (check us out on Facebook, Instagram , Pinterest , or Tumblr!)
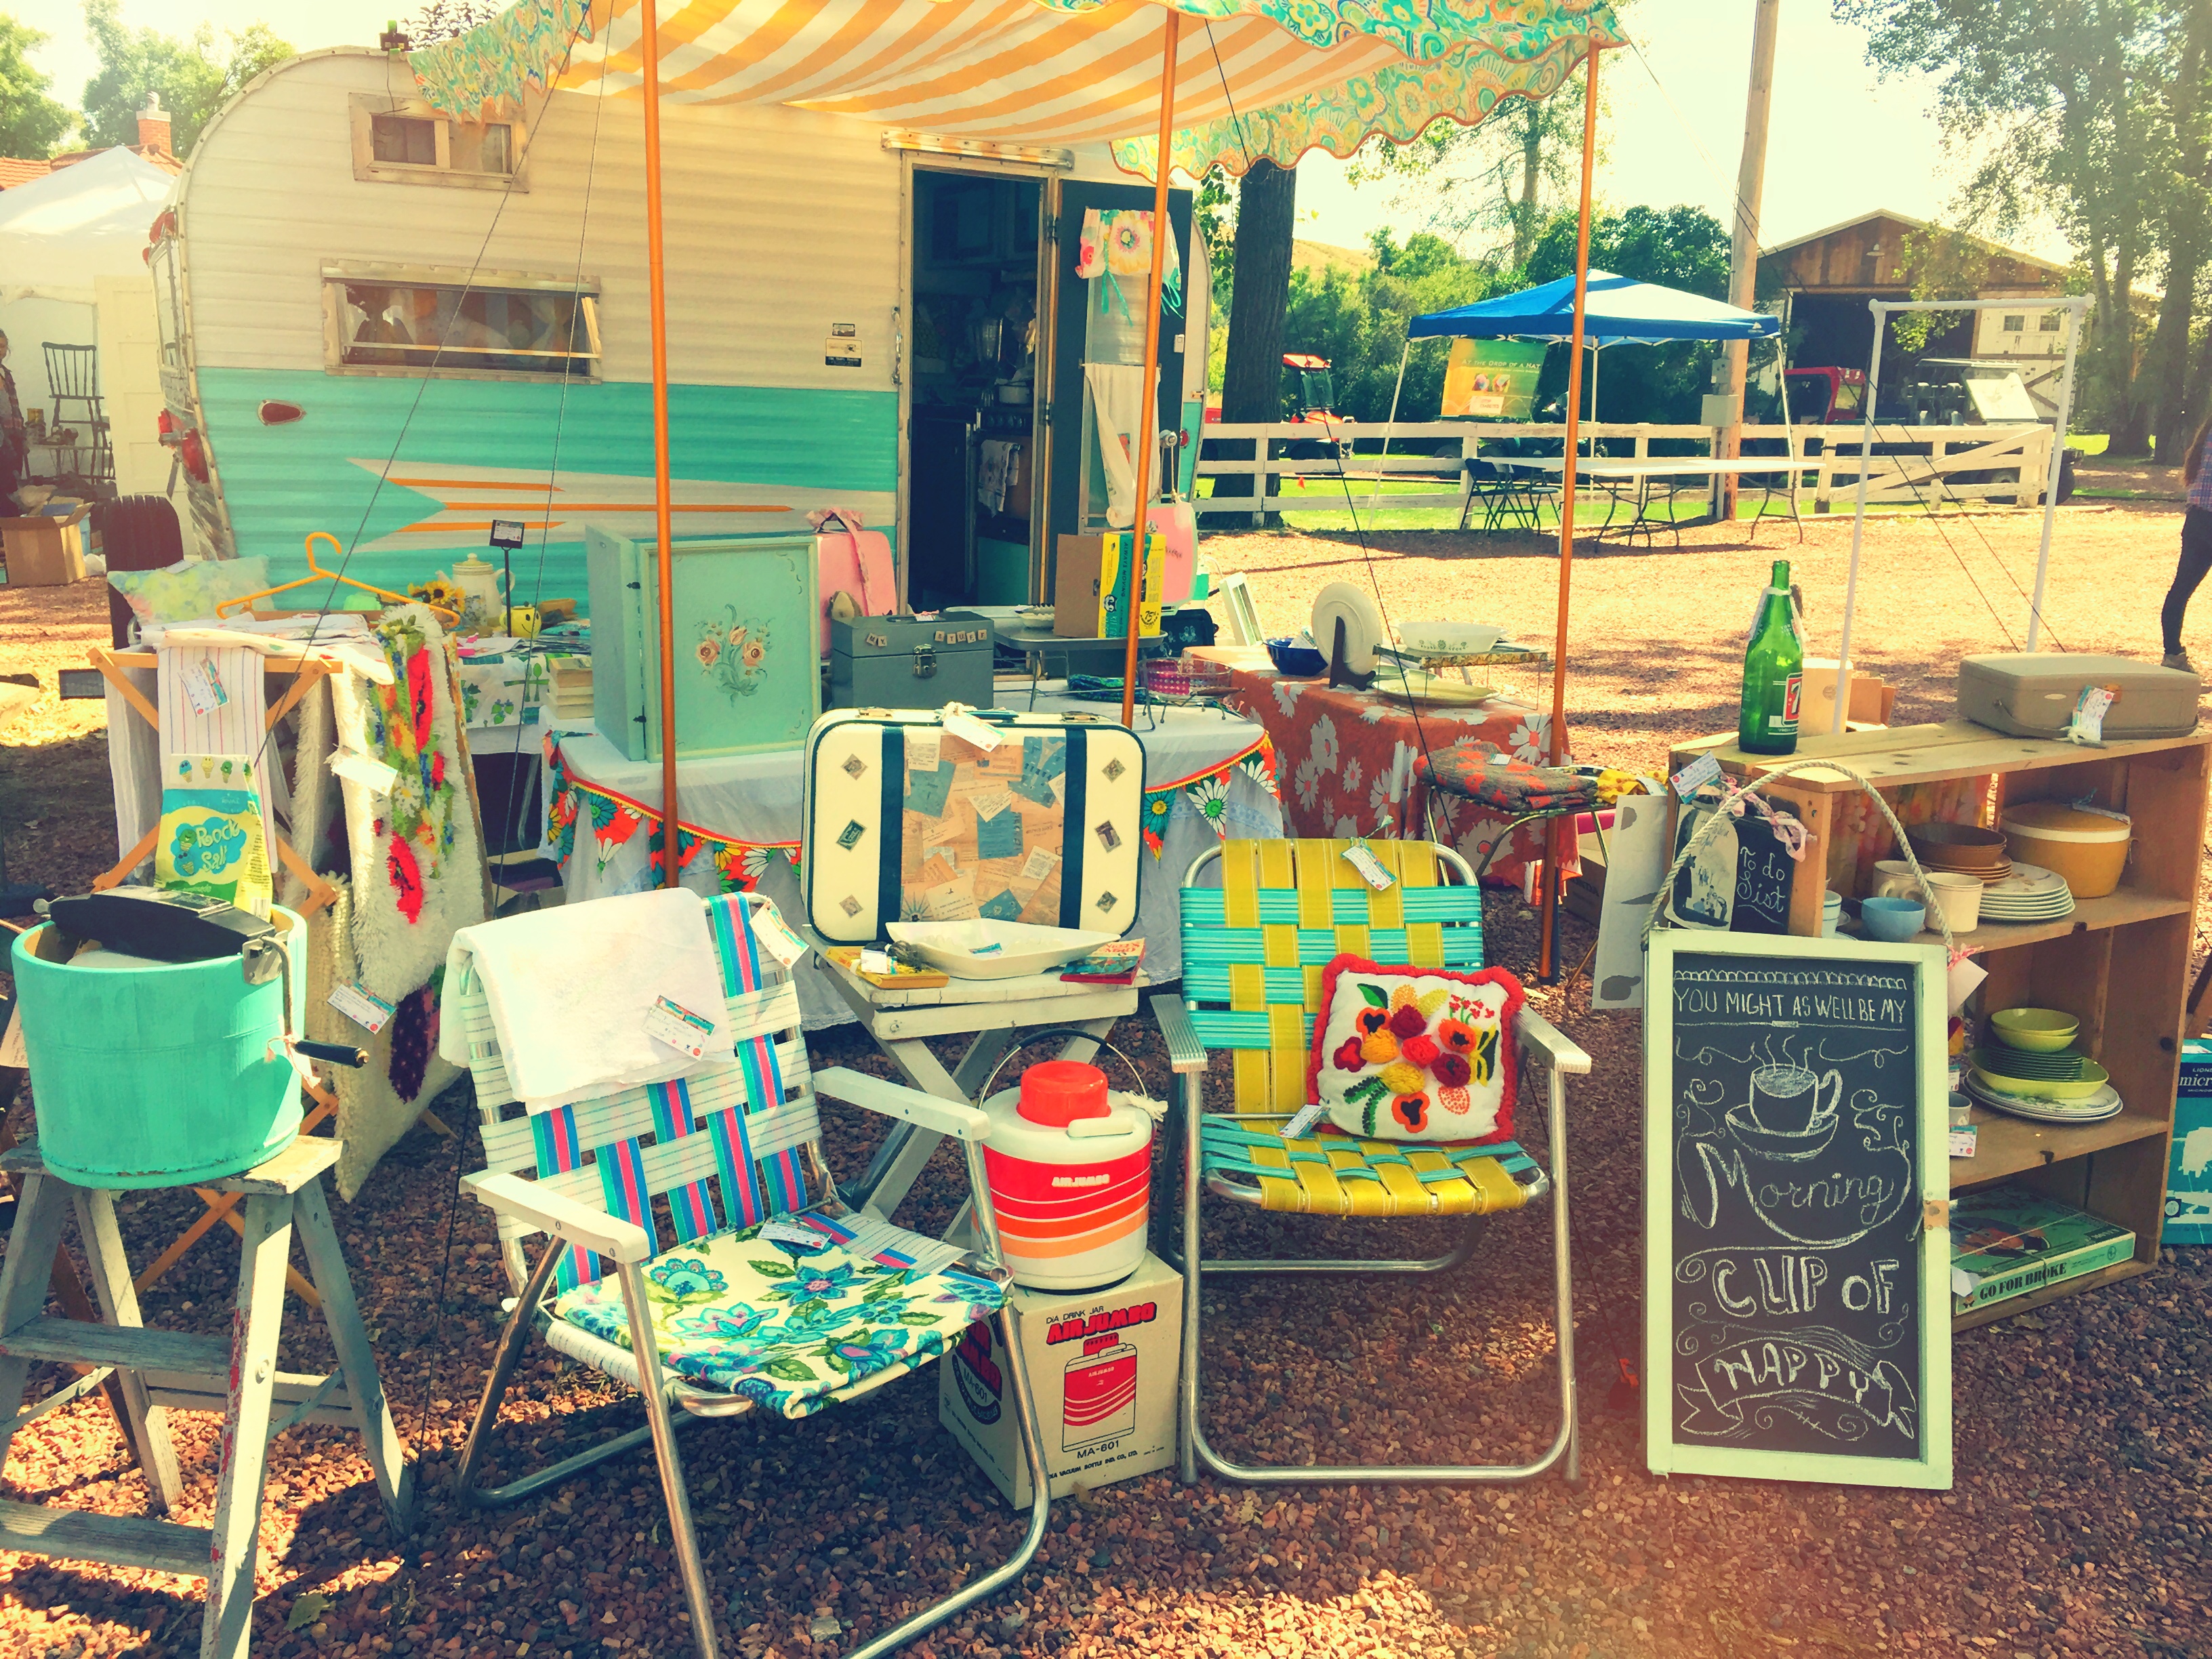
My morning cup of happy.
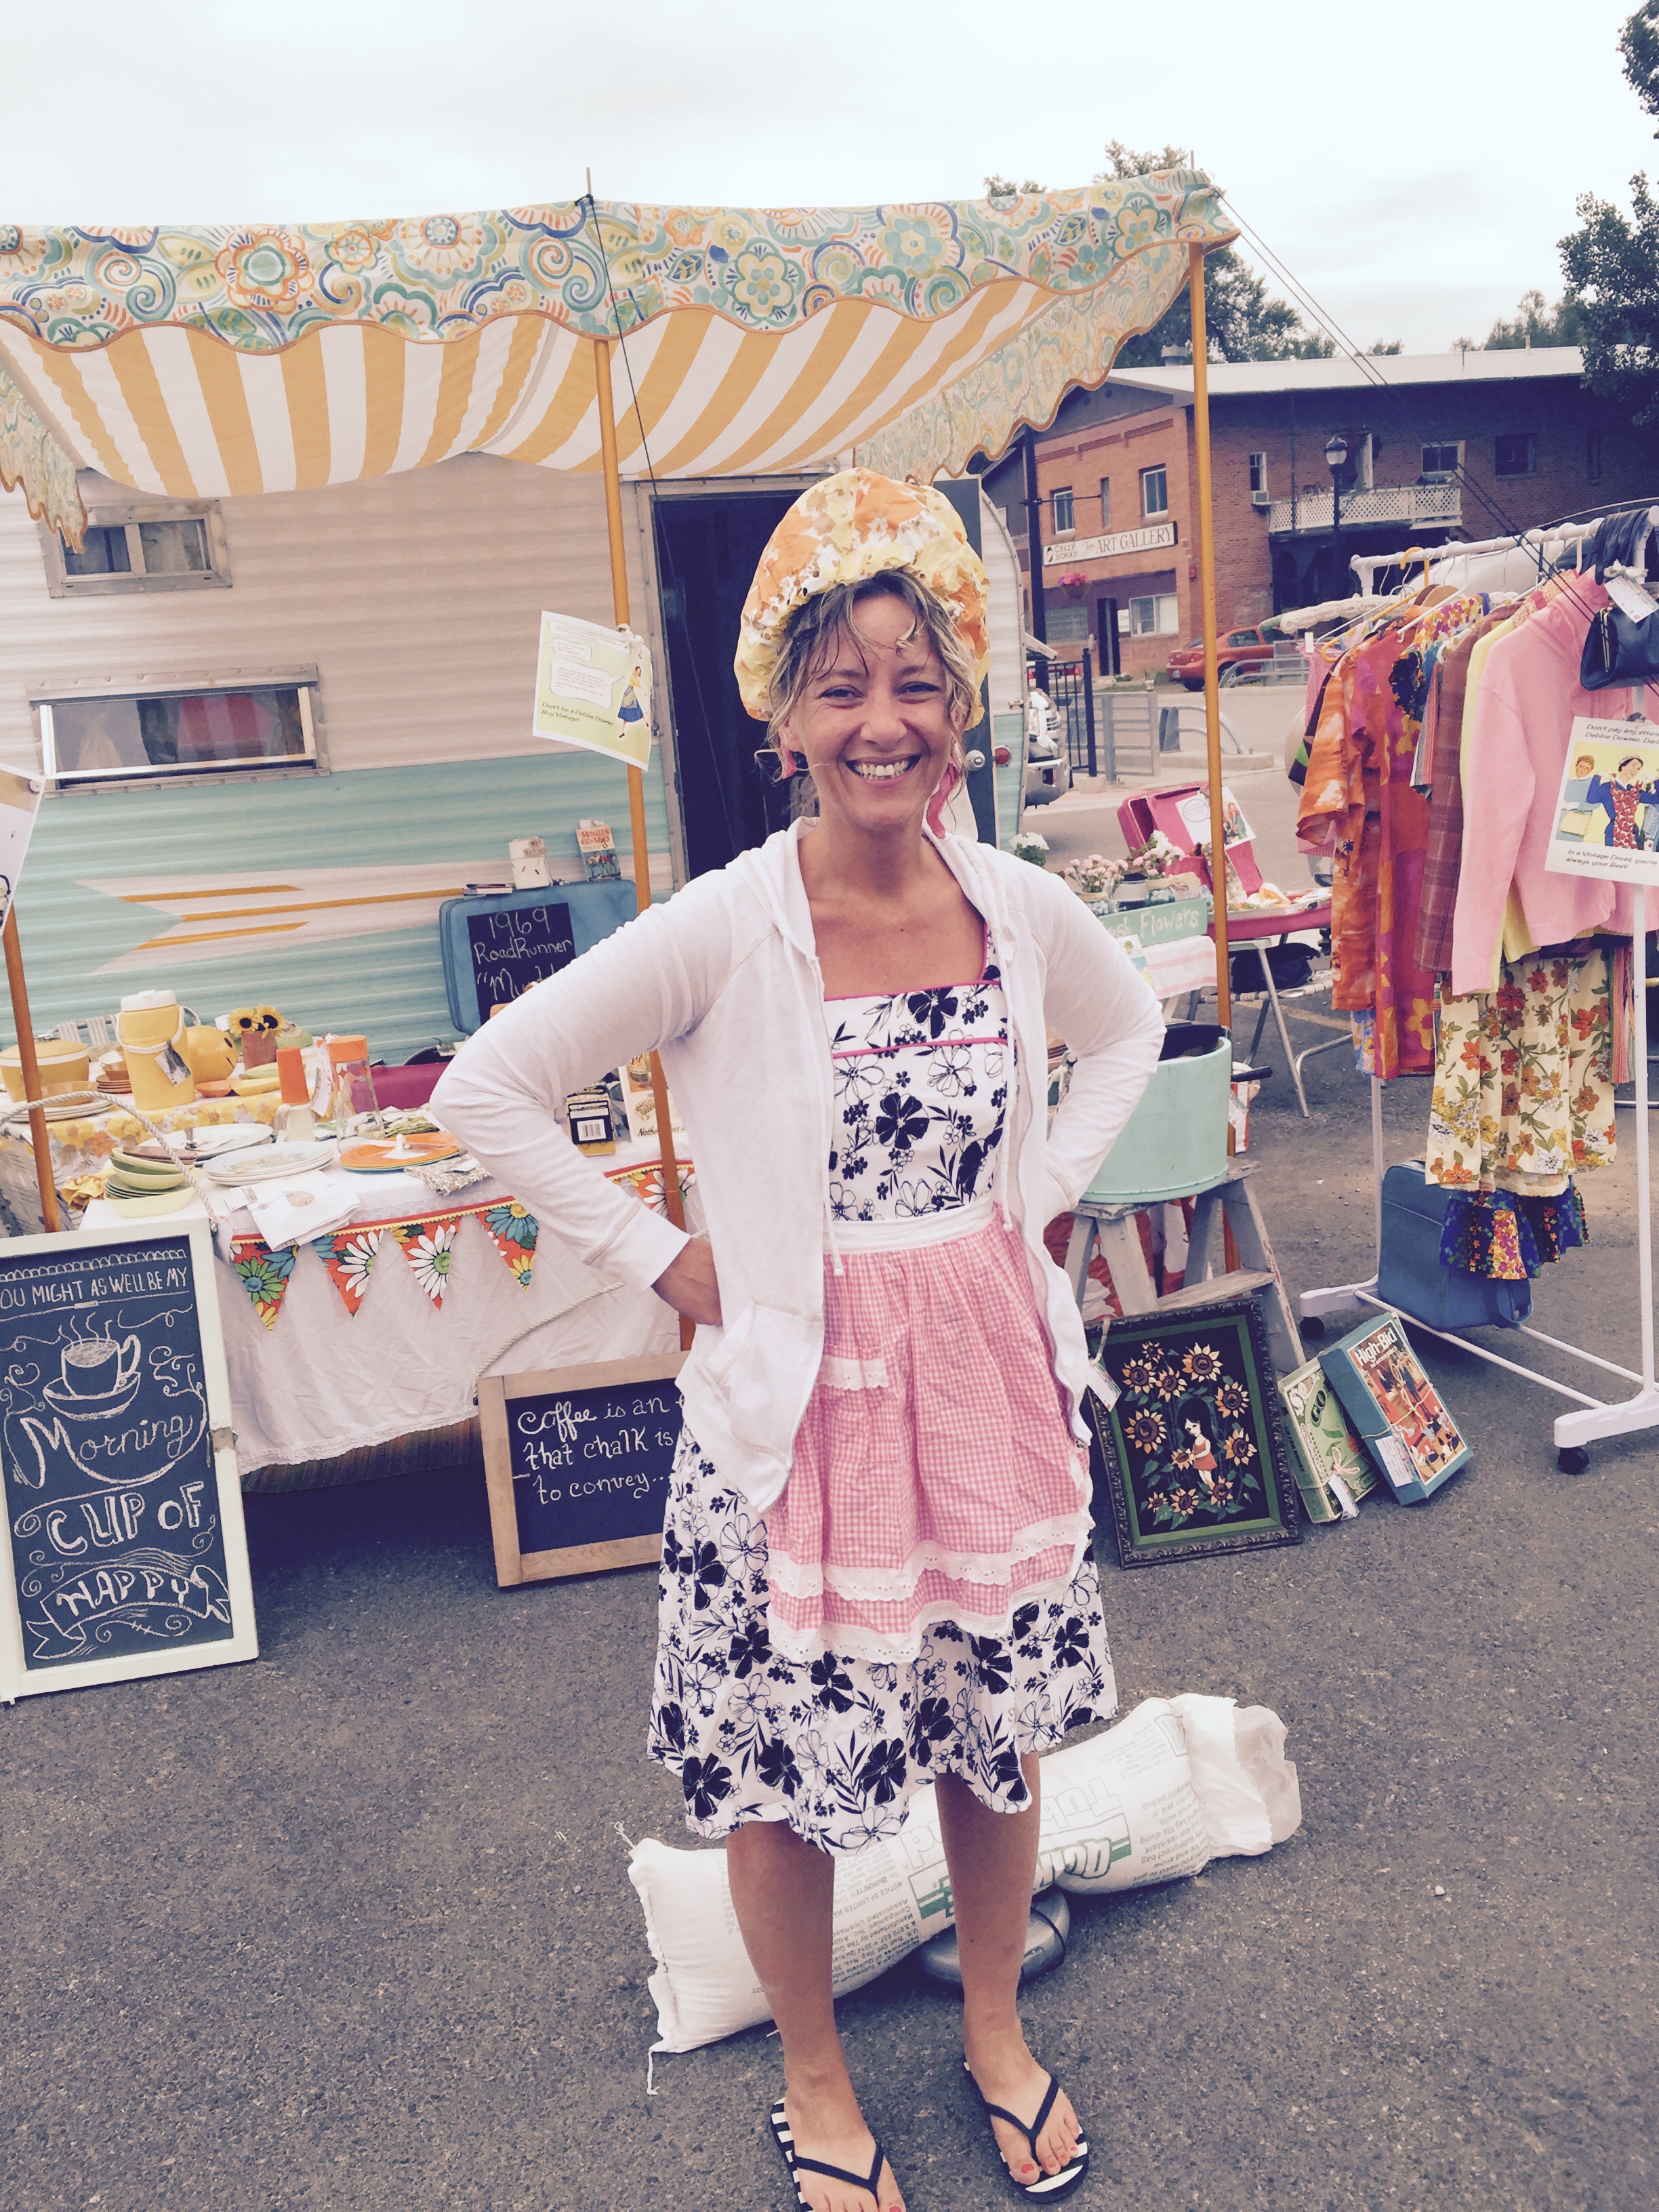
It’s a 1960’s hair dryer bonnet. In case you were wondering.
After a busy summer on the local vintage market circuit, it was time to relax, and for my husband and I to take Myrtle and the motorcycles to one of the best places on earth -Deadwood, South Dakota for the Kool Deadwood Nights Classic Car Show!!! Funny story: I was unloading Myrtle at our campsite at the fabulous Fish N’ Fry campground, handing things out to my husband who patiently stood outside her door -large outdoor rug, small folding tables, antique turquoise steel cooler, folding aluminum lawn chairs, Coleman 1950’s Patio Pink water jug, et cetera. At some point in this offloading, my husband humorously pondered that I could most likely decorate an entire house with what I’d managed to stuff in Myrtle for the trip over. Just as he was offering this enlightened male opinion, I was turning to hand him a small potted plant in a vintage ceramic pot, which he accepted with an amazed look. “Really? Is this a real plant? Is this is a potted plant? Why is there a plant in the camper?? Where did this come from?”. To which I informed him that, yes, it was real, and it came from Myrtle, of course. Why wouldn’t she have her own potted plant? It lives in there, and I go out and water it once a week.
The look on his face was the exact same look he had on his face last week when I came home all excited because I’d found the perfect vintage blow-mold lit Christmas tree to place in Myrtle for the Holidays this year.
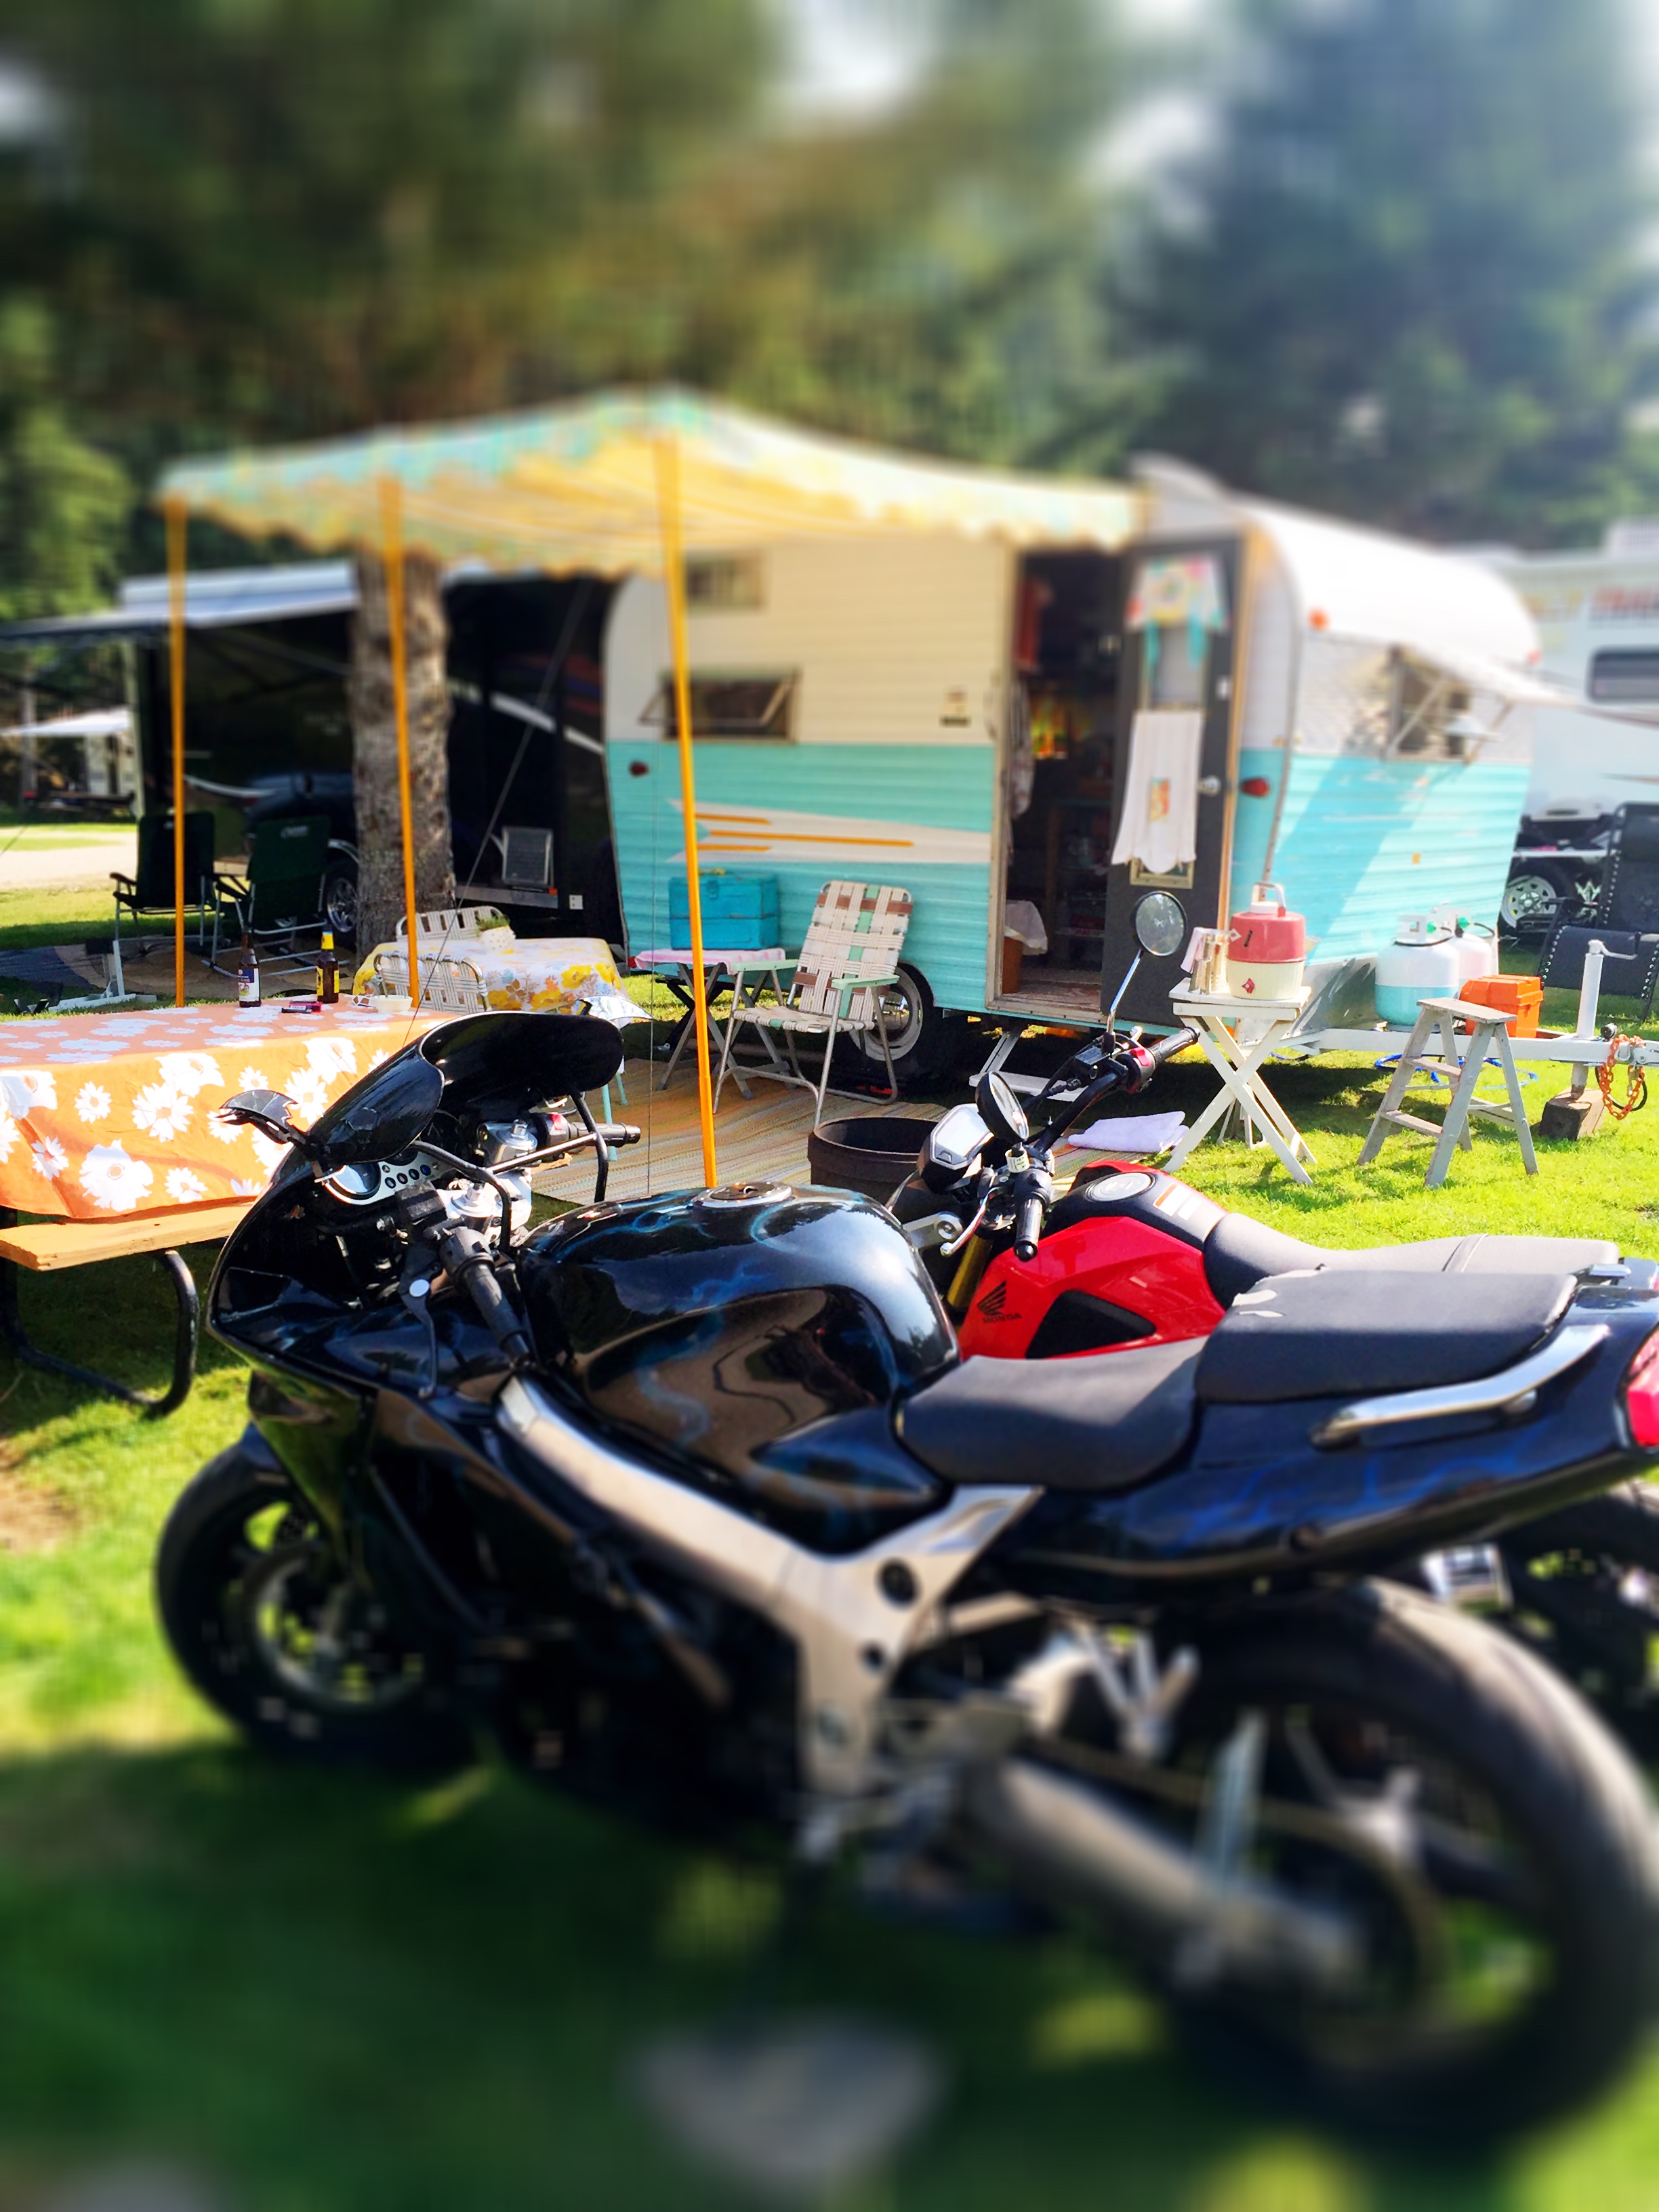
Fish N’ Fry Campground in Deadwood, SD!
Can you spy Myrtle amidst all the big rigs? 🙂
Labor day weekend saw Myrtle in the Big Horn mountains with our whole fam damily -that was roughing it a bit for my pretty little RoadRunner, but hey, she did see a moose, so there’s that. 🙂

Big Horn Mountains -Wyoming
There was one last hoorah with Myrtle before the weather turned -one Lake, one vintage camper, one mom, two daughters, and alllll the Poltergeist movies for nighttime!

Lakeside camping
Myrtle in October

Twilight at the lake.

Happy daughters…
Well, that’s it!
Only it’s not, of course -because I just received confirmation that the 1973 Red Dale Coach is ours!! Stay tuned 😉

Hi! I just bought a vintage camper and was thoroughly enjoying reading through your blog, when imagine my amazement, you just bought a 1973 Red Dale! Mine is a 1972 Red Dale. It’s hard to find info on these, so if yours came with any manuals or such, would love to see them. Looking forward to seeing pics!
Hi! So far, I’ve only found minimal information on the Red Dales, From what I’ve read, they were produced in the 60’s and 70’s by a small, independent company owned by Red Guthrie and Dale Martfeld in Colorado. They were often custom jobs, had a reputation for being really well built, and always used real wood interior paneling as opposed to laminates. So far, I haven’t found any manuals in mine, which is a shame, because I have no idea as of yet how to operate the Dometic refrigerator! Mine also has a potty in the bathroom, but the hose from it currently just opens under the camper to nowhere. No waste tank. The previous owner said he just put a “bucket” under there. Oh my, I just don’t even… 😉
Thanks for sharing Myrtle’s transformation again. I need to visit.
We saw your cute little trailer at the Colorado Classic Campout at the Starlite Campground. We had our Roadrunner there as well! I had no idea you had a blog. I spent the evening reading about your restoration adventures!
I hope you enjoyed the read, Denise! I remember your RoadRunner!!
I just about freaked when I saw the curtain you’d fashioned for the windows behind the dinette from an old bed sheet. I had those exact same flower design sheet set when I was a child, which was several moons ago now in 70’s. Funny thing was, I was thinking about that pattern just the other day. How wild! Beautiful trailer!
Love your Myrtle. We bought a 1967 Roadrunner almost two years ago. We have remodeled the inside but haven’t tackled the outside yet. We love it! Love the wood ceiling and the green stove, sink and frig. Ours is “Lucy”.
Myrtle is just beautiful! Just found you ~ so any road trips this year, yet?
Yes, and more to come! 🙂
Omg!! I absolutely love her!! We just began restoring a 64′ Roadrunner. It also has all it’s original interior too & the bench seats were similar to your truck style. Turquoise with piping with manufacture tags from Logan, Ut. Unfortunately, we had to toss them because the previous owner allowed her cats to live in it and they ruined them!!! She was also convinced the trailer was a Shasta Astrodome and someone just put the name on the title wrong. The title is the original and lists it as “L&M Manufacturing Co.” It actually took me awhile to figure out what it really was because there isn’t much on Roadrunners. I read somewhere that another company eventually bought them out, so maybe that’s why another user has “ROAG” on their title? IDK. Anyway, I have been debating a burnt orange color to add to the turquoise, but I wasn’t sure how the colors would compliment each other. After seeing yours, I am convinced it will be fabulous!! I can’t find the metal polish you used, but I hope I can still get it nice and shiny. It’s quite oxidized! Did you polish it by hand or use one of those buffer balls? I also hope I have a roadrunner on the step pull out. I’ve never noticed it, but I will for sure be checking that out tomorrow!
I will be watching for your updates on your Red Dale as well! Great work!
Thank you!
The Snap-On Metal polish can be bought online from the Snap-On site, I think. We also used Mother’s Mag aluminum polish. We polished by hand -both of these polishes are wipe on, buff off types 🙂
My Dad gave me my Grandpa’s 1969 Road Runner a couple of months ago. I had so many fond memories of sleeping and traveling in that trailer. I planned on painting the interior and recovering the furniture and away we go! Well, when I got a look on the inside (200 miles later, after I hauled it from Idaho to Utah, where I currently live), I just about cried! There is water damage on almost every wall and the ceiling. My son and I resealed the roof and the vent, but I have so many questions for you about how to know where to start in restoring my sweet little camper. Most of all, how do I KNOW if I sealed the roof the right way (with no leaks) so I can begin repair on the inside?
Hi Cassie!
For me, it was the windows in my RoadRunner that were leaking when I bought her. I pulled all the windows,scraped all the old sealant away, put in new butyl tape, and re-set the windows. To test them, I hosed the camper down, spraying the windows, et cetera, and then checked inside for leaks…
With the Red Dale, the first winter showed me that the roof vent was leaking. Snow that accumulated near the vent and then melted caused a big leak inside at the vent area. I replaced the roof vent, and after the next big snow, I had no leaking, so I assume I sealed the new roof vent correctly!
(I’m really just learning as I go, so often it’s ‘wait and see’ if I did a repair correctly!)
There are several online forums, like Tin Can Tourists, that I like to go to to ask advice from folks with more experience!
You did such a beautiful job! You need to be a writer for books or newspapers or something; because you have incredible talent with writing! OMG; i’ve enjoyed reading every last bit! We just bought a 1953 Fleetwood; so we are in the beginning stages. You have given us plenty of great info!
Thank you very much! 🙂
Hello,
I’m Maximilien from SFG Media Group. We own several media properties including Mobile Adventurers and other content websites.
We periodically will feature trailers and RVs on our website, paired with a review or commentary on the design and interior. Provided you own the copyright to these photos, may we have permission to feature photos of this trailer in an article on content websites by our company, including Mobile Adventurers?
We won’t be able to offer monetary compensation for the photos, but we have over 150,000 fans on our Facebook page (https://www.facebook.com/RV-Tours-799138616859564/) and can provide you with exposure to our audience by linking back to your website and driving readers to you.
If this sounds acceptable, please let me know how you would like to be credited.
Best,
Maximilien
SFG Media Group
Hello!
Yes, I own the copyright to all of my trailer photos. I would be pleased to have my trailer featured on your website. Please credit my renovation blog:
https://ostrobogulation.com
MidCentury Myrtle
Misty Bateman
Misty,
Thanks so much! We’ll be sure to credit as requested.
Much appreciated,
Maximilien
SFG Media Group
Hi!
Thank you for featuring my camper on your site. Just one correction -you have identified the camper as a 1973 Red Dale -she is actually a 1969 RoadRunner. I have a ’73 Red Dale in progress, but all of the photos in your article are from my ’69 RoadRunner, Myrtle.
Thanks!
I have my eye on a 1968 Roadrunner (looks just like yours) and was trying to make up my mind whether to take the plunge. Then I came across your blog…it was meant to be!!! Not as good a price as yours was ($2500) but if mine turns out as gorgeous as yours it will still be worth it. Thanks, Misty!!!
Thank you so much. This gives me great hope for my 71 roadrunner I just bought and it looks just like yours….. The old yours 🙂
You should join the new Facebook forum group dedicated to vintage Roadrunner campers, lots of information there!!
https://m.facebook.com/groups/451753901855019
This is something I’ve wanted to do my hole life . My husband wanted no parts of it. I’m by myself now,@ age 78, And still would like to travel in a camper. Do you think , that I would have success?
Hi Margaret! There is a Facebook group for people of all ages who travel / live part-time or full-time in their campers or RV’s, you might ask for advice there, they have experience at all ages! https://www.facebook.com/groups/weloveworkamping/?ref=share
Thank you so much for sharing your transformation journey with Myrtle. I enjoyed your story and the pictures.
I hope to do a make-over on our fifth wheel camper. She is beautiful as is, but others call for an update. What girl couldn’t use a little touching up anyway?
Take care.
Amy in Missouri
Thank you for Myrtles story. I love your creativity. You have reignited my passion for the Aladdin trailer I’m working ( playing ) with ❤️. It’s a cold wet February here in Oregon but soon I’ll be sanding, priming and painting my little cabinets! In the mean time, shopping for vintage 1964 items are fun! Thank you
Thank you for reading! 🙂