By August 15th, I knew her name. And wondered how I could have been so dense, when the Myrtlewood only grows along my beloved Oregon Coast? Of course her name was Myrtle, it had been her name all along. According to a random ‘behind the name’ website, “People with this name [Myrtle] have a deep inner desire for travel and adventure, and want to set their own pace in life without being governed by tradition.”
That’ll work.
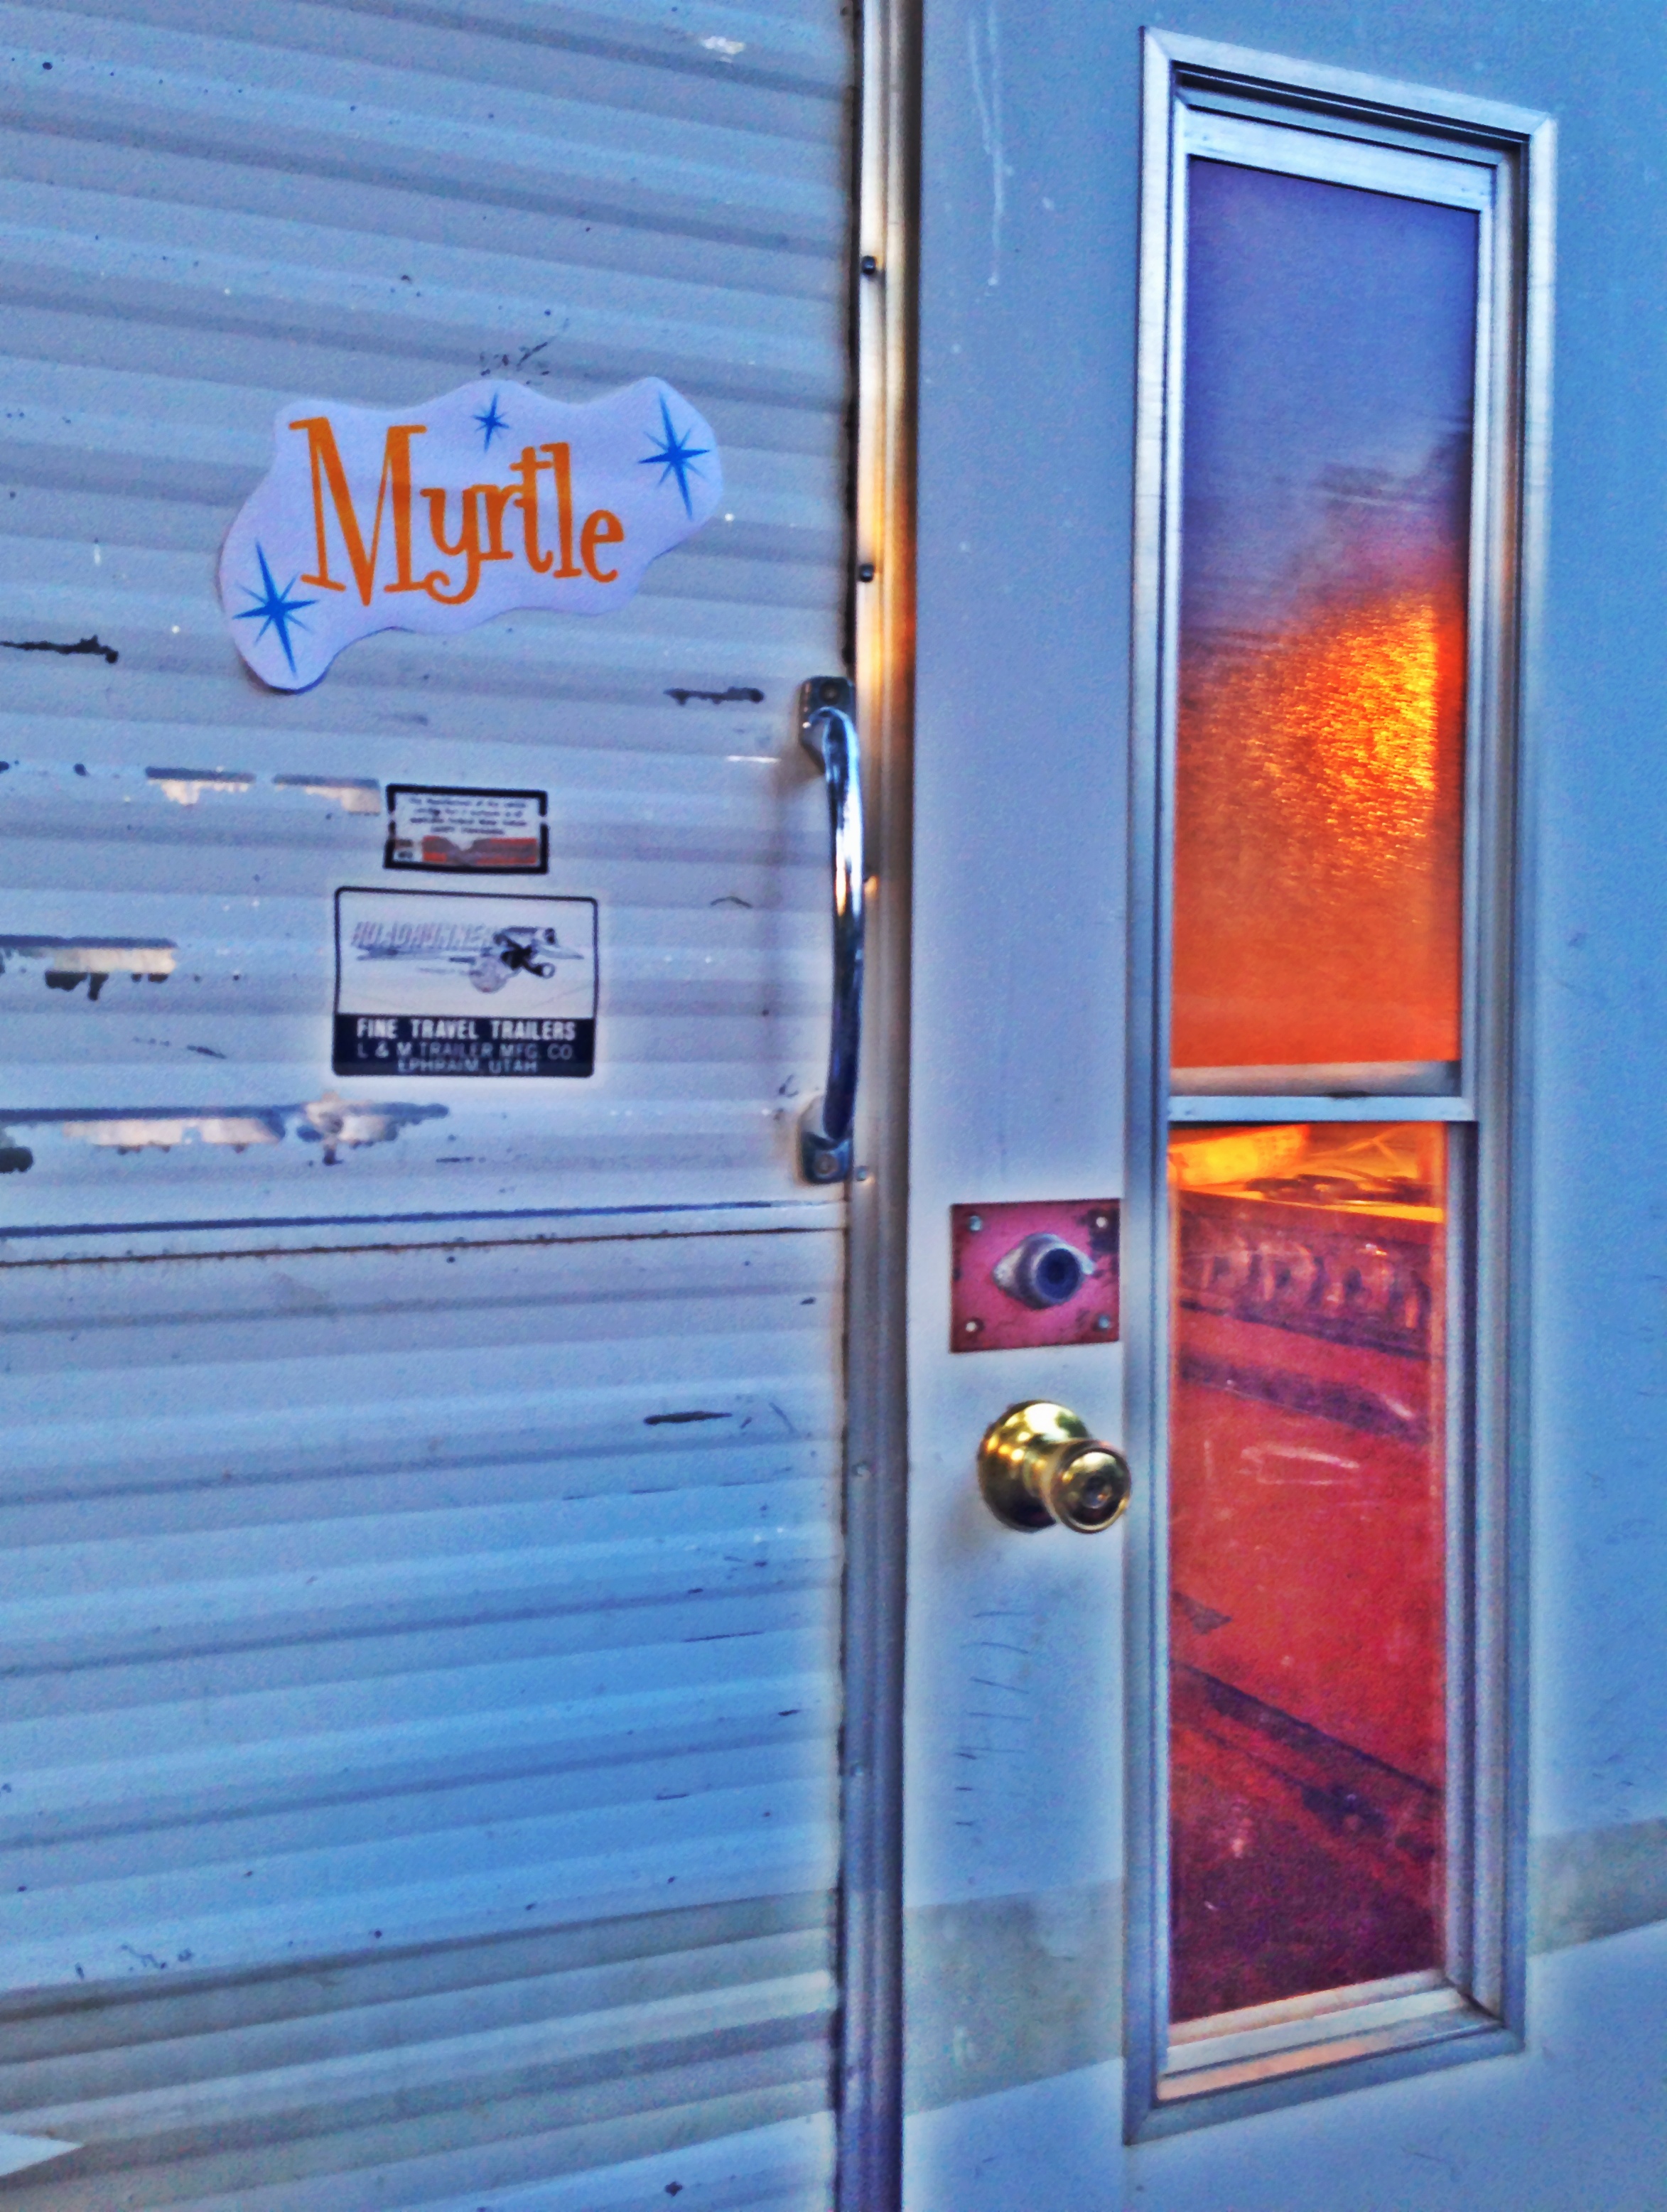
The ’69 RoadRunner is christened.
This also, for some reason, has compelled me to purchase vintage “Myrtle” themed items when I see them, including items from the early 60’s Myrtle Turtle line-up, and early Myrtle Beach postcards. They’ll all find a home in the trailer somewhere, I’m sure. 🙂
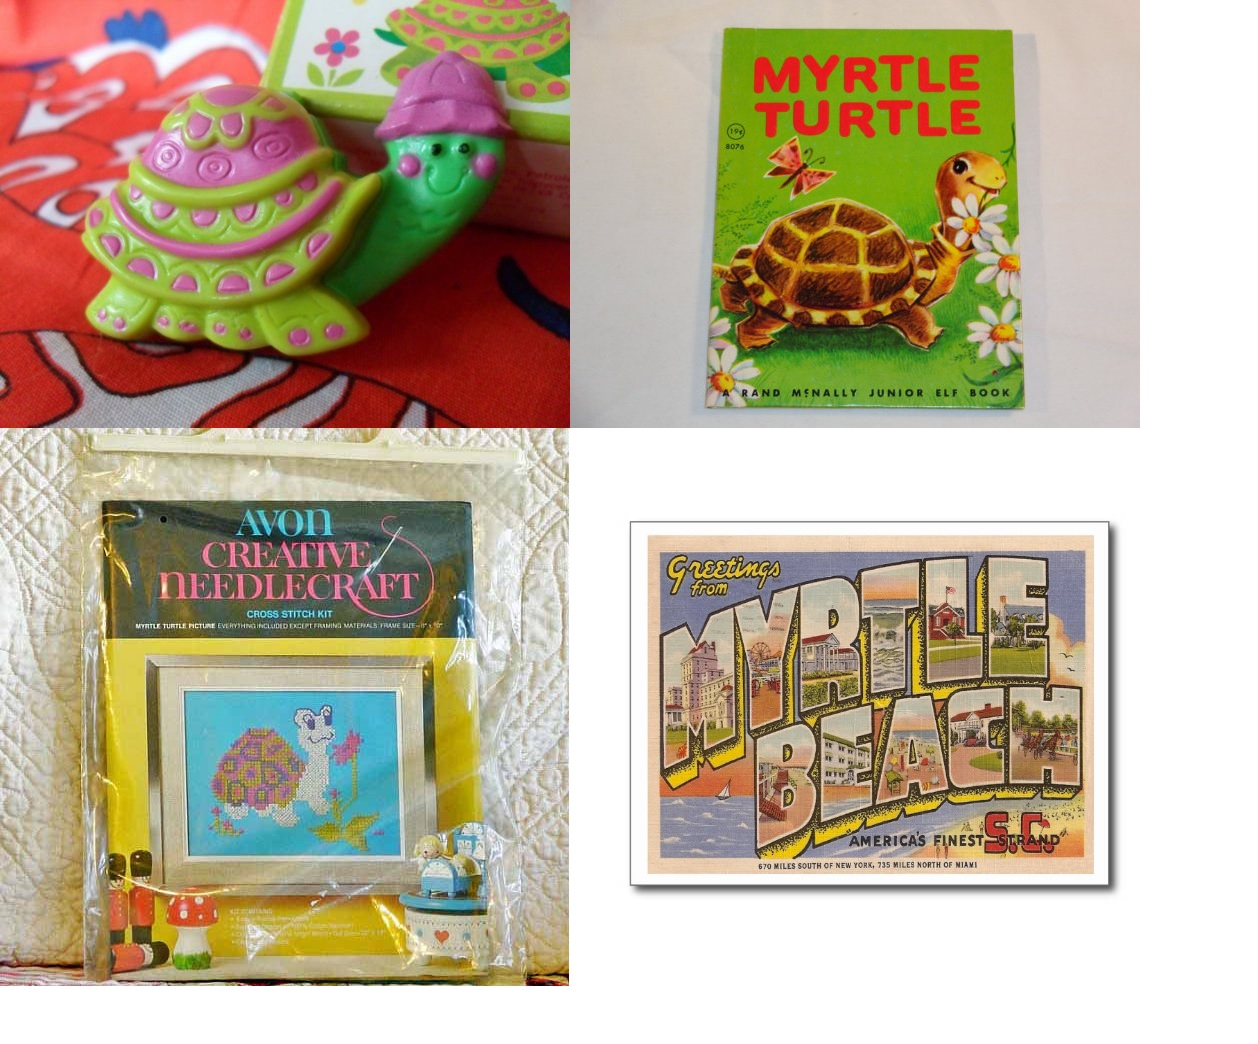
Myrtle Turtle 1961, and vintage Myrtle Beach.
Mid-August in my small town means that if you’re lucky, you have maybe six more weeks before snow flies. Sometimes less than that. My thoughts were that Myrtle’s exterior painting had to be a first priority, if we wanted to have it accomplished before the weather turned. There is a lot of lead-up to painting, though, so I’ll be blogging first about all of the things we ended up working on just so we could finally get to the exterior painting!
Things that had to be accomplished before we could paint Myrtle’s exterior:
- Repair all electric connections (no point painting the skin if we were going to end up having to pull any of it apart to access electrical wires.)
- Check for any water damaged wood in the framing (if we had to replace any of the wood frame, it could necessitate screwing into the aluminum skin, again, best to have that accomplished before painting.)
- Repair any holes in the skin.
- Get the God-Awful truck box that had been installed on her front end off.
- Disconnect and remove the propane tanks
- The aluminum portions of Myrtle that would not be receiving paint required stripping, buffing, and polishing.
- Remove and reseal the windows, also replace any screening needed (so they are ready to be re-installed after painting.)
- Paint prep –cleaning, sanding, masking, et cetera…
It was time to get a good look at Myrtle’s interior. Most of the paneling was hidden behind her large dinette cushions, and at first glance, neither the cushions, nor Myrtle’s walls, seemed to be in too bad of shape.
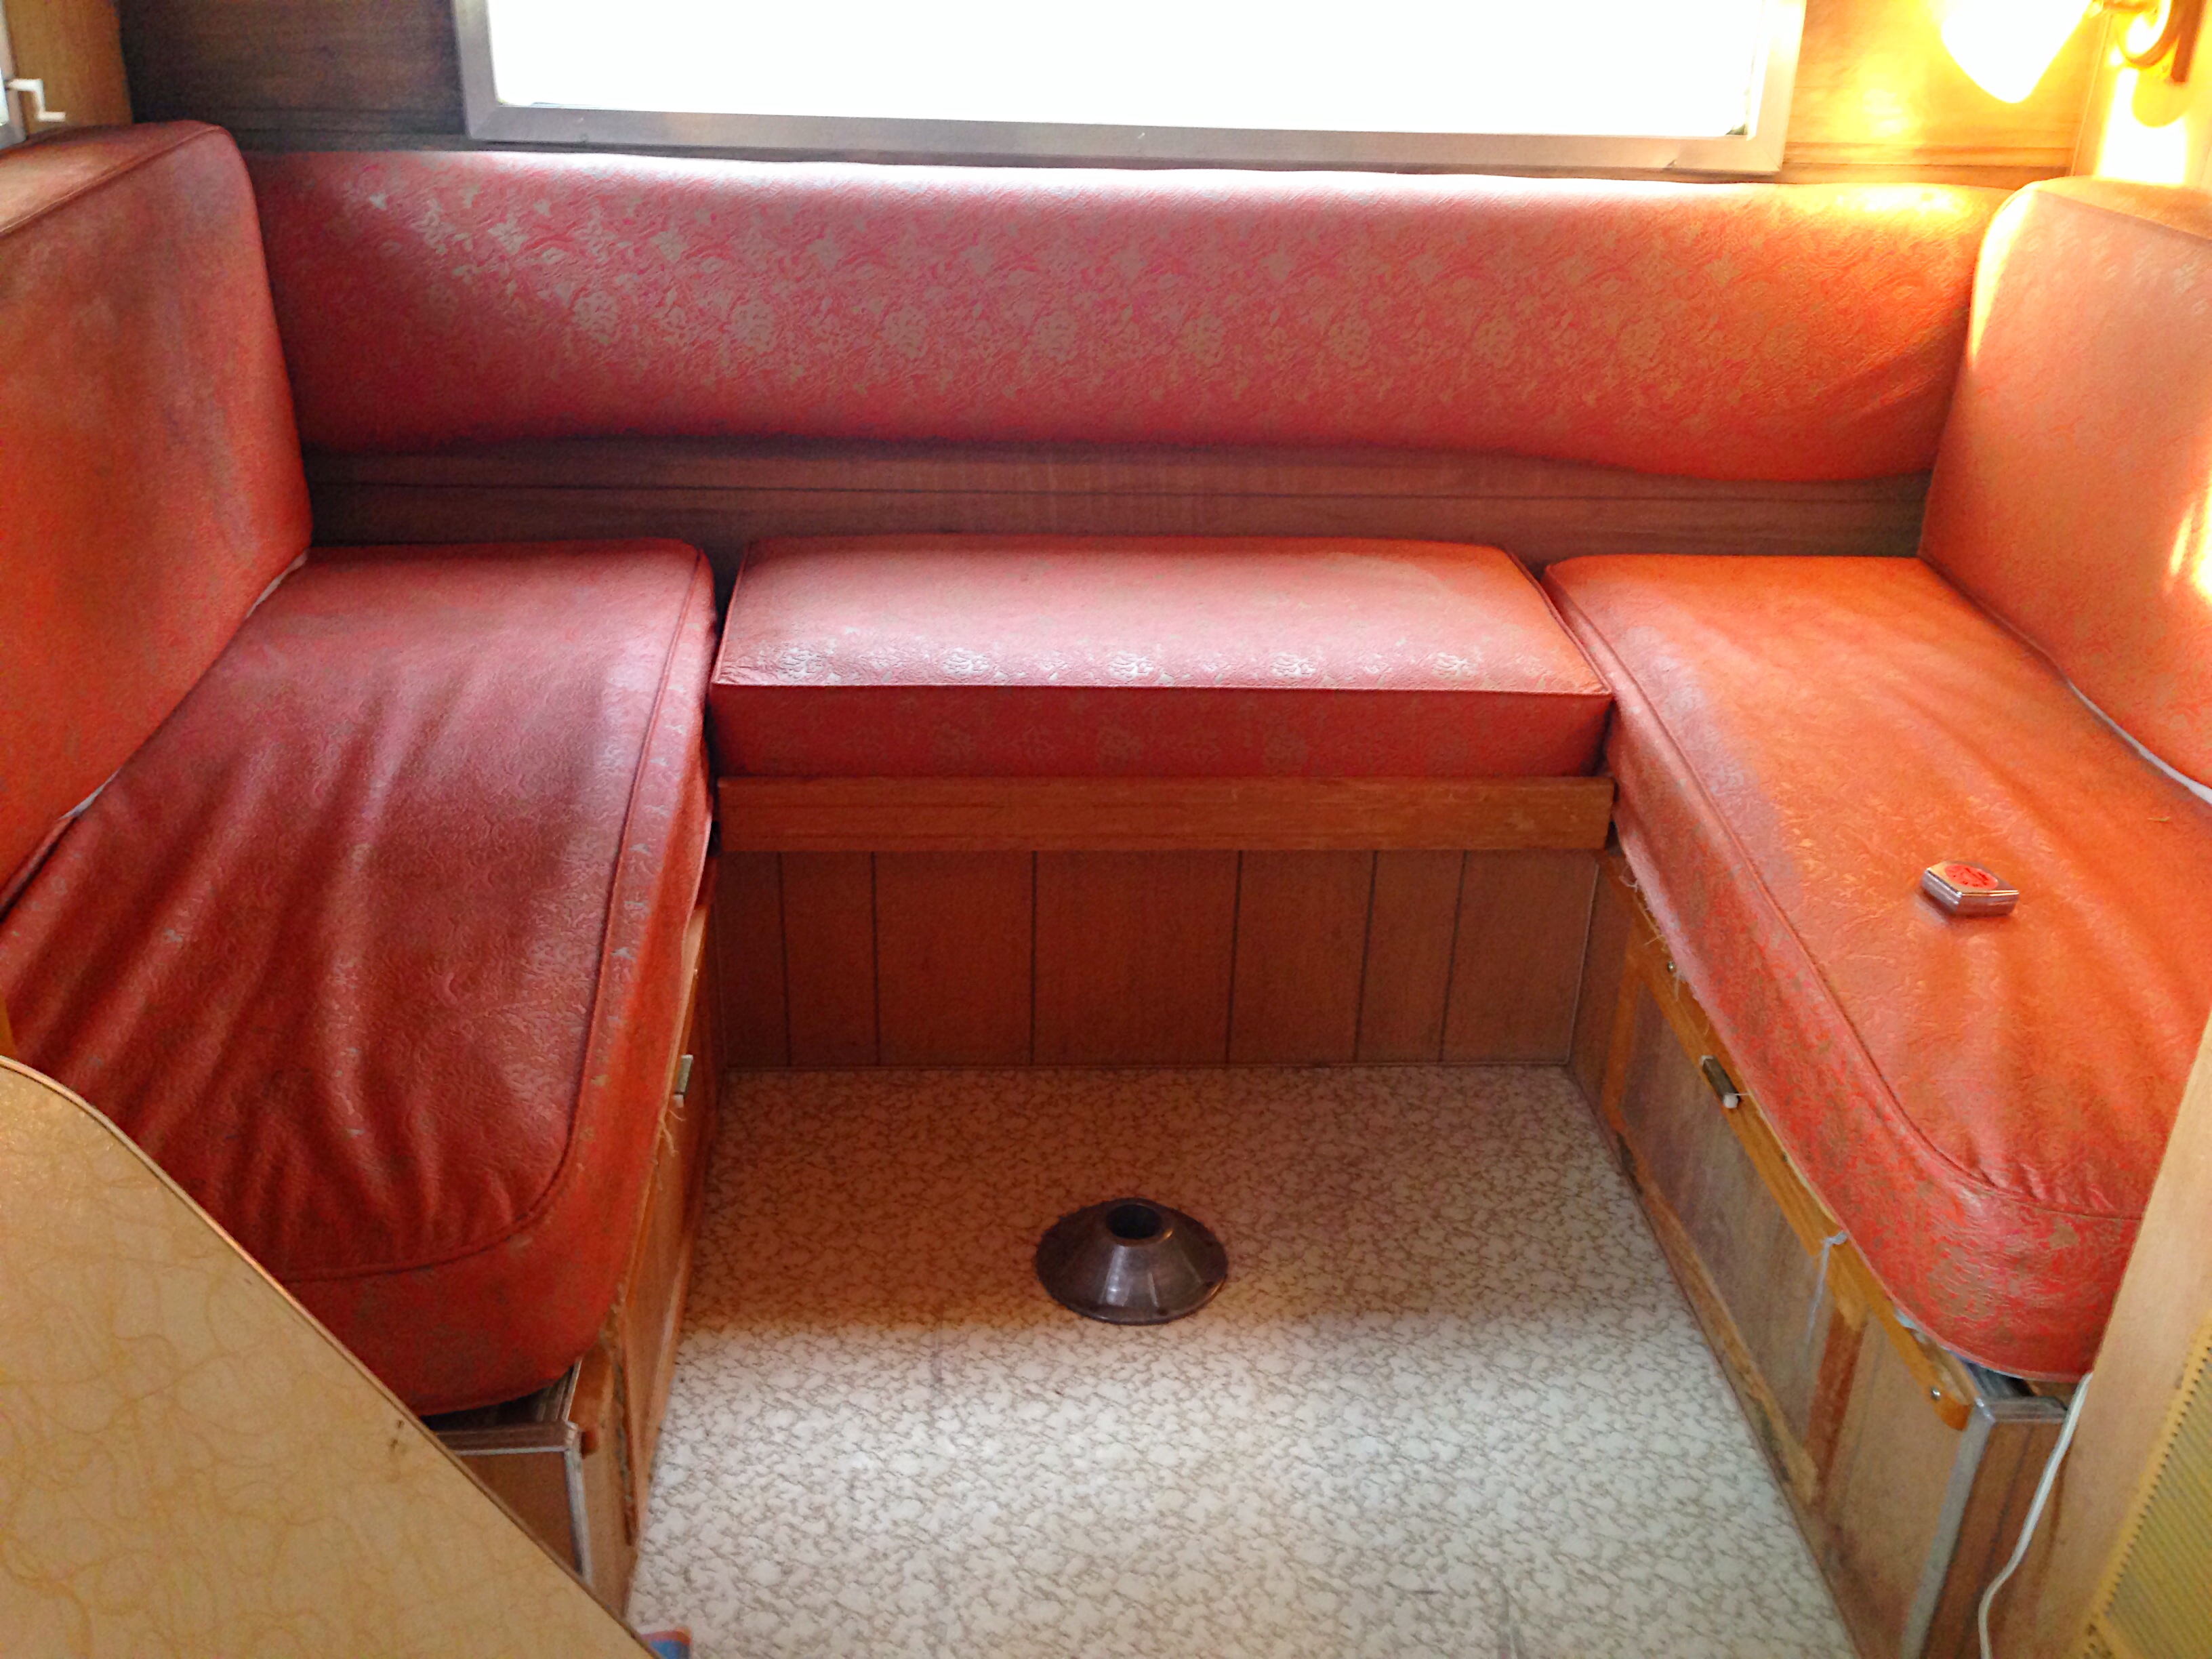
Looks can be deceiving.
Looks can be deceiving…
45 years and a little moisture can wreck havoc on vinyl and polyurethane foam…
You know, I think maybe this big back window leaked..I don’t know, I just have this feeling.. 🙂
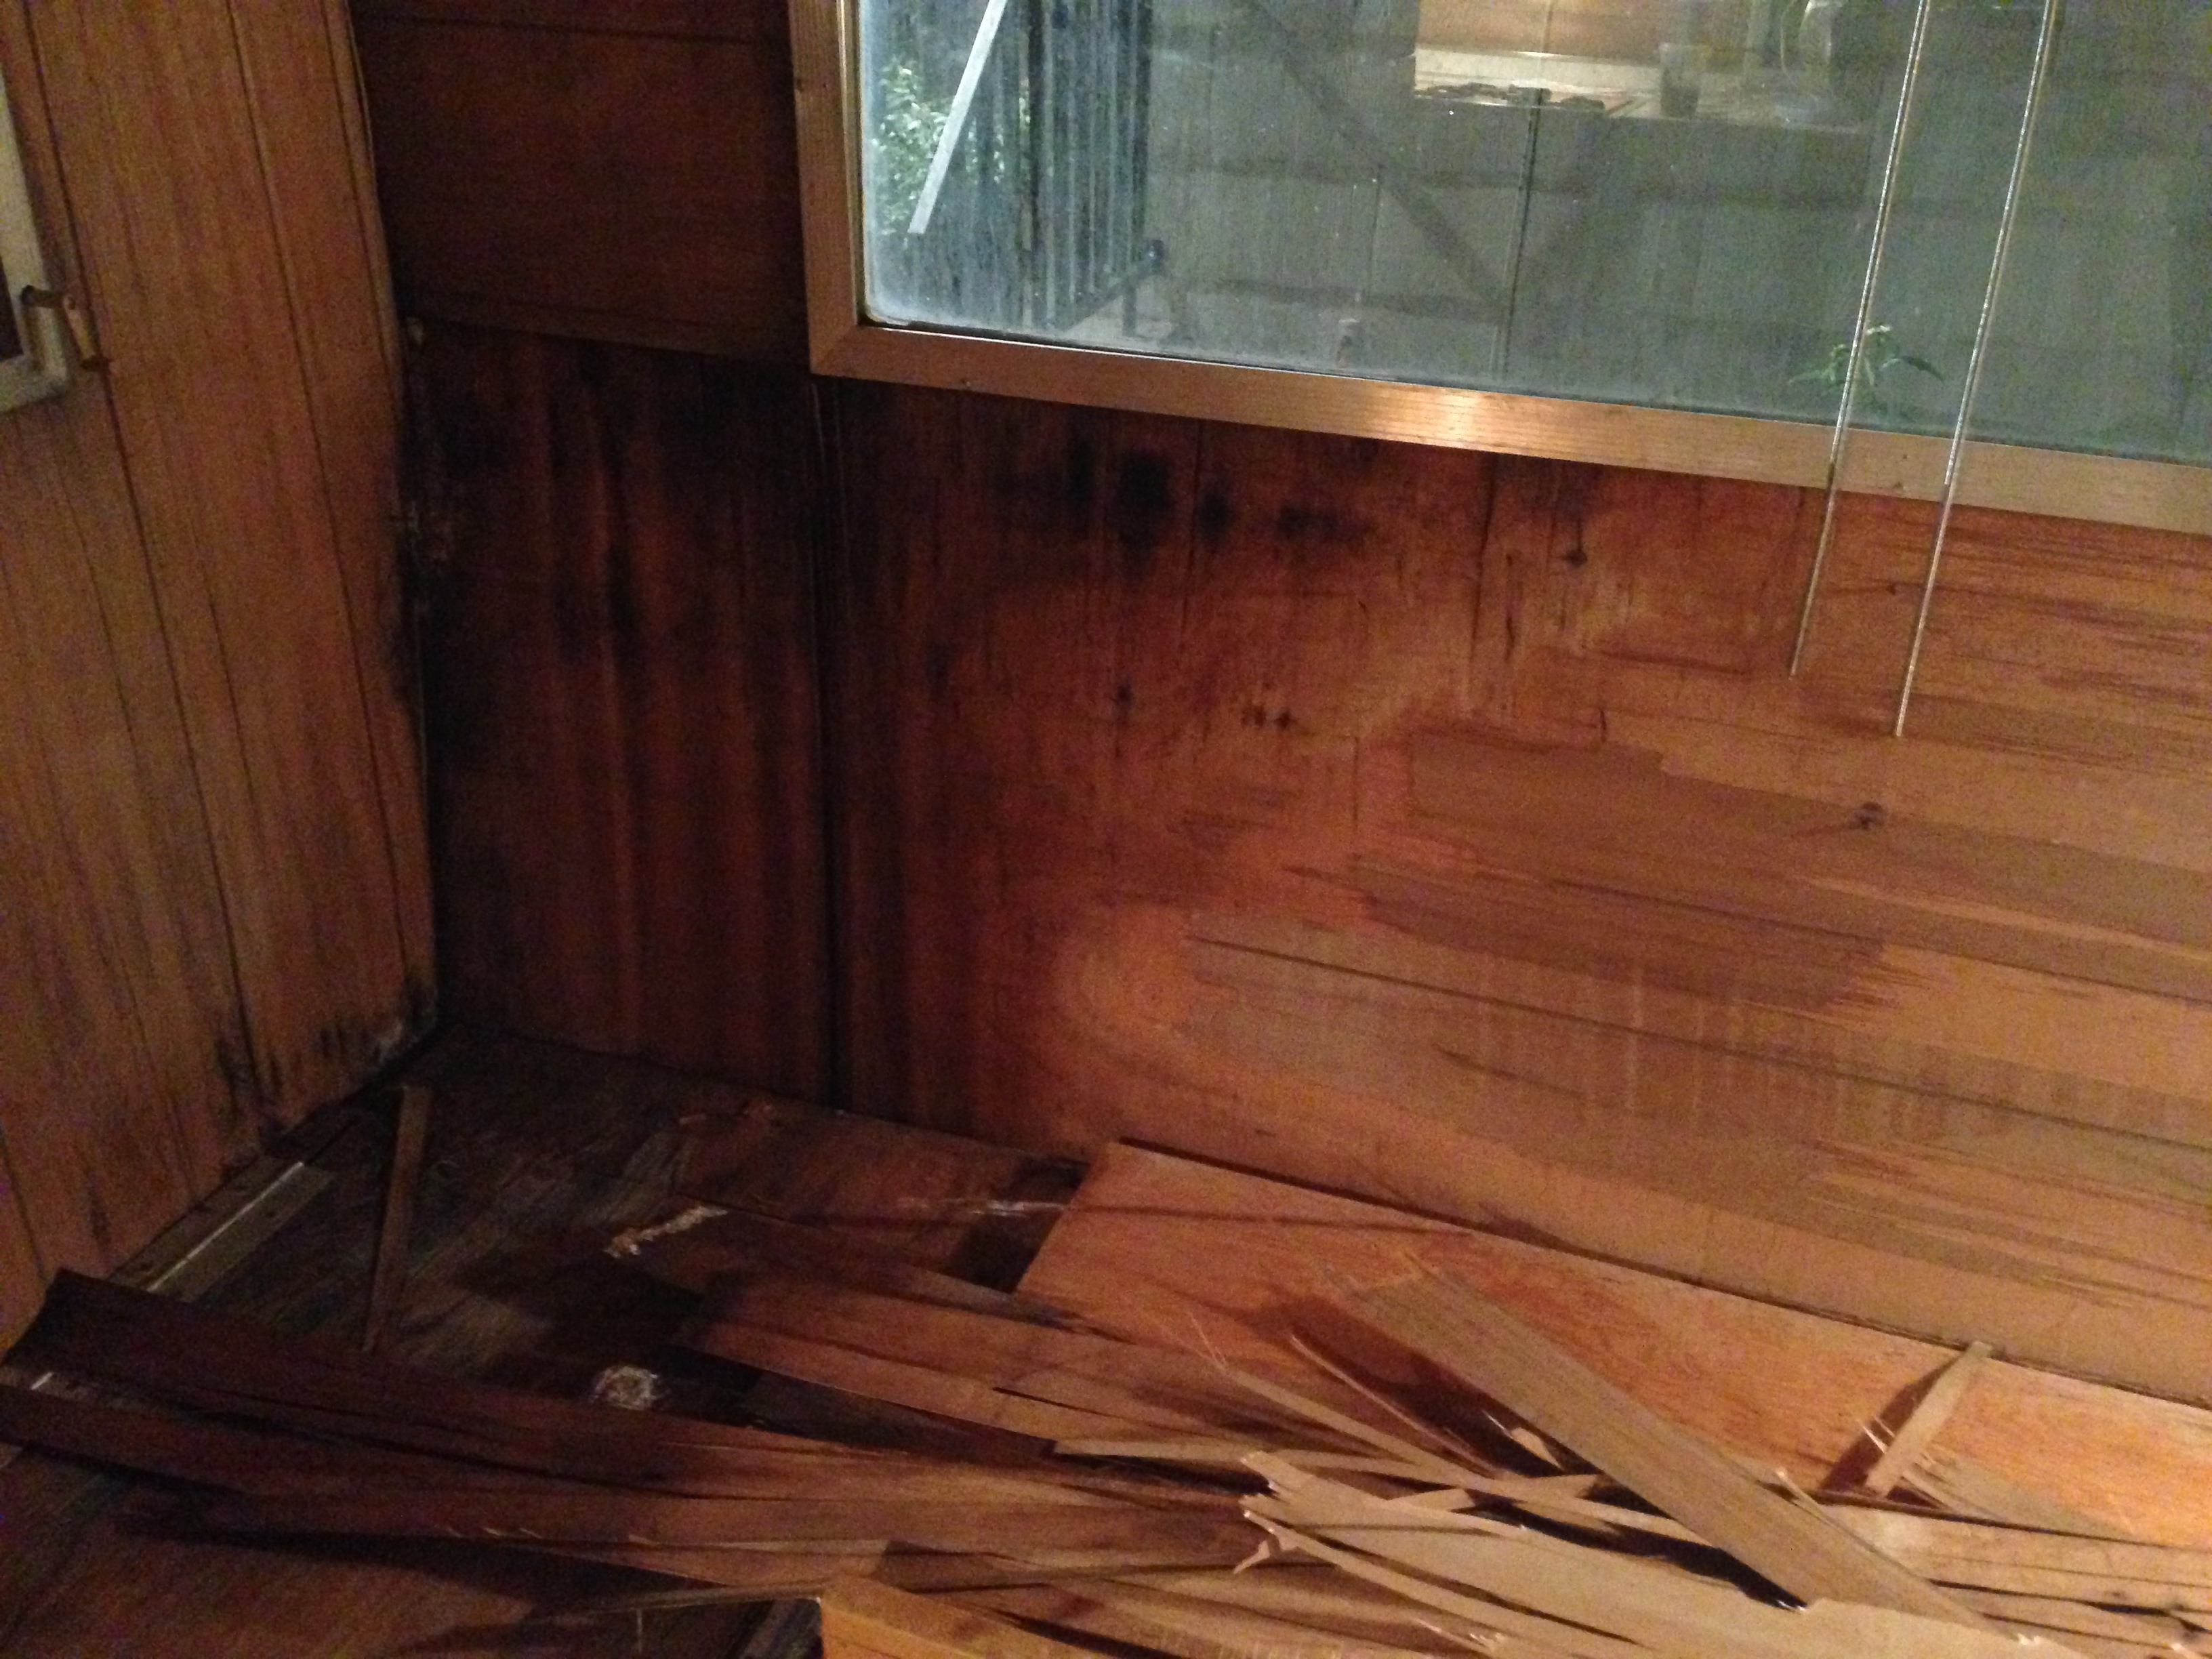
Removing the dinette cushions revealed that in some areas, the wood laminate veneer on the wall paneling was so water-damaged, you could grab a piece in your fingers and literally just peel it off of the wall… these photos are the result of about a minute of such wall peeling.
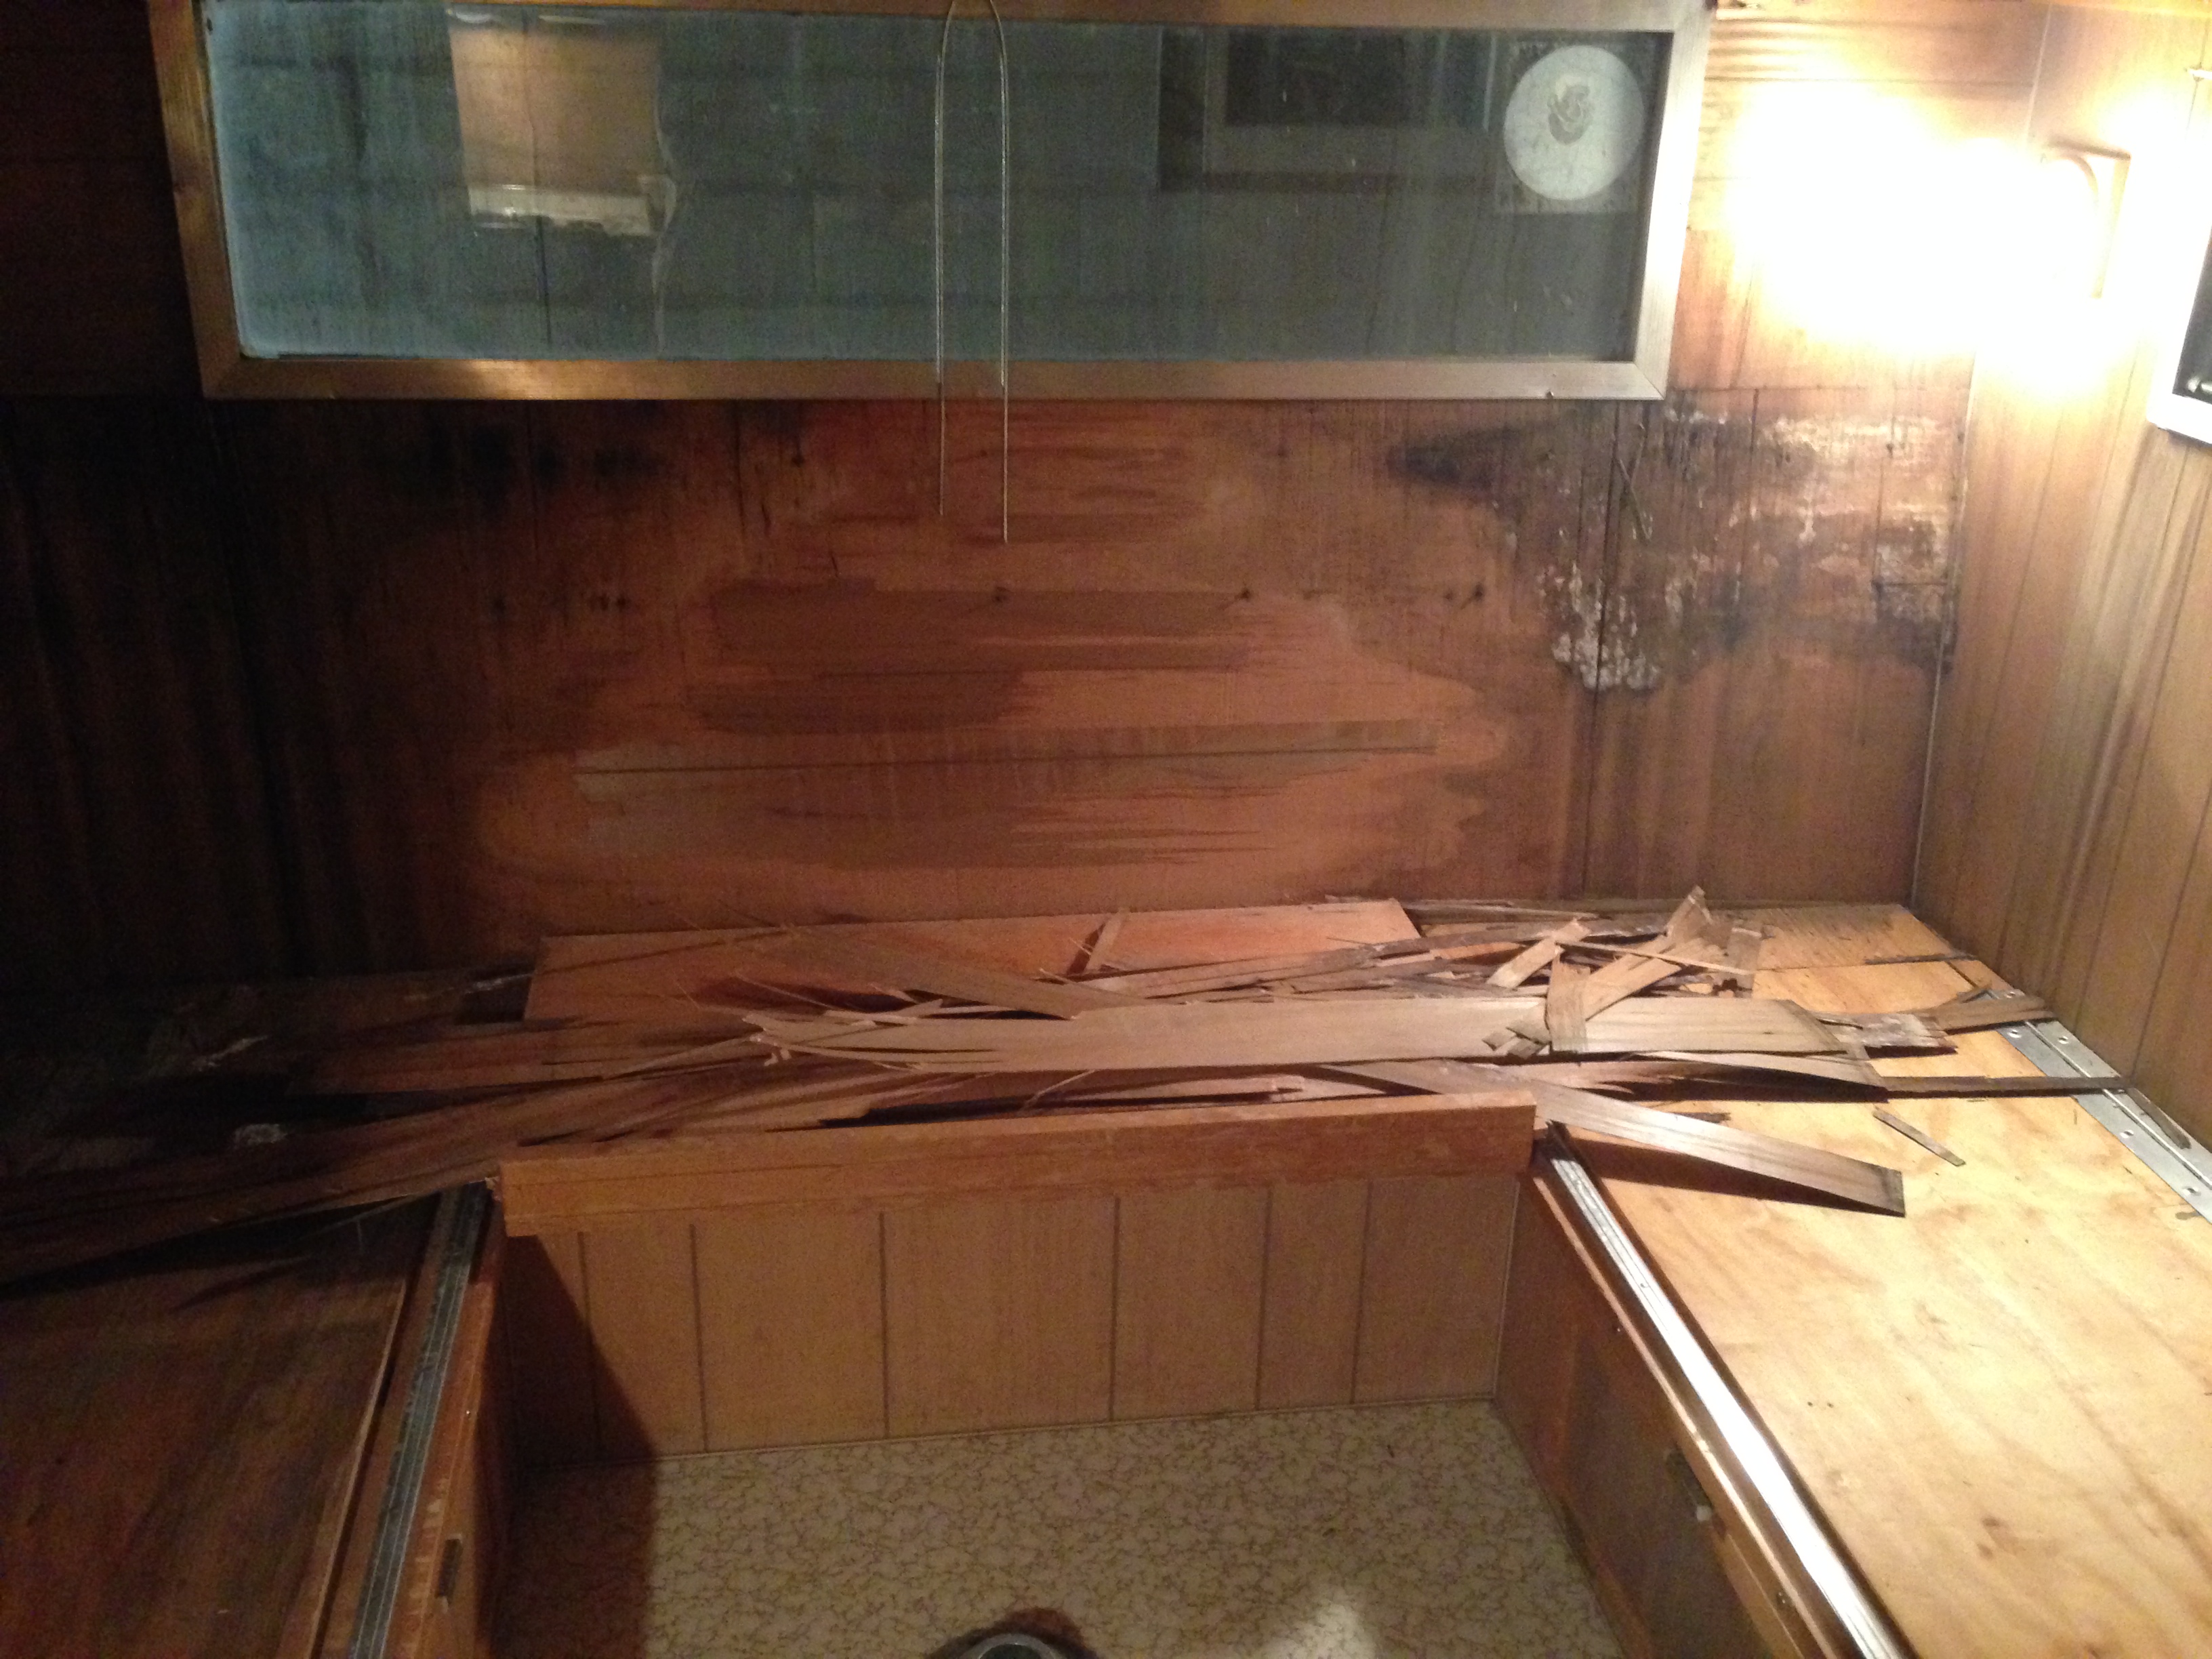
Oh yeah. There’s been some leaking.
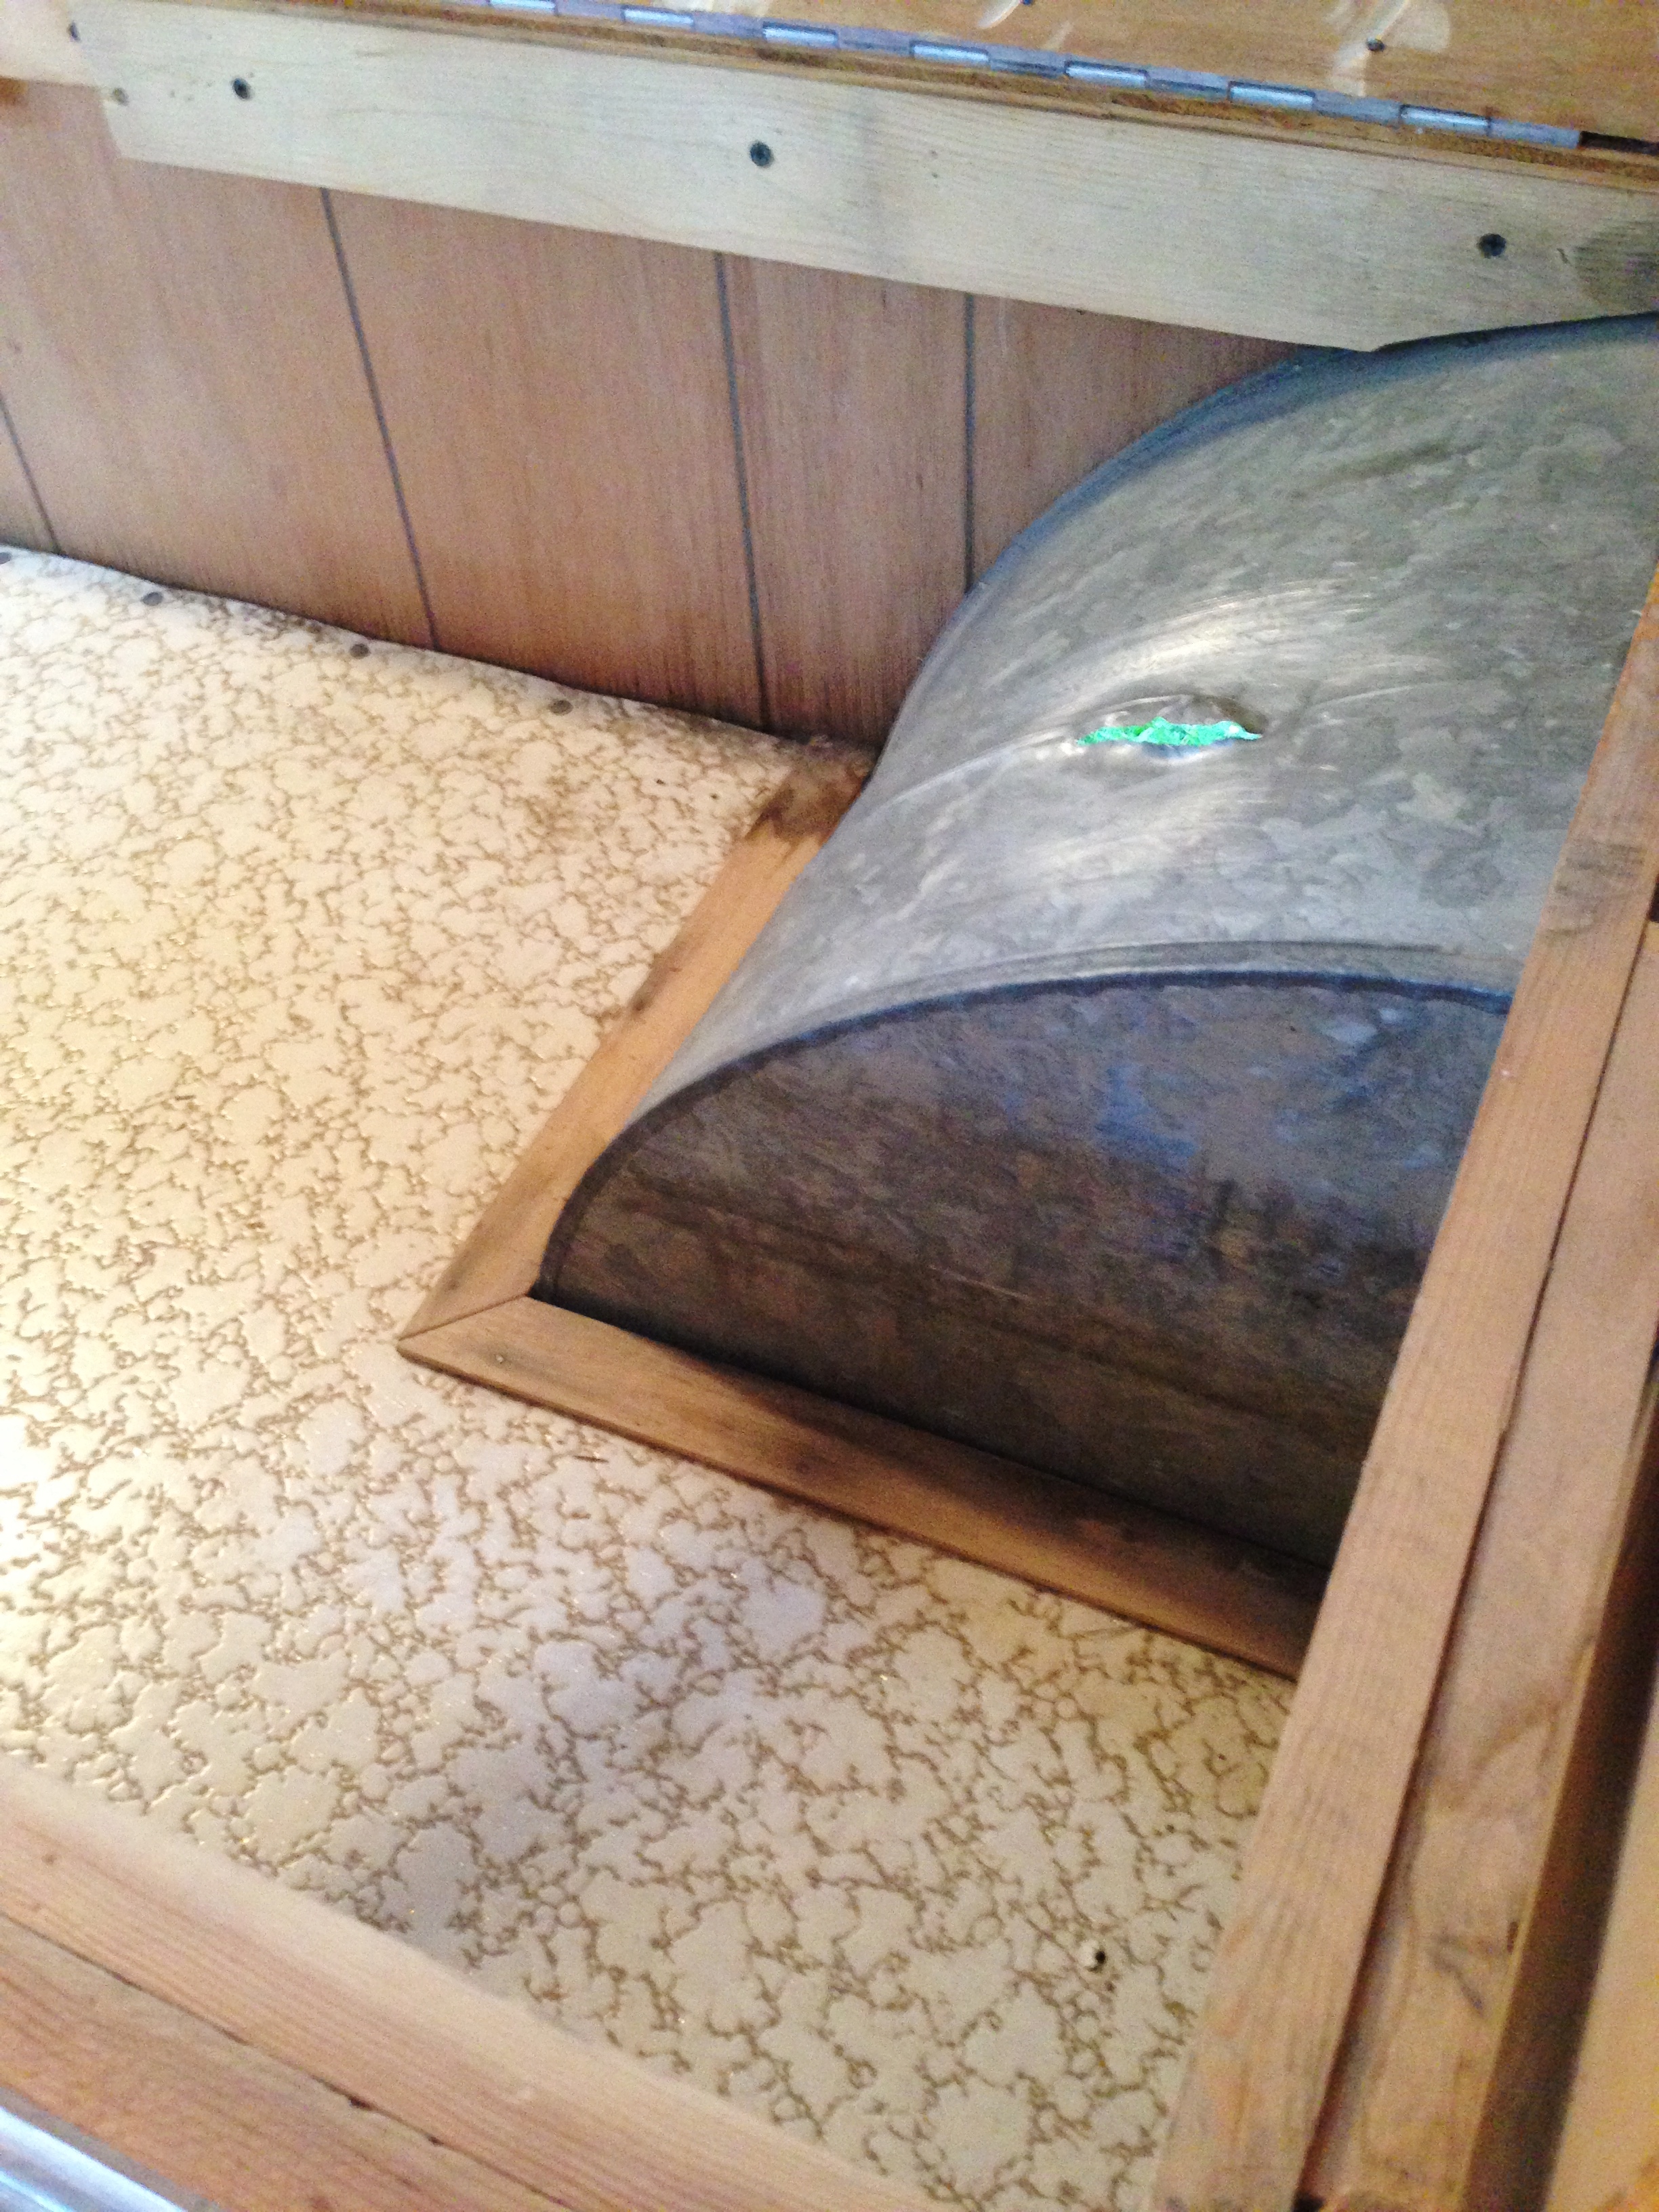
Myrtle’s roof was solid, no leaks, and the curved ceiling paneling was still in good shape, but every area in the back near a window showed signs of water damage from poorly sealed windows, (A pretty good rainstorm in the next few days showed conclusively that all of the back windows were still leaking, and I ended up removing and re-sealing all four) and I wondered how far down the walls the damage went. Looking into the under-storage compartments answered that question.
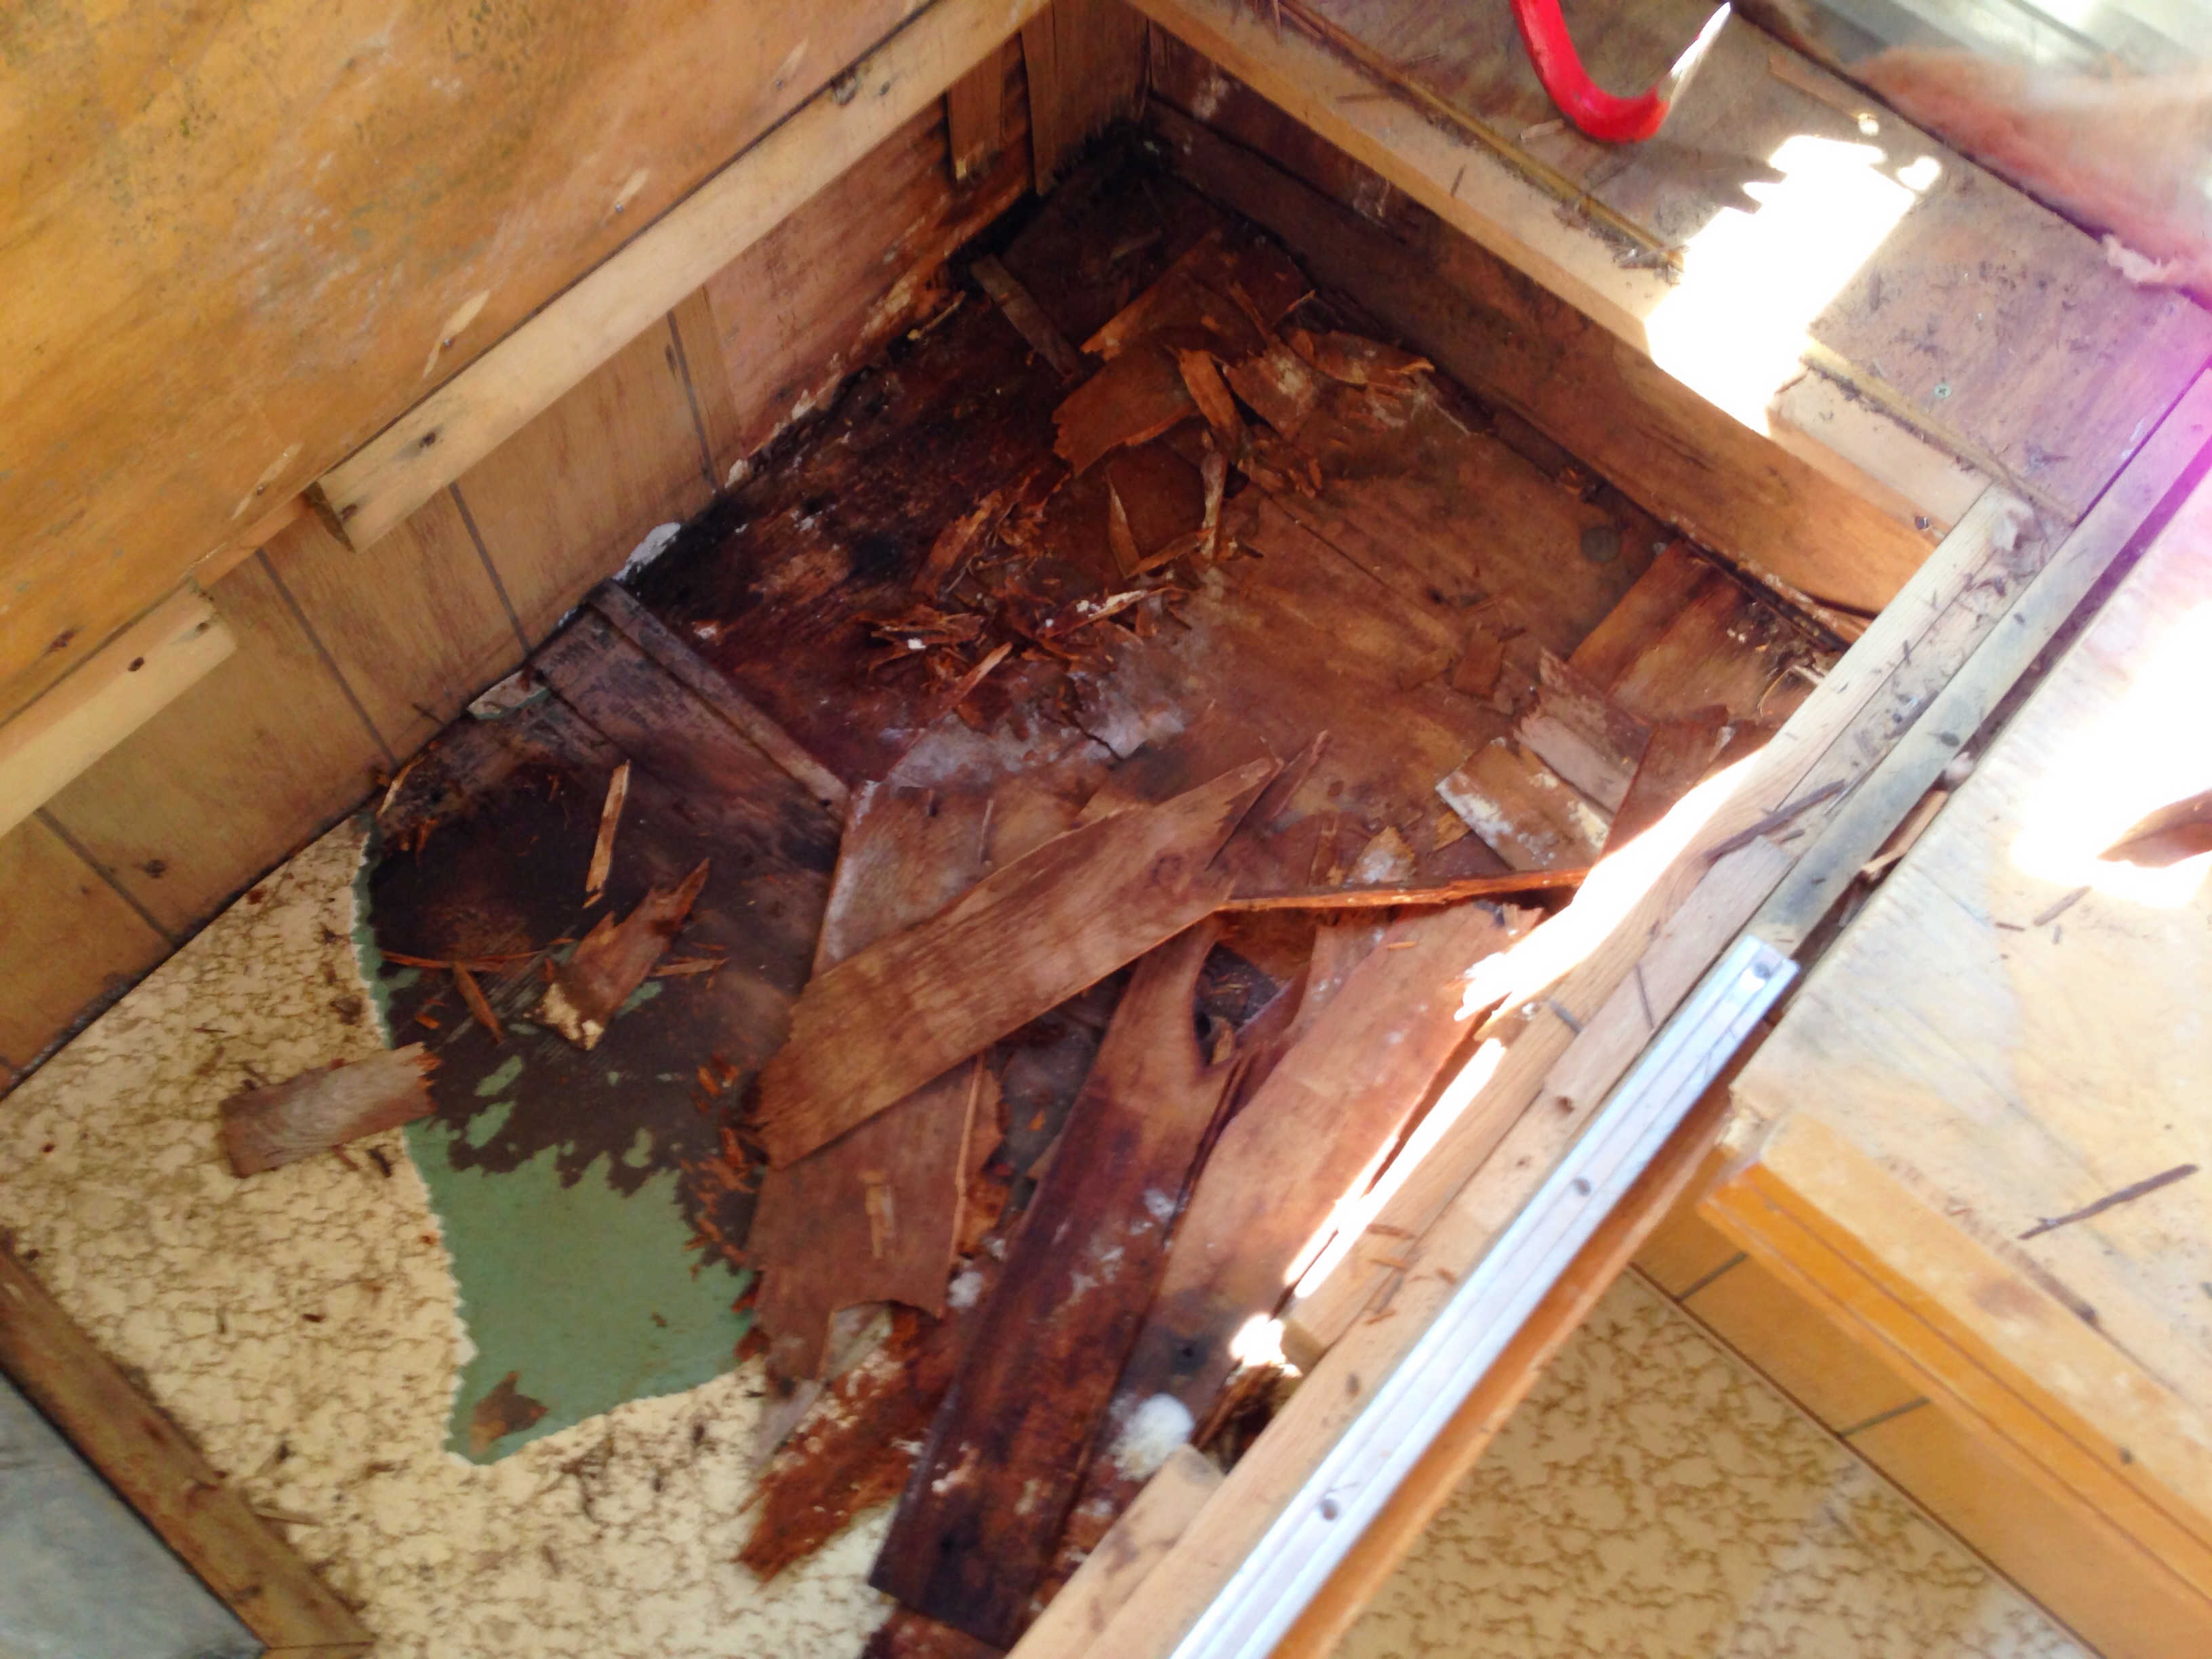
Definitely going to need some floor repairs in these back corner areas.
I’m not going to lie, the next part was exhilarating and oddly entertaining -using a crowbar and my gloved hands, I proceeded to tear hell out of Myrtle’s backside, removing every single piece of water-damaged paneling and rotting wood frame pieces. We had to replace some of the frame wood in the back, but luckily the paneling and insulation had absorbed most of the water from the leaking windows, and much of the frame wood was still solid, if discolored.
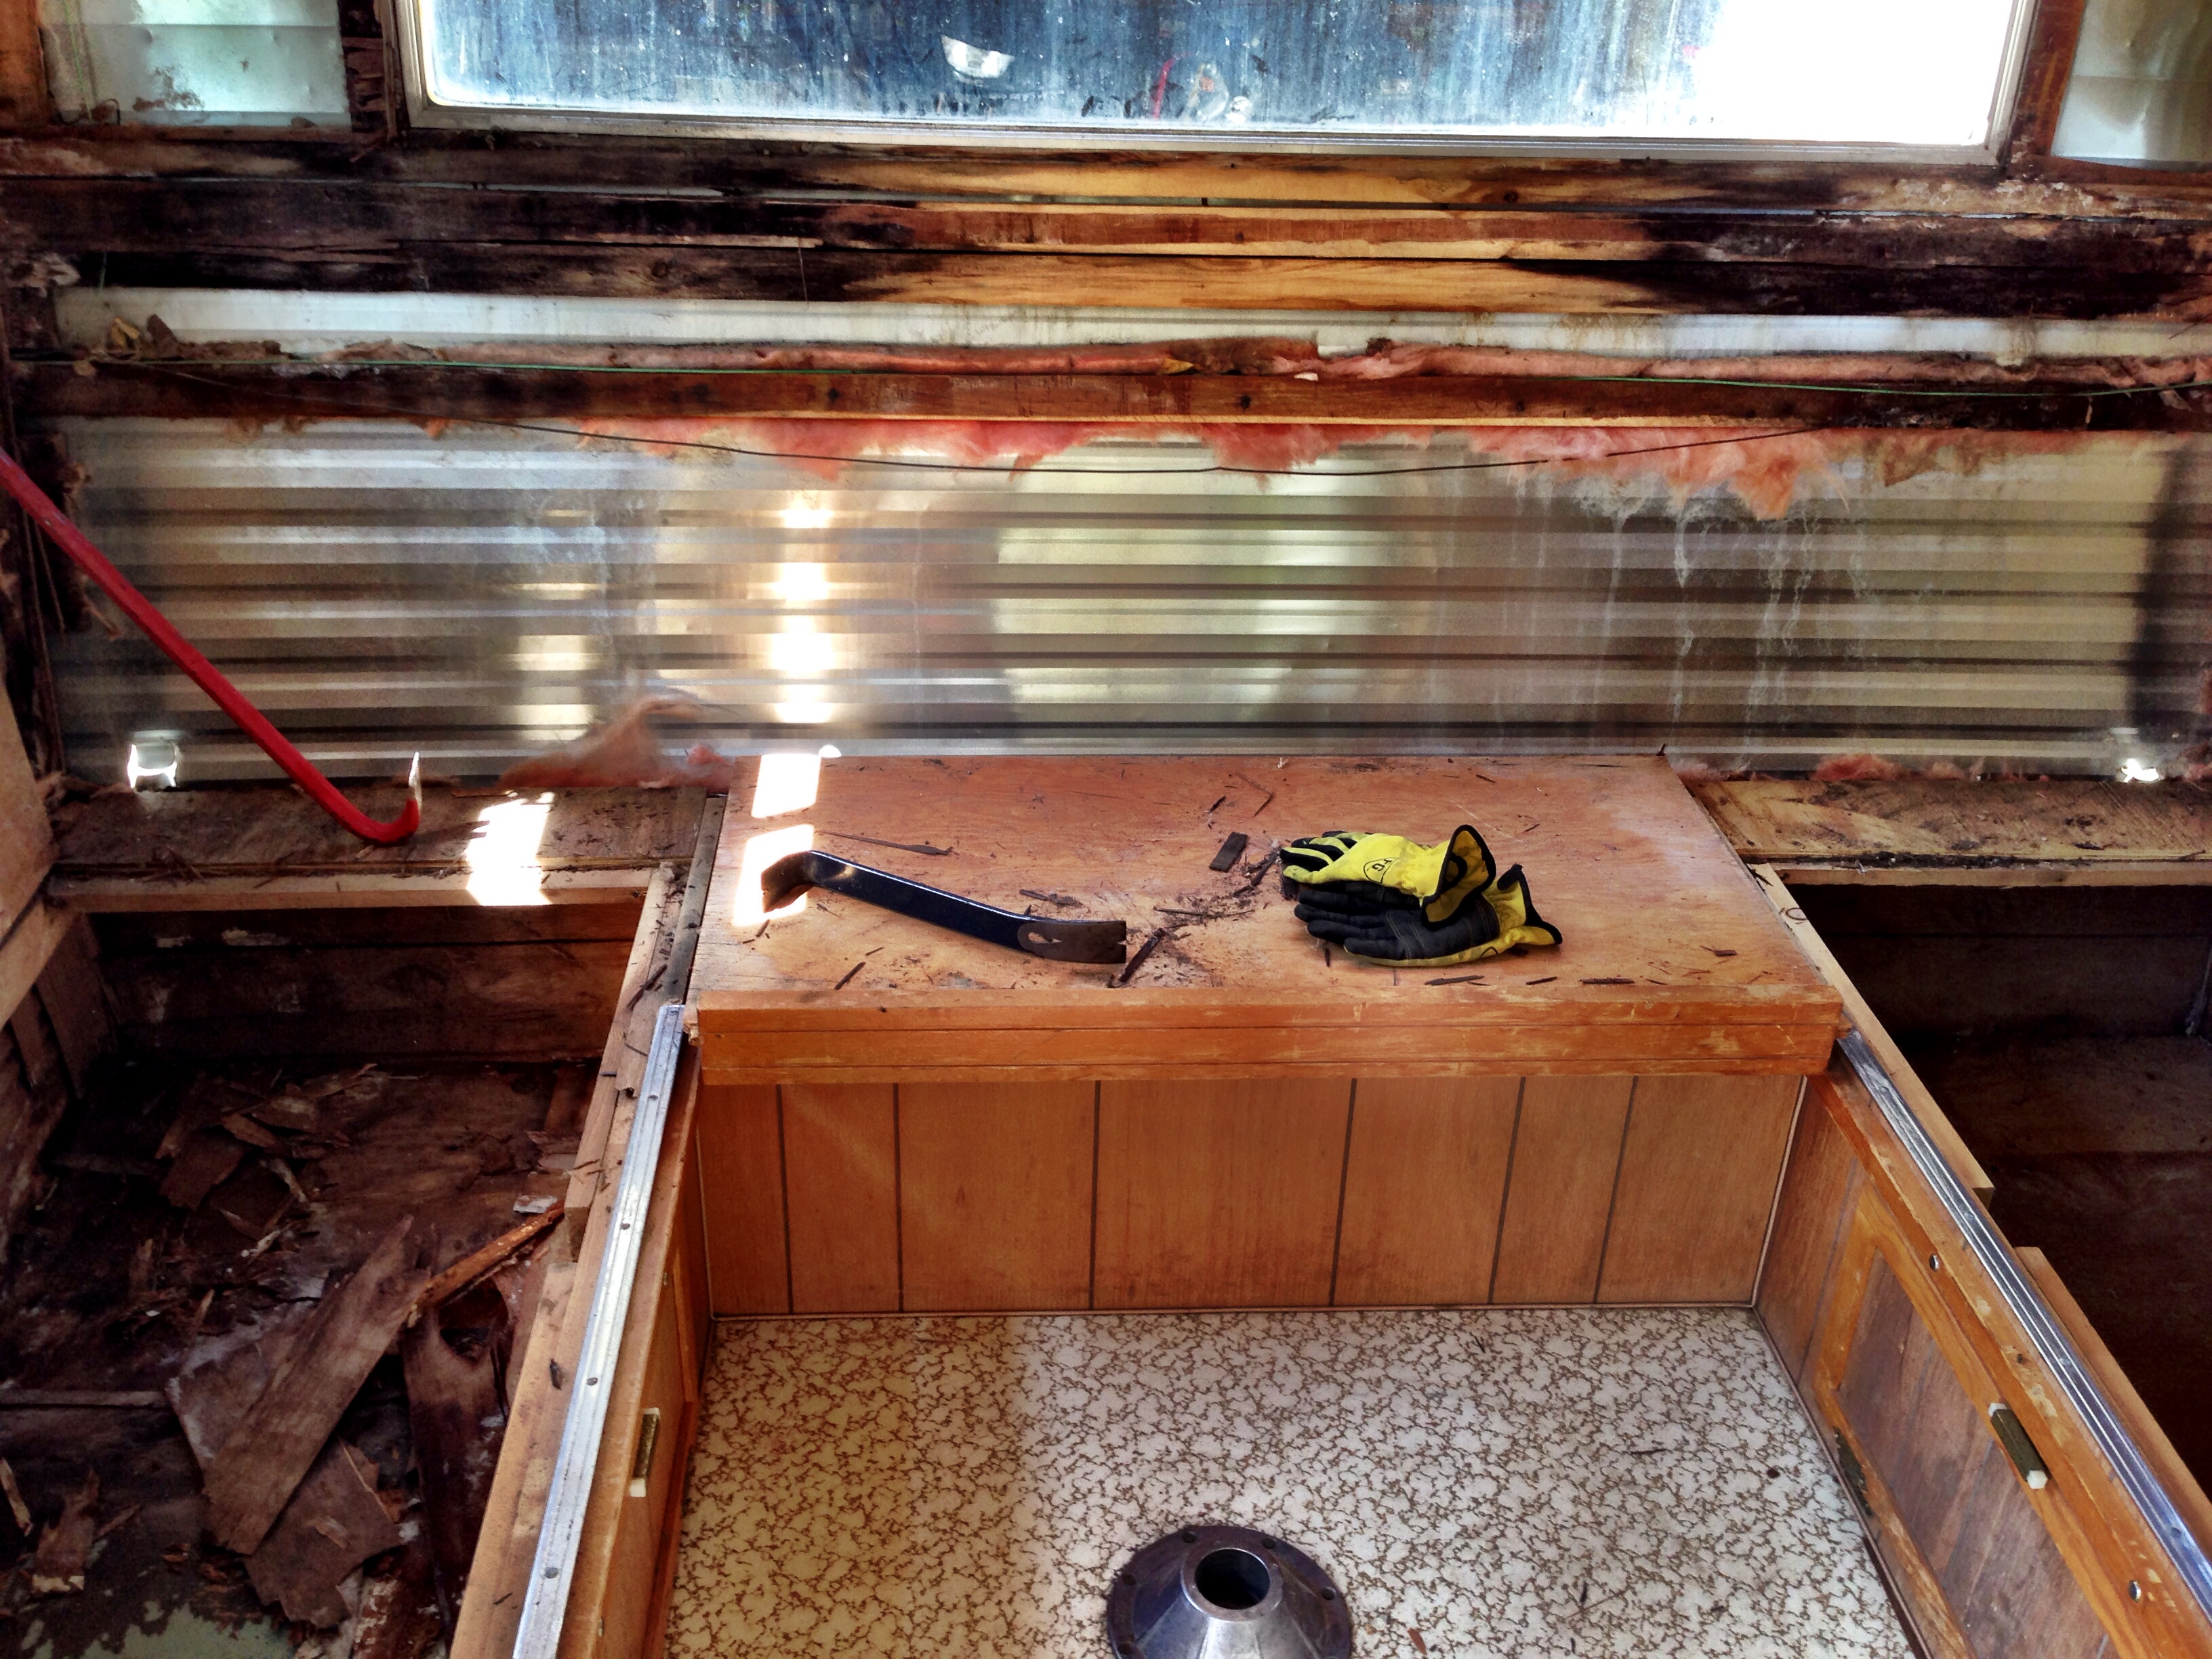
I also removed armfuls of moldy insulation…
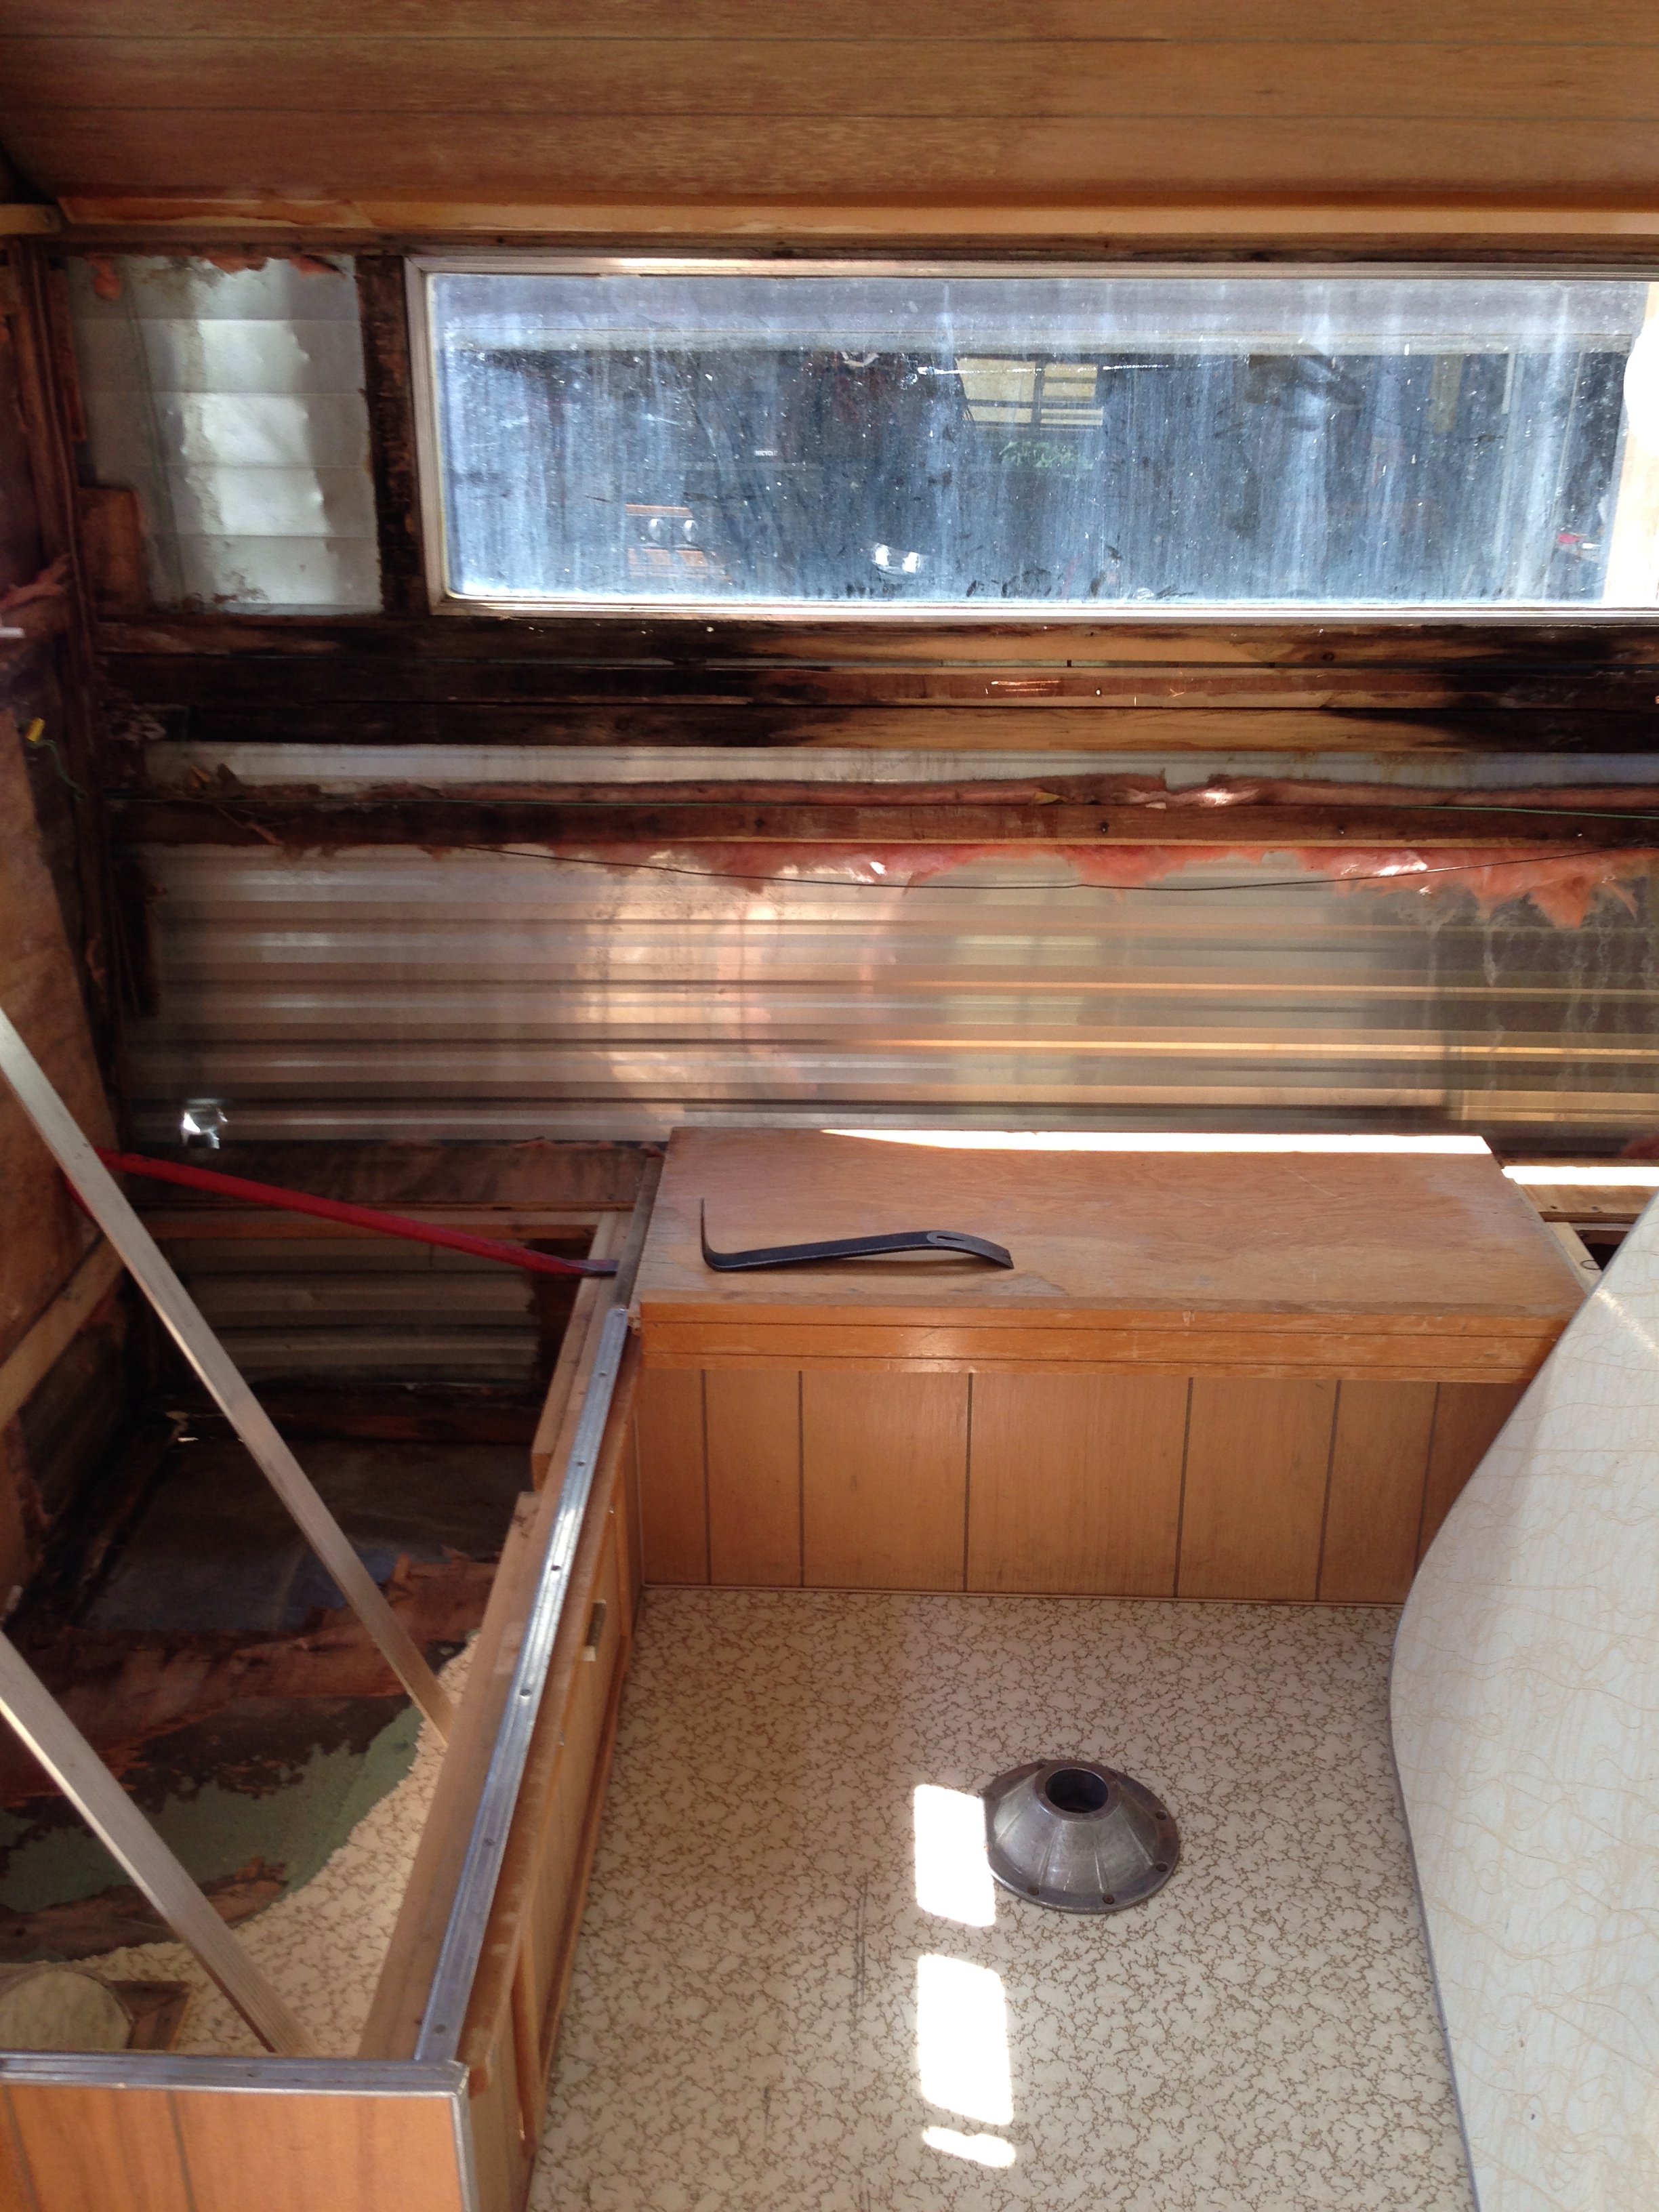
Right down to the aluminum skin
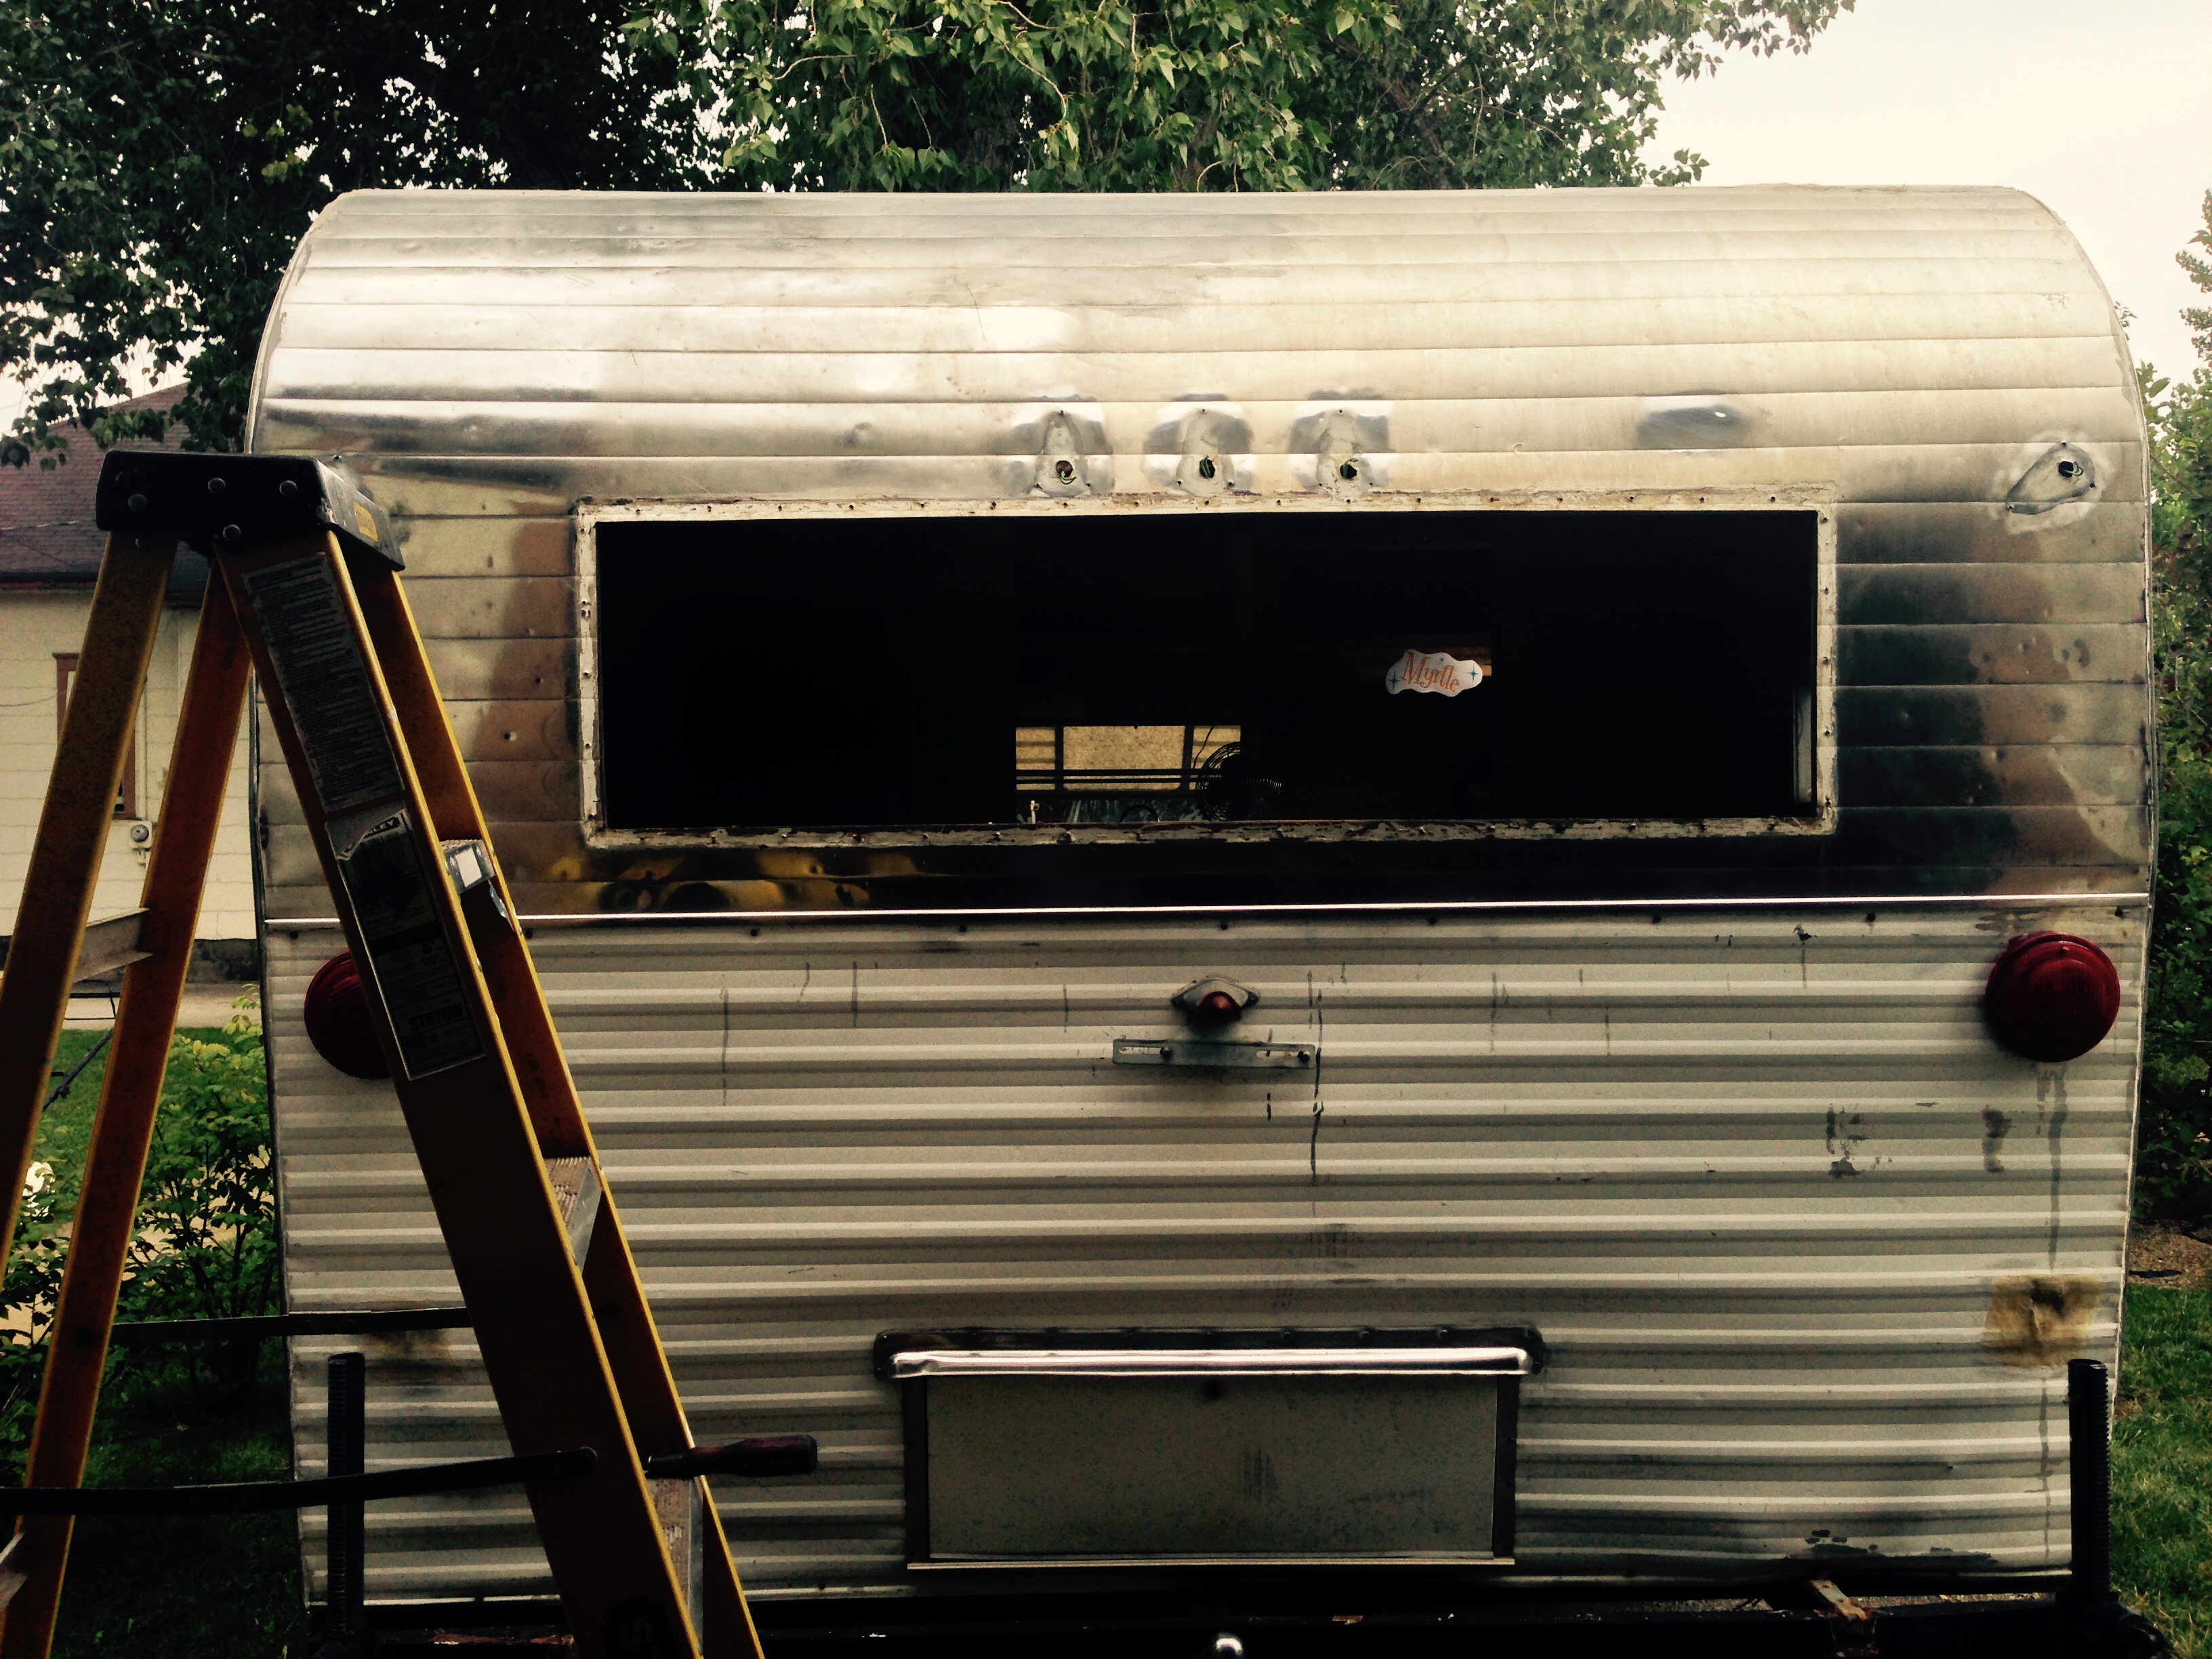
You’ll notice in the two pictures above that you can see daylight through two evenly placed holes on either side of Myrtle’s back end. Somewhere in her past, someone had installed two mighty jacks on the trailer back, welded to her bumper. They were severe overkill for the weight of this trailer (the first time we used them, we had Myrtle’s tires completely off the ground and didn’t even realize it). They were also far too large, and at some point, going over a bumpy road on the mountain I’m sure, they actually punched holes in the trailer skin.
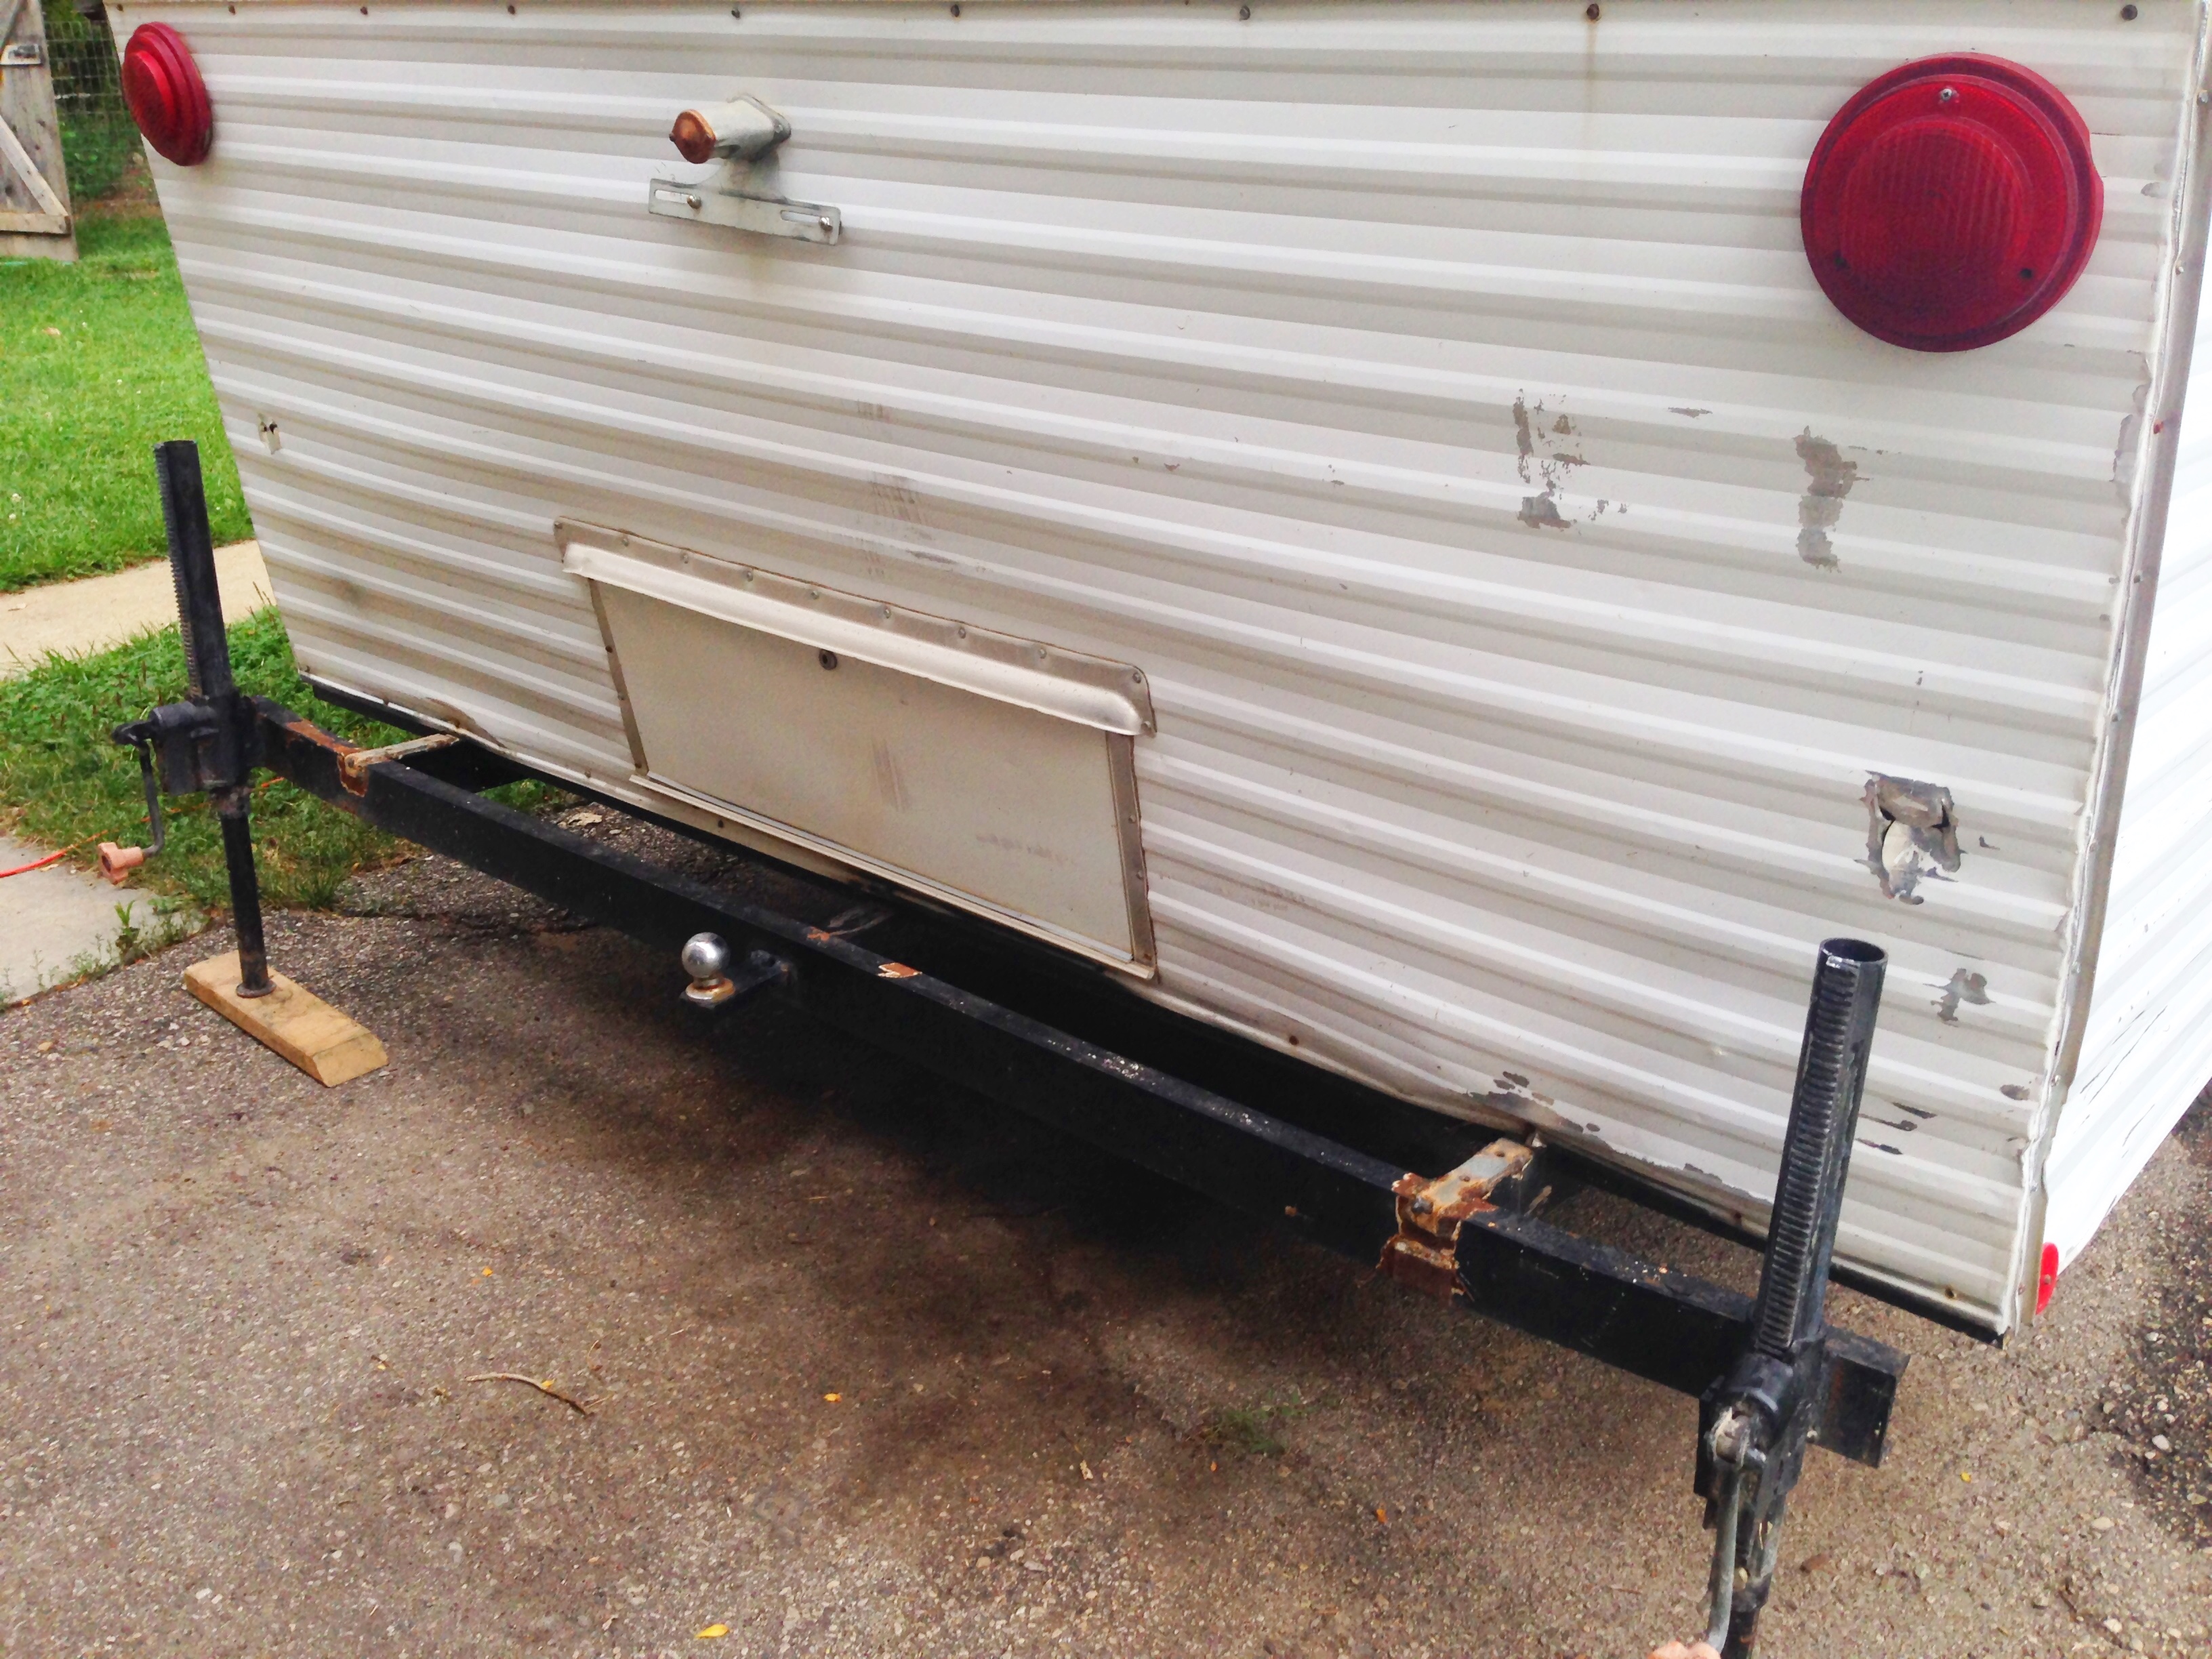
These holes will need repaired, and the jacks are going to have to go.
These were not the only holes in Myrtle’s skin, there was a good sized one on her undercarriage where something had pierced the aluminum (my husband fixed this one by riveting an aluminum patch on), and she had one more that you could view daylight through from the inside. Other than the undercarriage hole, I repaired all of these with a fiberglass resin patch kit.
You could see the grass she was parked on right through the hole in her wheel well.
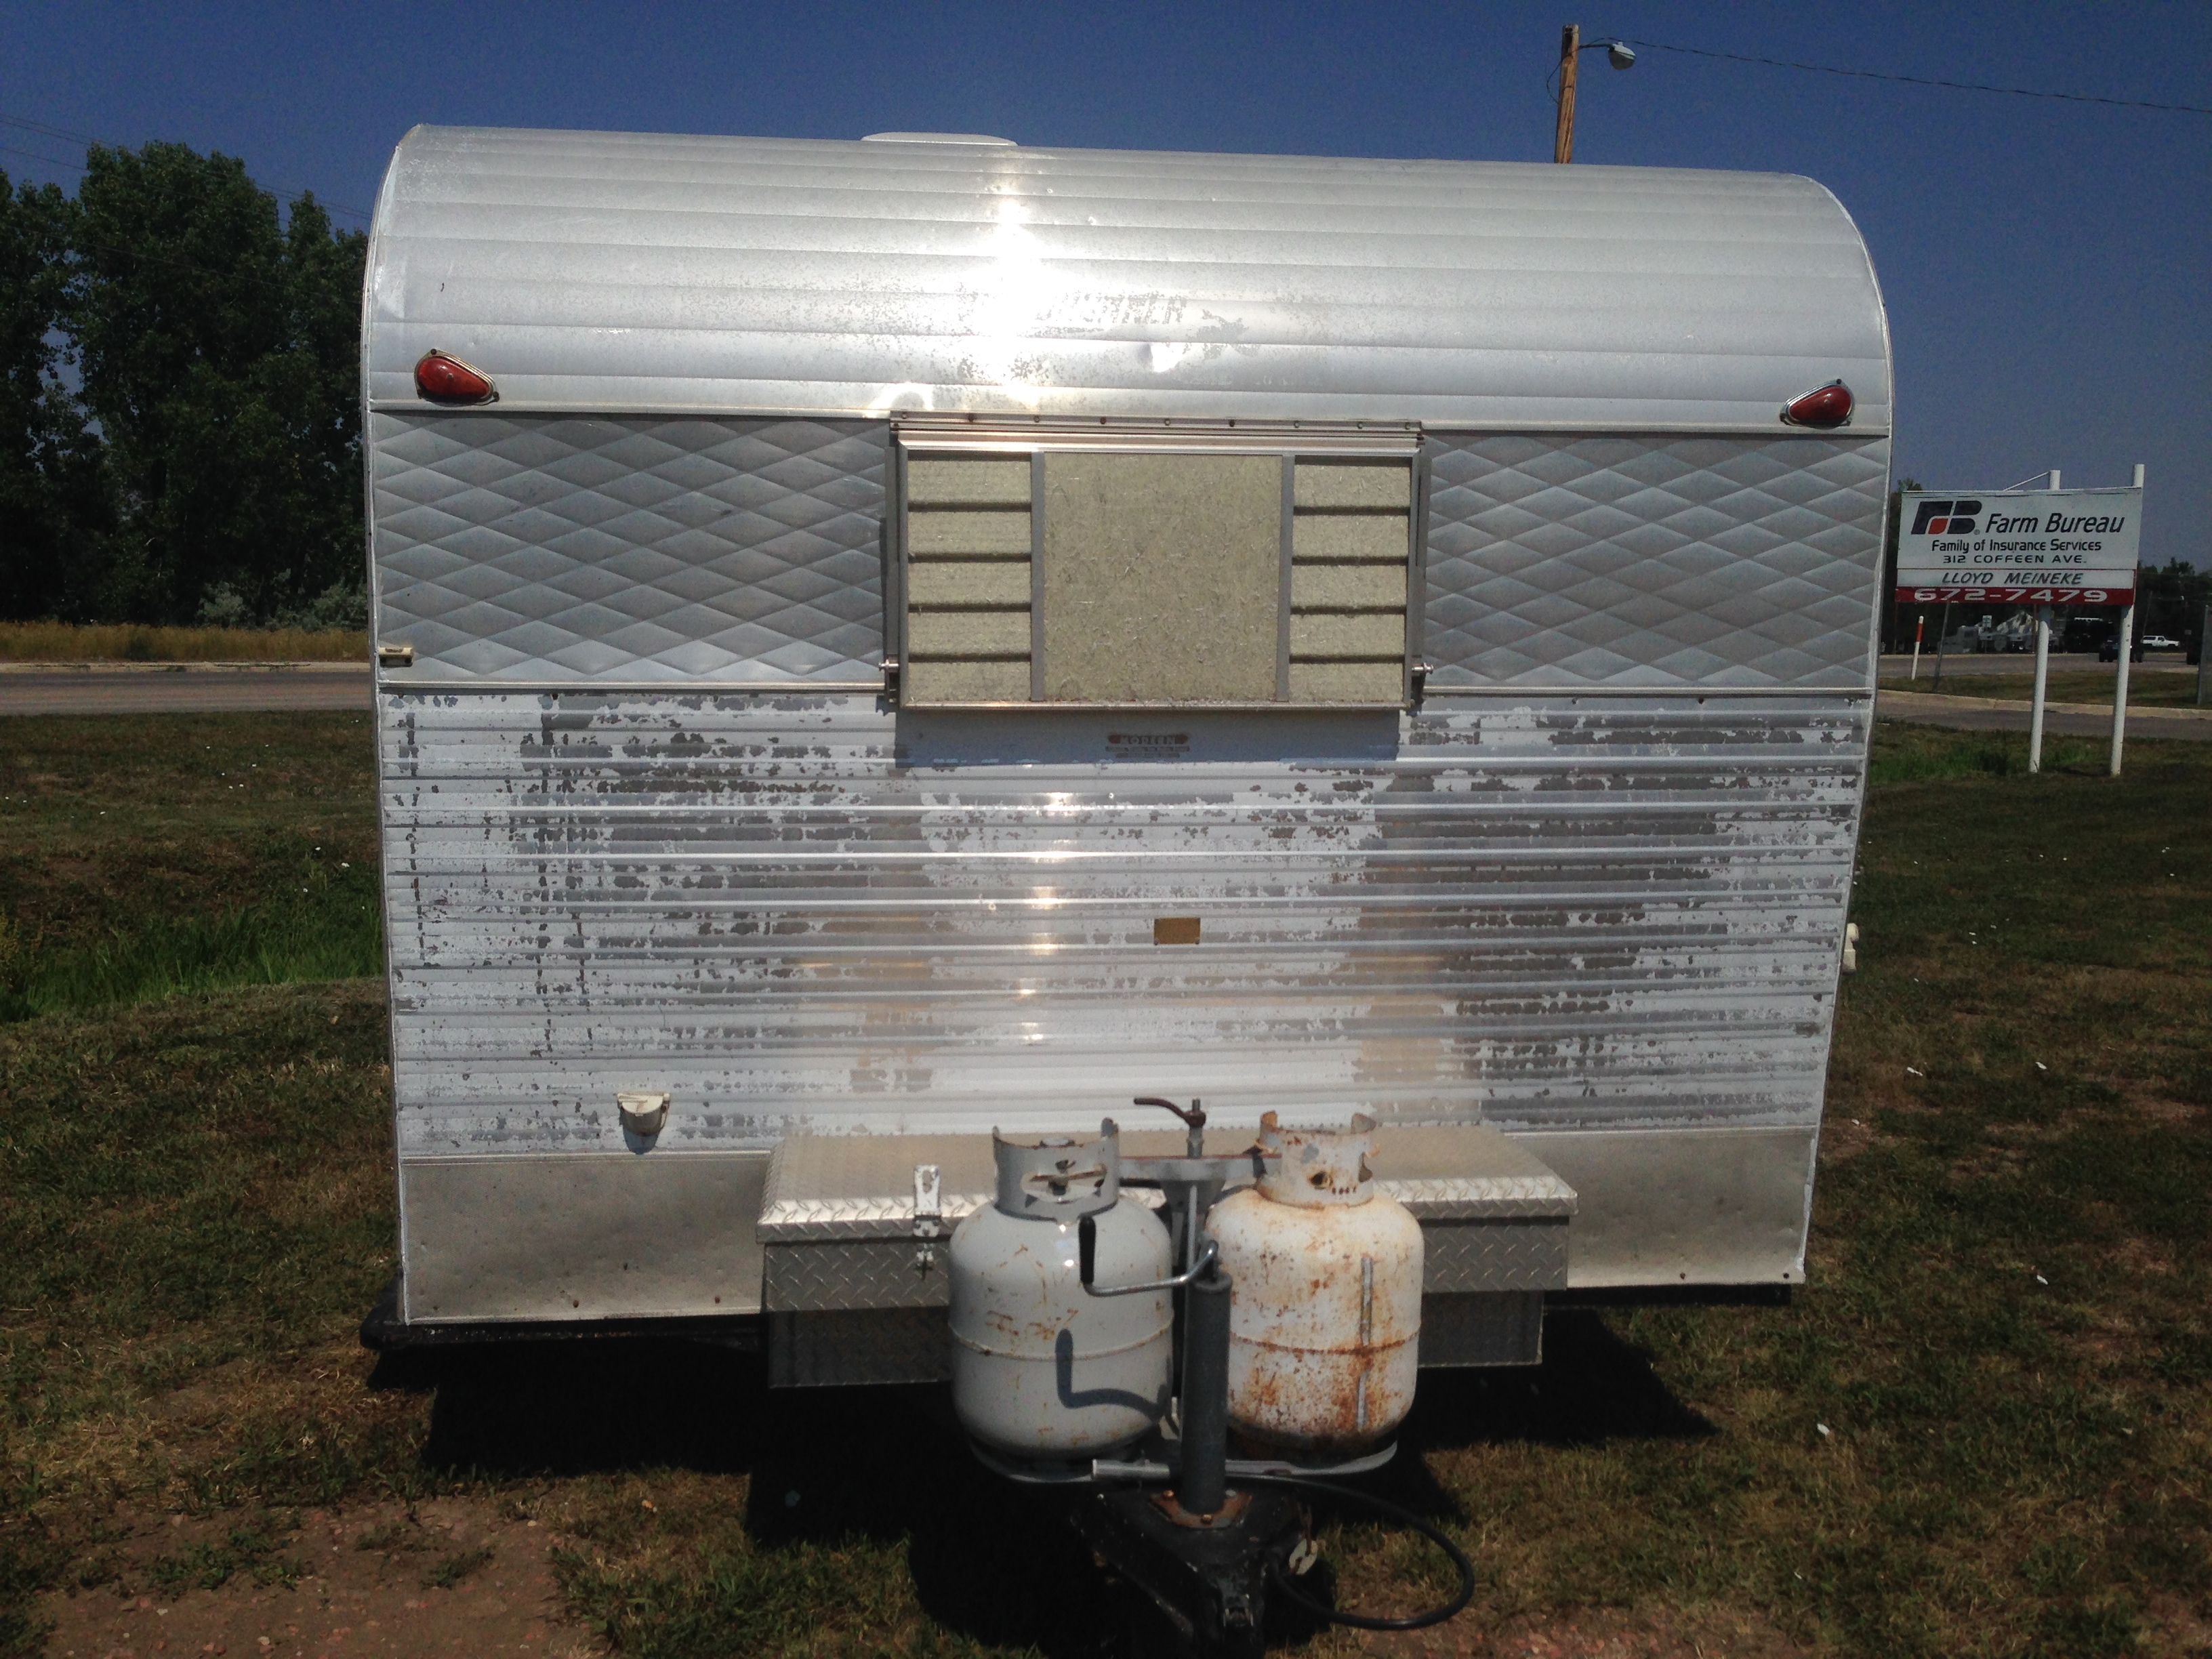
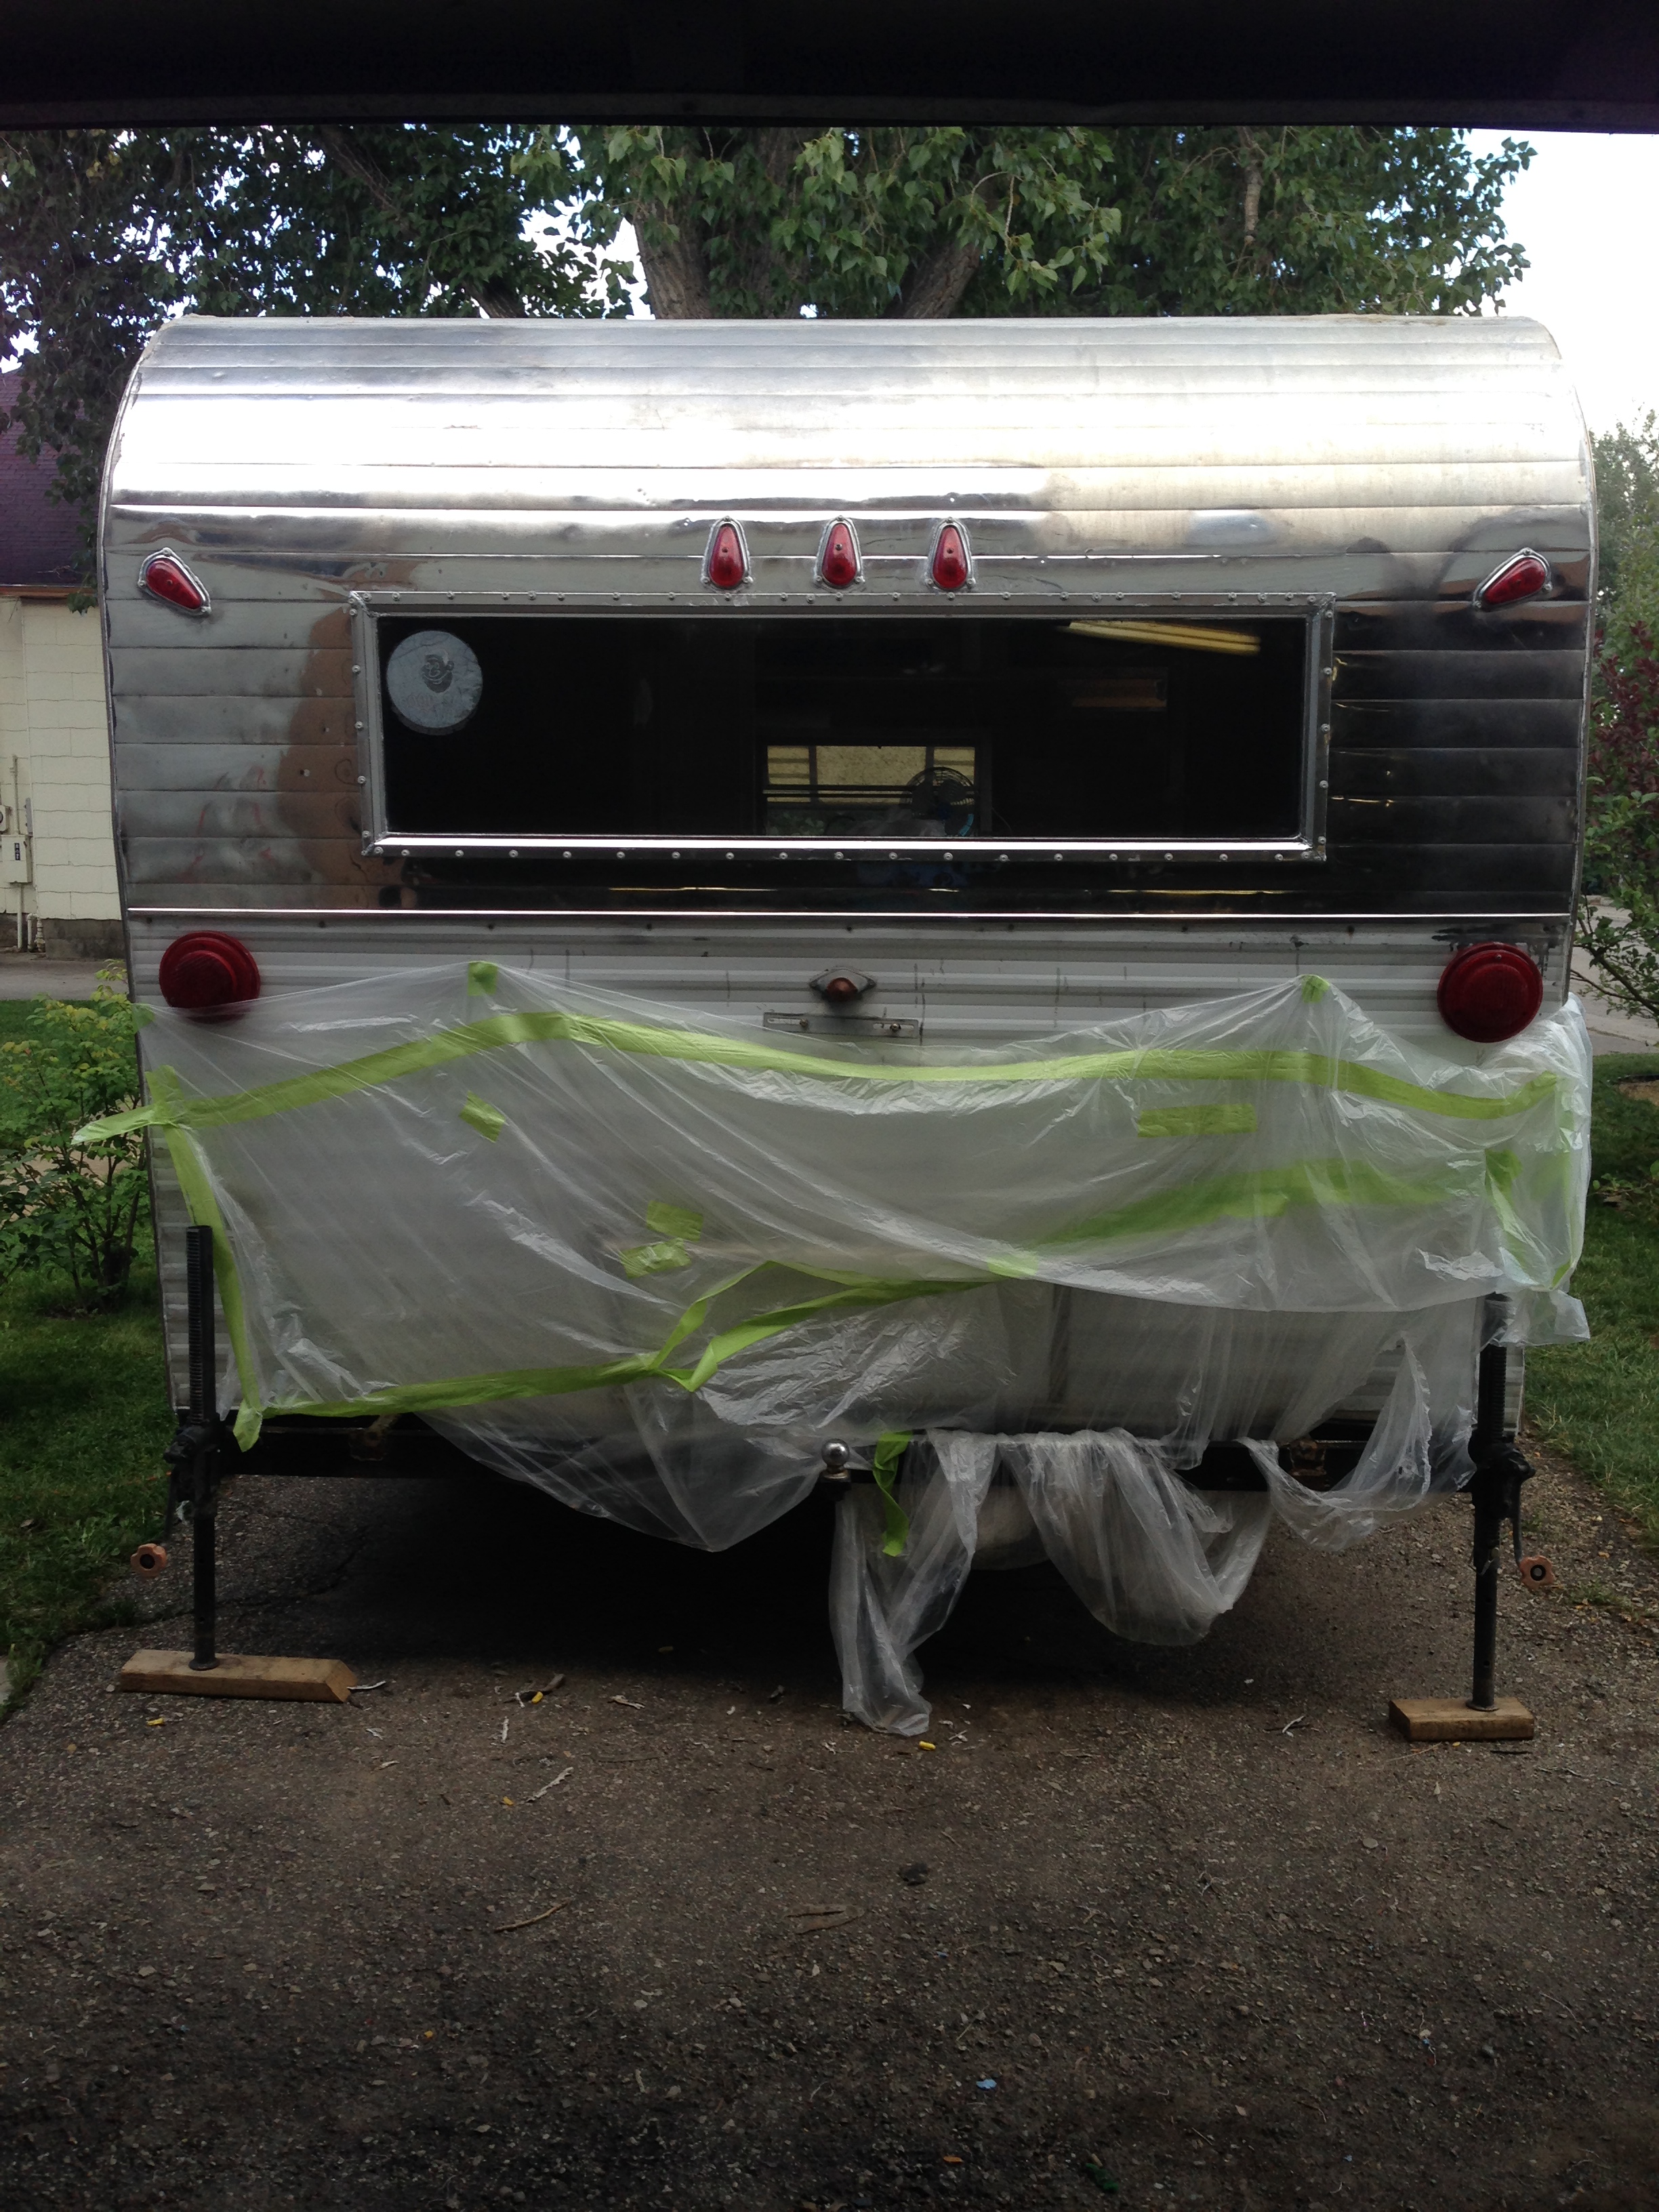
Once we’d established the extent of water damage in the camper, which was thankfully confined to the back section only, my husband moved on to the electrical wiring and worked on getting all the running lights functioning correctly, while I tackled the exterior. When Myrtle came to us, weather and the elements had left her practically devoid of paint on her front end, and her original quilted aluminum top trim and pressed chrome bottom strip were dull and in need of a good polishing. On the plus side, she was still sporting her original, fiberglass window awning -in perfect working condition!
That truck box had no business on my vintage travel trailer. Every time it was opened, it scraped along Myrtle’s aluminum skin… I gave it to my husband for his motorcycle trailer. (On the condition that he would unbolt it and get it off my poor Myrtle forthwith! 🙂 )
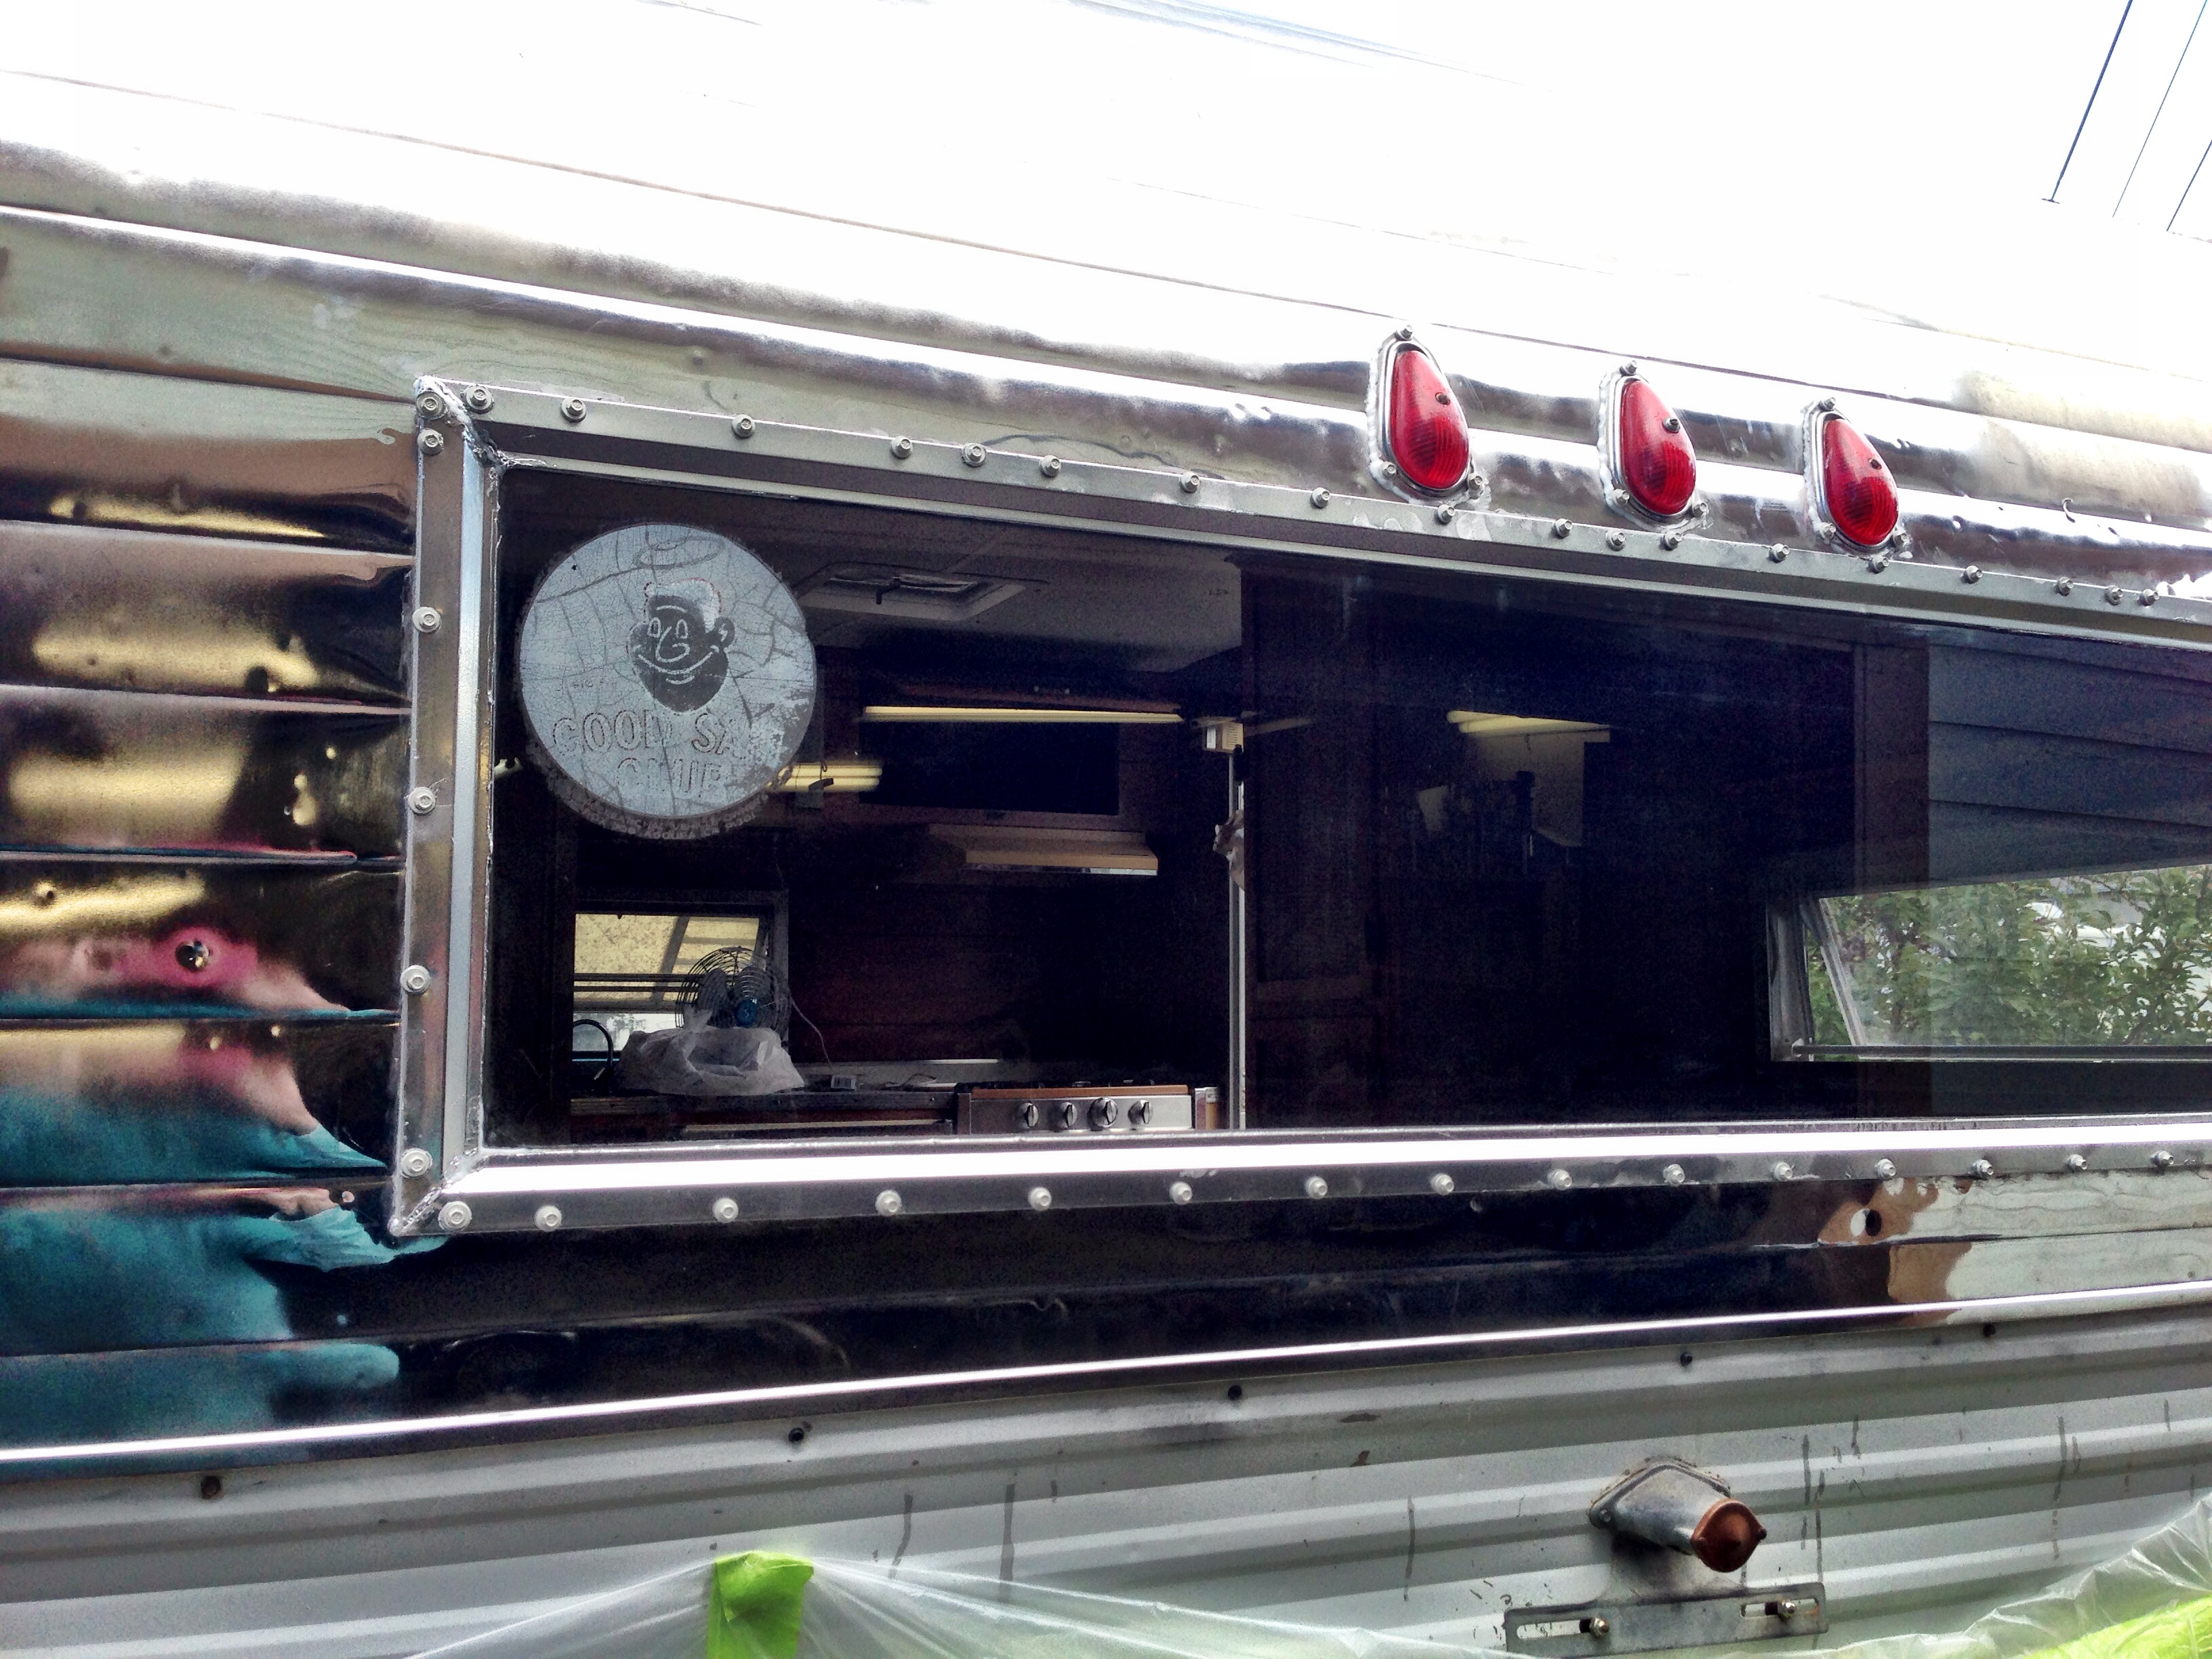
Her back side had practically no paint left on the top section -what it did have was an abundance of a black, tar-like substance that someone had used to try and seal the leaks in the back window.
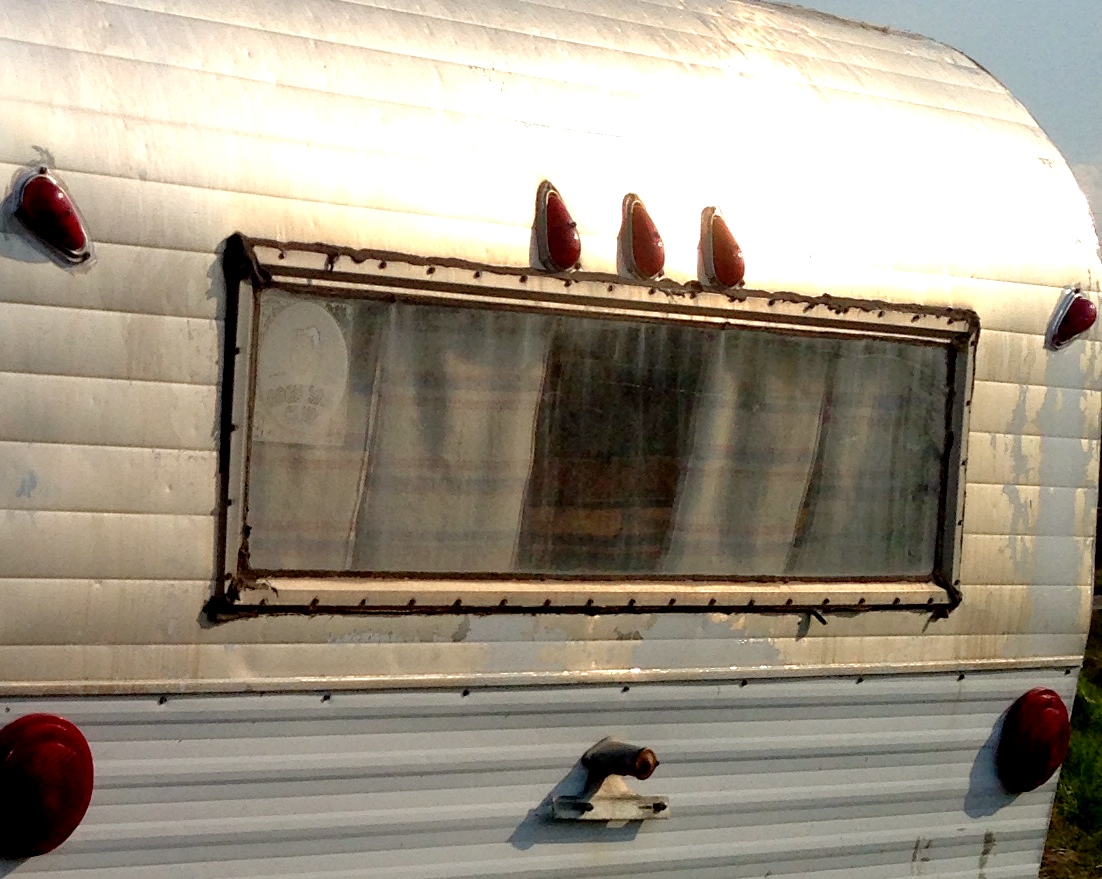
The black tar-goo definitely marred Myrtle’s good looks, but was doing nothing to stop the window from leaking!
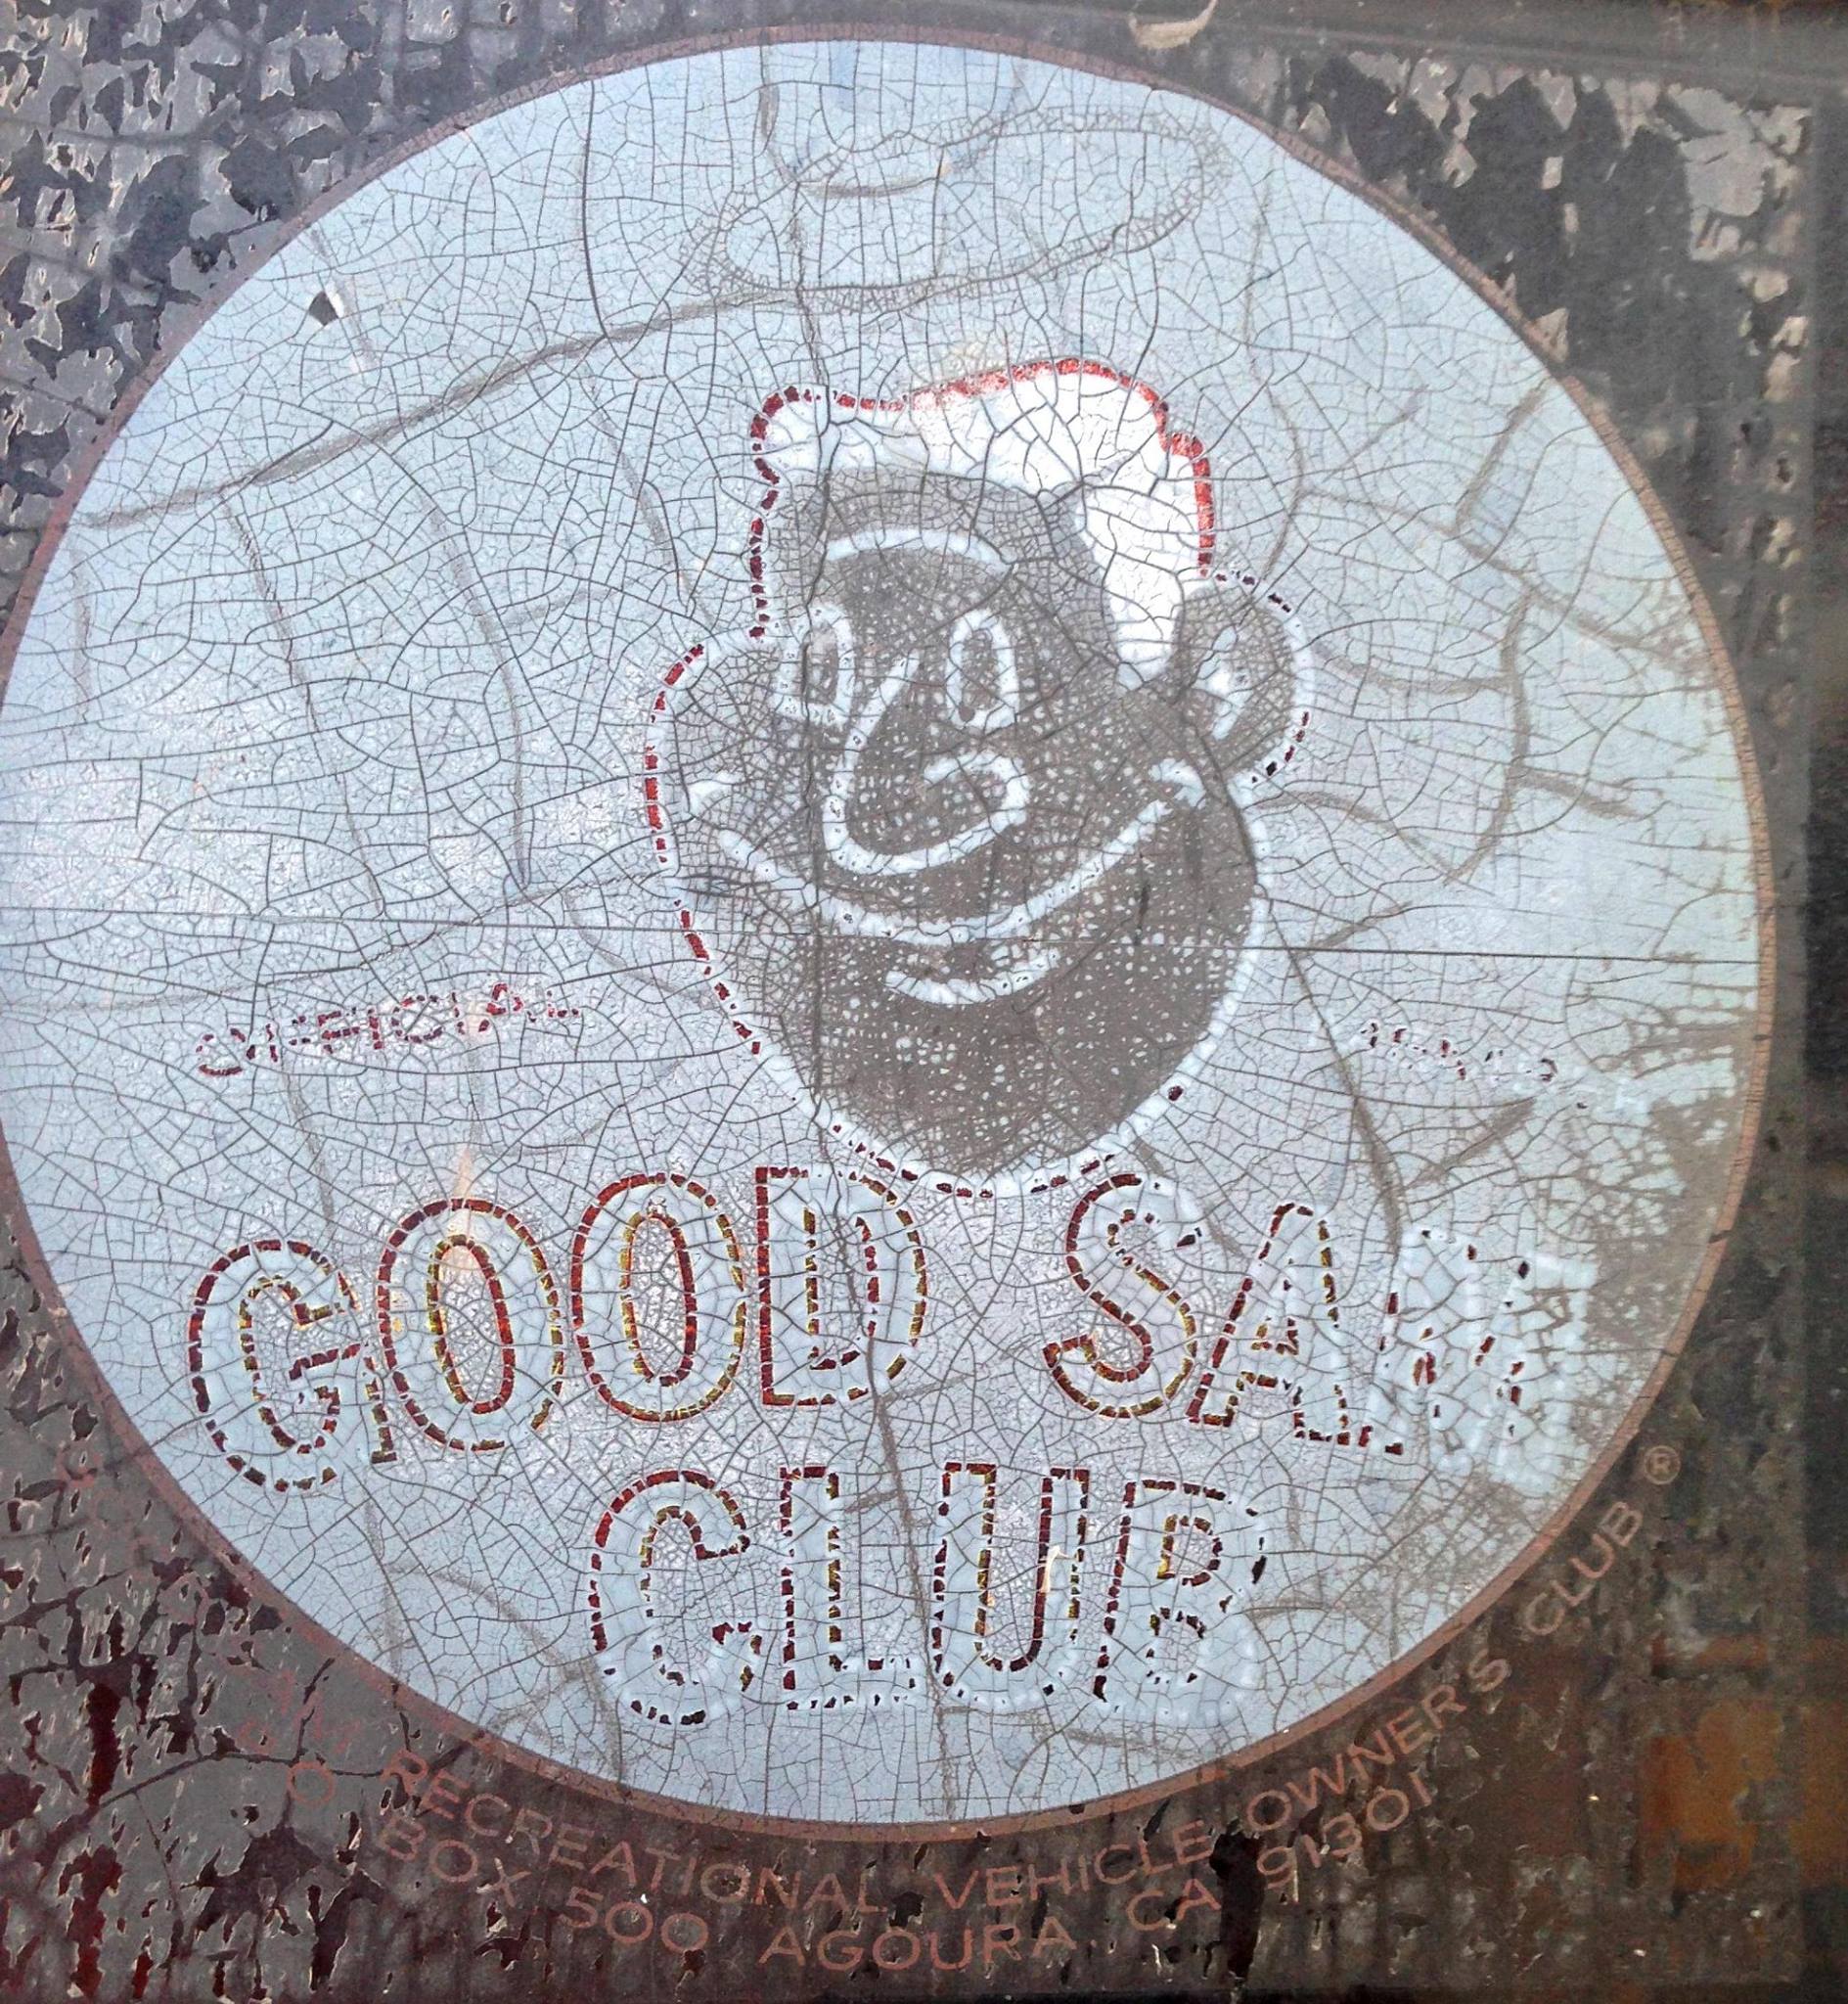
Myrtle was also sporting an early 1970’s version of the Good Sam sticker on her back window; I’m keeping that in place for character 🙂
The remnants of only minimal remaining paint on Myrtel’s backside enabled me to envision what she would look like with that portion taken back to the original aluminum, instead of being repainted with the rest of the trailer. Having, at the time, no idea of what was involved in the polishing of aluminum, I decided it was a good idea, and incorporated that element into my plan for her exterior paint scheme. Which meant that before painting could commence, the quilted aluminum trim and pressed chrome trim would need to be polished, the back window and lights would need to be removed, and the entire back top half would need to be stripped of any paint remnants, buffed, and polished. (We used Mother’s Mag Aluminum Polish and Snap-On Metal Polish for all of the aluminum and chrome polishing -Myrtle was fully hand-polished.)
When removed, all her original Bargman trailer lights received a good cleaning & polishing from me, and new bulbs and electric connectors from my husband. And although all other chrome window trims in and on Myrtle received a good buff & shine to bring them back to their luster, the back window trim was beyond saving with just polish; the black tar had irrevocably marred the chrome surface of the trim and it instead received two coats of Rust-Oleum® Stops Rust® Bright Coat Chrome Metallic Finish Spray.
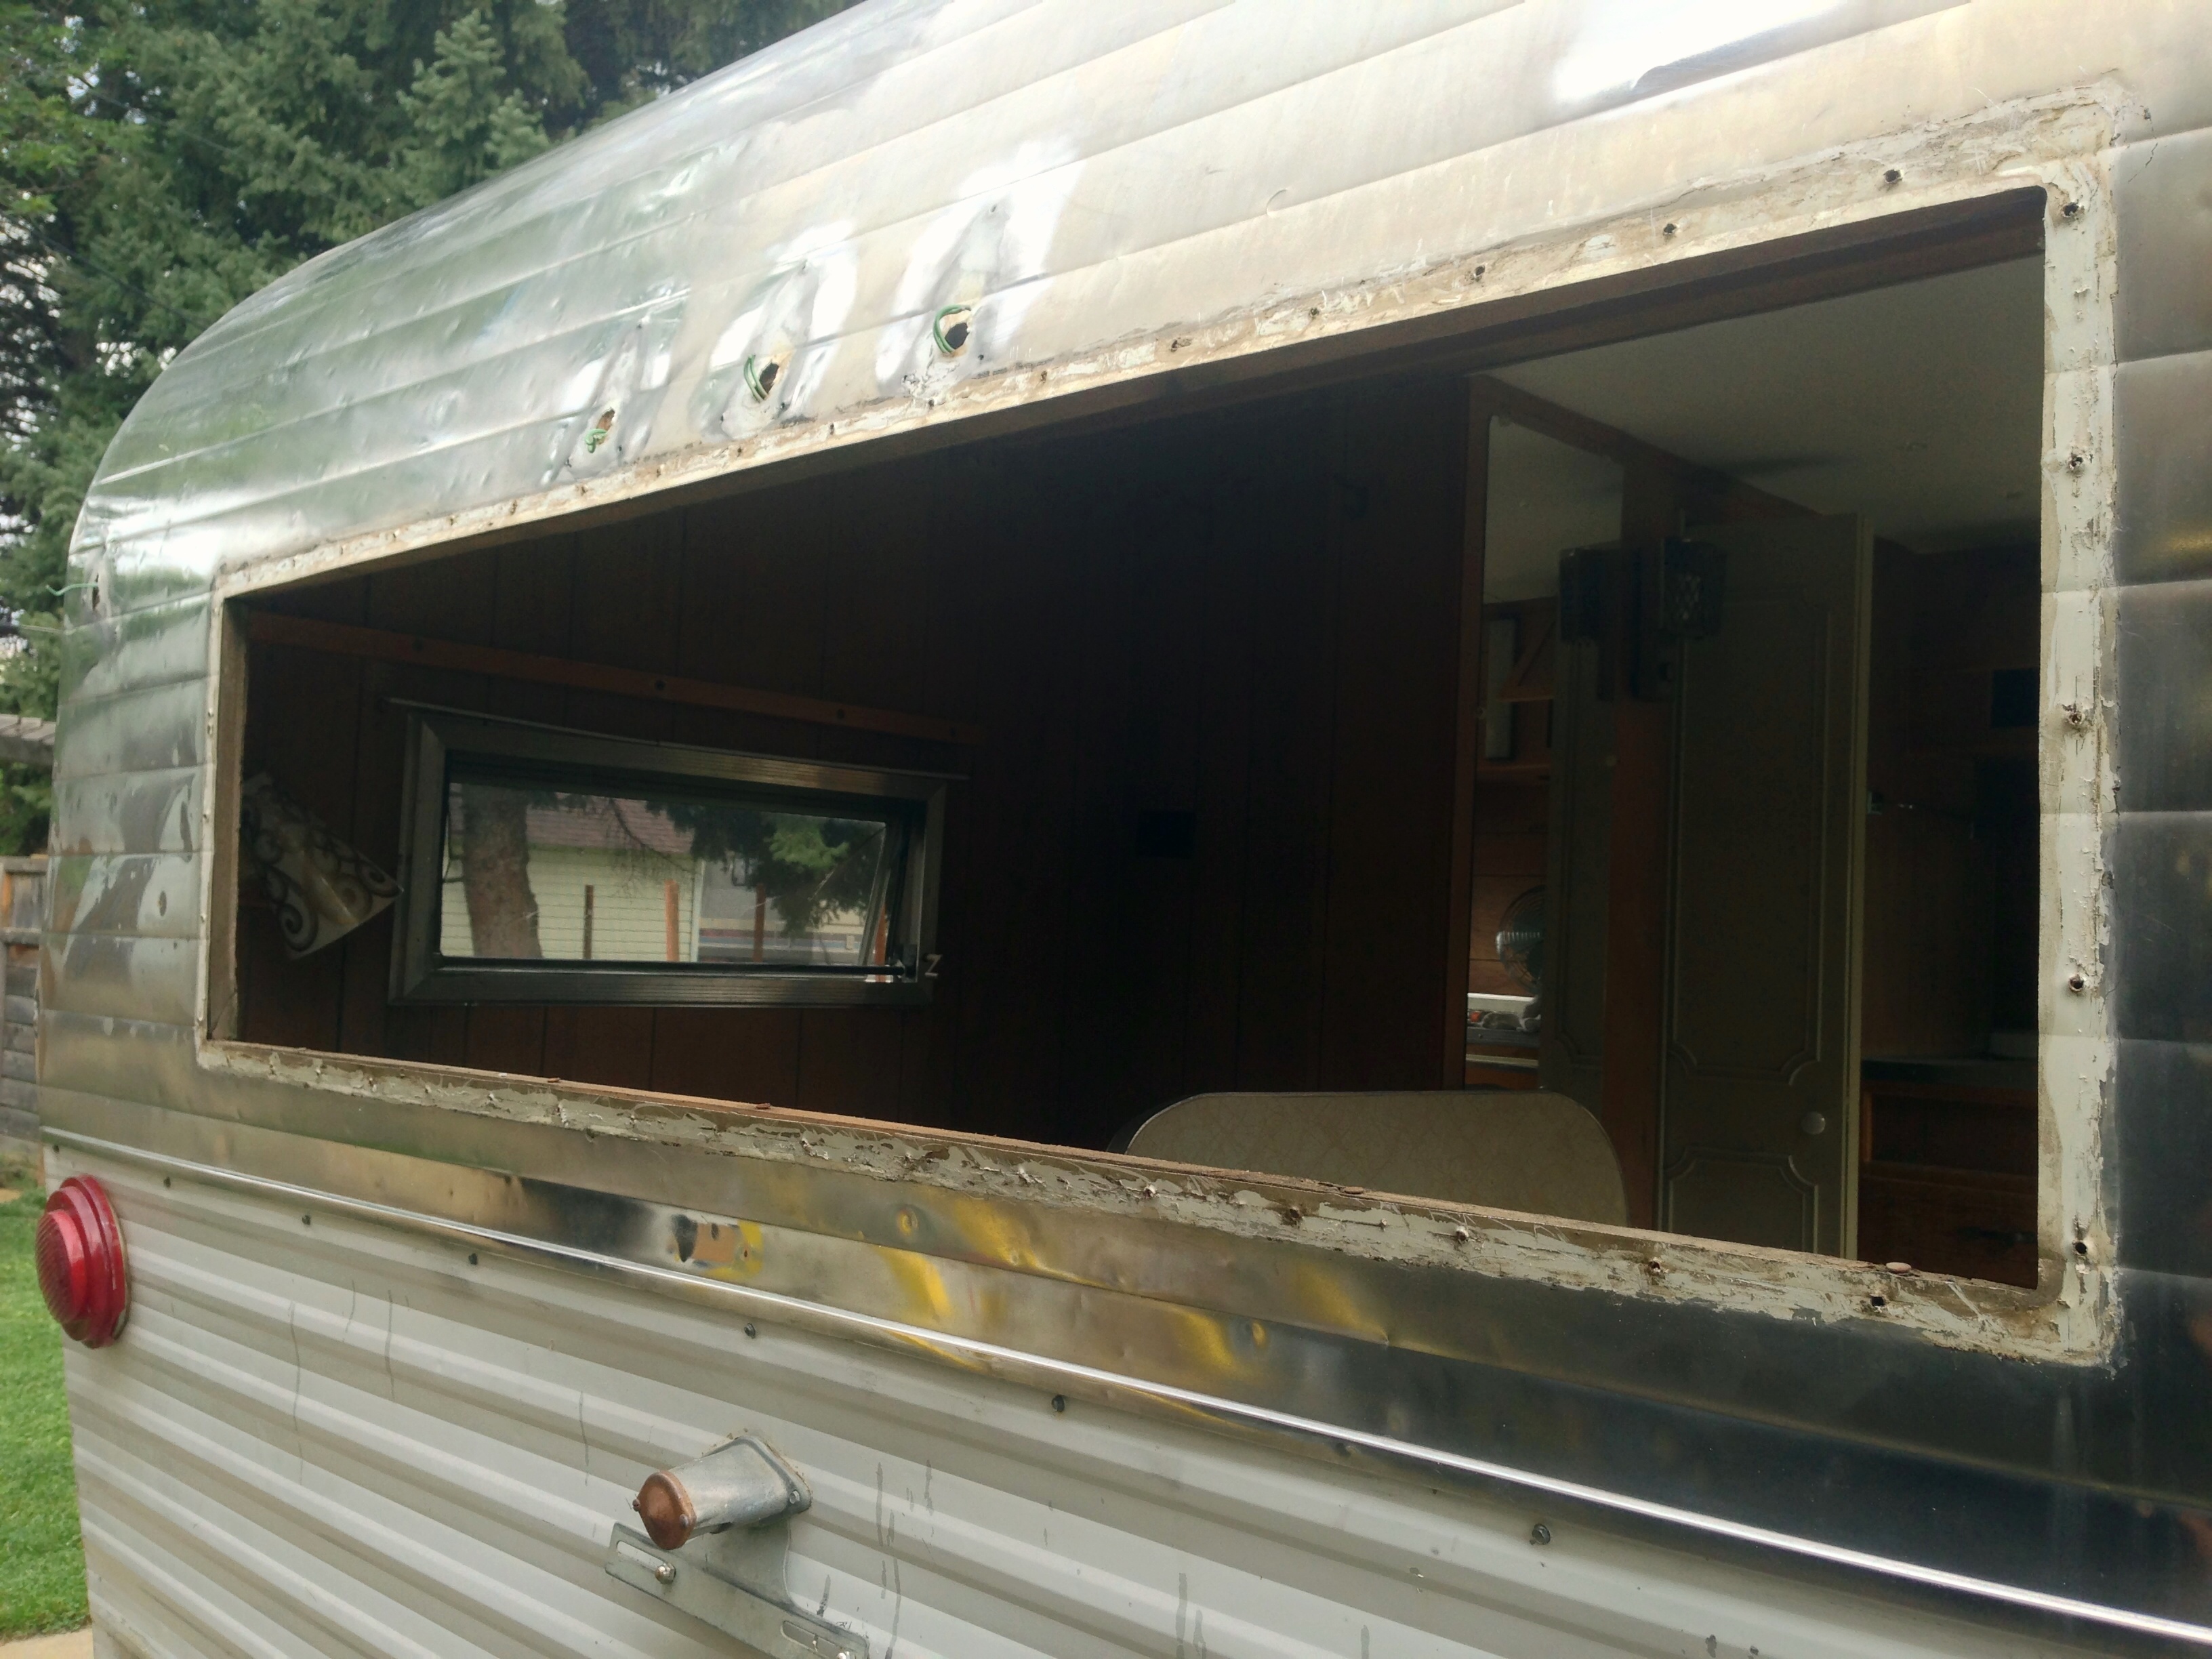
Myrtle with her back window and lights removed.
For polishing Myrtle’s aluminum bits, we used two products. We would start with Mother’s Mag Aluminum Polish, and finish with Snap-On Metal Polish -which was absolutely amazing in the effect it had on the metal, but which comes in tiny little pink strips which you cut to size -allowing one to polish only the smallest of sections at a time…
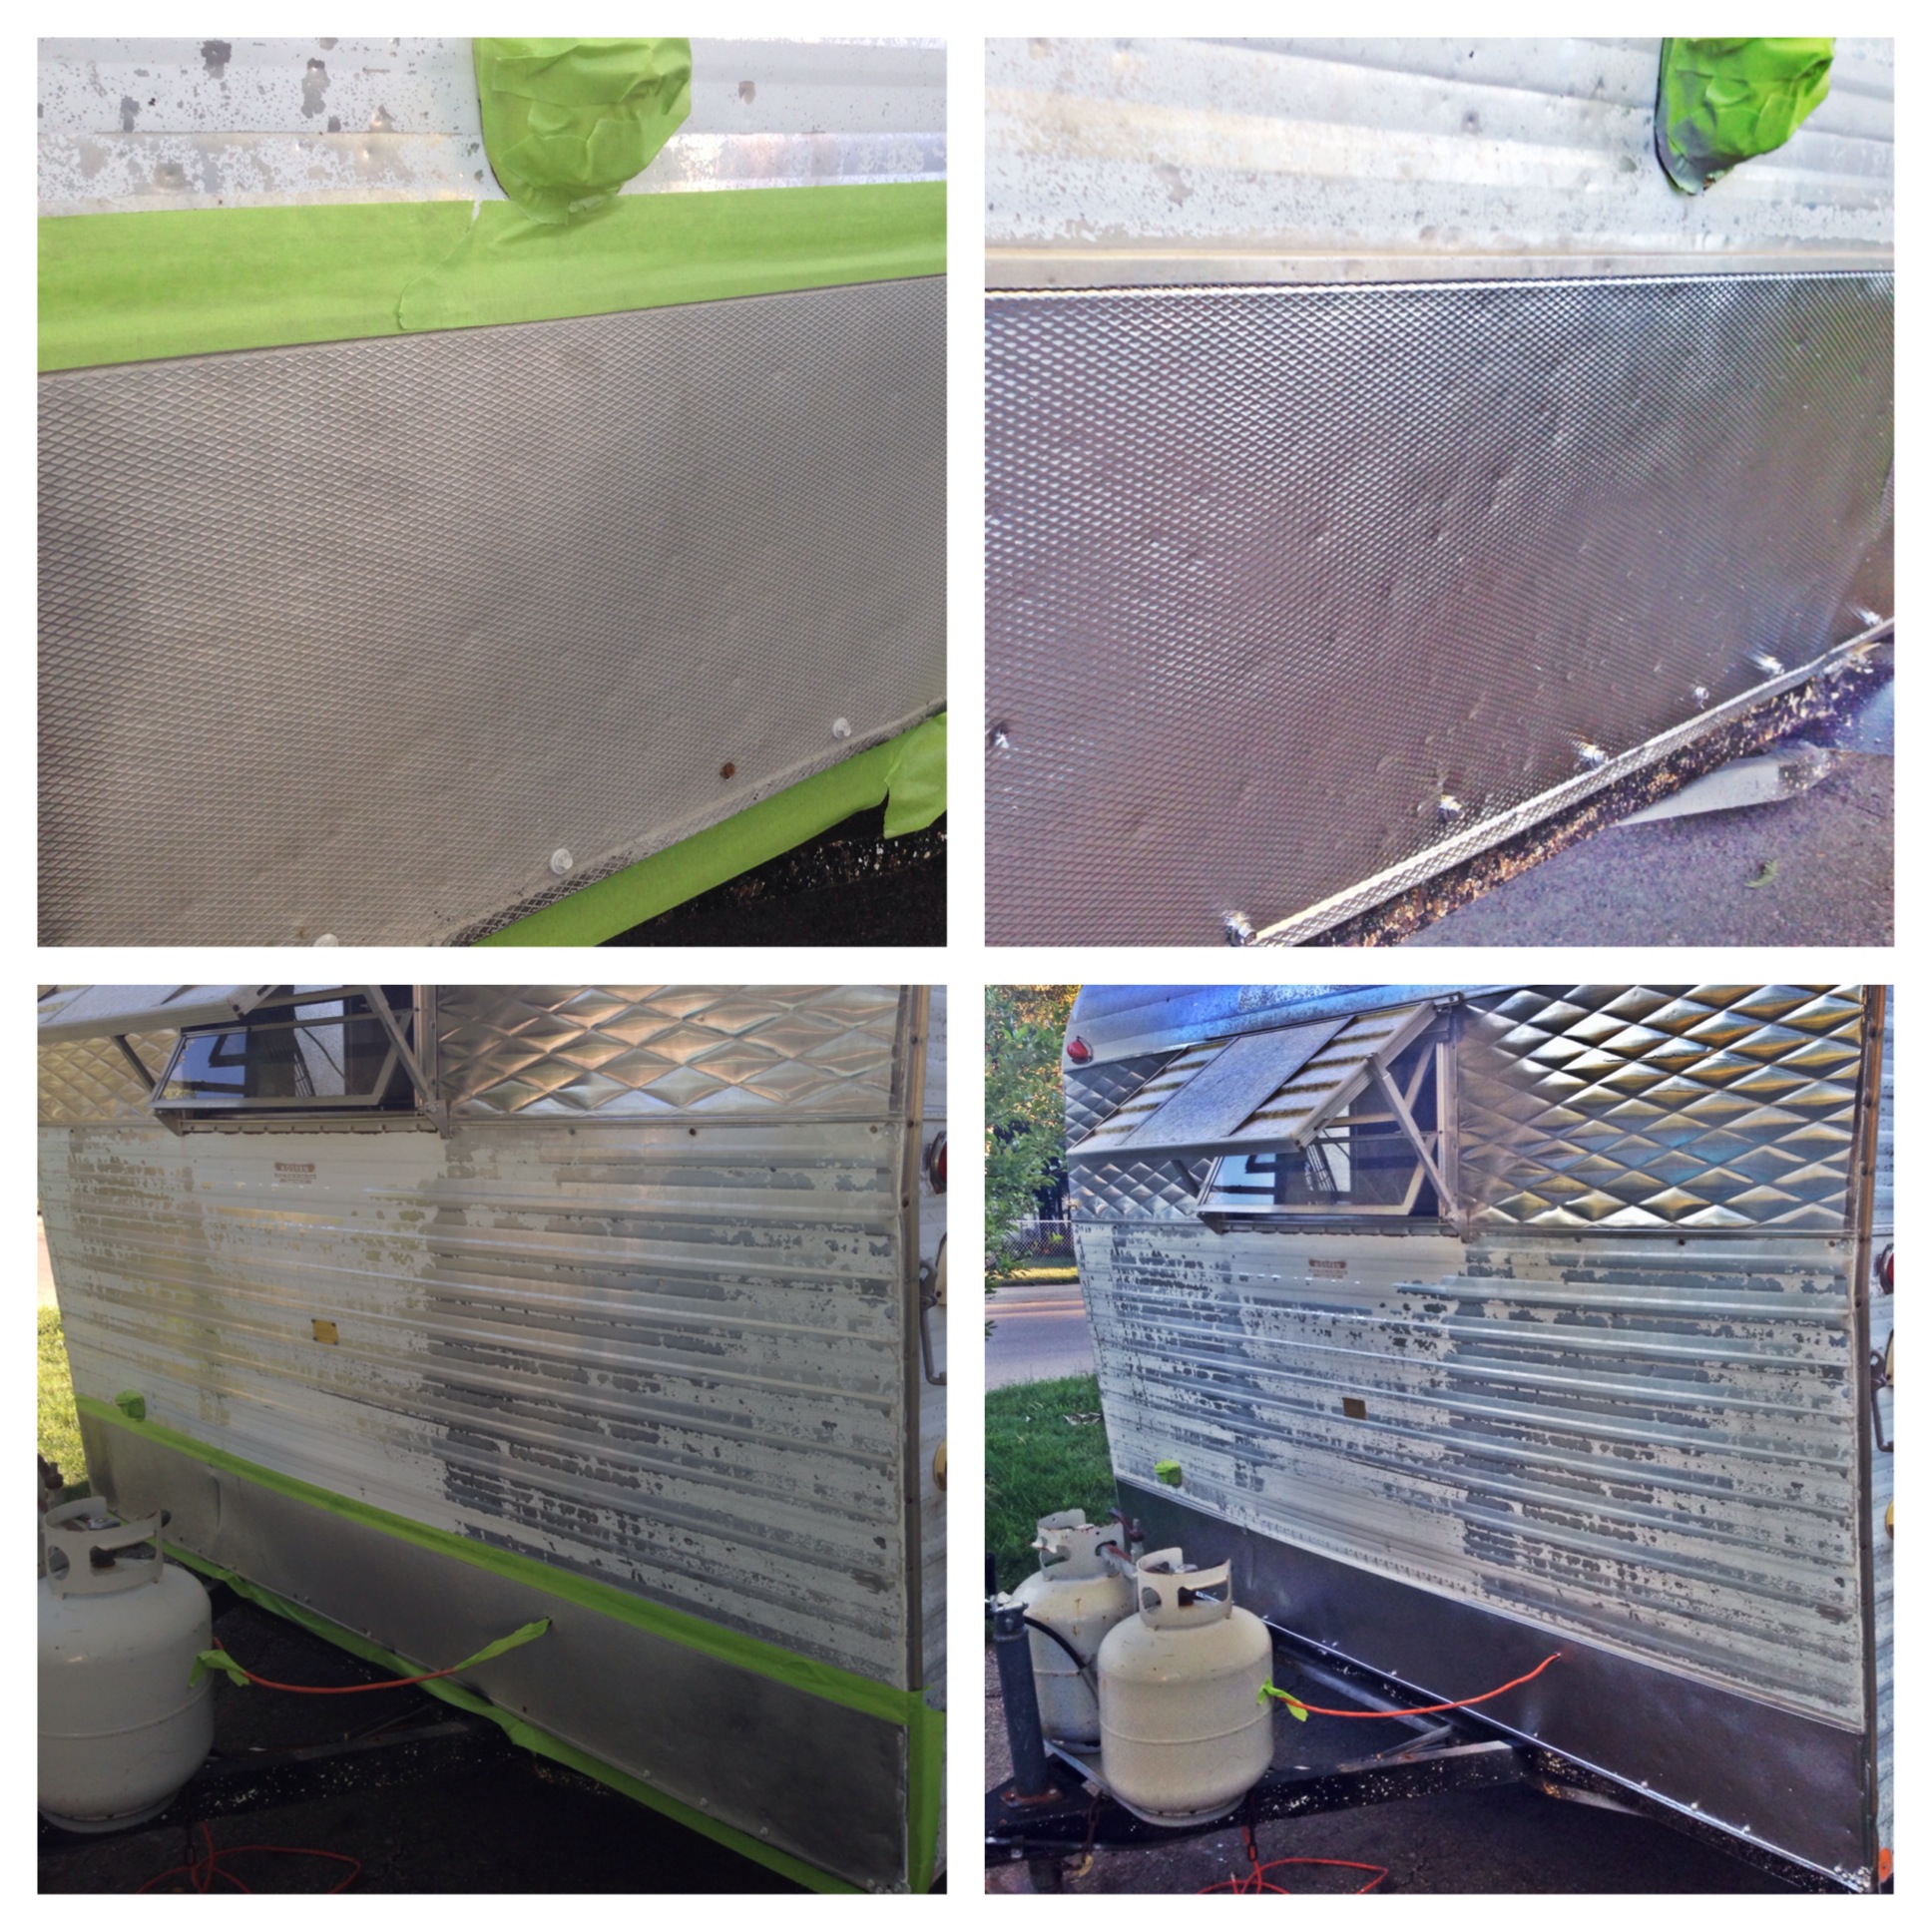
I think the black goo was roofing tar. After what seems like (and was) hours of scraping off tar, stripping paint and goo, and removing and re-sealing all her backside bits, her backside began looking much improved. Exterior work was only just begun, but the improvement was mighty.
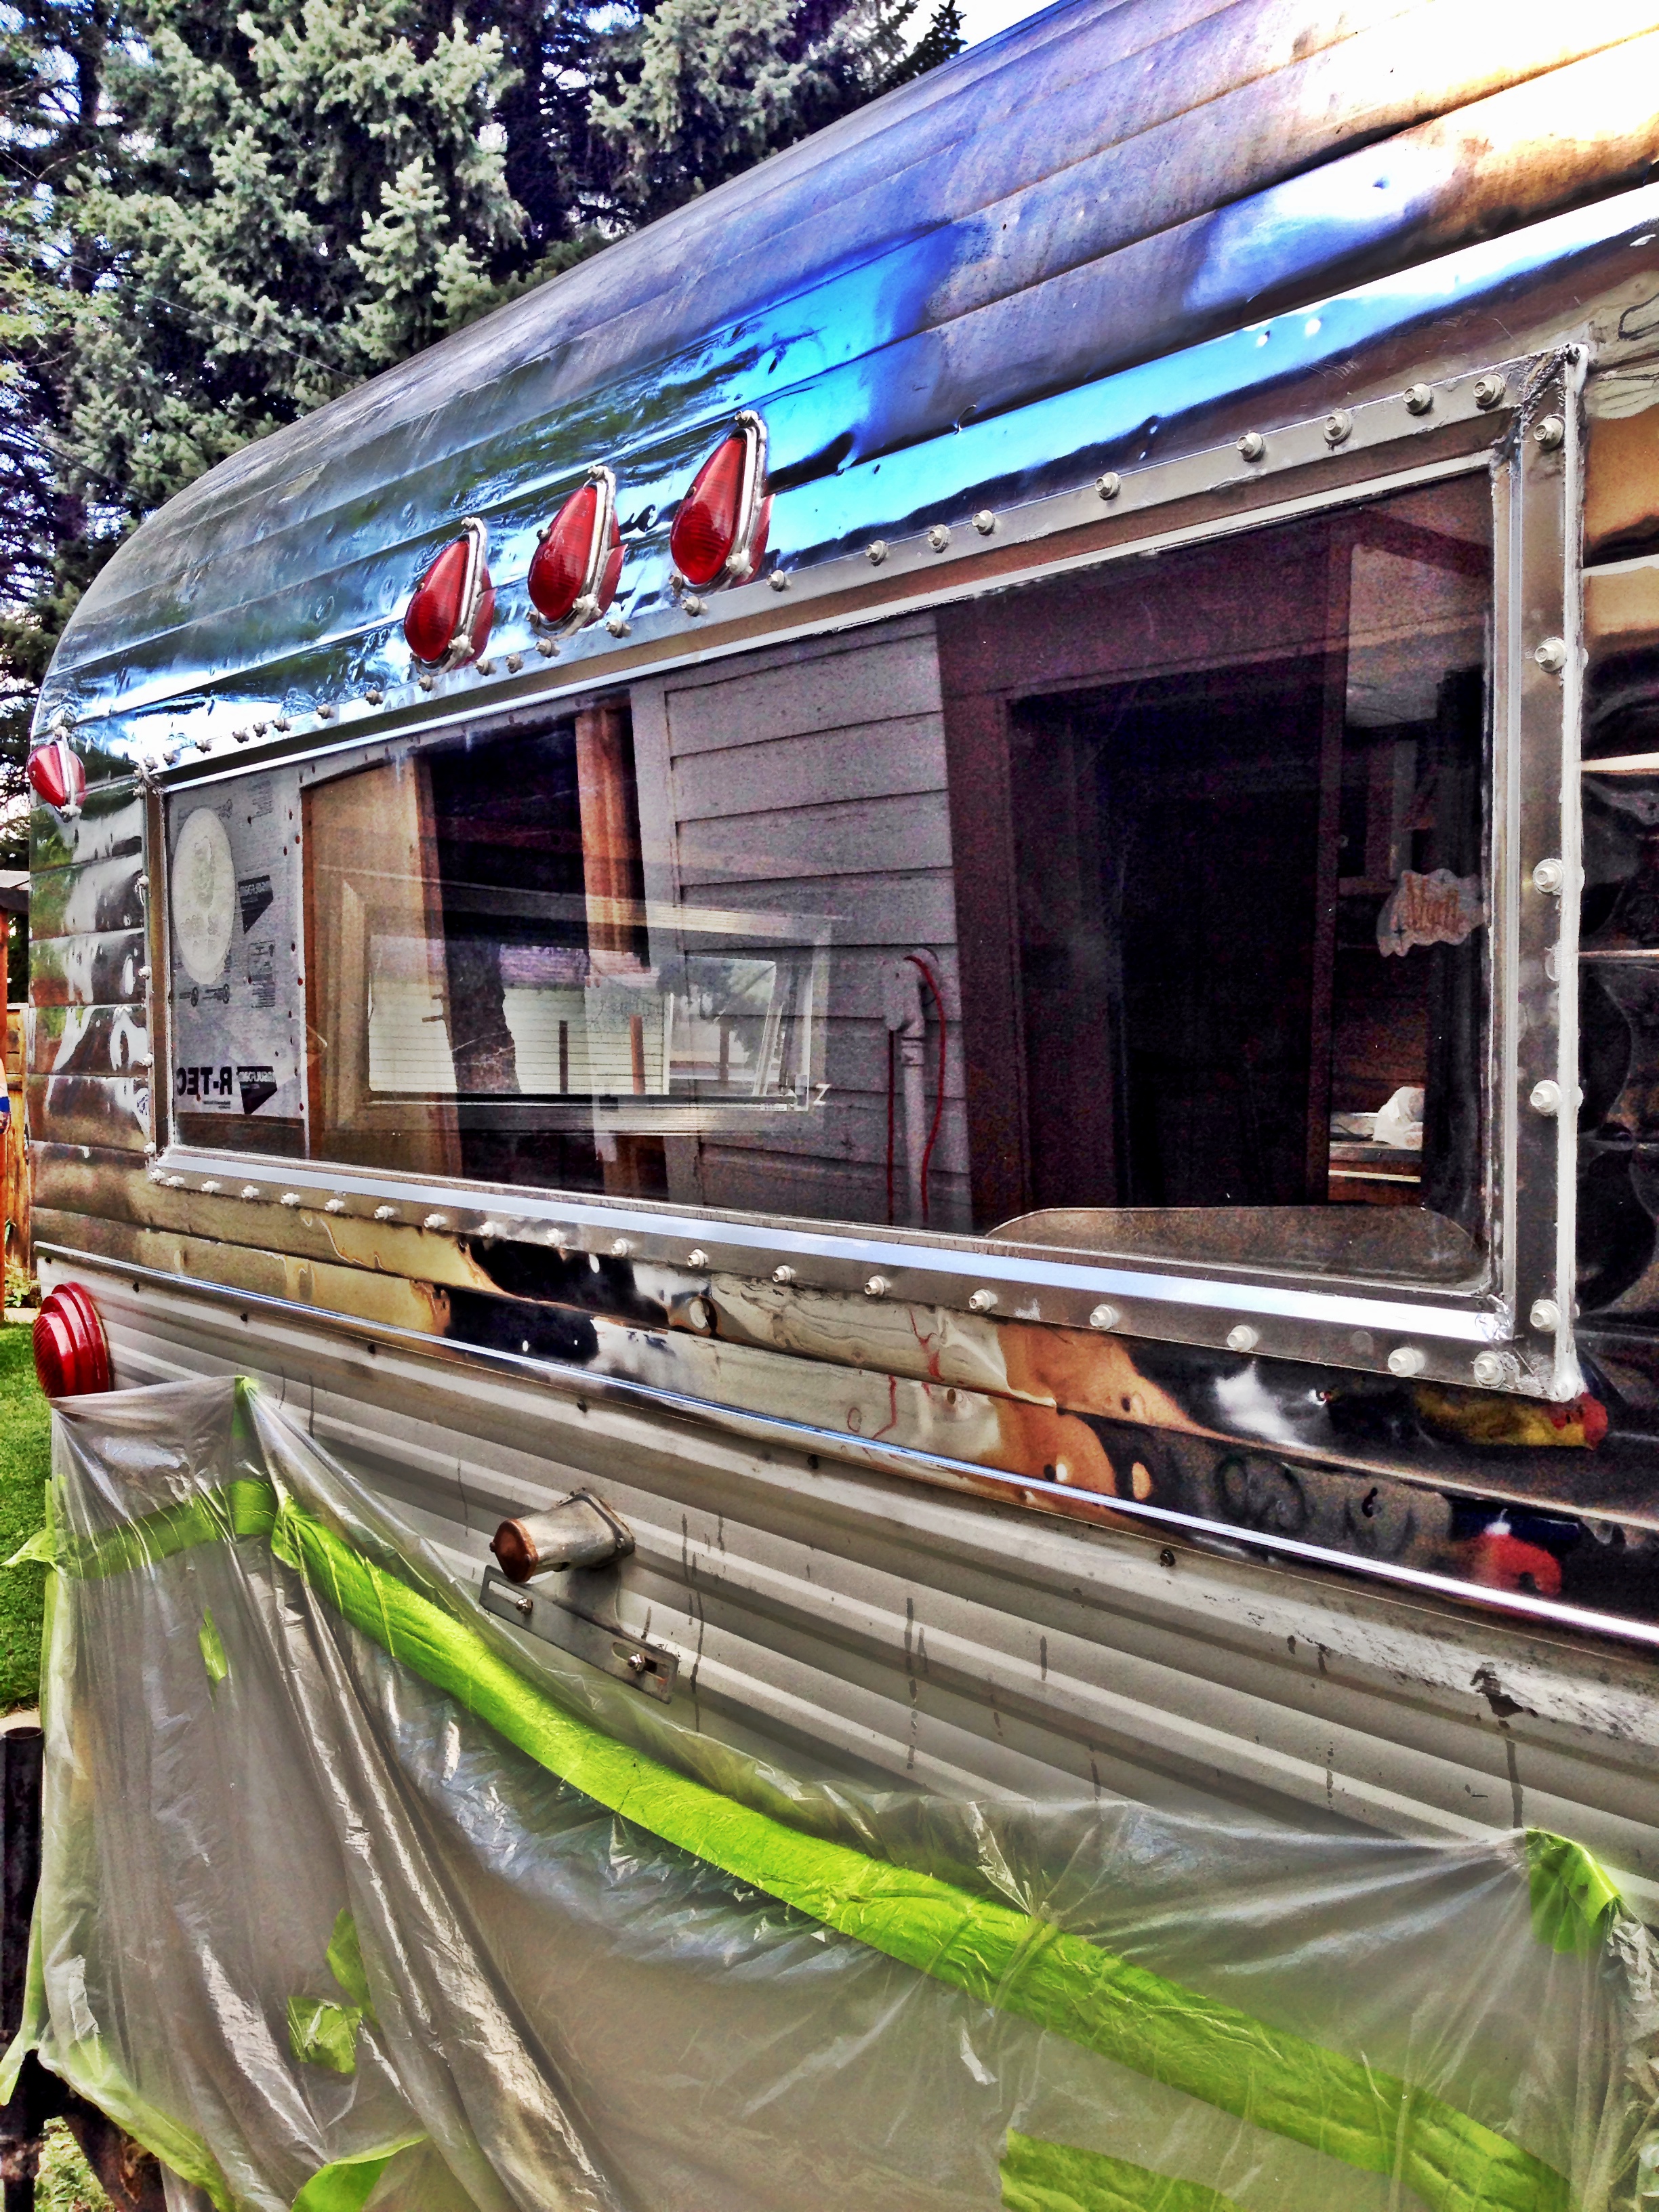
Ooohh, look at Myrtle and her bad self 🙂 (approximately half polished)
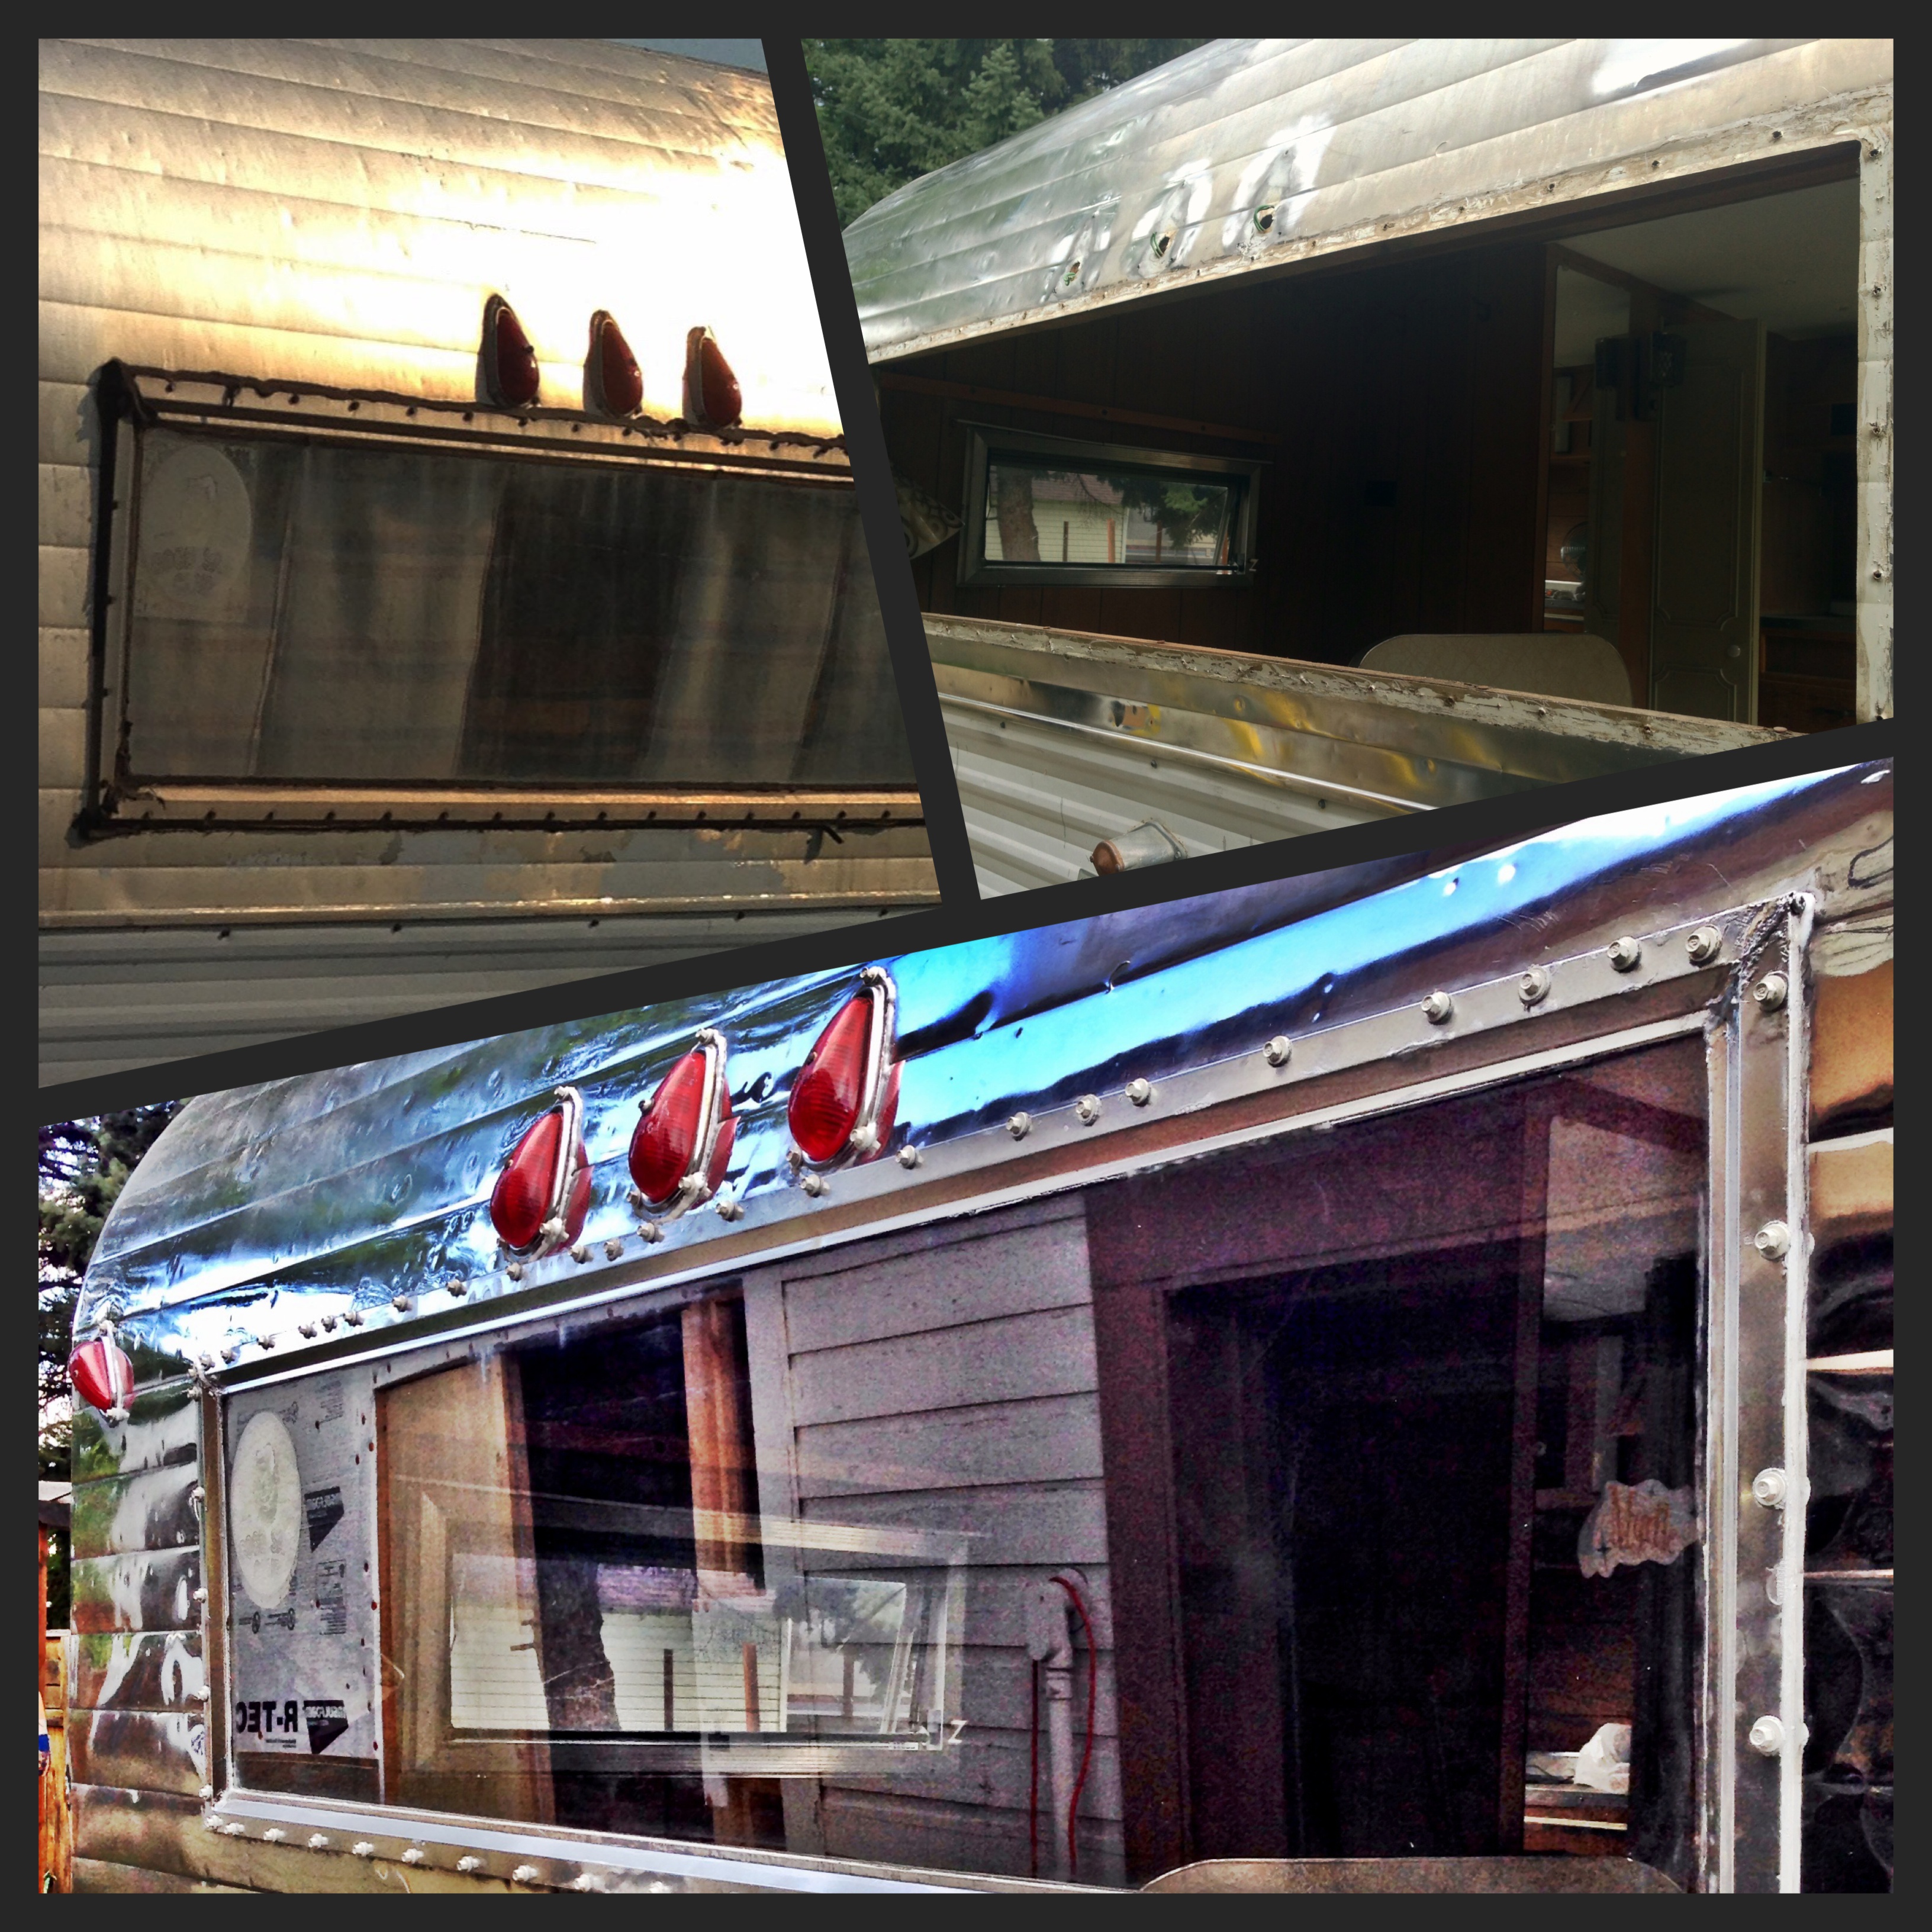
Before & After
Compared to the massive back section of aluminum, the relatively small front sections of quilted aluminum and pressed chrome were a breeze 🙂
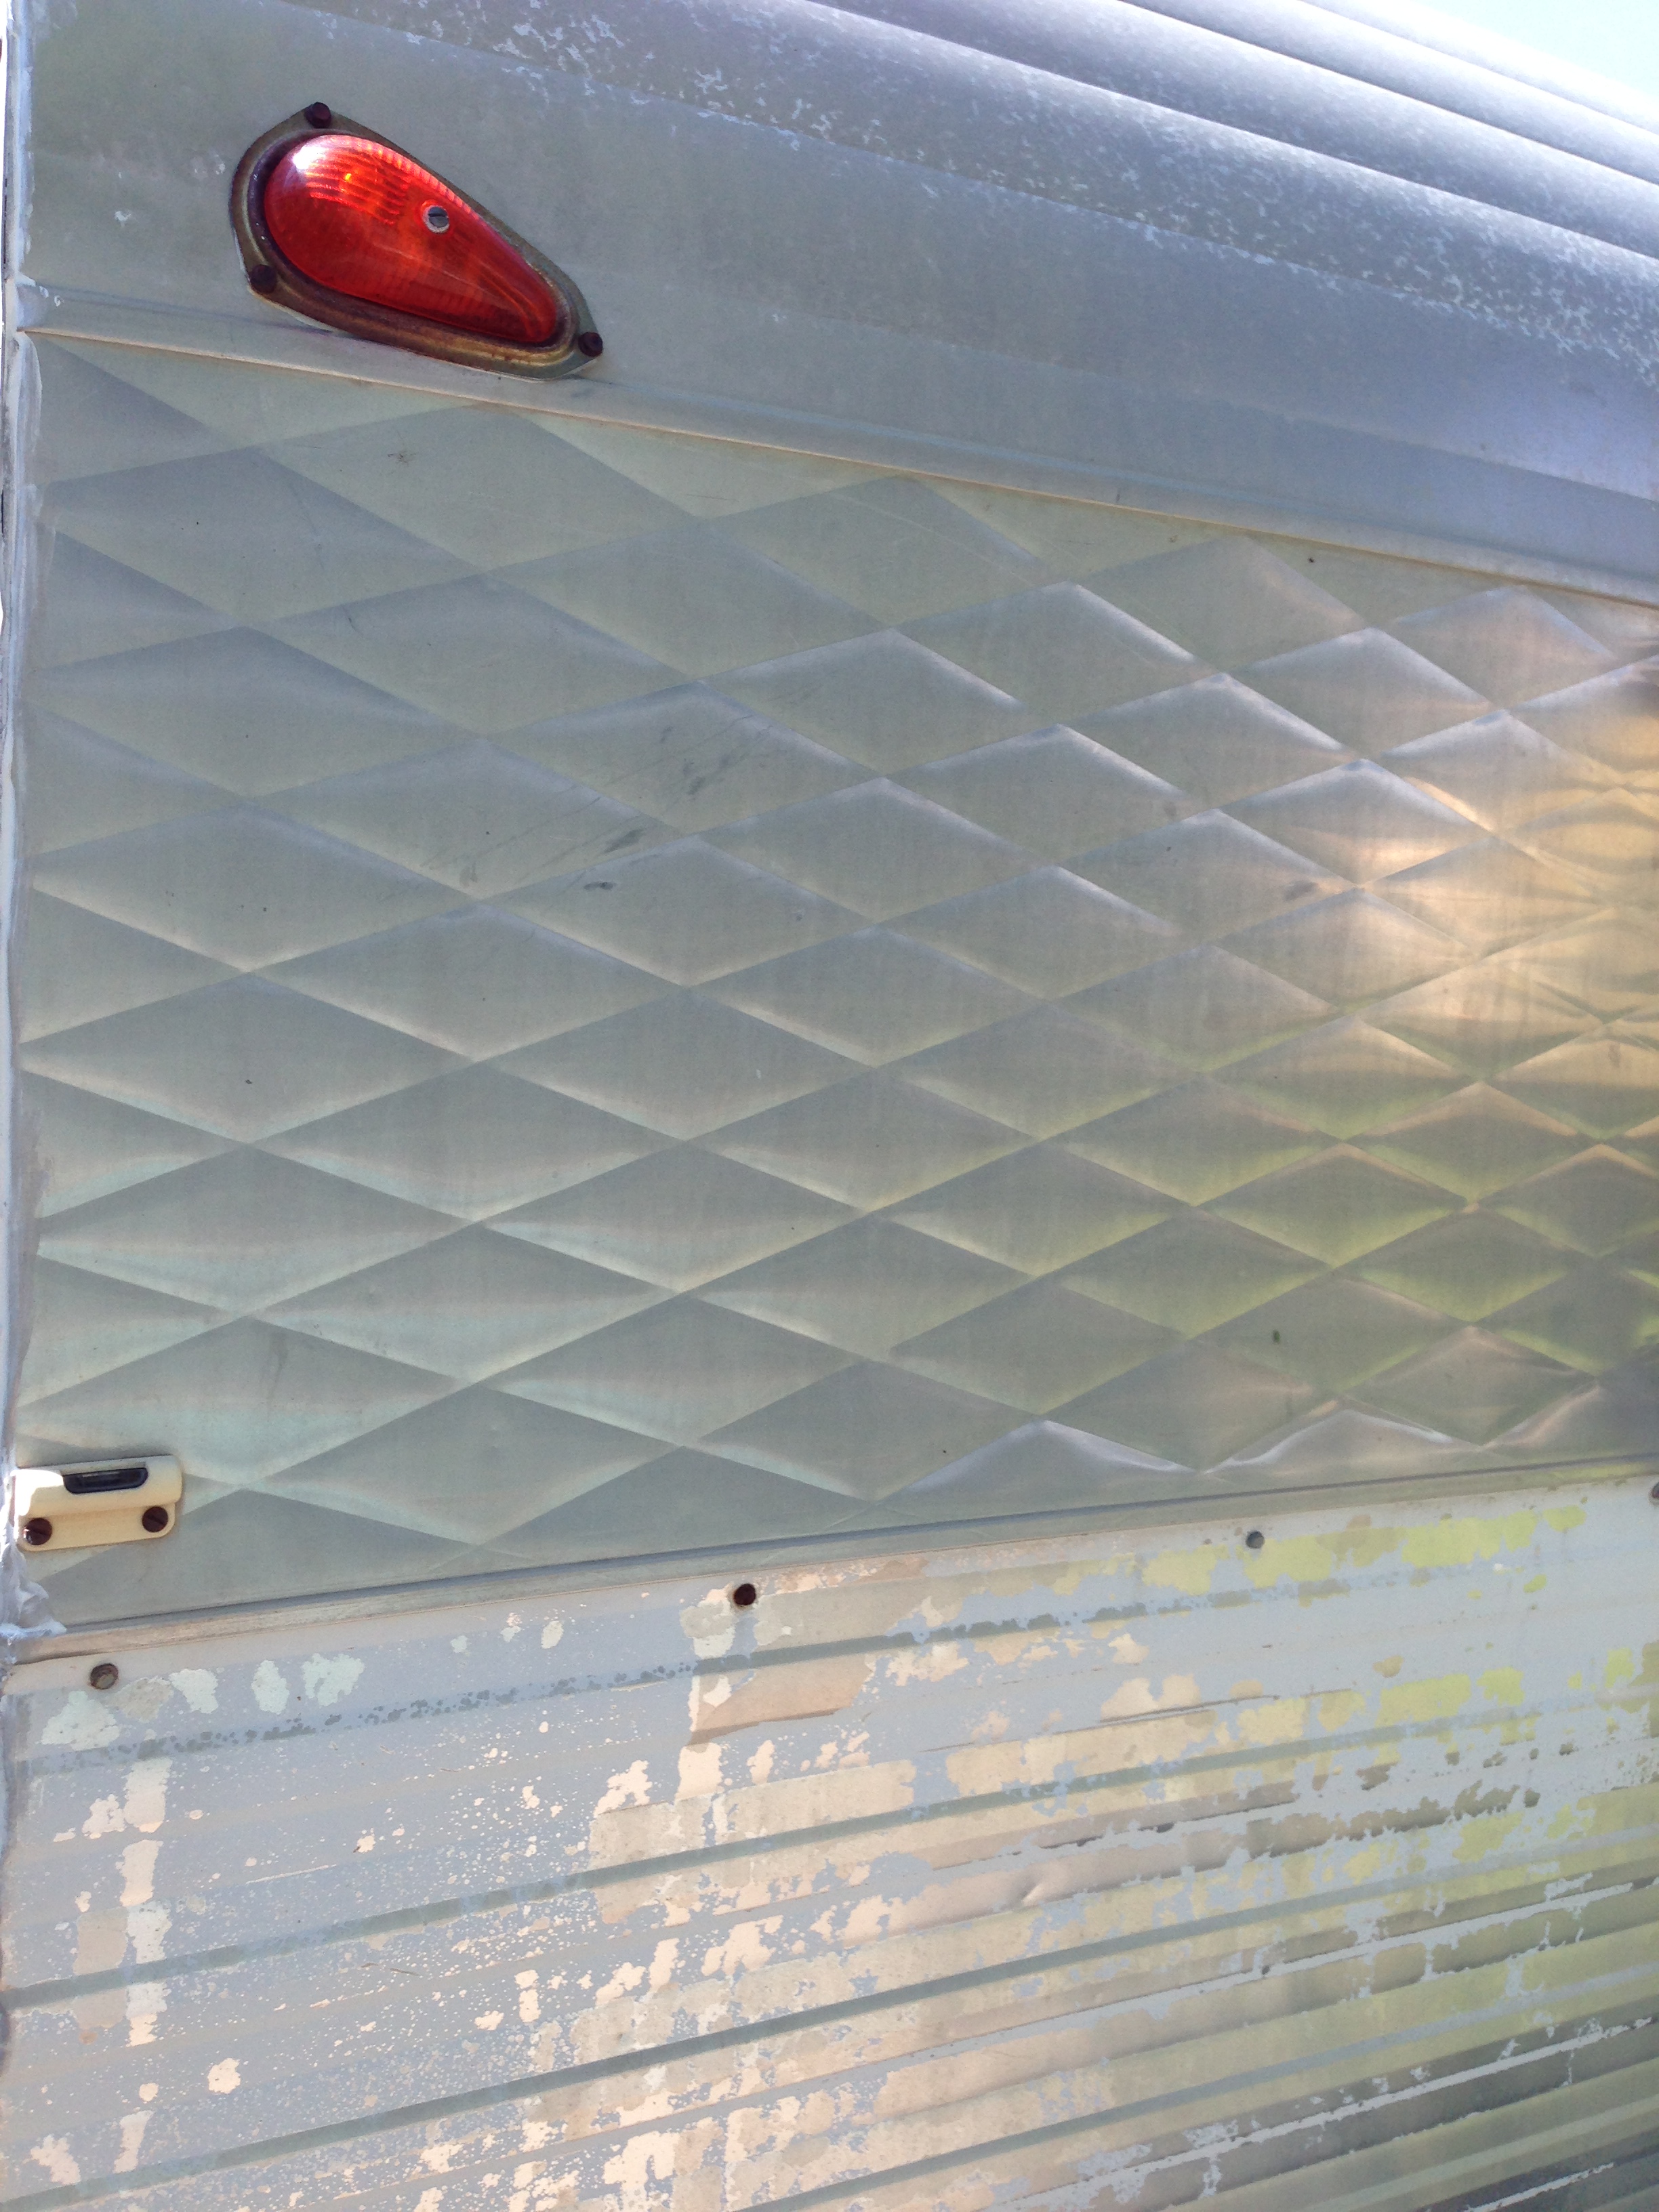
BEFORE: I love that Myrtle still had her original quilted aluminum trim -unmolested and left alone(!), but it had dulled considerably over the years.
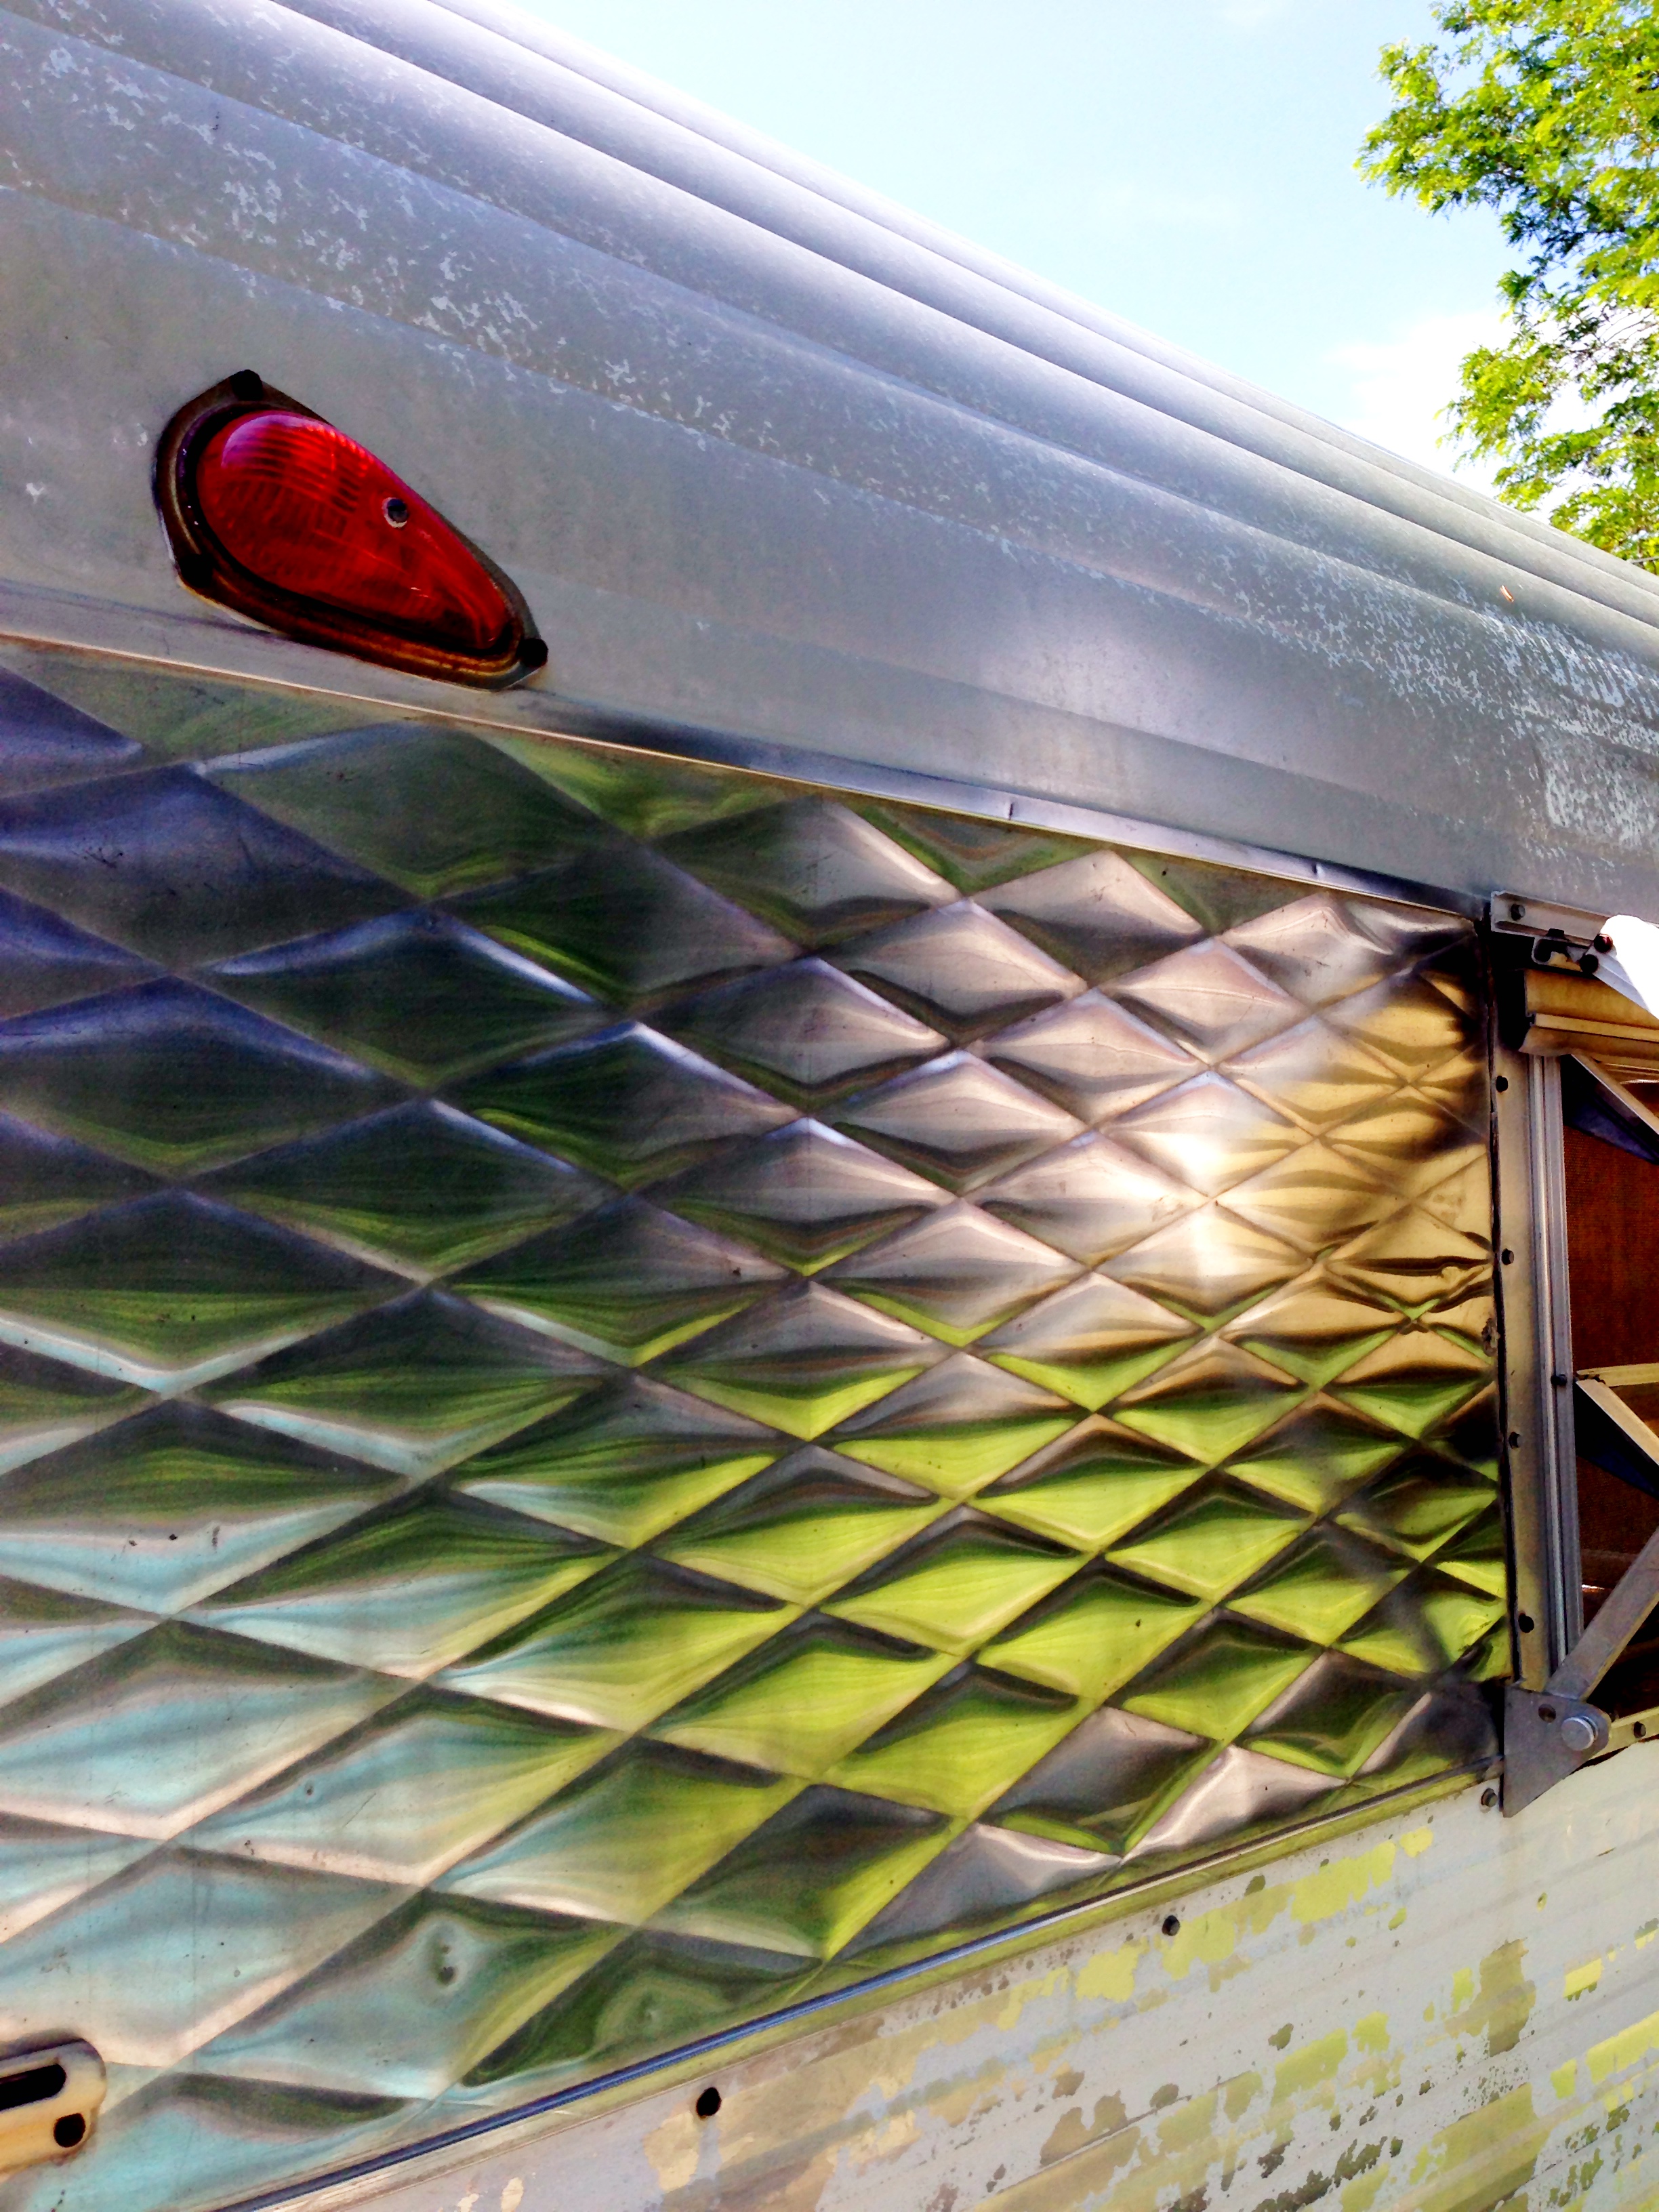
AFTER: Snap-On Metal Polish. It’s amazing.
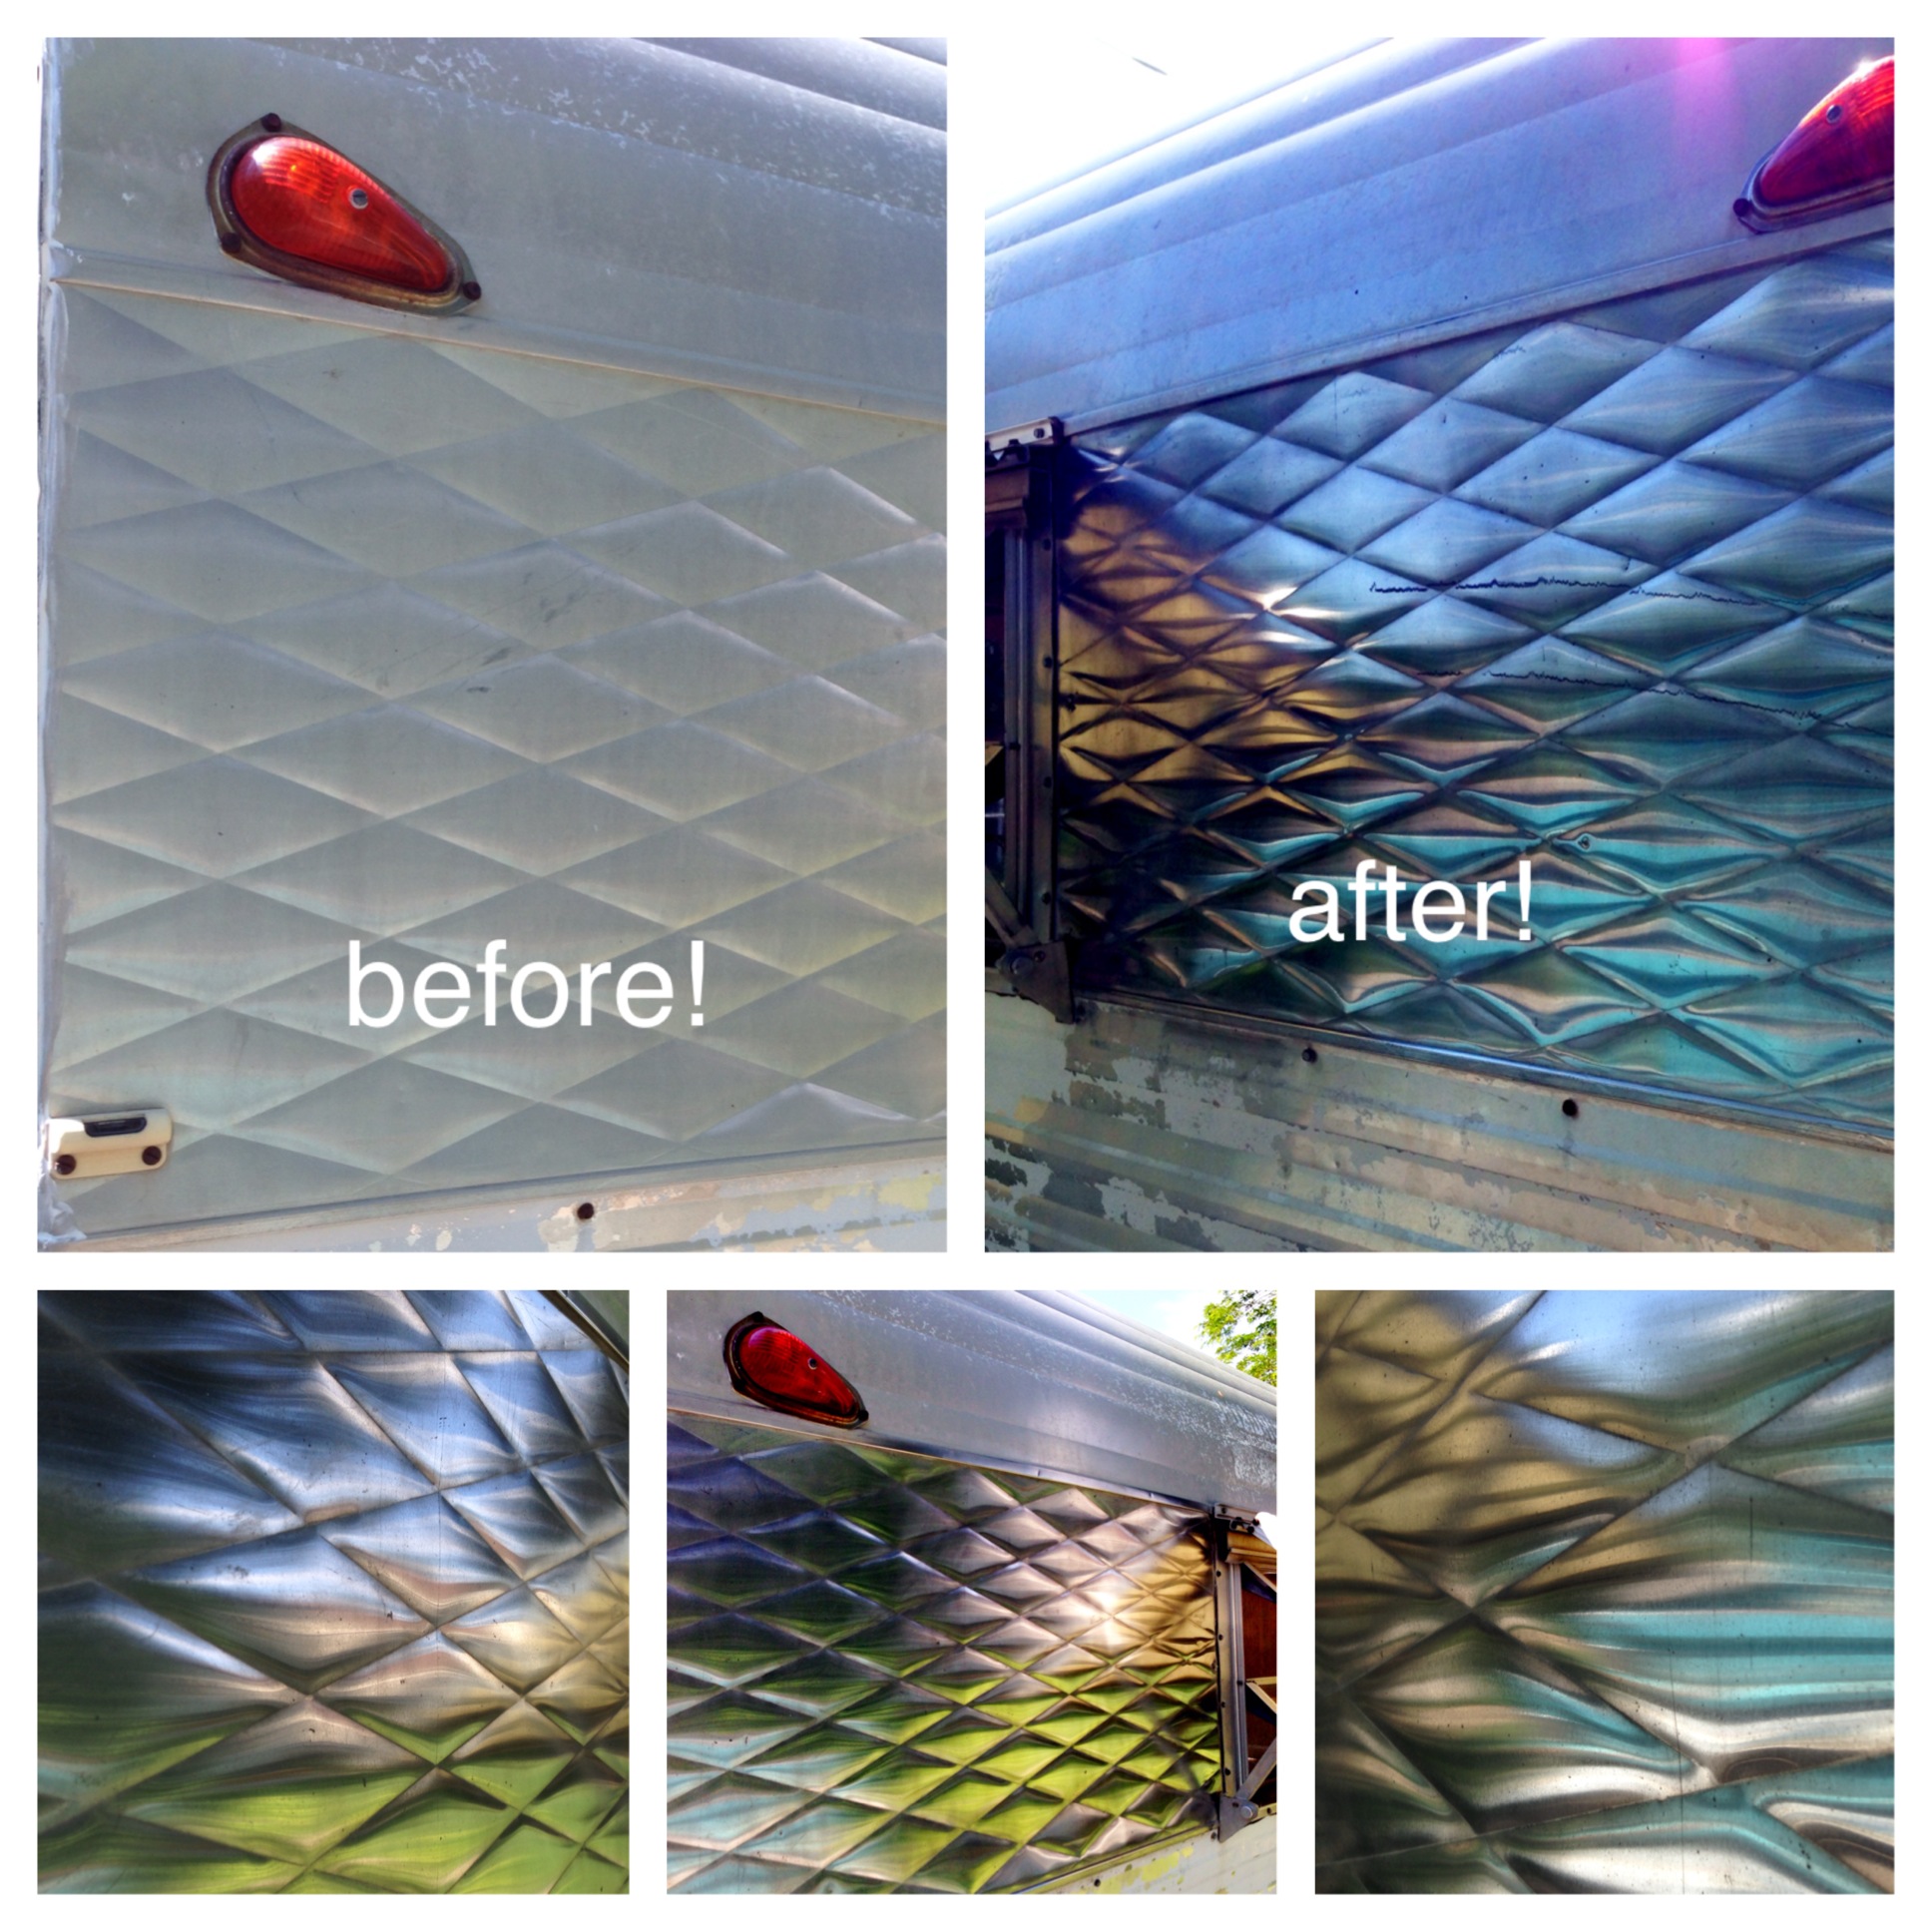
You’ll notice that the eye-sore of a truck box is gone… 🙂
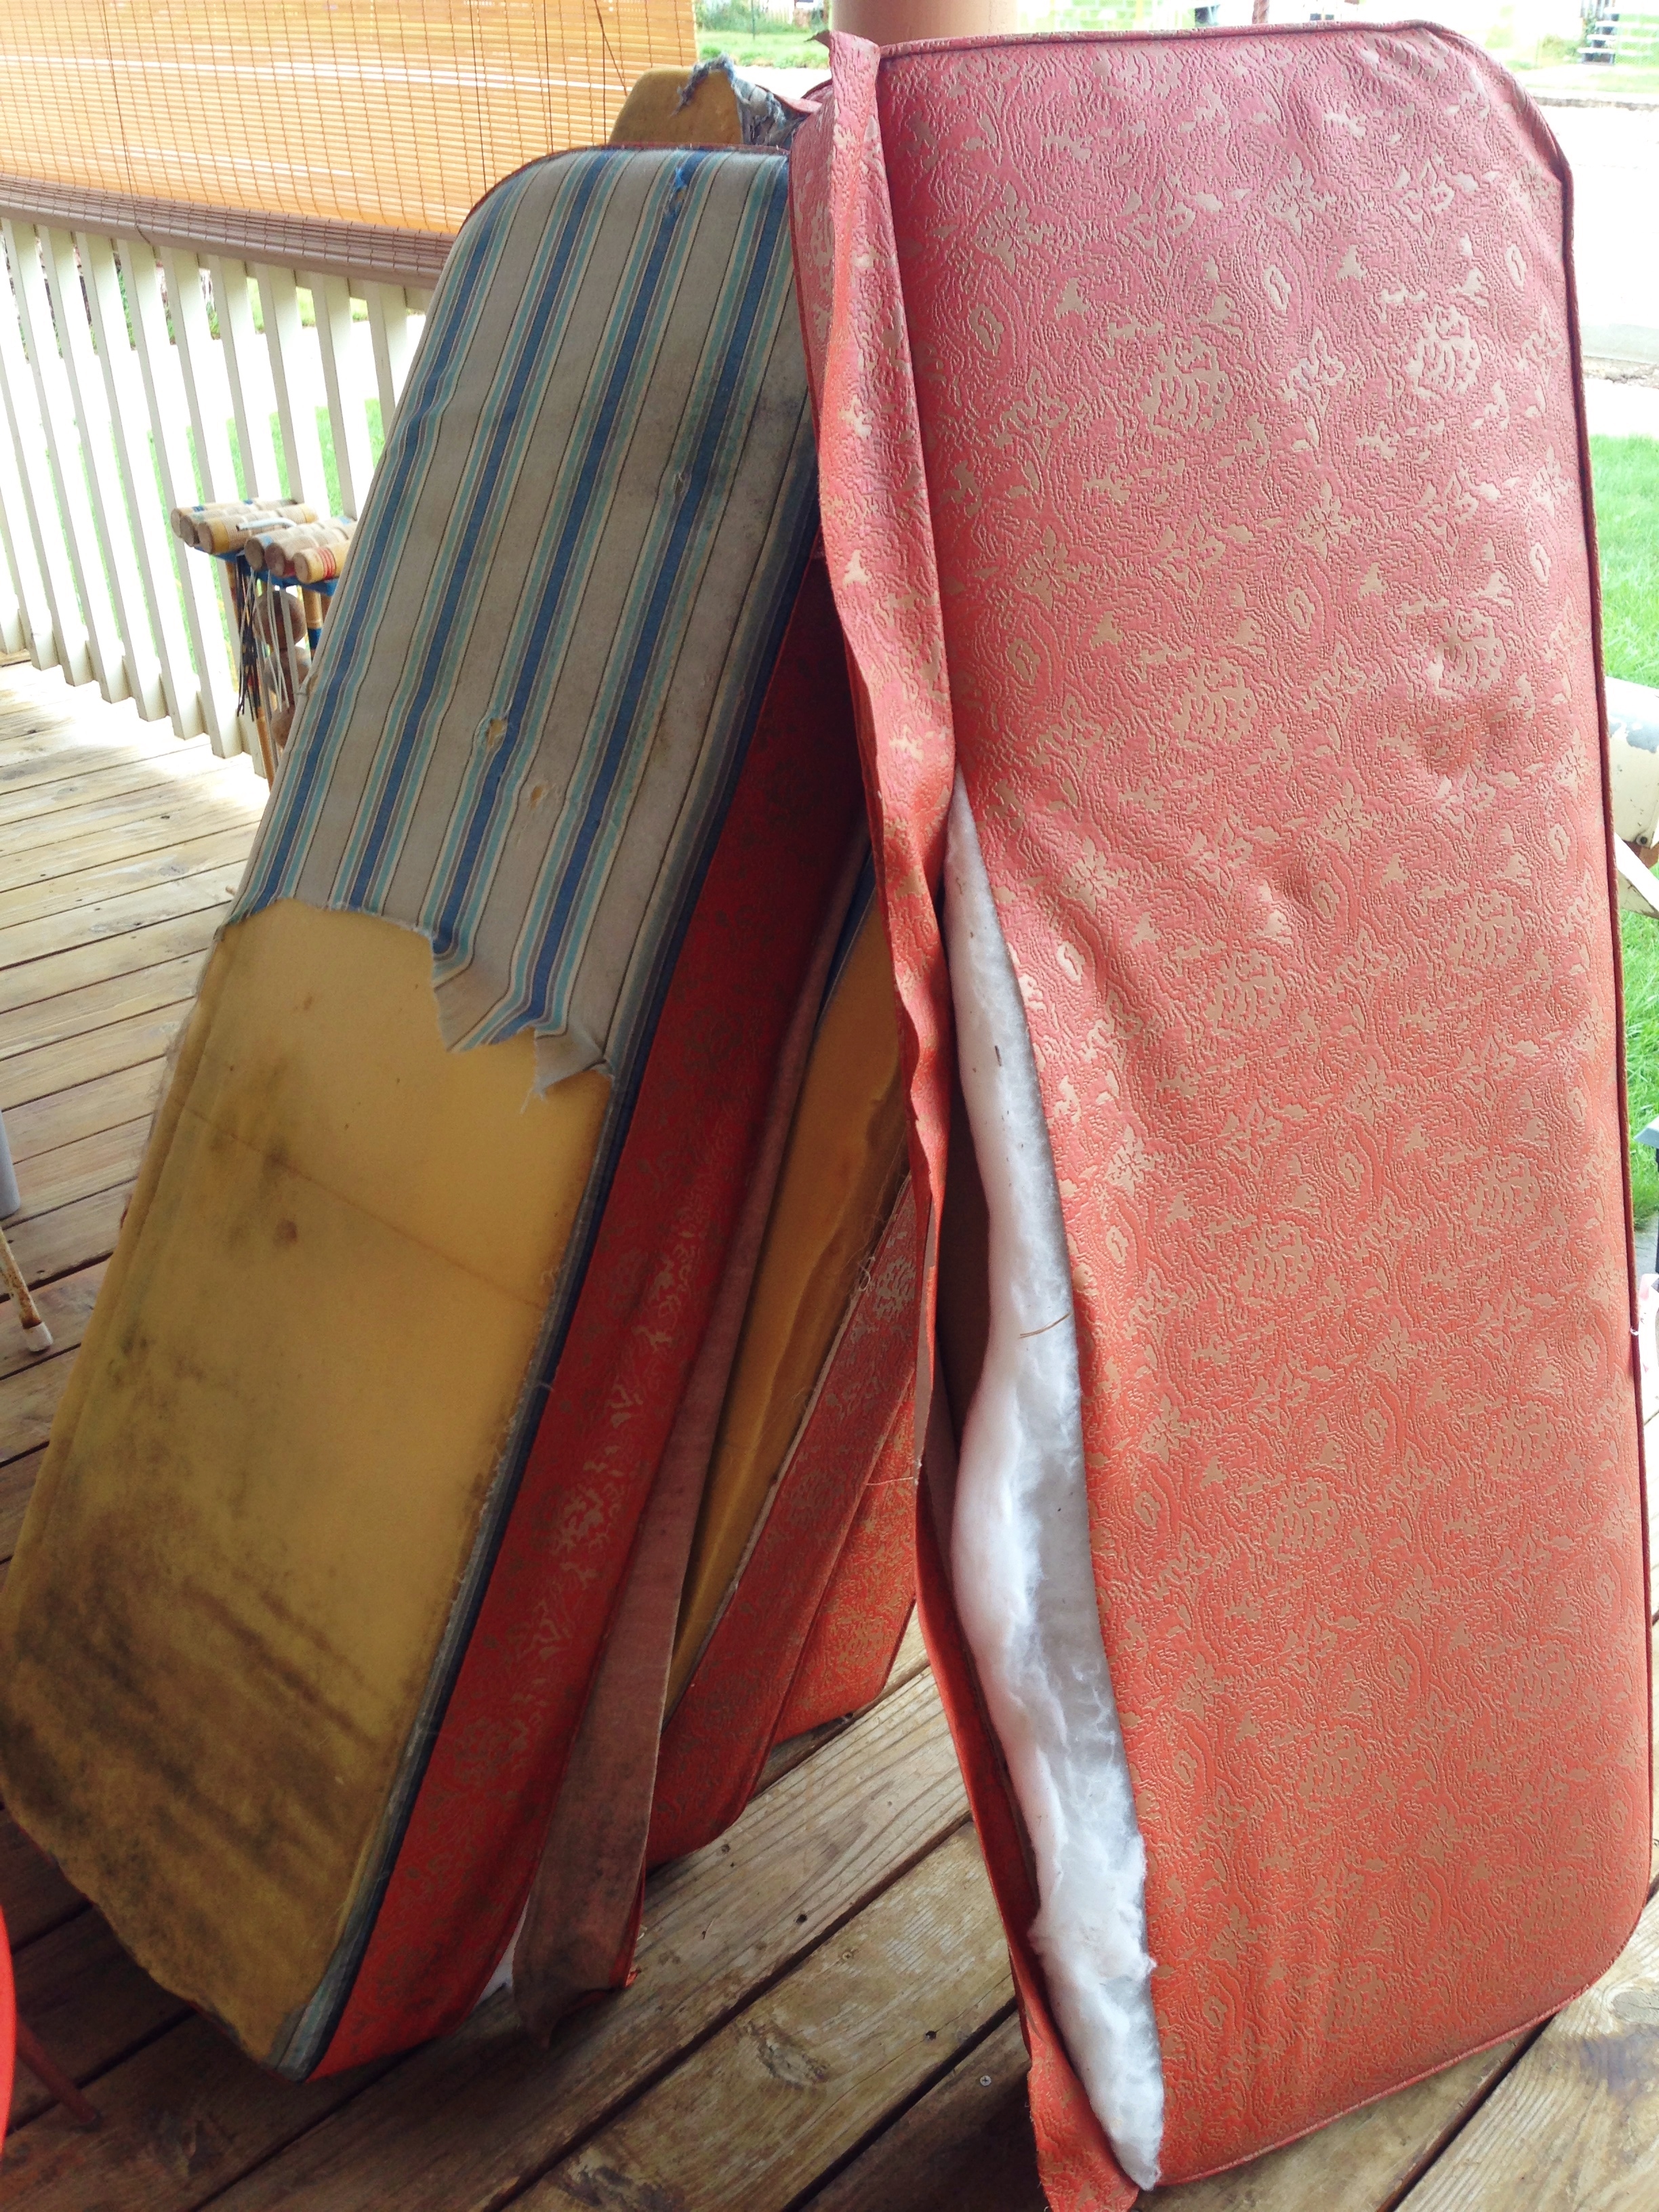
We were pretty much ready to begin sanding, masking, and prepping for paint when we entered an unexpected and unpredicted week’s worth of rainy weather. So I turned to Myrtle’s cushions. Which were a smelly bit of torn up bordello style vinyl over slightly musty foam.
In my original plan, the dinette cushions were the one thing that I was planning to outsource. Because I can’t sew. Turned out I had to do them myself after all though, as apparently a good upholstery job is roughly the same price as full-scale plastic surgery. I considered selling one of our numerous offspring to offset the cost, but they all grumbled about it, so I figured I better just work it out. I’ll have to talk about that in the next blog, though. In the meantime, ponder this: How do you upholster something when you a.) can’t sew and b.) don’t own a sewing machine because c.) you can’t sew?
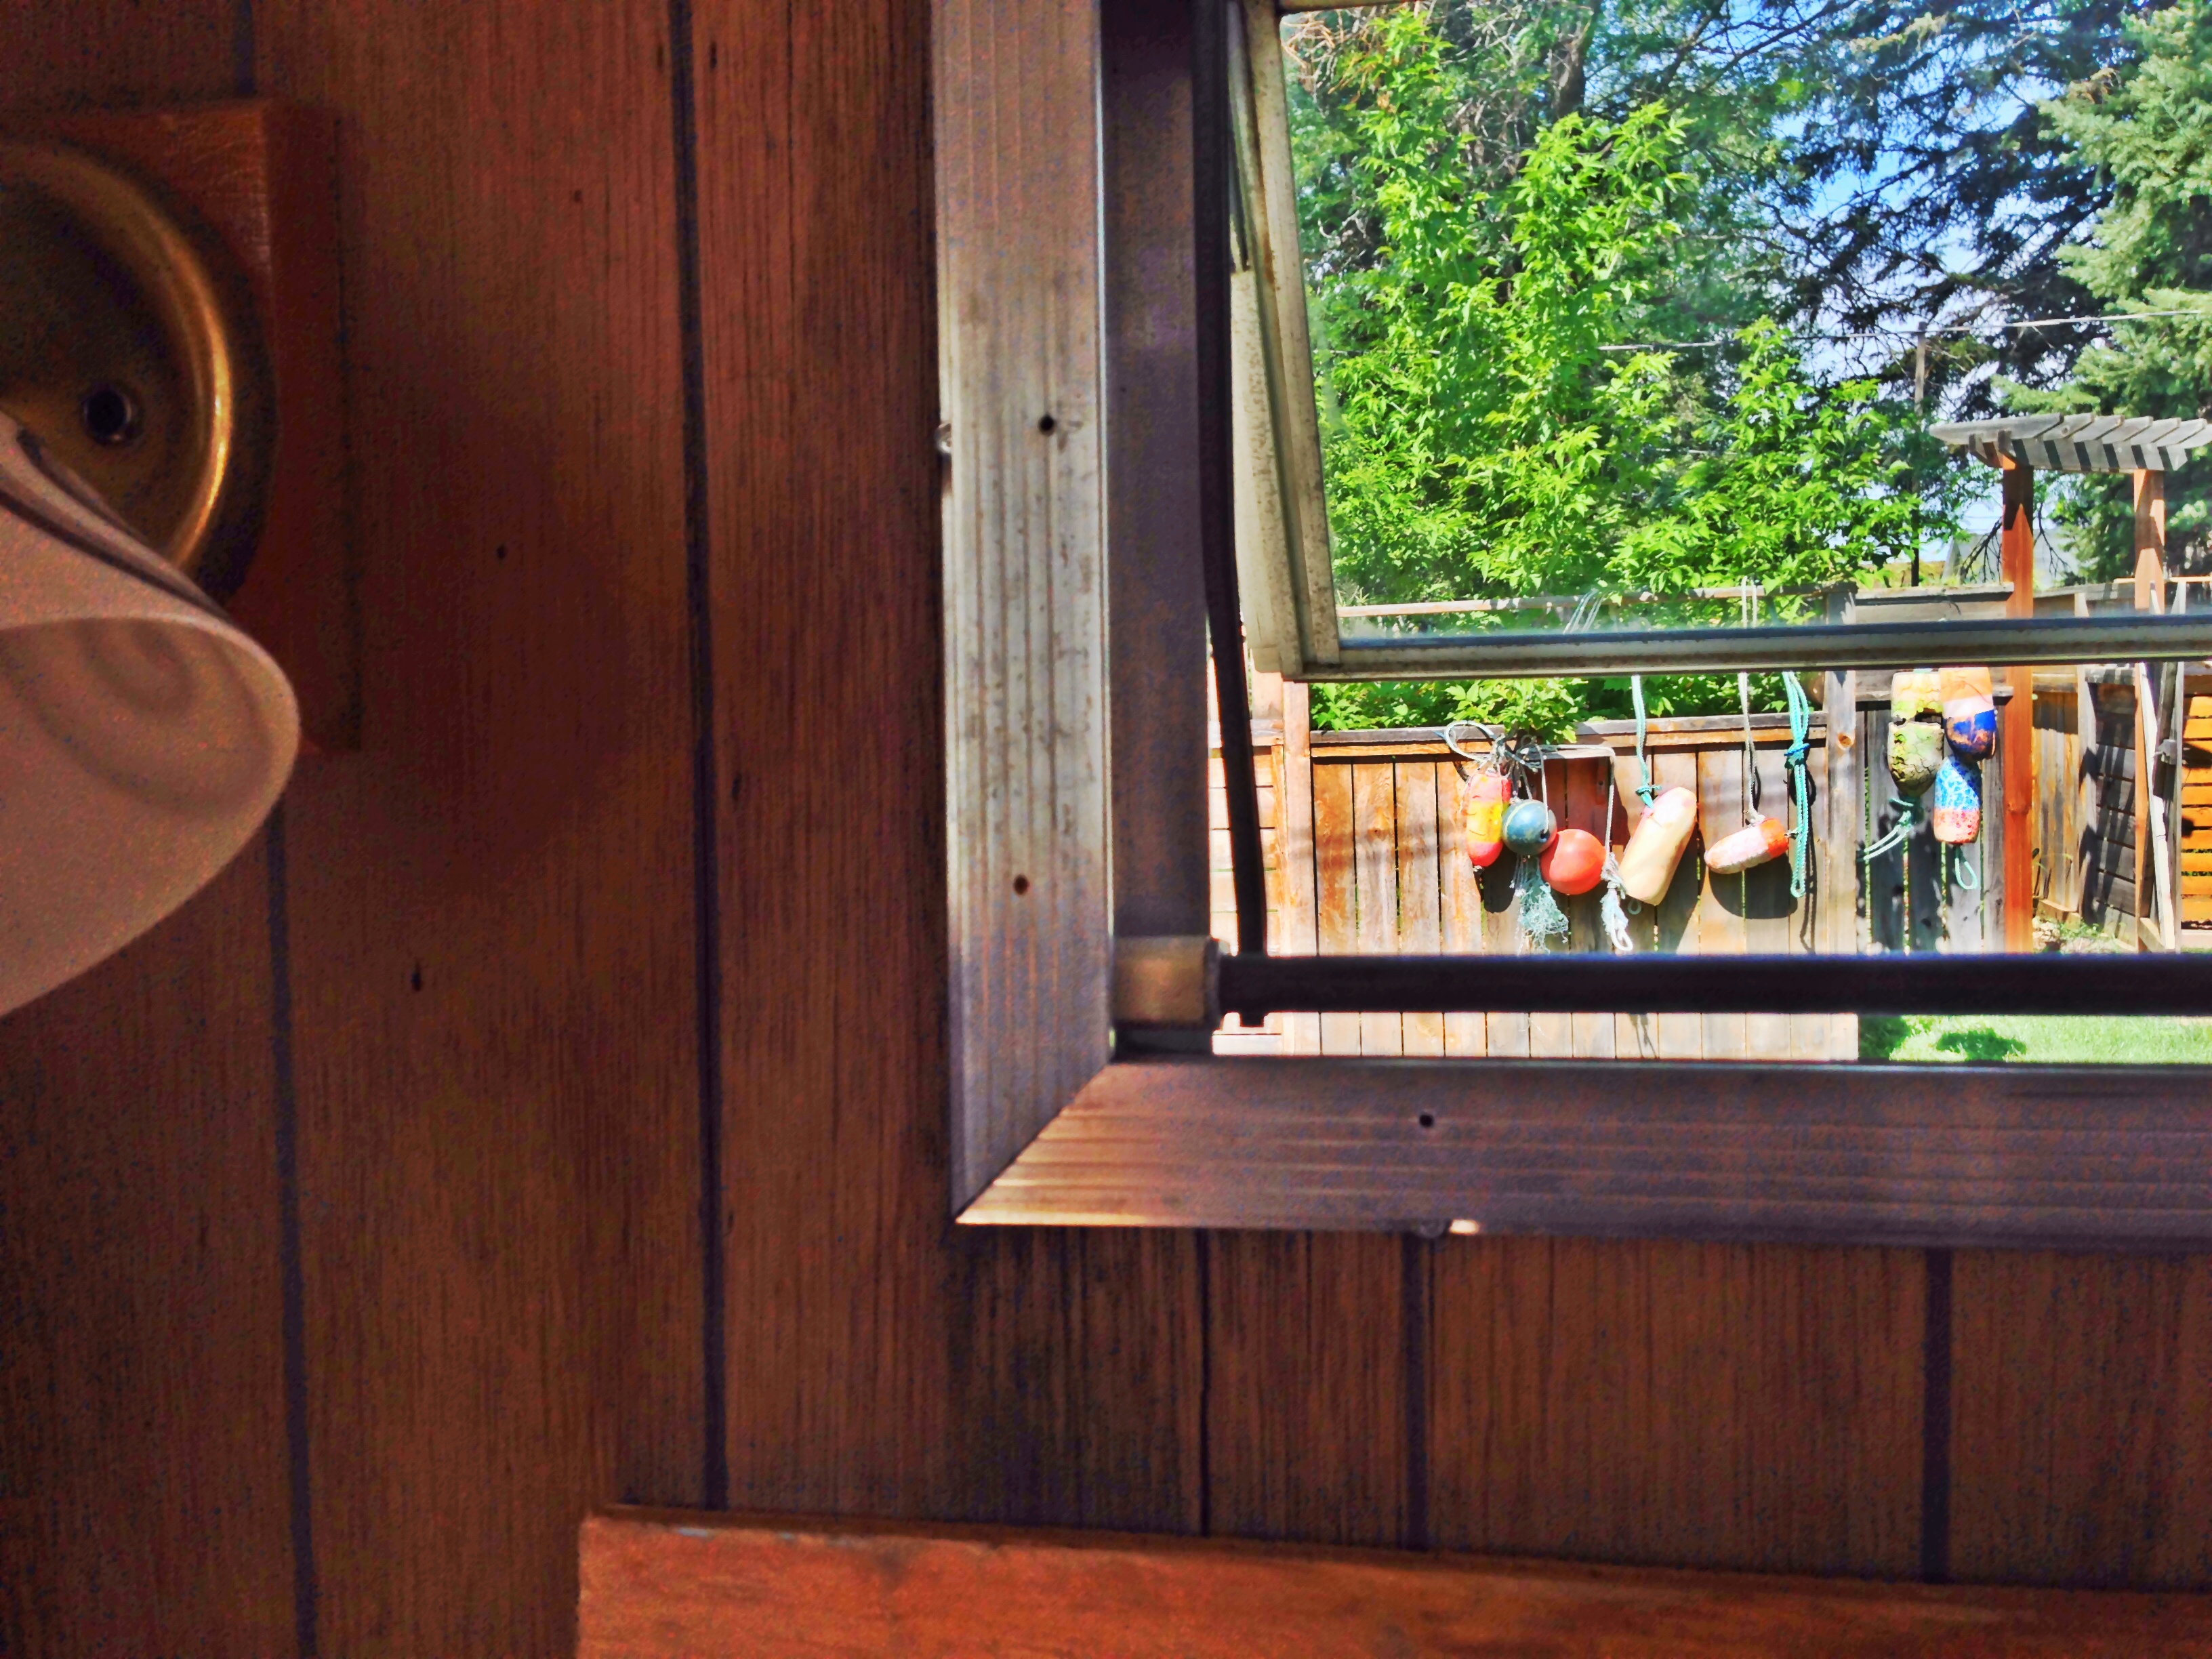
Even when she was all torn apart inside, I still loved sitting in Myrtle, enjoying the view from her windows 🙂
