A short time after Myrtle’s paint job was complete, I stumbled across the cover photo of a great little pulp fiction / sleaze / five & dime novel titled Sin on Wheels: The Uncensored Confessions of a Trailer Camp Tramp. The novel was written for Midwood Books in 1961 by Robert Silverberg , published under the pseudonym Loren Beauchamp.
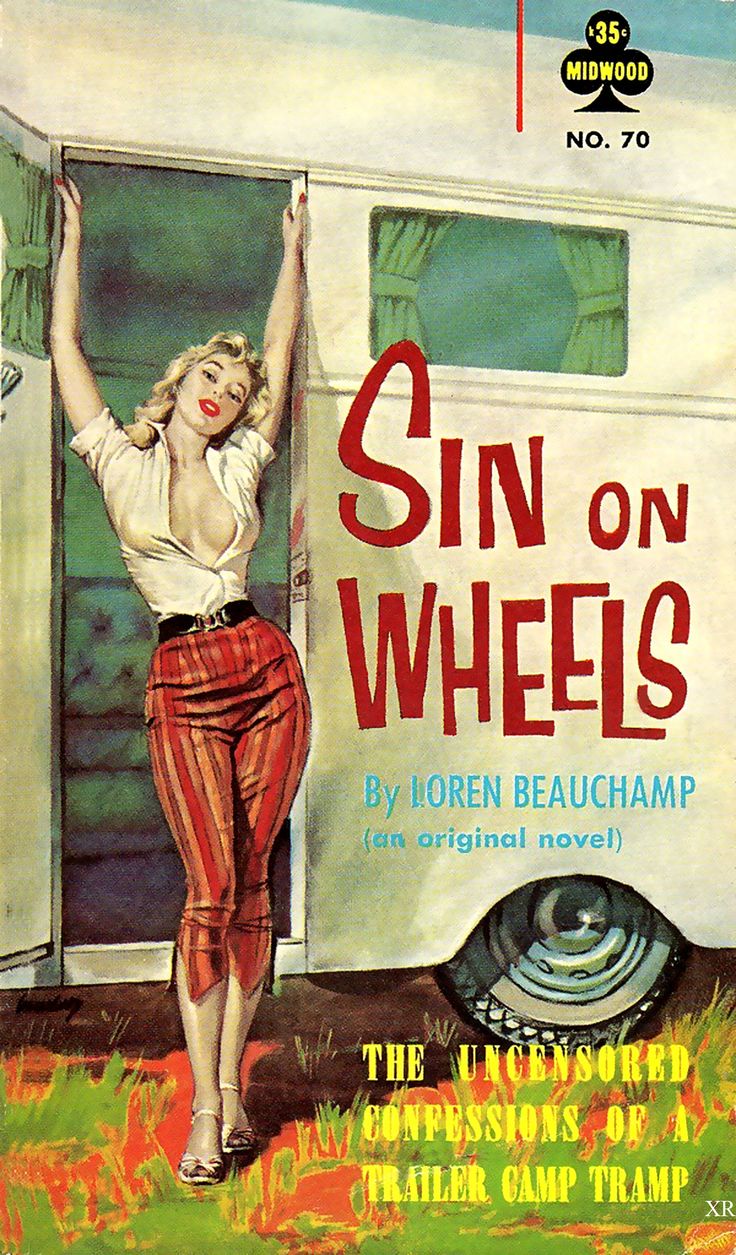
Sin on Wheels -classic pulp sleaze!
This book has an amazing art cover by Paul Rader, and I coveted a little paperback copy for Myrtle. Extraordinarily hard to find, as it turns out, and wildly expensive to boot; I had to settle for the photo as an addition to Myrtle’s eventual decor.
But before decorating could commence, Myrte’s 1969 interior was going to need a lot of work. She was sitting pretty on the outside, with her fresh paint job in turquoise and atomic tangerine, but on the inside there was much work to be done.
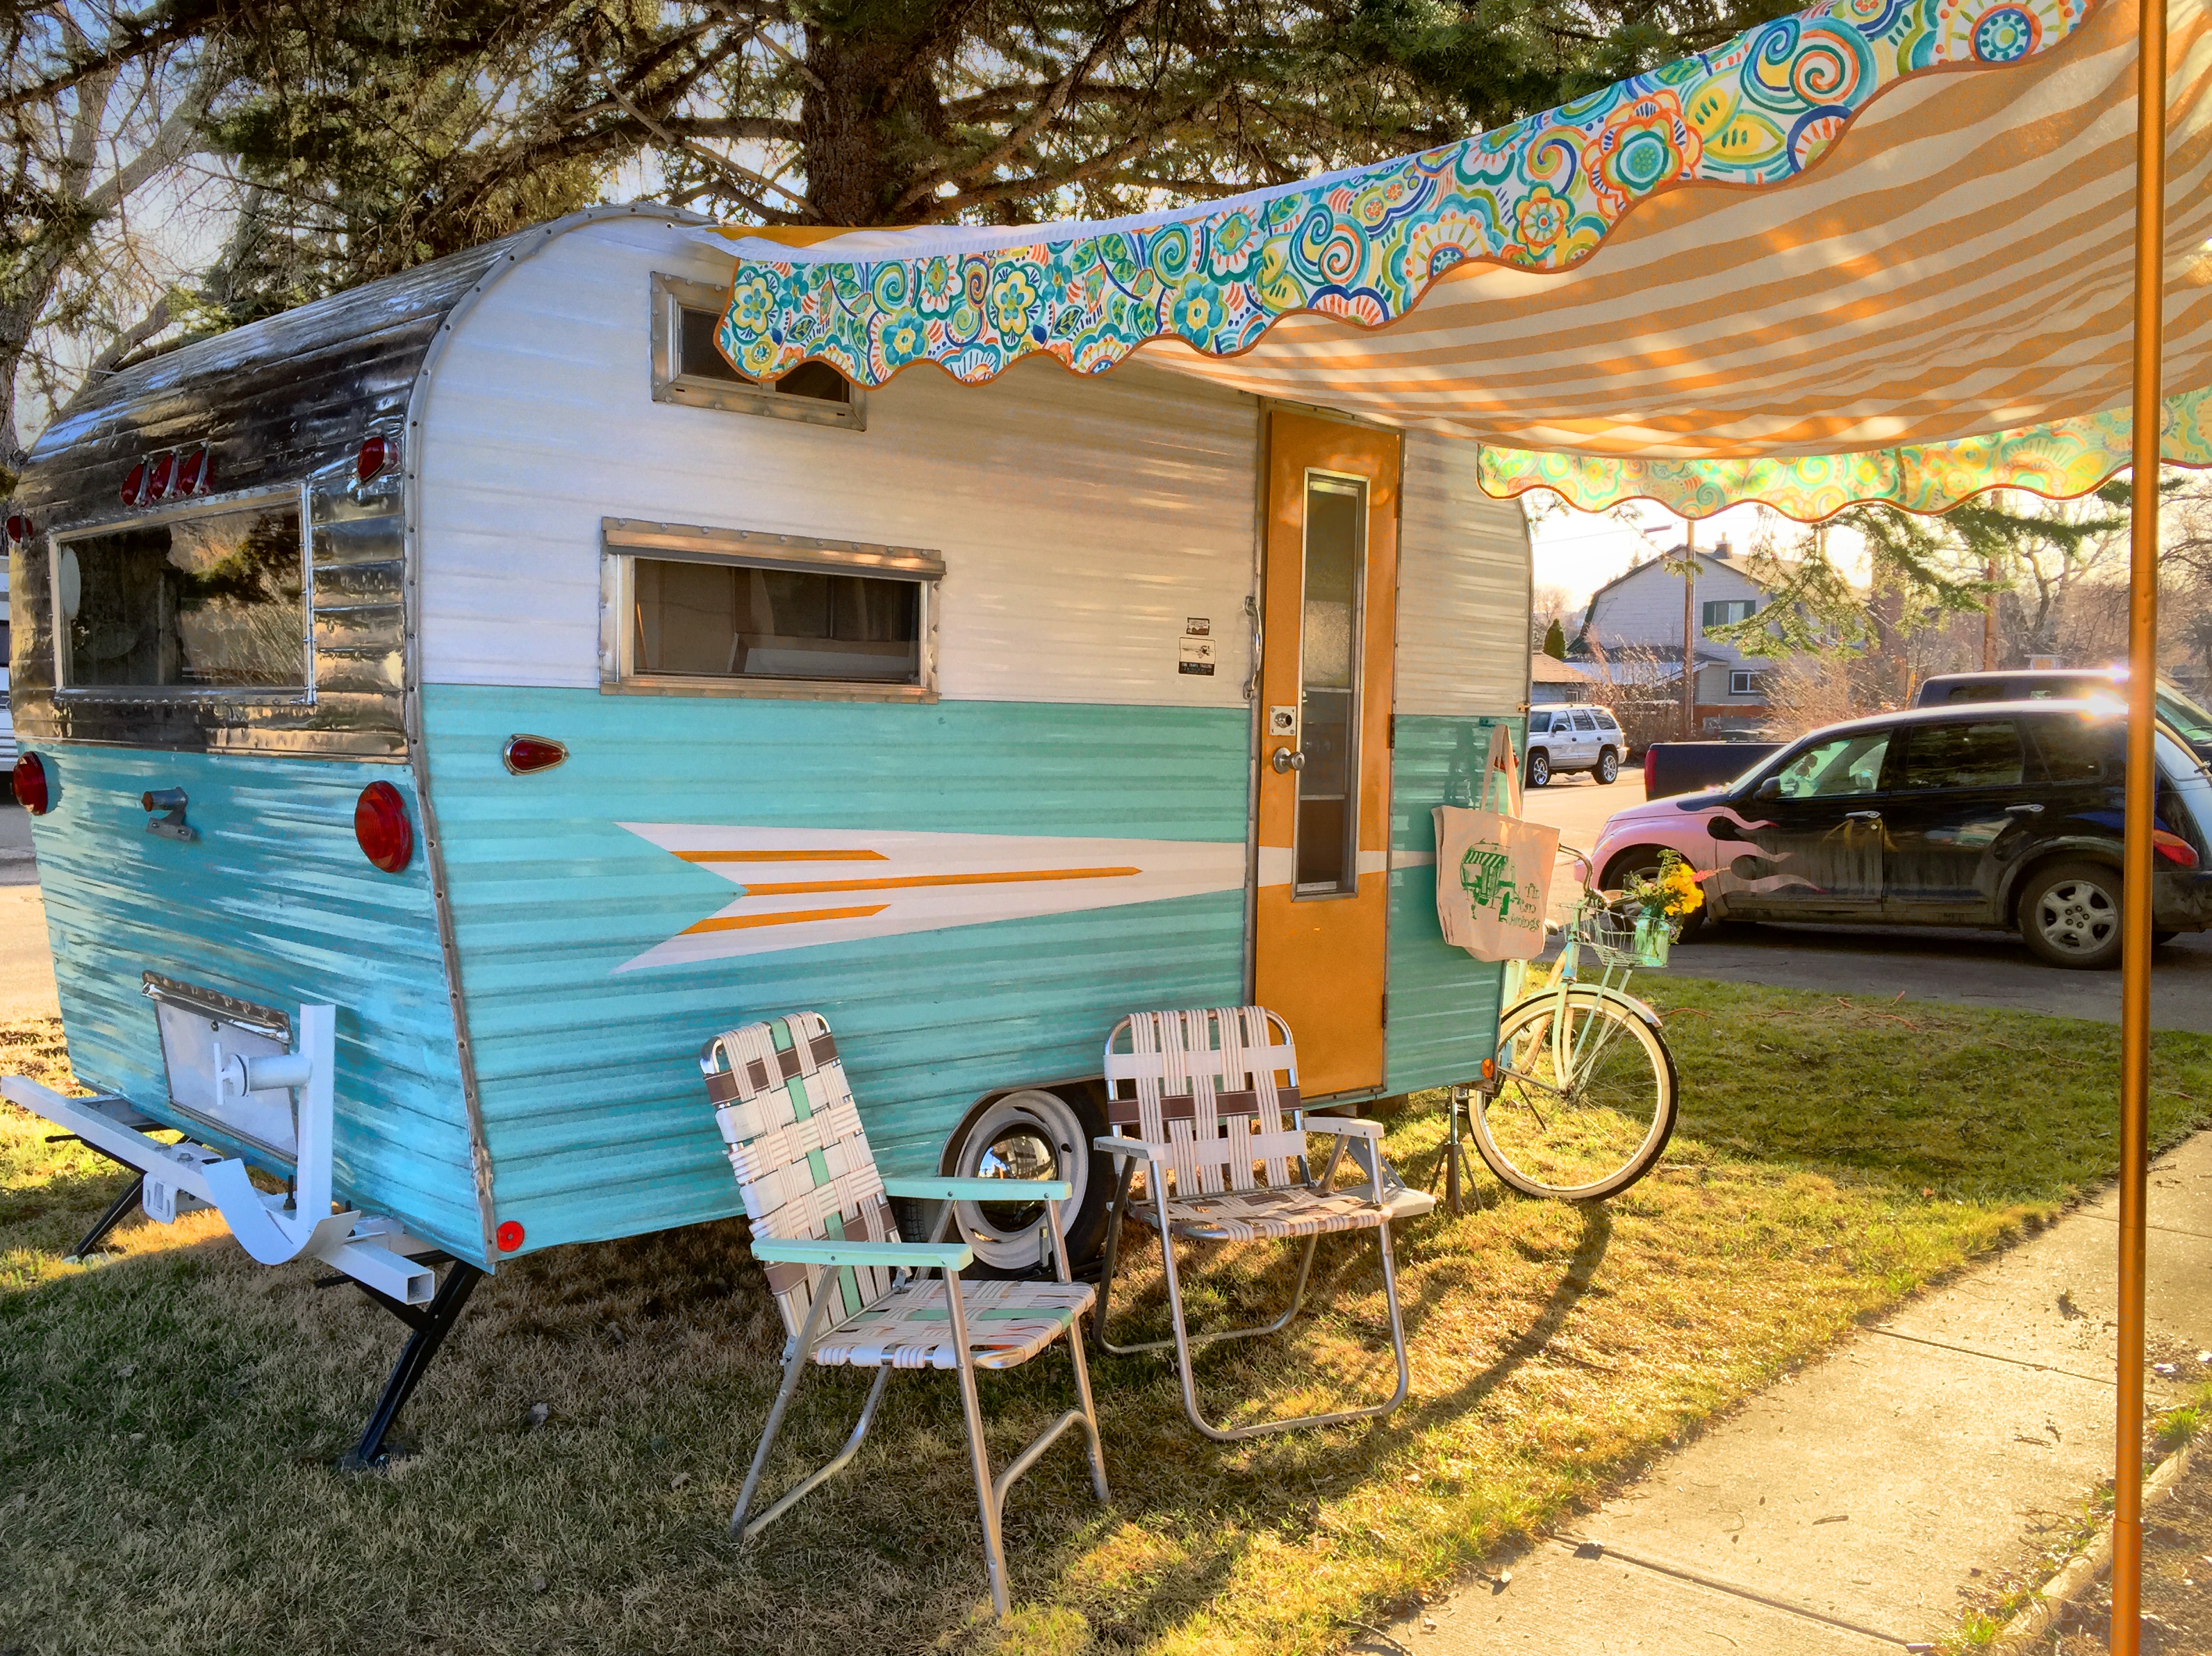
Myrtle’s exterior
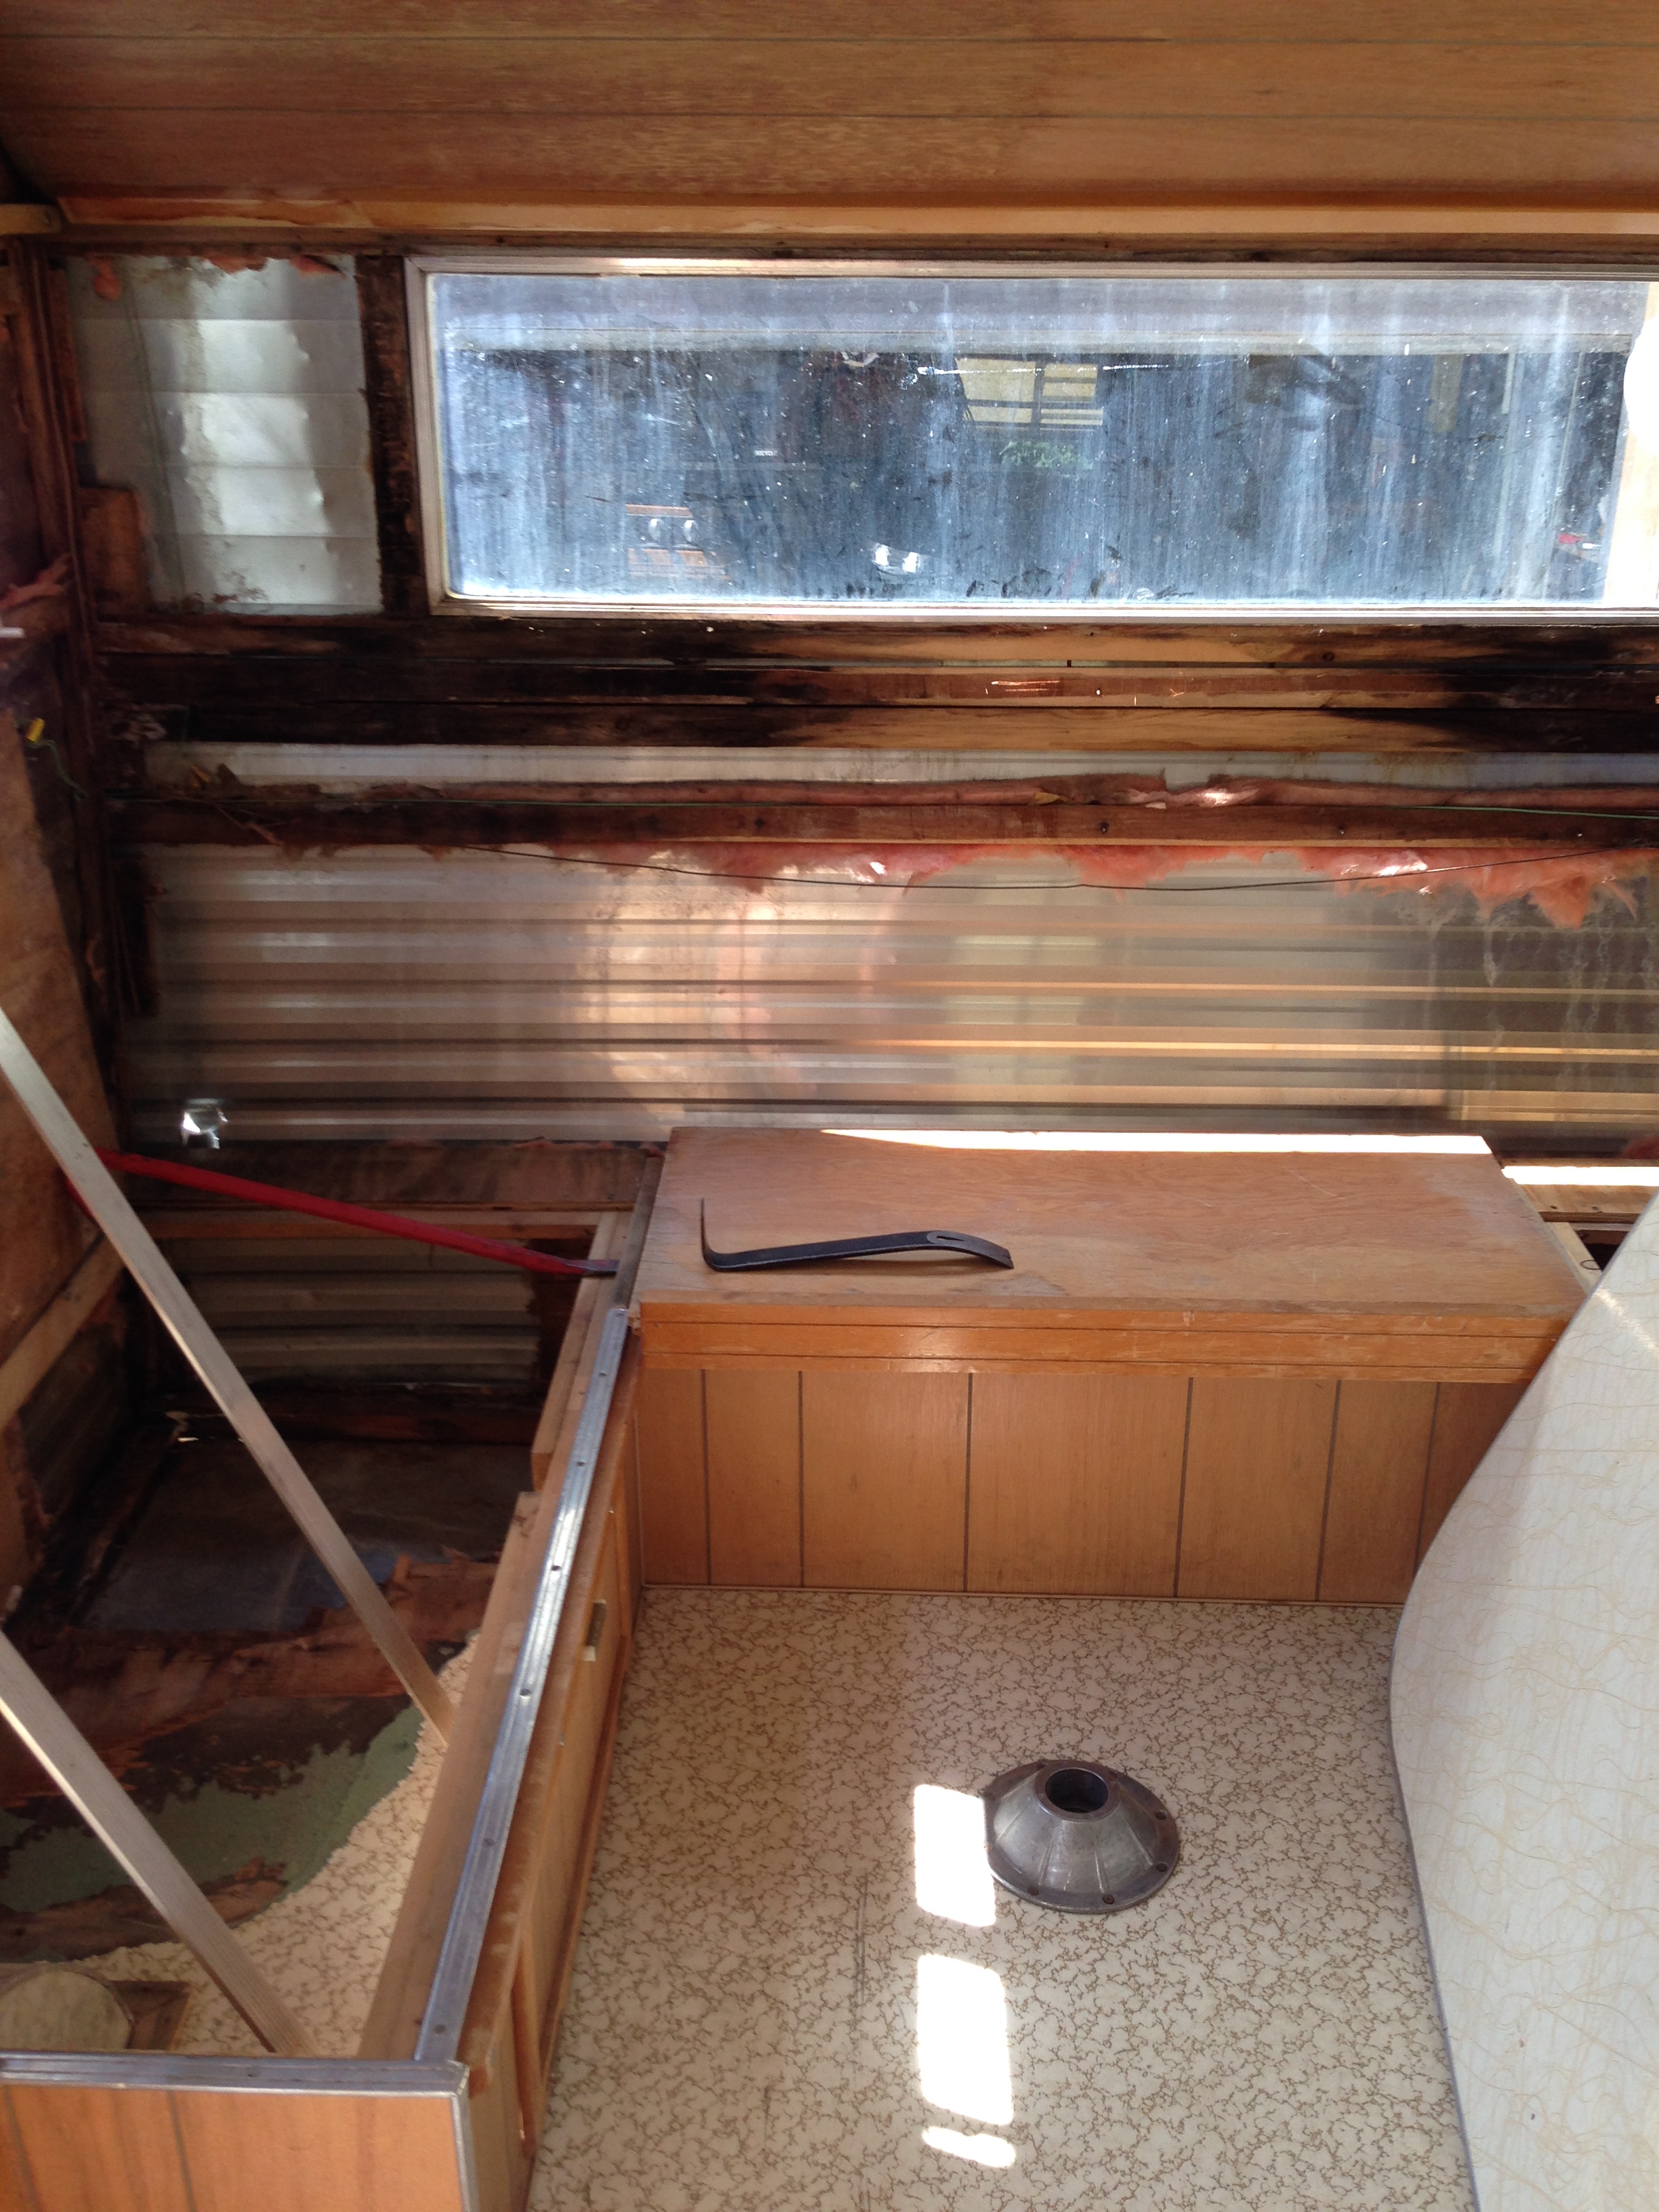
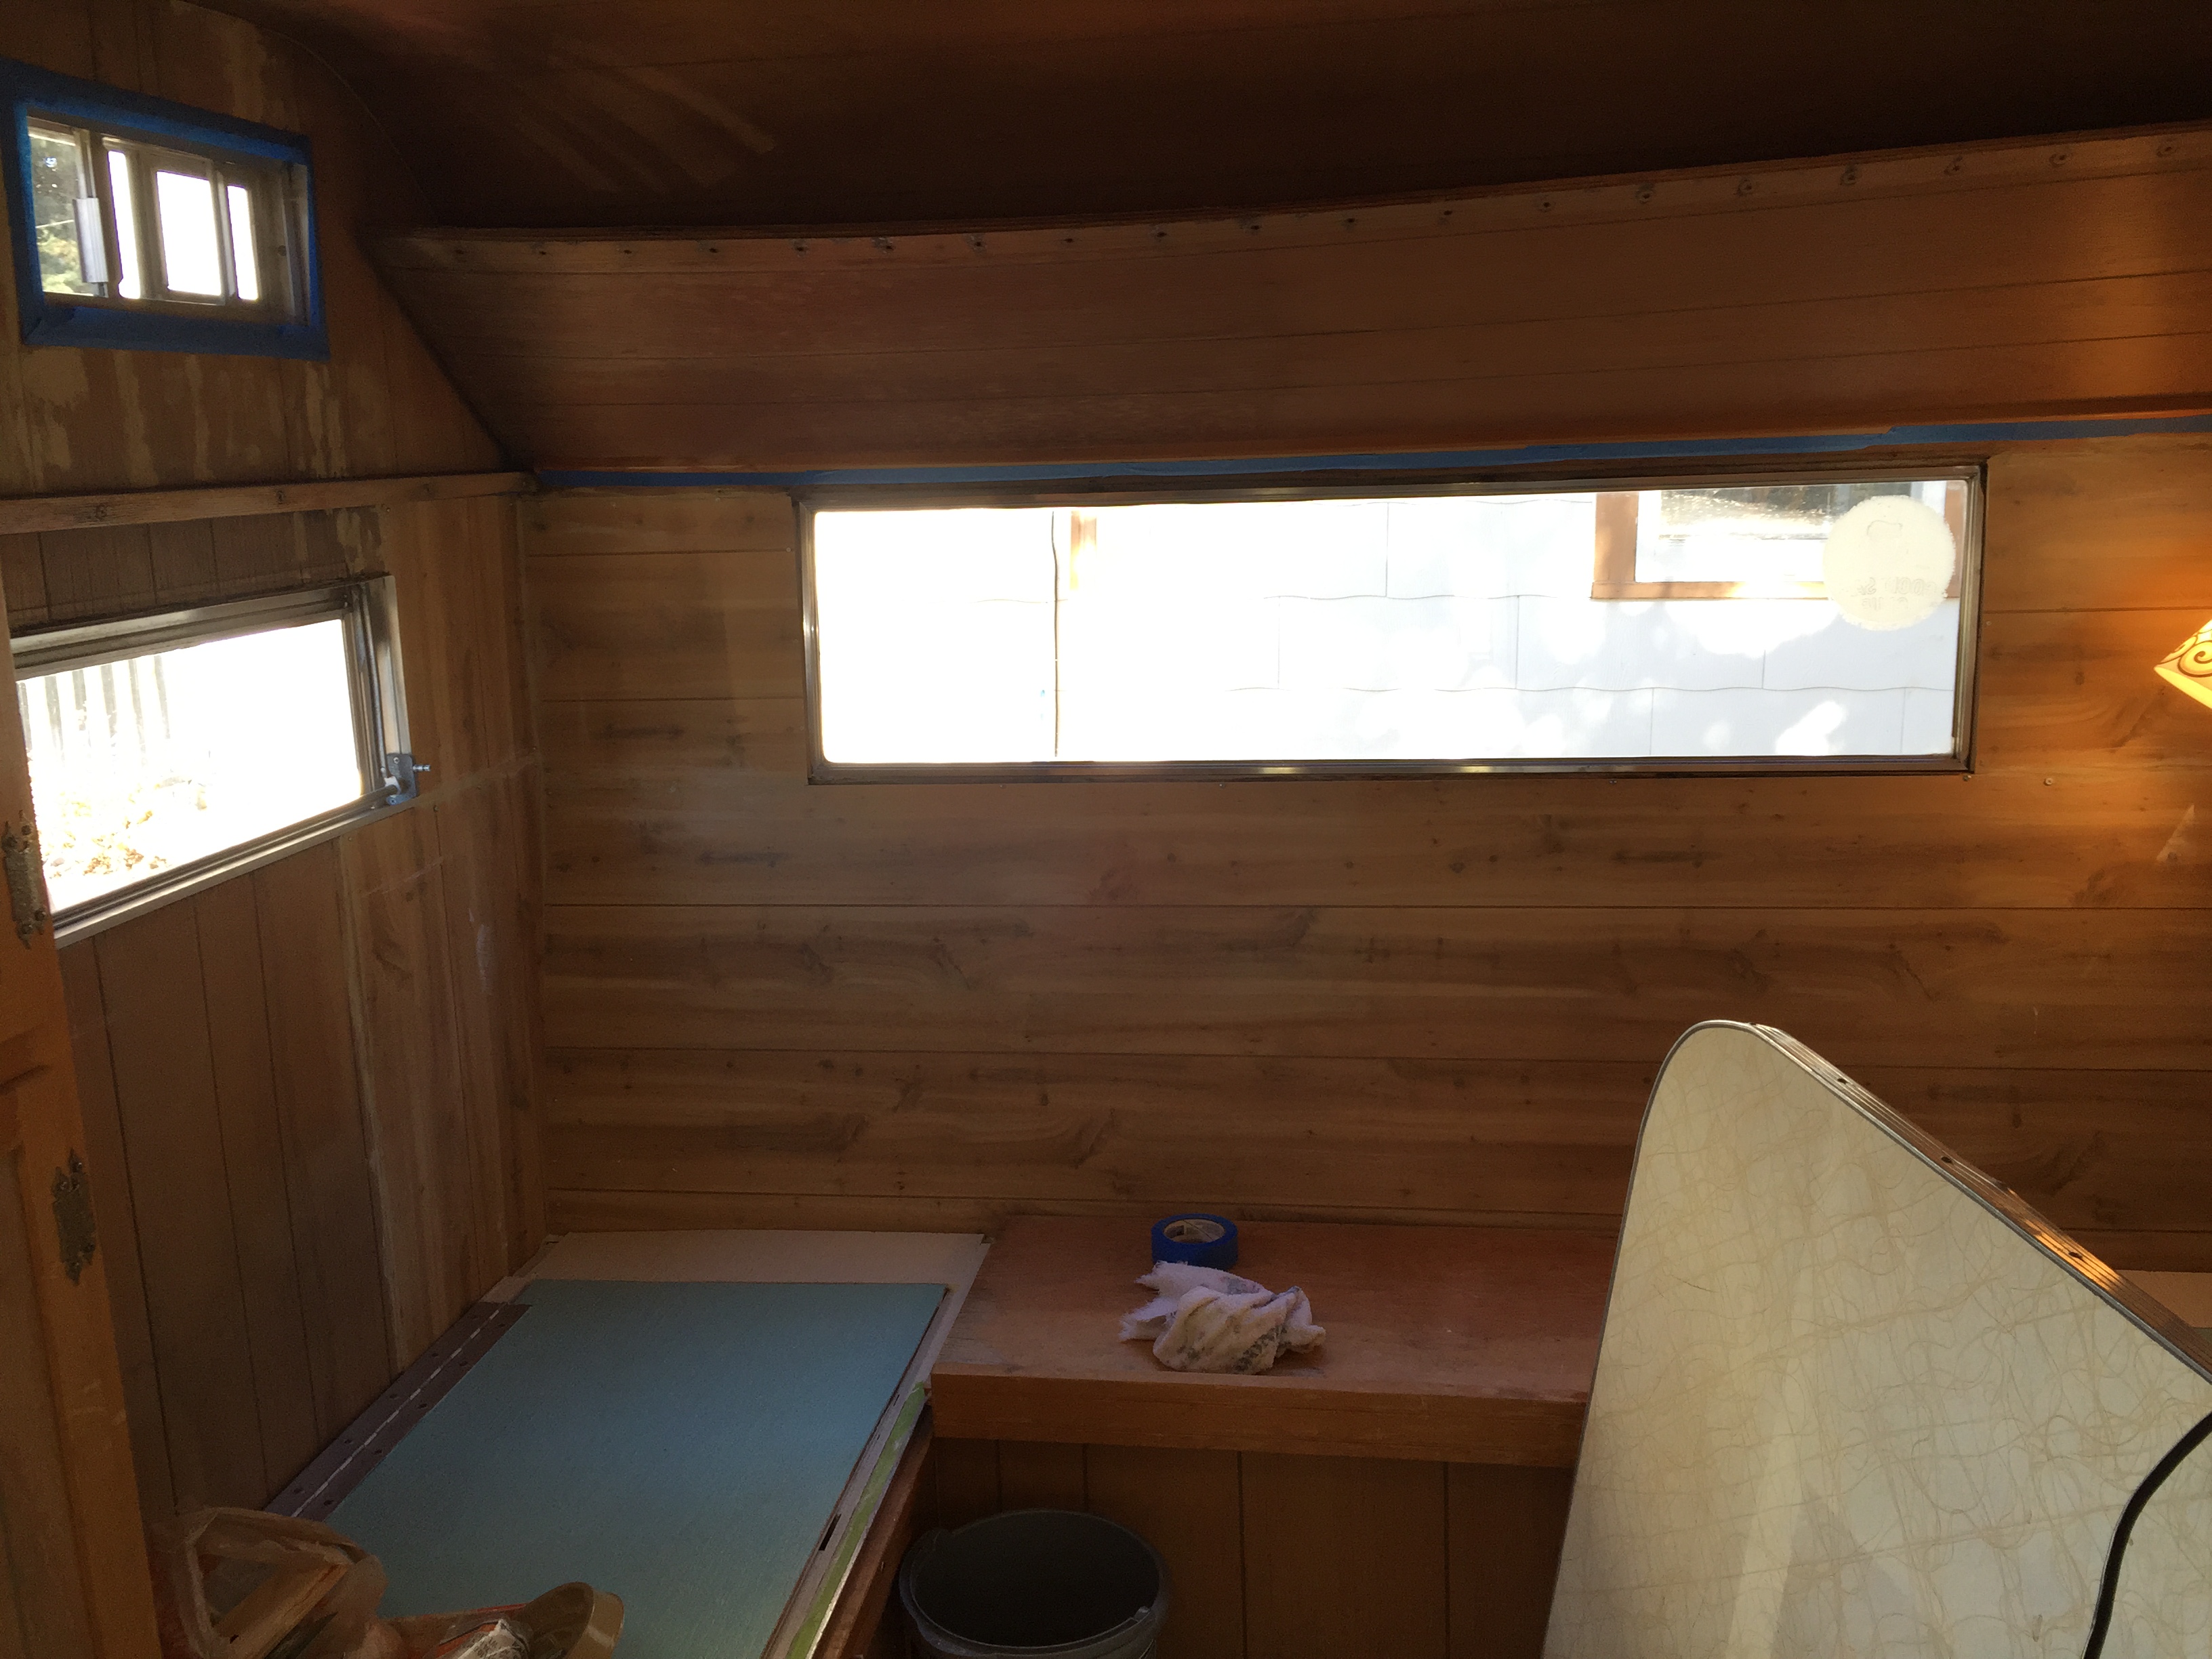
I had already pulled out all of the backside’s water damaged paneling and moldy insulation, as well as the water rotted flooring in the two back corners (all caused by the big back window leaking for who knows how long). The next phase involved installing a few new cross beams on Myrtel’s backside, as the original two were pretty rotted, putting in new insulation, installing new paneling, and building some new floor in the back corner areas.

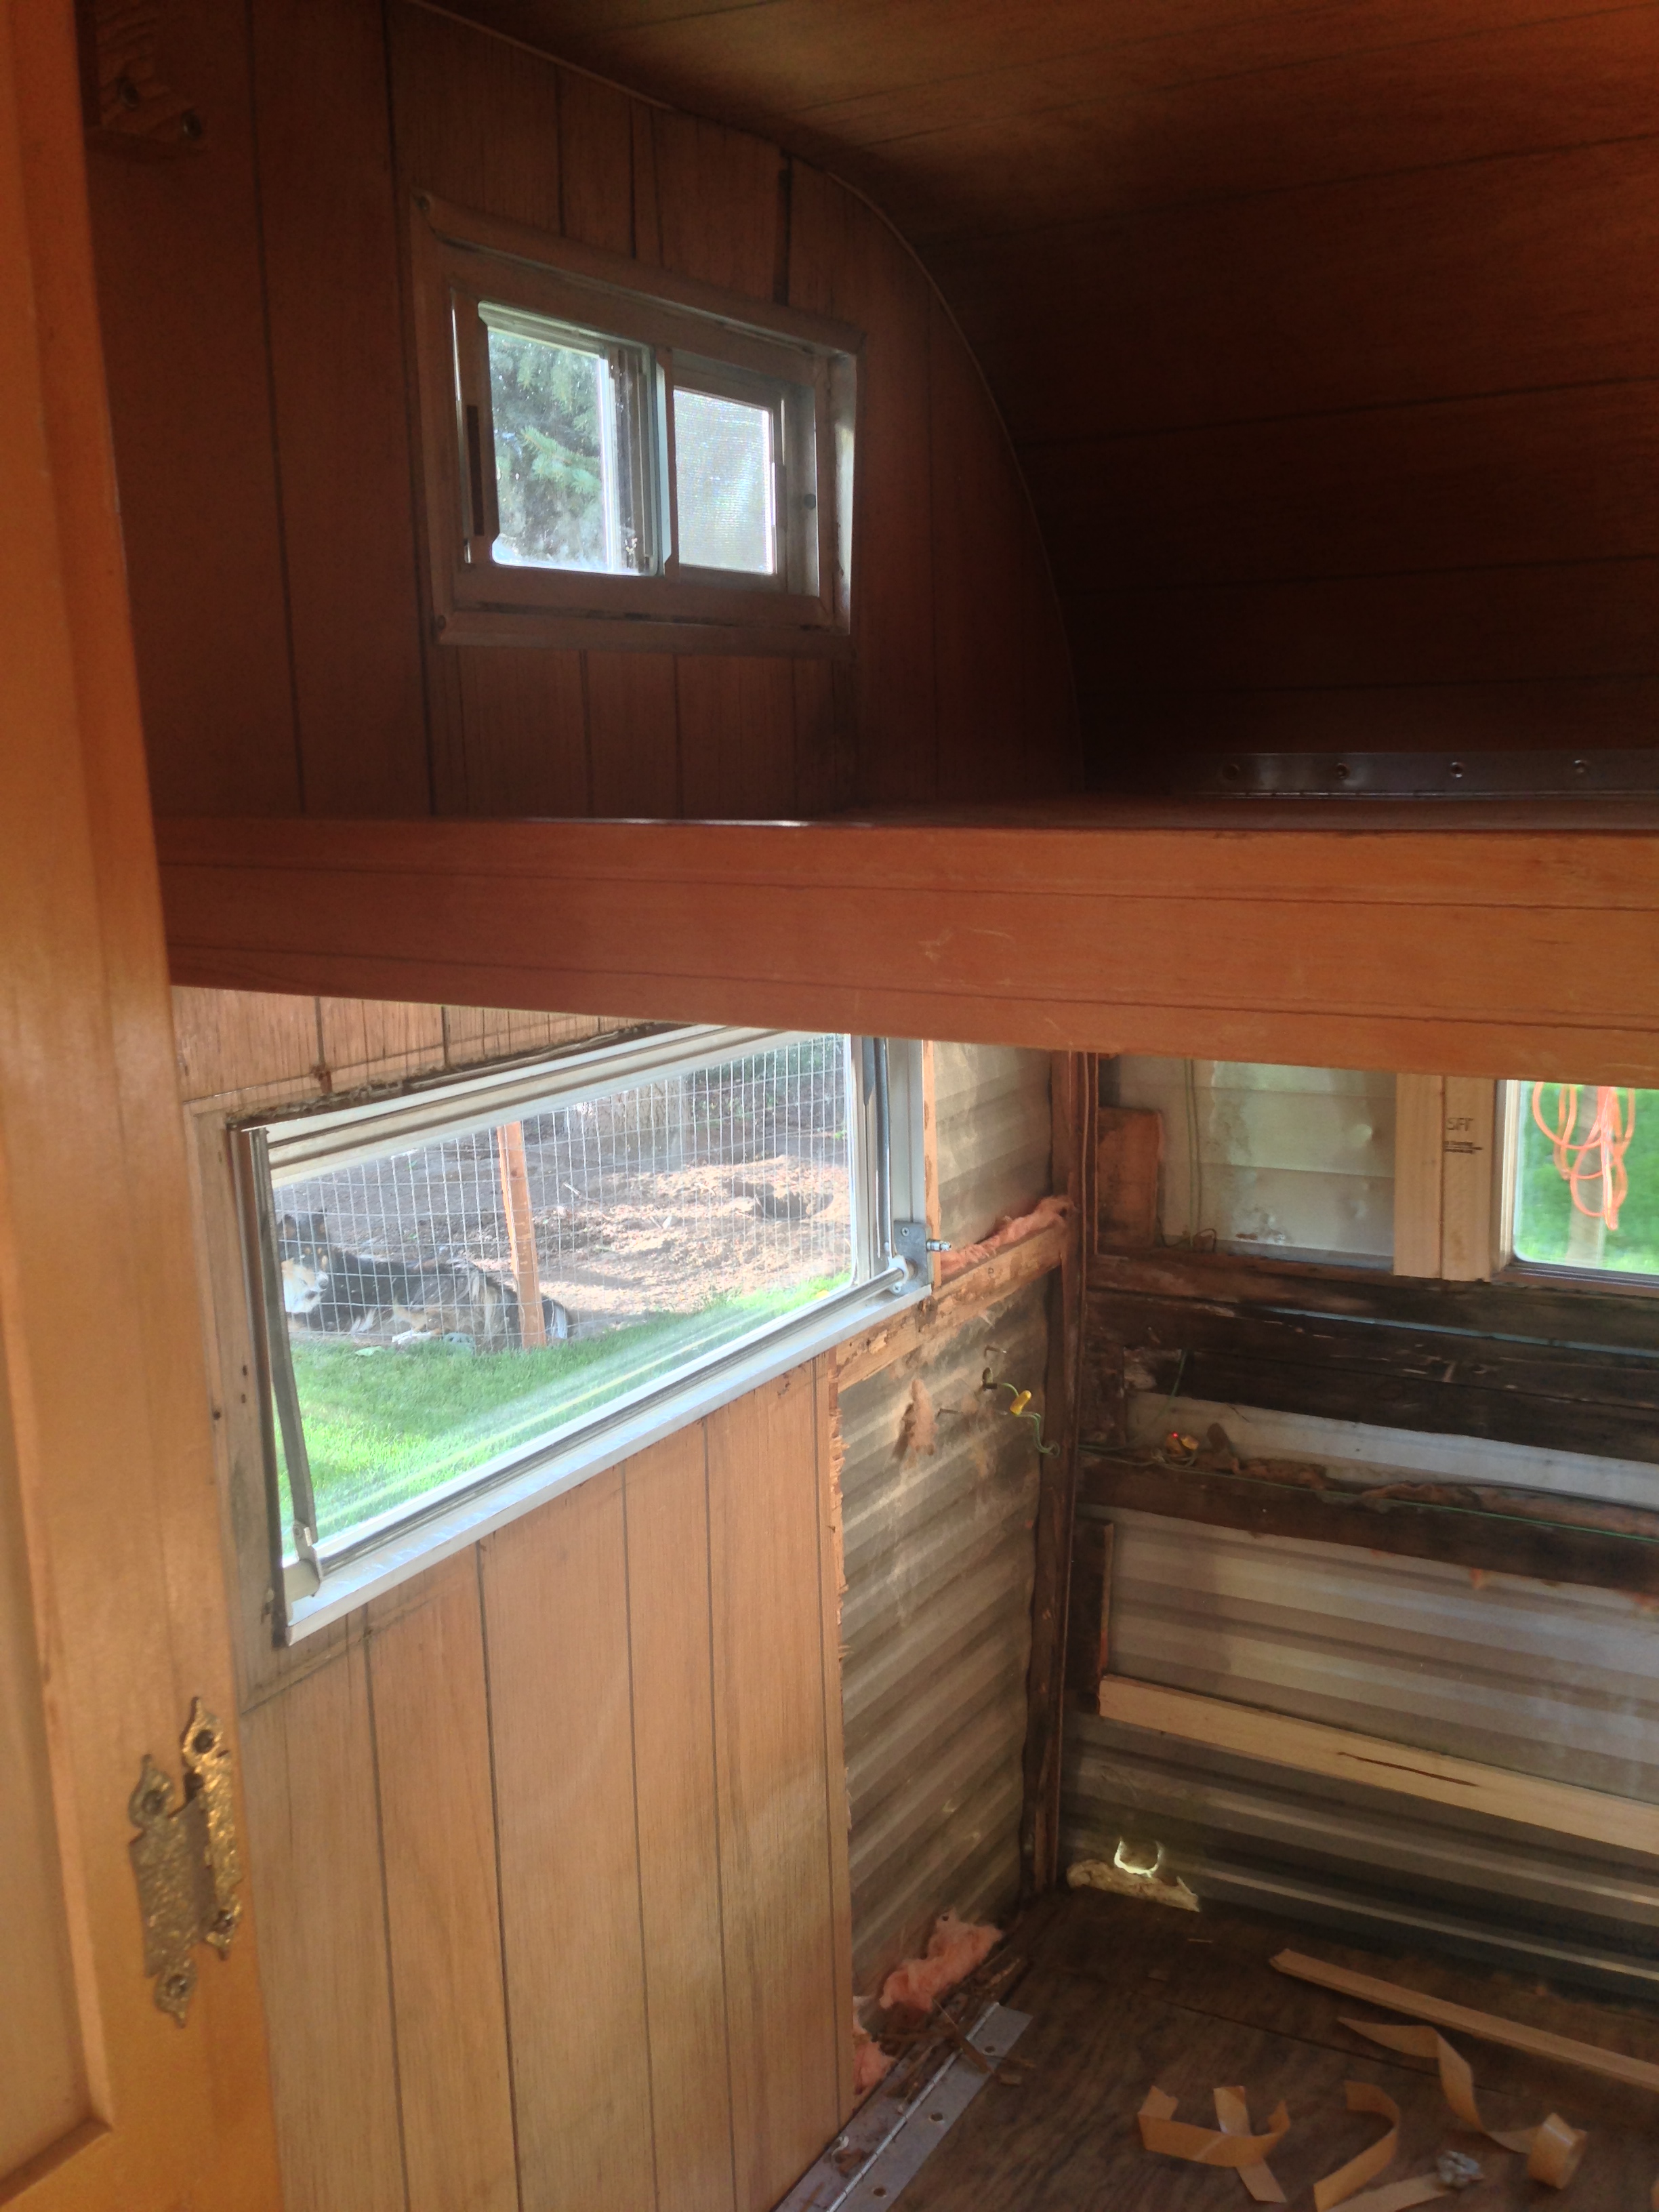
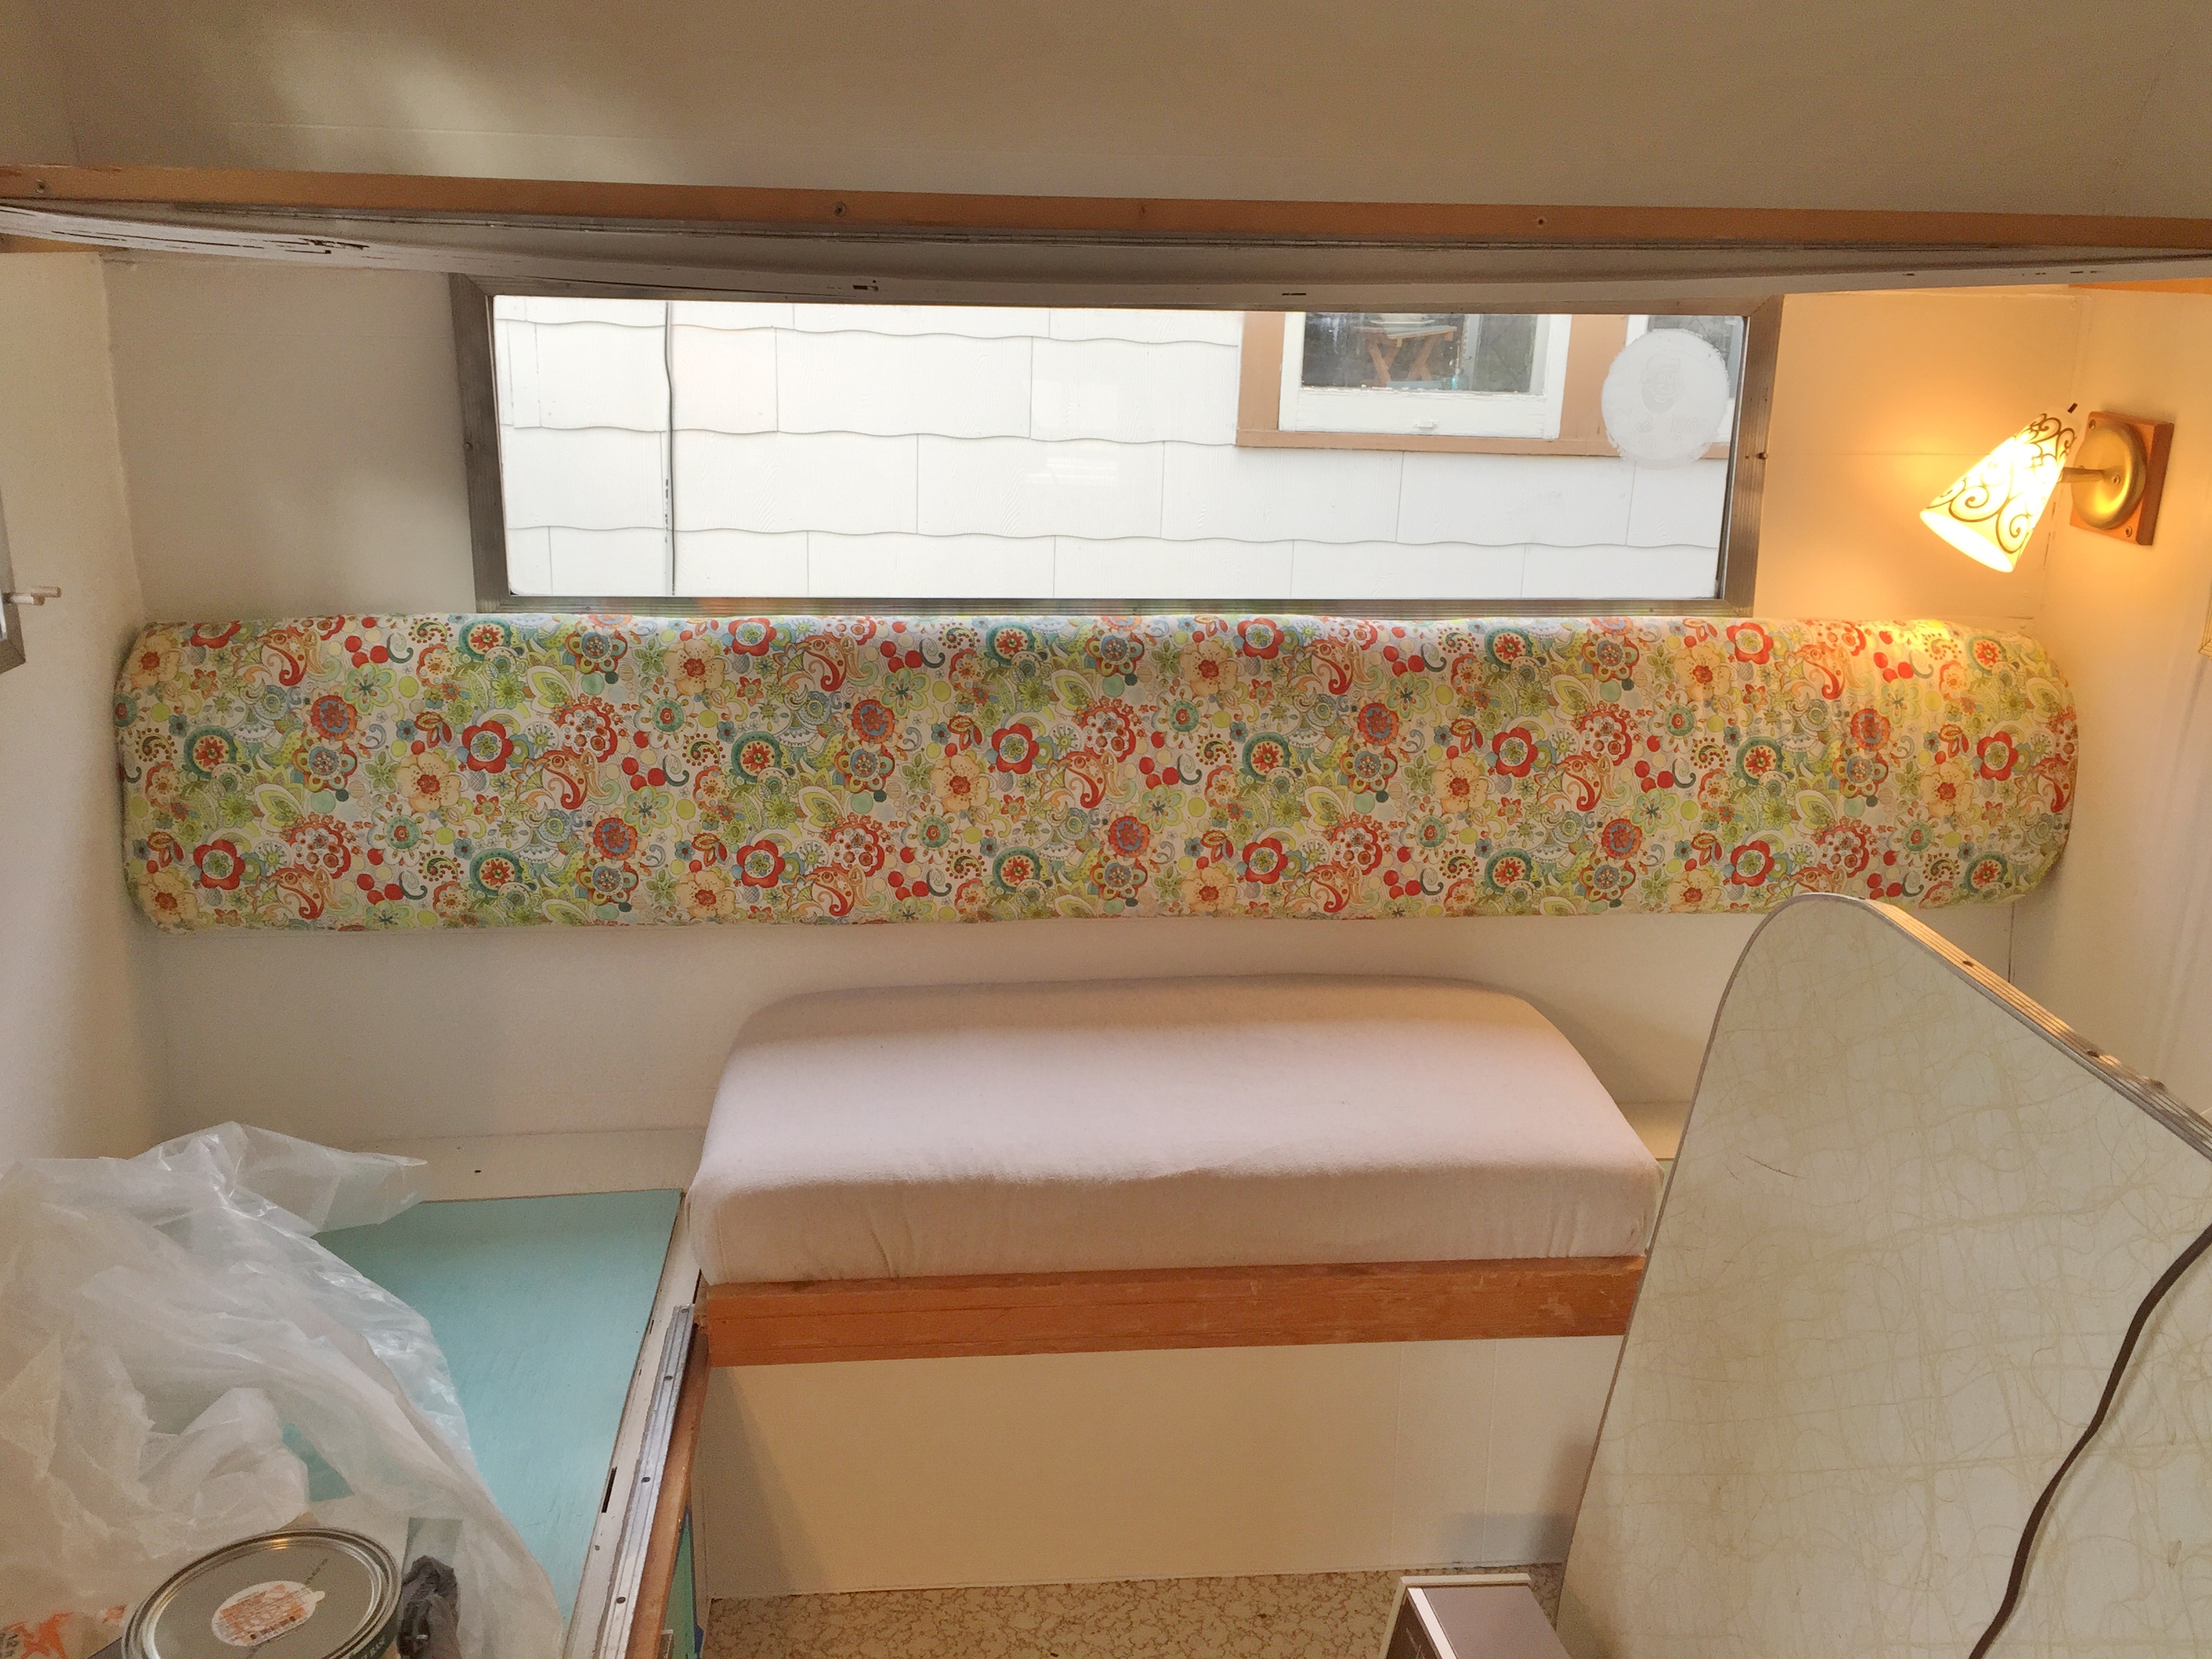
Myrtle came to us with a top, hinged, wooden bunk.
Myrtle came to us with a top, hinged, wooden bunk that could be lifted to the ceiling when not in use. However, it only worked with the thinnest of mattresses, it was extraordinarily difficult to get into and out of, and no one liked being up there, as it was such a close, claustrophobic space. Having painted Myrtle’s ceiling myself by laying in this bunk to do it, I can attest to how cramped it was. In the end, I removed the largest hinged wood piece, recapped the remaining wood panel with the original trim piece, and now use it as a shelf.
There was no way I was ever going to be able to match the original paneling, and to be honest, I didn’t want to. Myrtle didn’t have pretty birch paneling, or any sort of real wood paneling at all. It was some sort of faux wood laminate paneling that was dry and dingy with age, and I decided I was going to paint the entire interior. Which meant the new paneling really only had to match the texture and look of the original, to blend in once painted. And since the portions of the floor that were rotted were under the storage compartments, I wasn’t too worried about the look of the floor repair. I made it sturdy, and I painted it, so I had a nice clean, solid under-storage area.

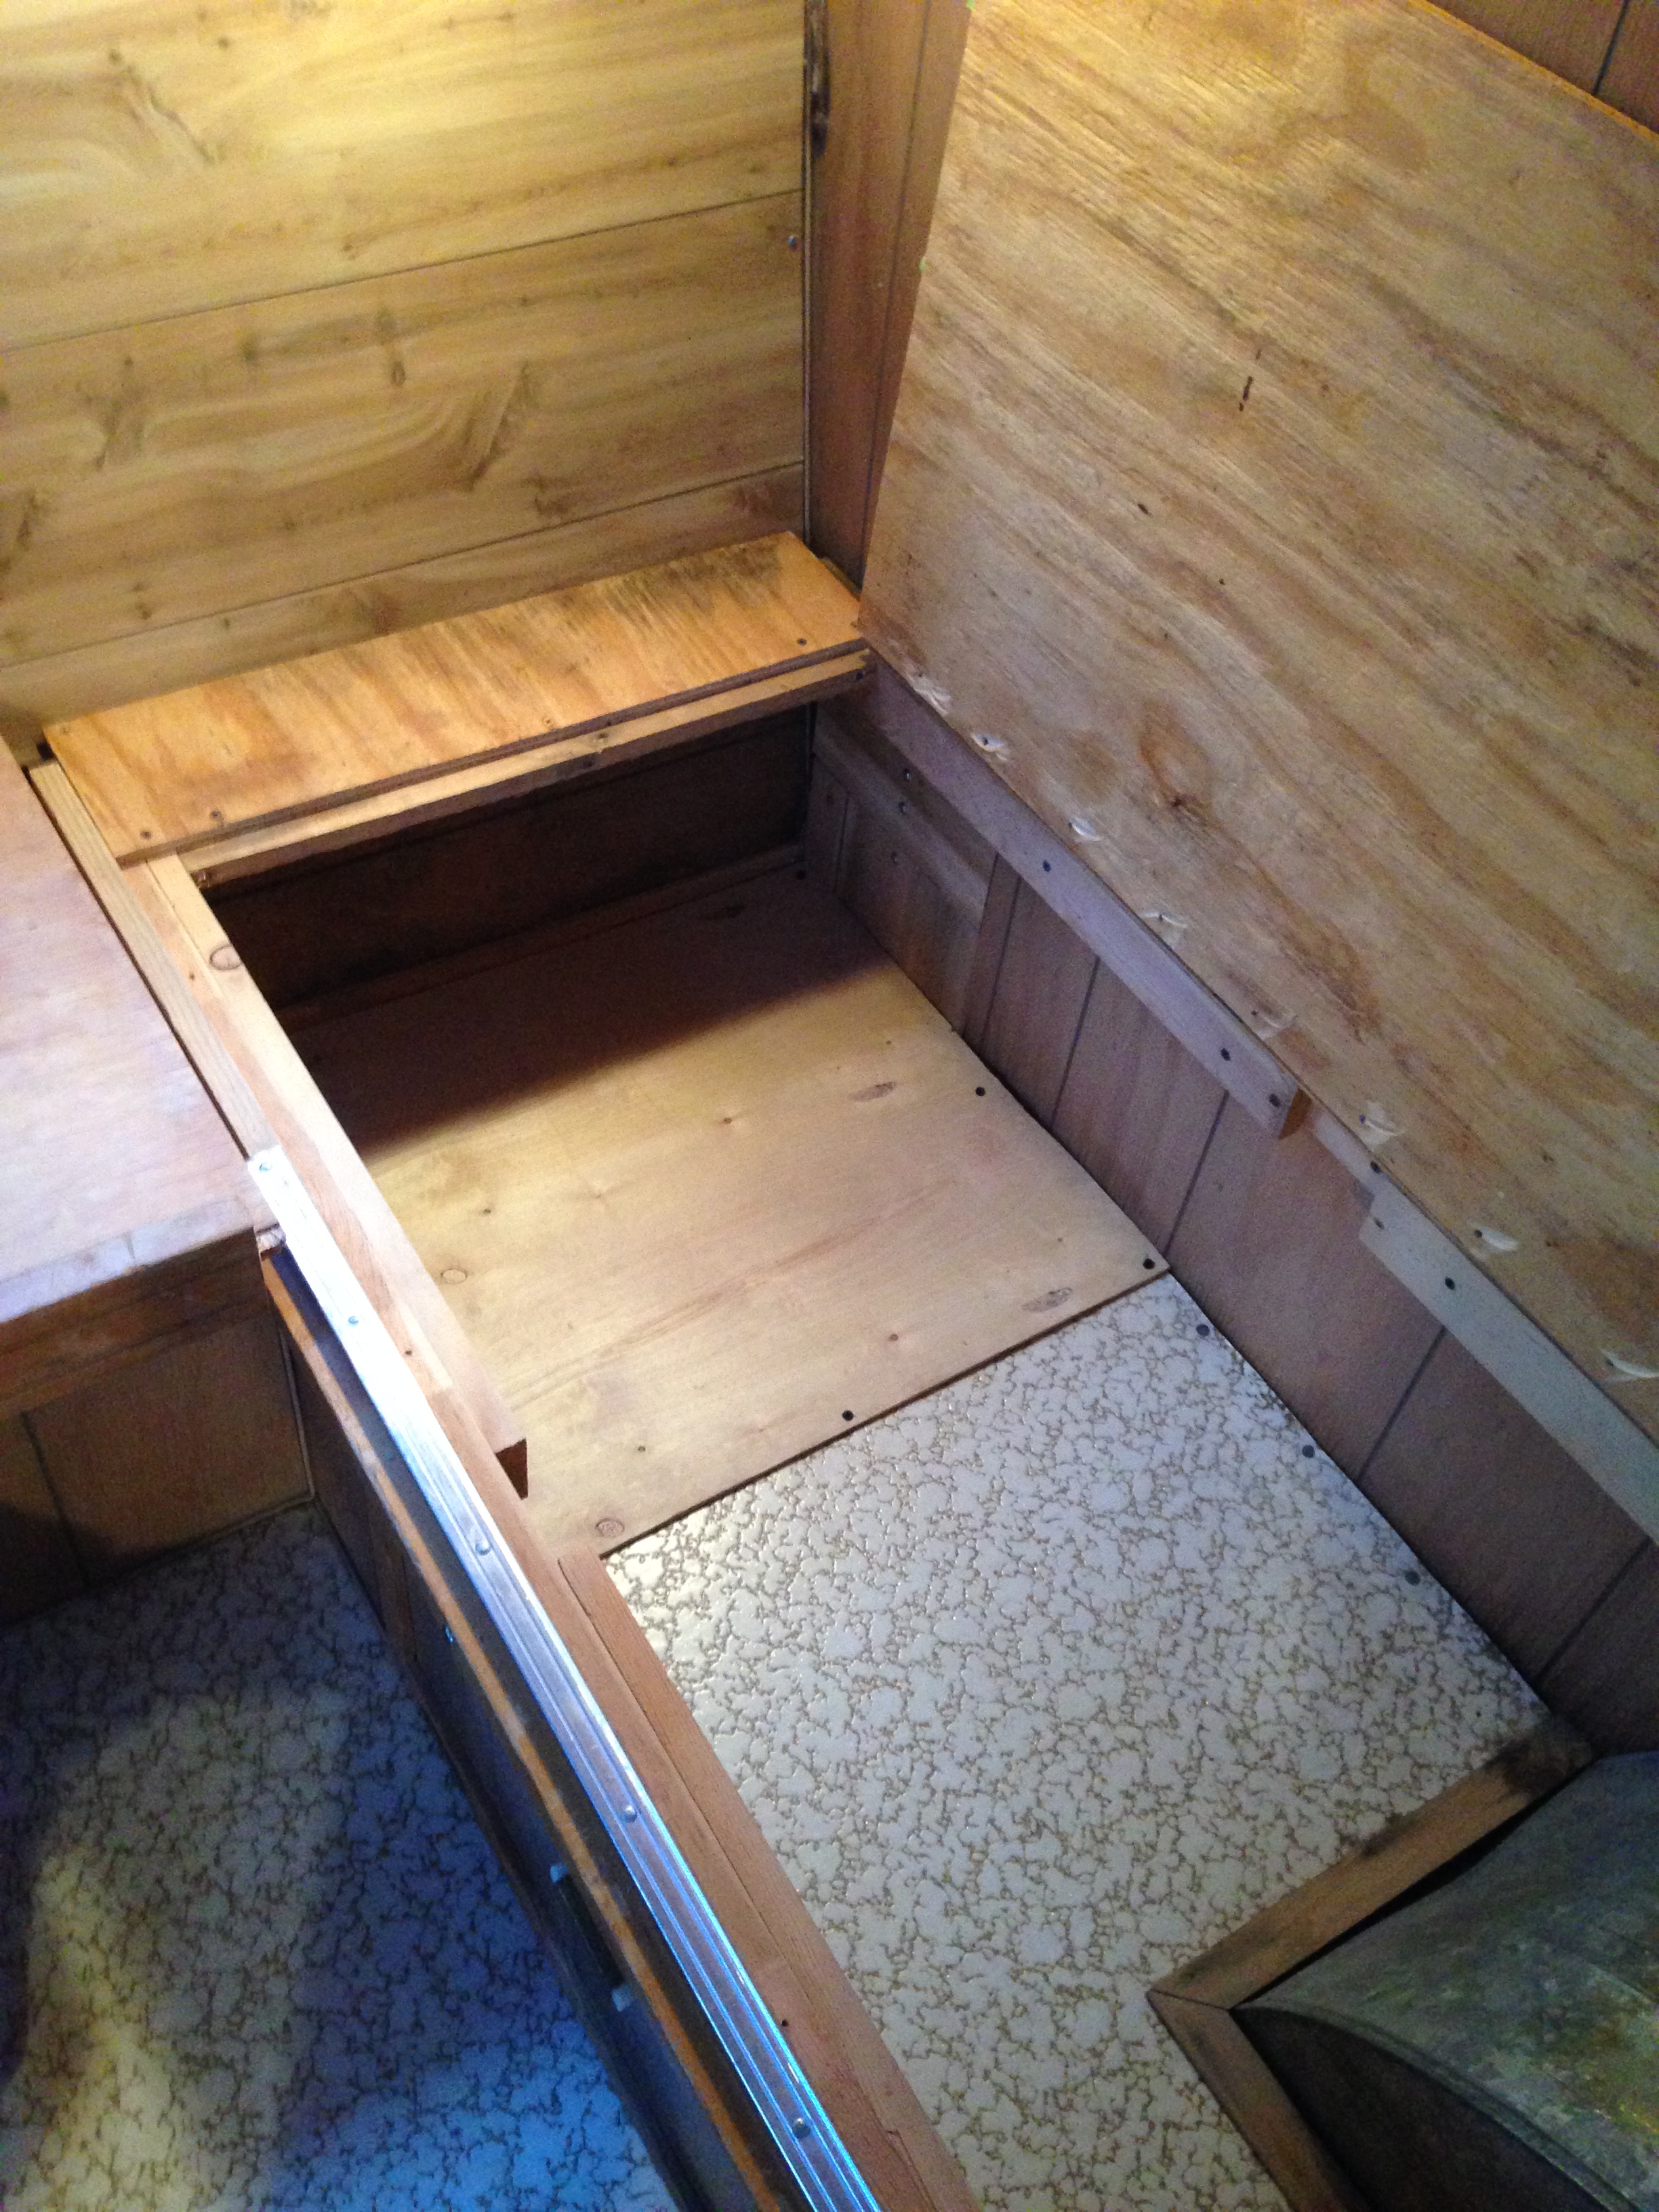
New back paneling
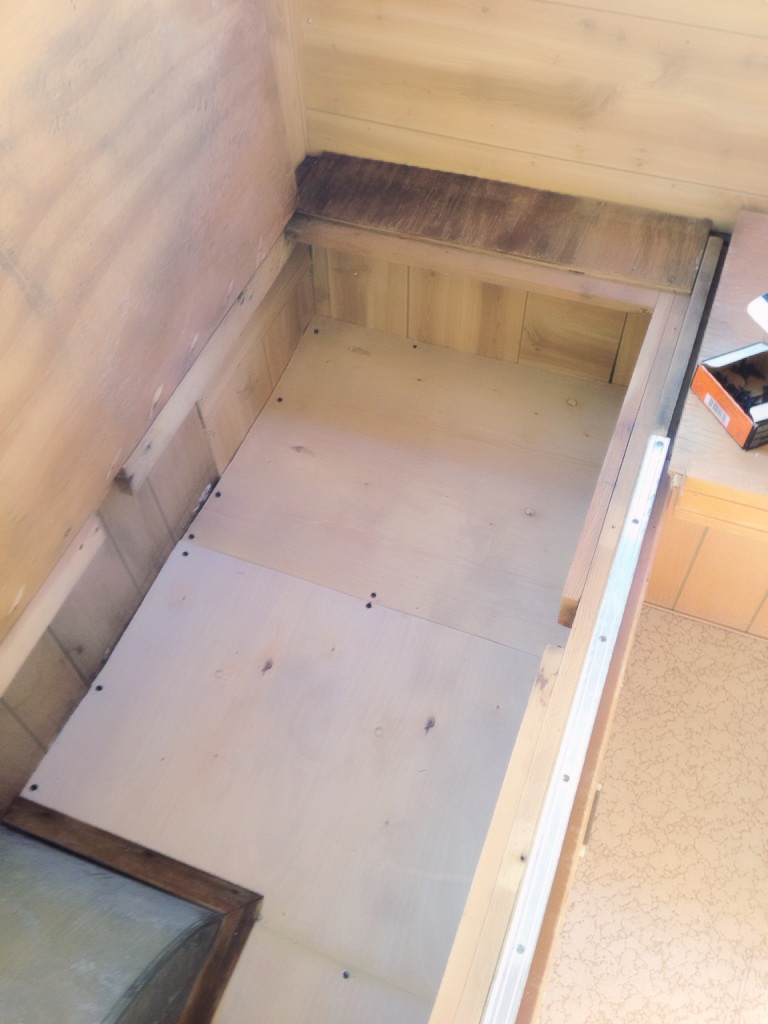
New floorboards in Myrtle’s under compartments
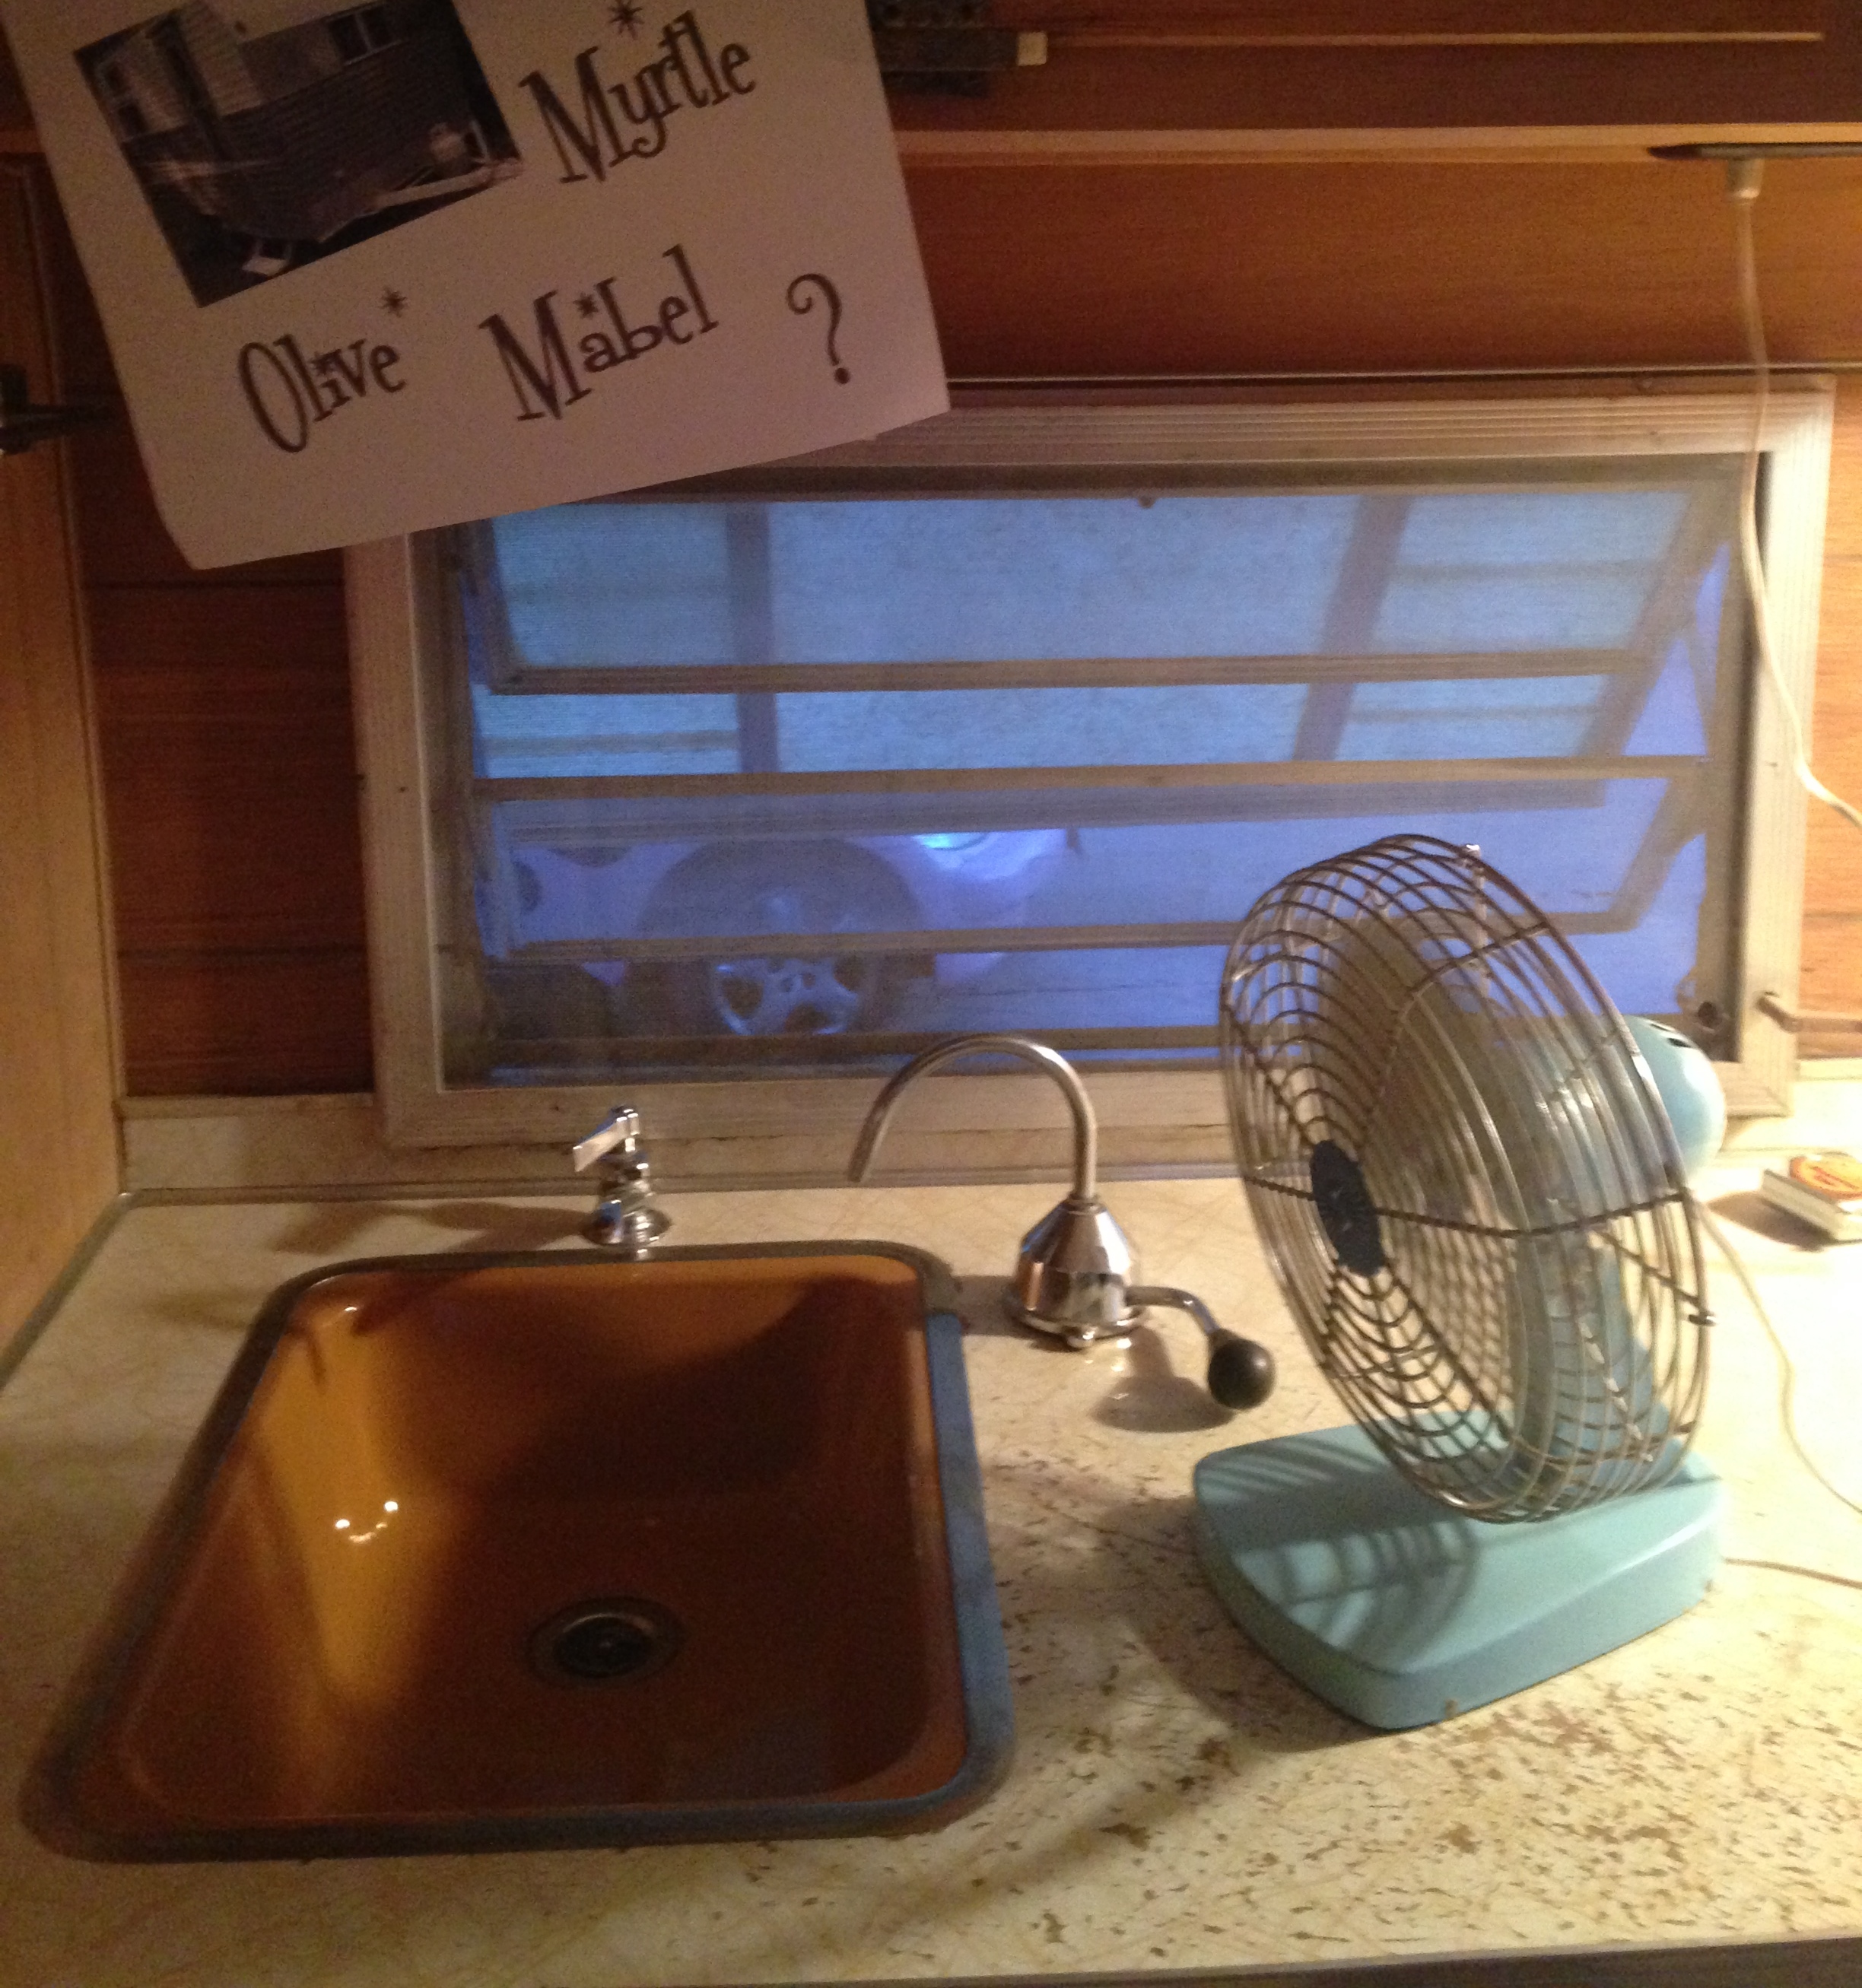
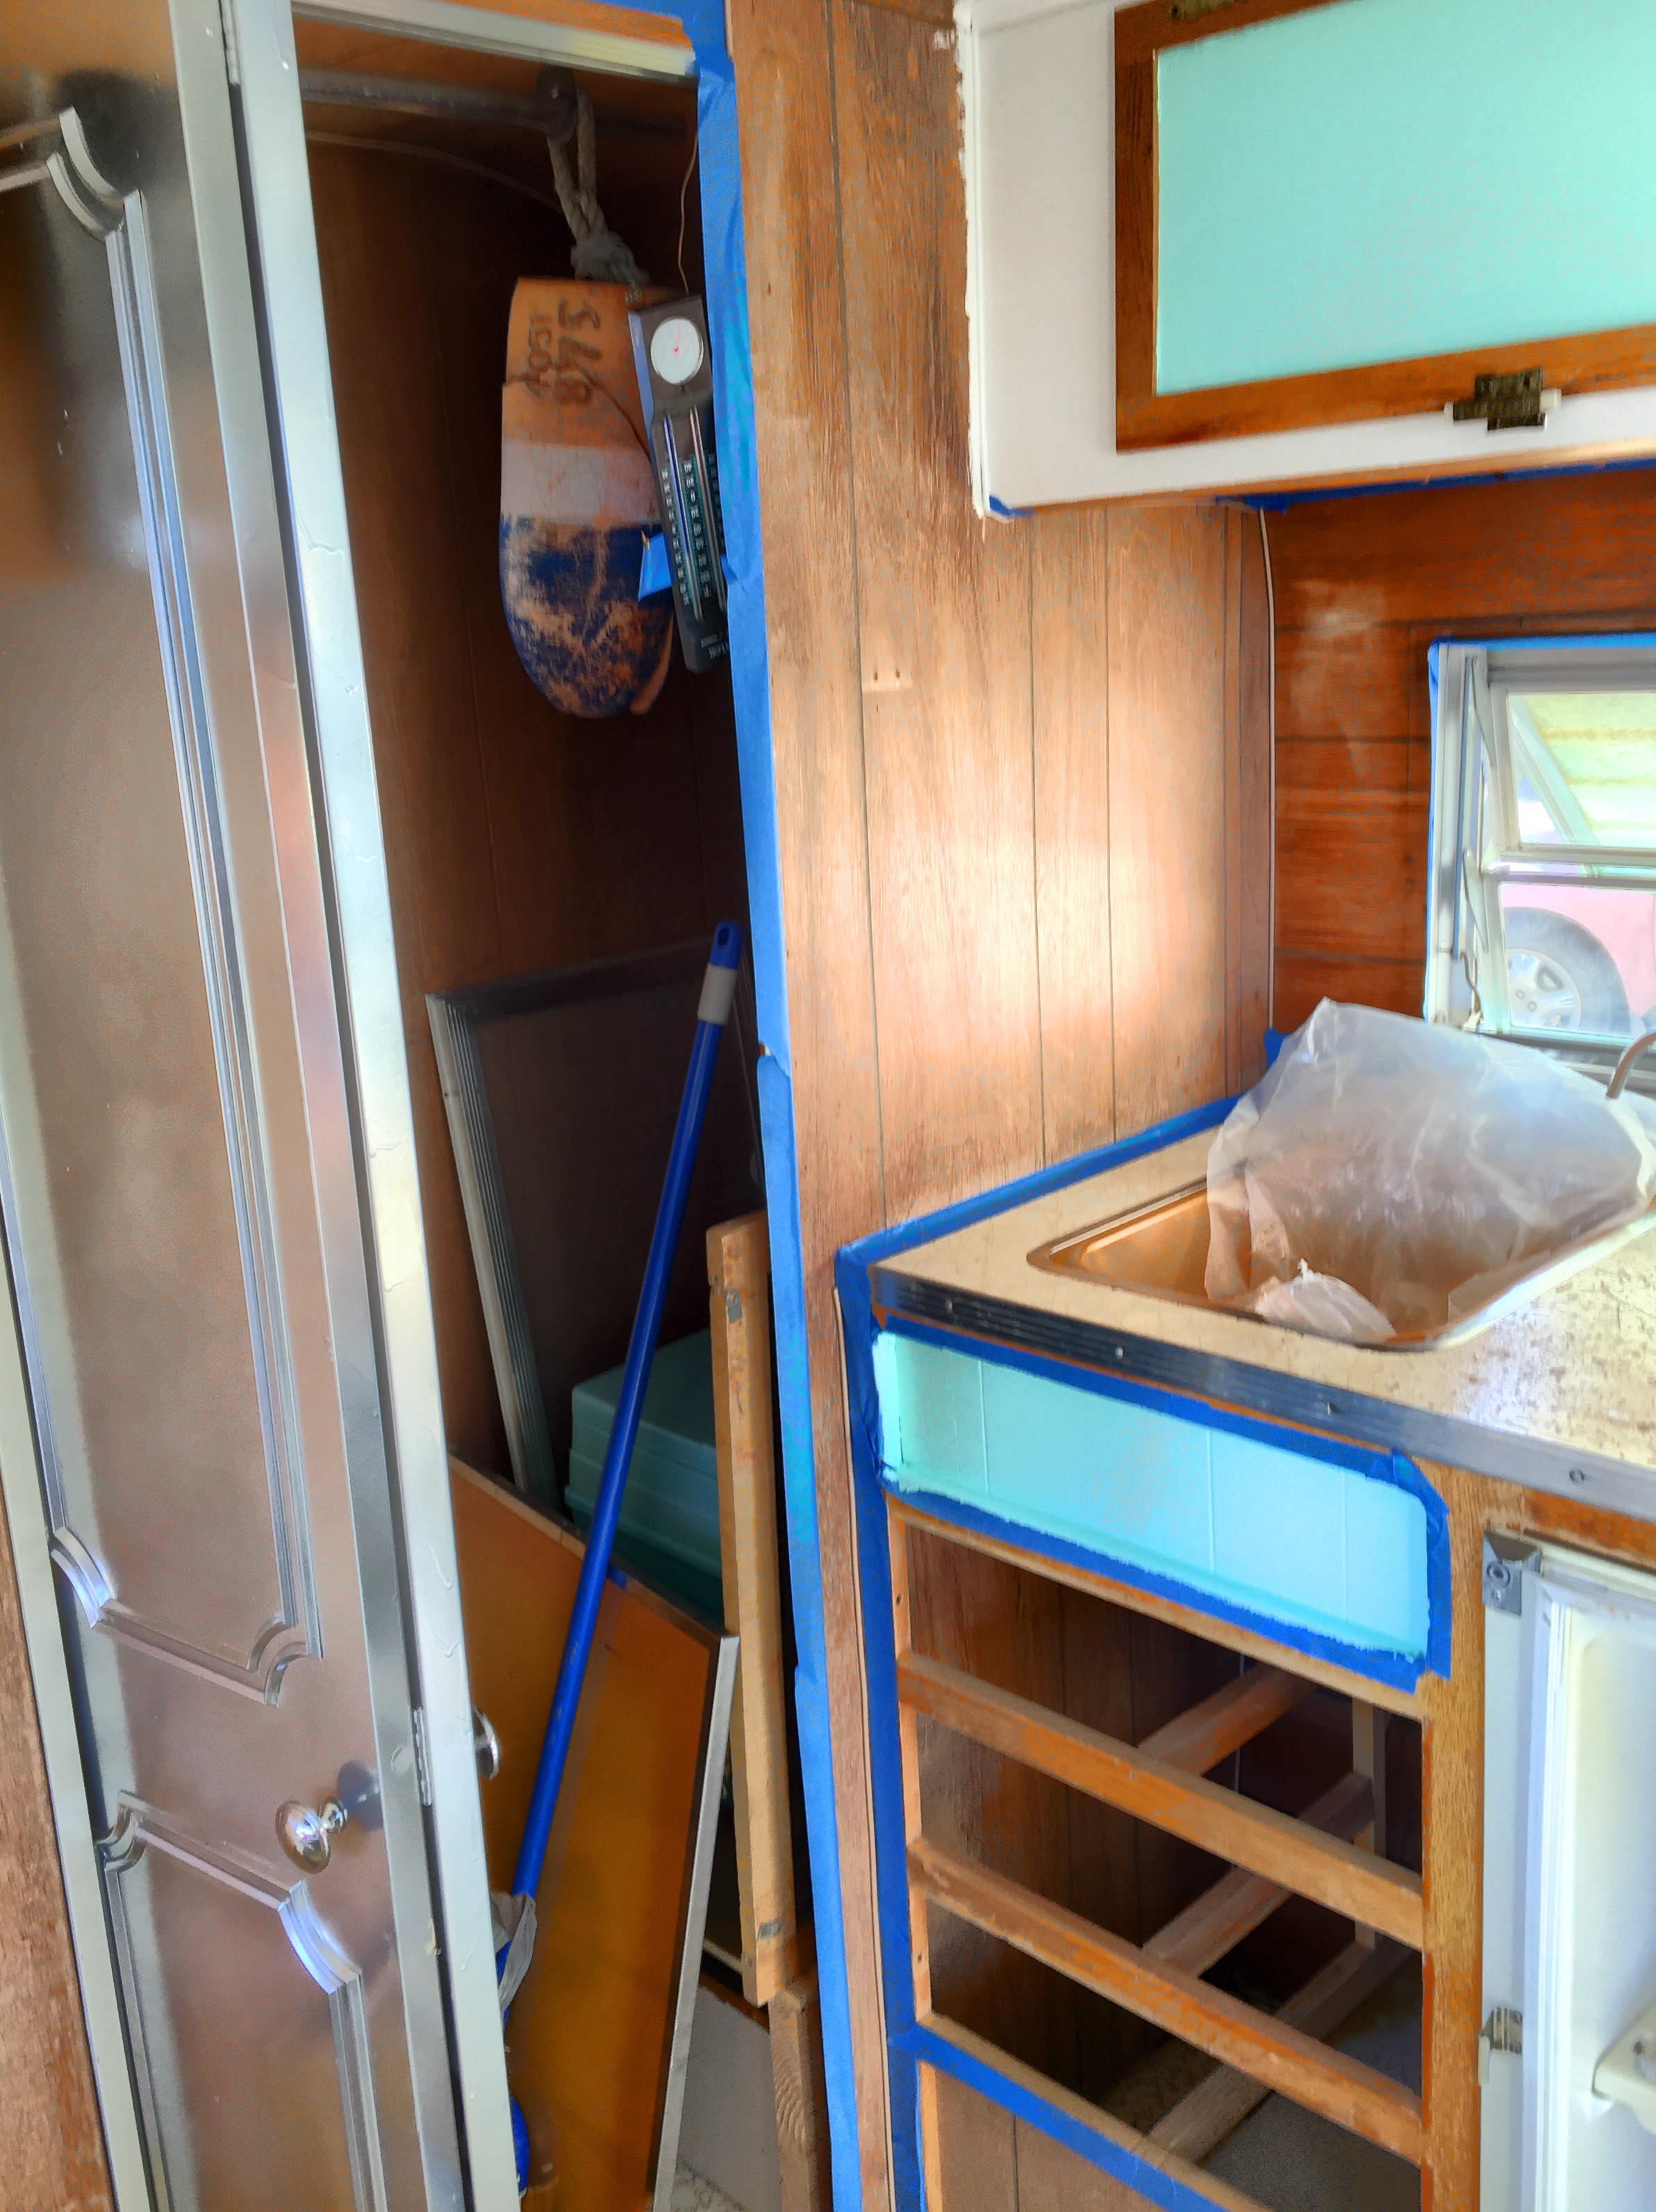
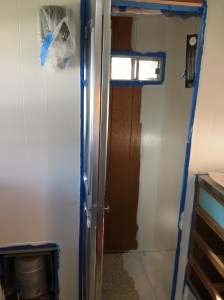
This really completed the ‘major structural repairs’ phase, having already repaired the few holes in her skin before we painted. Now I turned my attention to more cosmetic problems. Myrtle possessed a small, dark closet that could generously be referred to as her bathroom. With the dark paneling, and one small window, it looked even smaller than it was. The closet had been modified by original owners to include two shelves above the wheel well, one long closet rod running across the length, and a genuine 1973 burgundy Winnebago Porta-Potti on the floor opposite the shelves. The door to the closet/bathroom was the original, metal, accordion style door with white plastic pull knobs. The metal was painted in a dull ivory that was peeling in places, and was the first bathroom item I turned my attention to. To begin with, it was no longer hanging in its tracks quite right, and wouldn’t fully open or close. Also, the color didn’t endear itself to me.
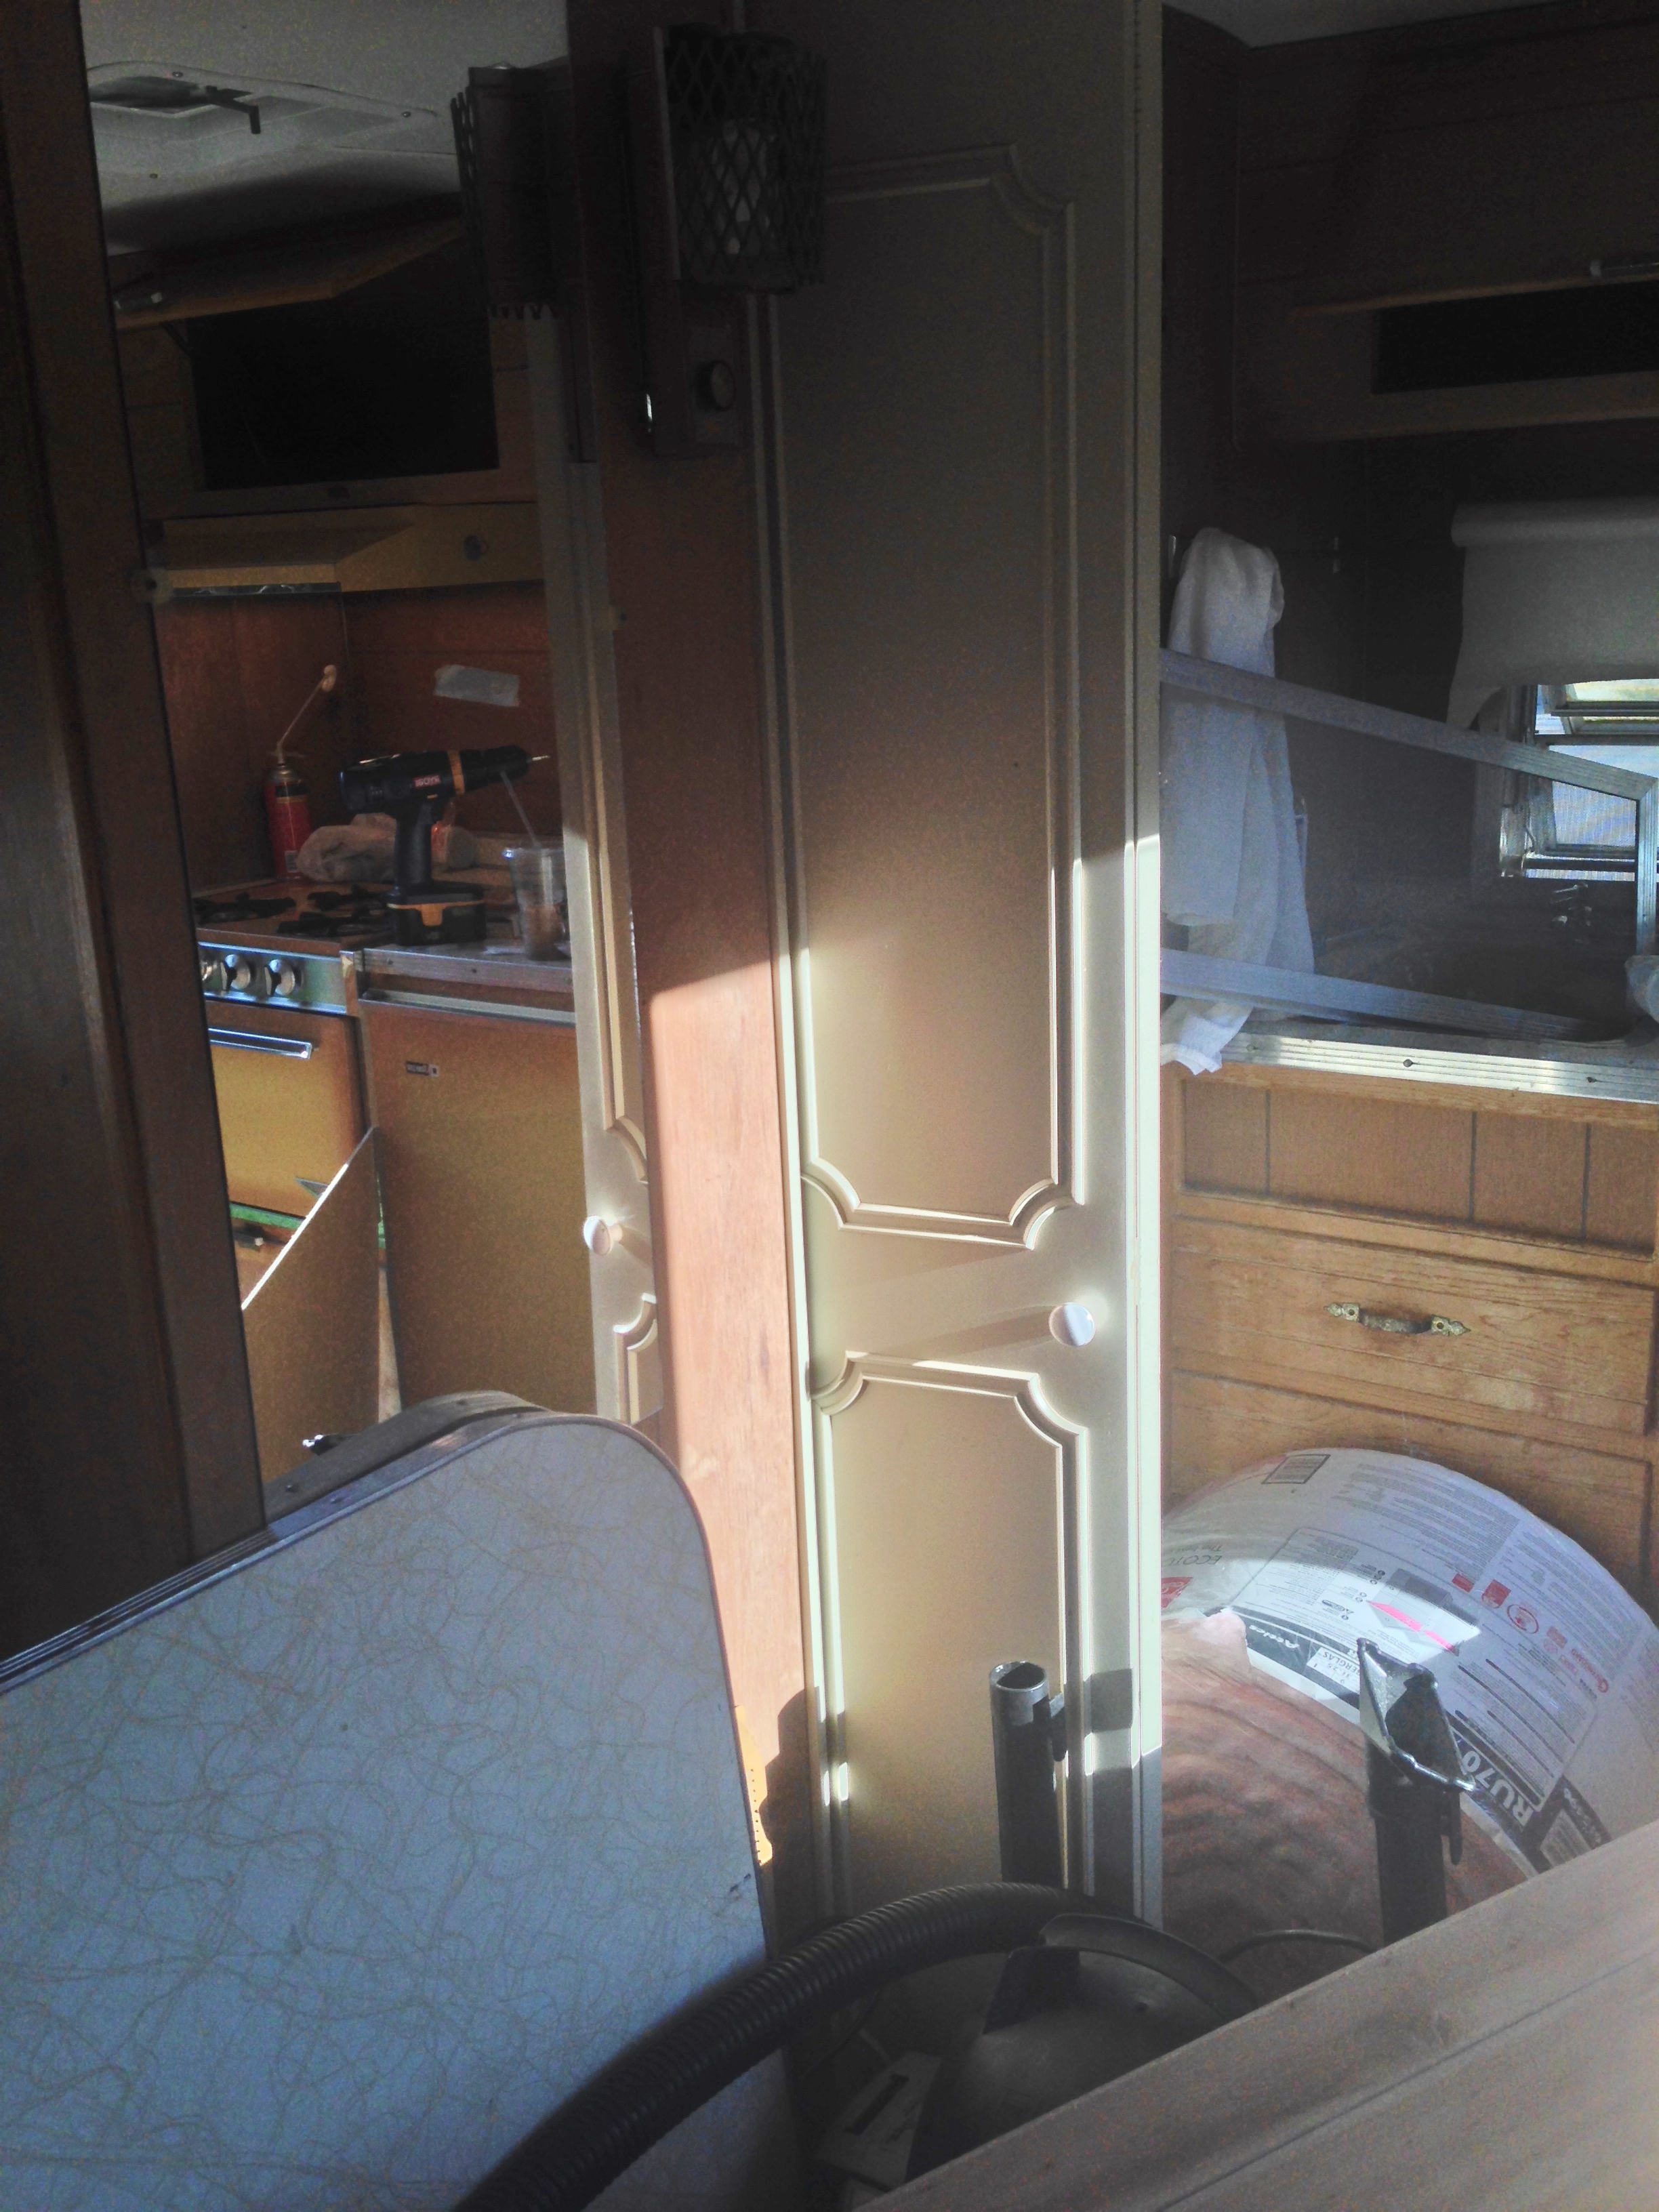
I removed it from the trailer and proceeded to give it a new look with Rust-oleum Protective Enamel Bright Coat Metallic Gloss Chrome Spray Paint. The paint, coupled with new chrome door pull knobs, helped the door take on a new, shiny life. Then I attempted to reinstall the door so it would open and close correctly. This part wasn’t as successful, and I might have tooled around inside the tiny little closet/bathroom for days trying to figure out what I was doing wrong, but my husband took pity on me and came in and installed it perfectly in about five minutes. It opens and closes completely straight now, sliding along its track like it was greased with butter.
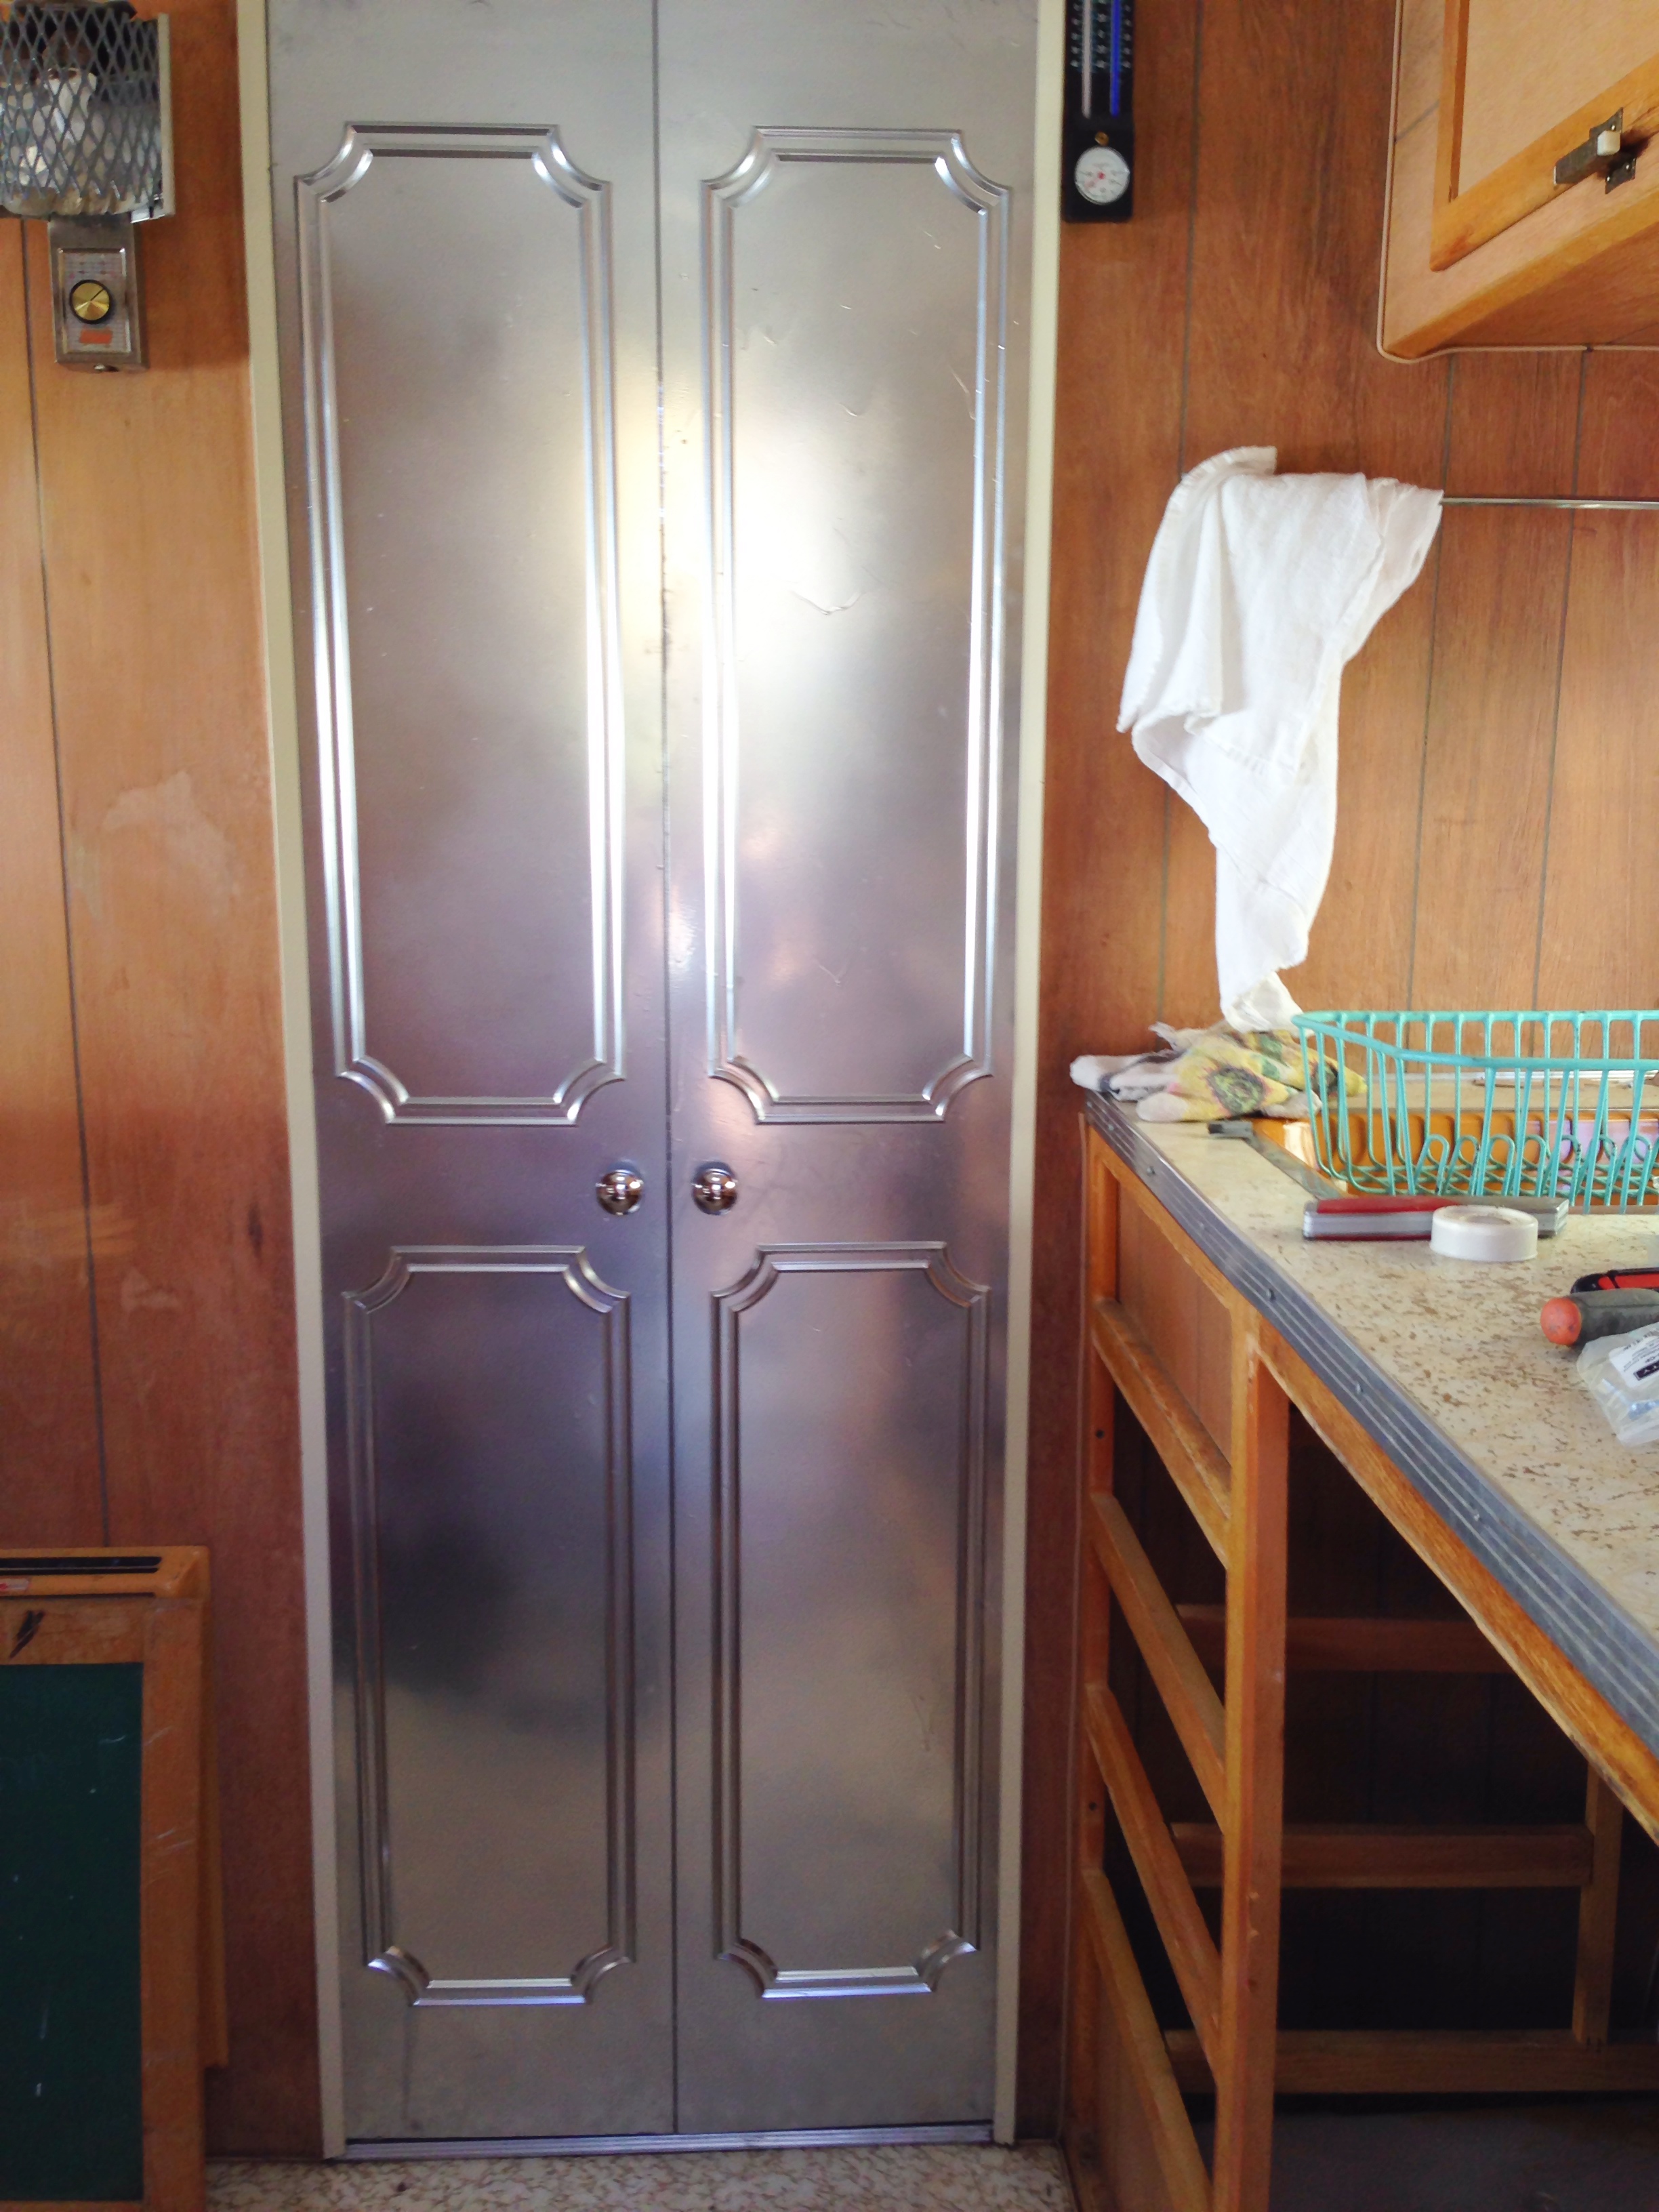
Retro chrome
Next was the bathroom. Yes, I was determined it would be recognizably a bathroom when I was finished. Not that I can probably ever bring myself to use the porta-potty, because using the porta-potty requires me to empty the porta-potty, and, well, Eww. (As an aside, I have now been on one camping trip with Myrtle to a National State Park. I filled her potty with all of the necessary fluids/chemicals to use it if needed. And then I dashed down to the Park potties every time I needed one because I couldn’t bring myself to use Myrtle’s. We’ll see how that situation develops in time 🙂 )
So, the ’73 Winnebago Porta-Potti. I pulled it out of the camper, read the directions on the lid (the original sticker was still attached!), and opened the waste reservoir to shake it out and make sure it was empty. And this green, gelatinous, snot-bag fell out with an audible plop to the ground.
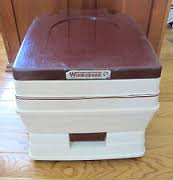
1973 Winnebago Porta-Potti
I just didn’t even know… what the hell that was. Seriously, It looked like a big green booger. Damn thing almost fell right on my flip-flop clad foot. Knowing more now than I did then, I can assume that it was one of the decomposer/deodorizer chemical packets you toss in the camper loo, and when the previous owners emptied their waste reservoir out, they didn’t quite get it cleaned out all the way. Blechhhhhh. So, I hosed the shit out of all the porta-potty components, then left everything soaking in a huge vat of bleach water for like, a week.
Fun note: I disassembled and scrubbed hell out of Myrtle’s 70’s era Winnebago potty over Labor Day weekend.That probably had to be the most fun you can have with your holiday and your vintage travel trailer.
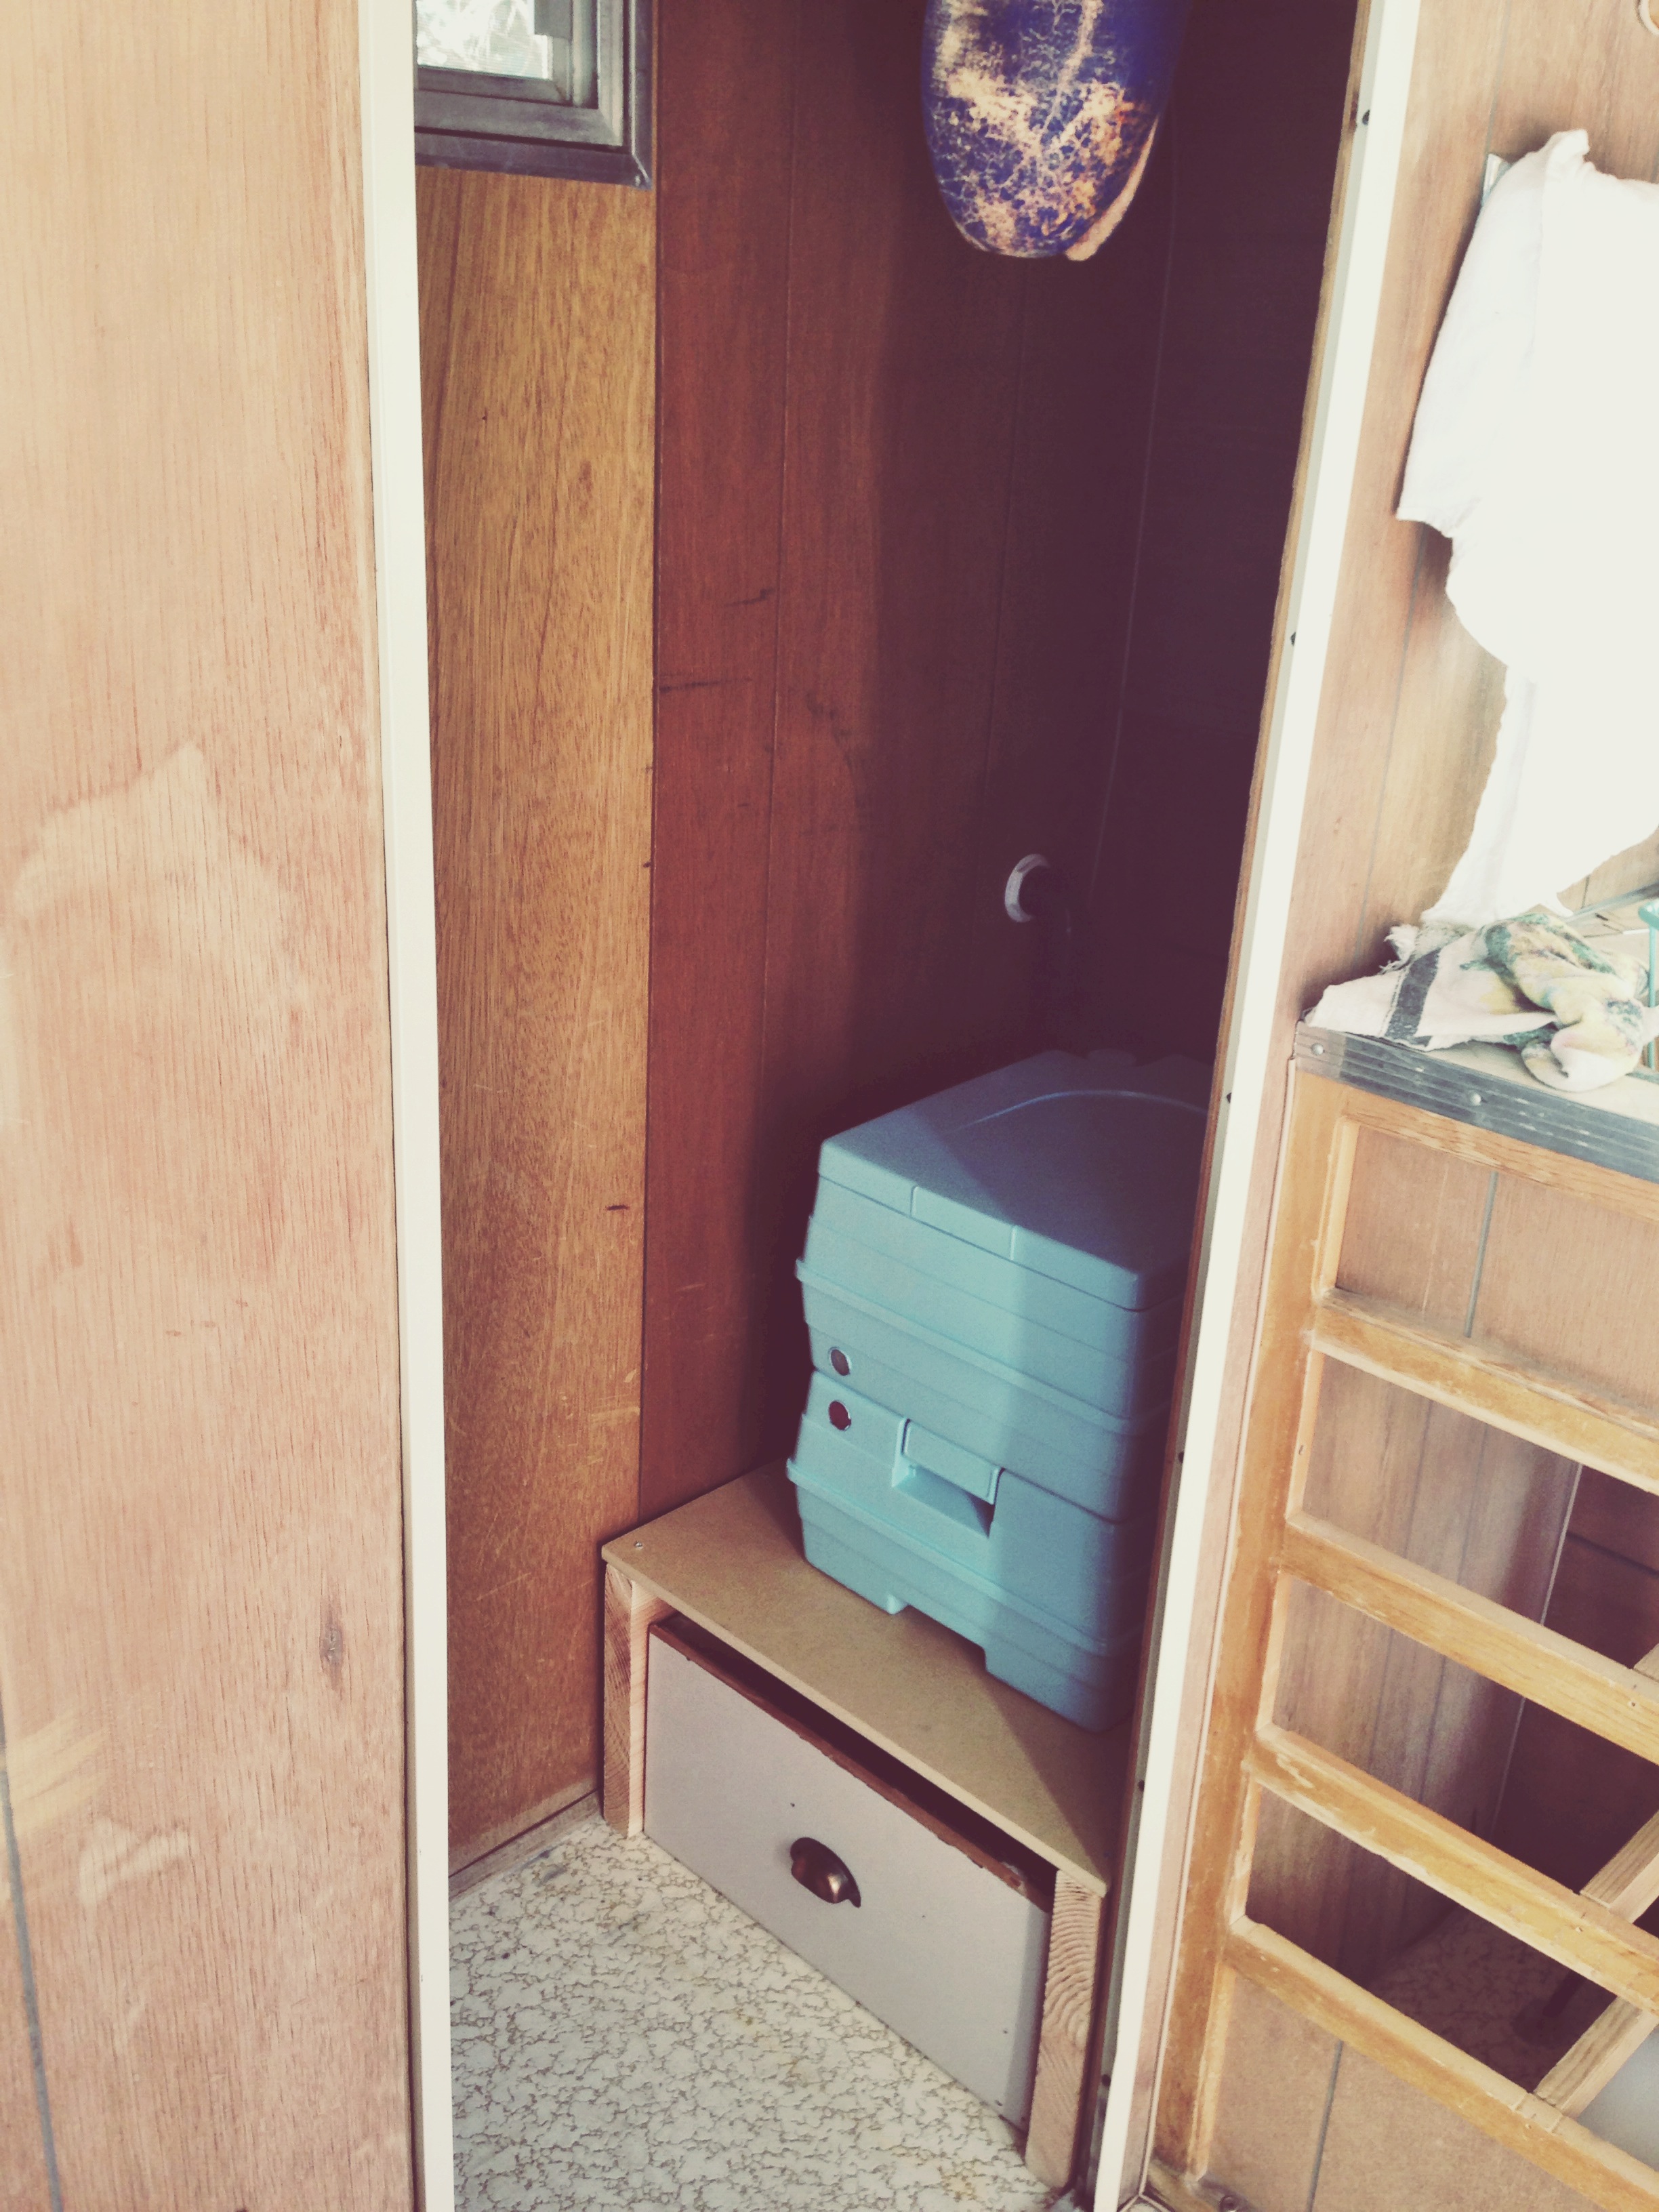
When the potty was as clean as hydrogen peroxide could make it, I dried it well and sprayed the whole thing with Rust-oleum Ultra Cover Paint & Primer in Satin Aqua. Then I parked it back in the bathroom to judge the effect. The effect was that I had a pretty little porta-potty that was so low to the ground, it seemed like it should be a step-stool. Sigh. Back to the idea board -and to the table saw. Where I built a custom dais box for the potty, complete with an under-drawer for storage. The plus side of this, more storage in the camper is always a good thing. And no one would have to literally squat down to the ground level to use the camper toilet. If anyone is ever actually allowed to use the camper toilet. I was preparing to install the whole new construction when this exchange occurred:
Youngest offspring went in to check out the progress in Myrtle’s bathroom. Actual conversation follows:
“Mom, the floor under where the porta potty will be is soft”
“Nope. It’s not soft”
“Mom, seriously, there’s a big soft spot, look, it squishes up and down when I move around right here!”
(…Still refusing to look…) “Nope, it’s fine. The porta potty dais box covers that spot“.
“Mom! It smells moldy right down here!”
“Smells fine”
“MOM!! What if we use the porta potty and fall through the floor here?”
“What the? I thought I’ve explained; the porta potty is just for looks! Good God, we’ll never USE the porta potty unless in the most dire emergency bathroom situation! USING the porta potty means someone, namely me, has to CLEAN the porta potty out. Ew!”
“MOM!!!! You gotta fix the floor here, it’s all rotten, seriously!”
“No hablo Ingles”
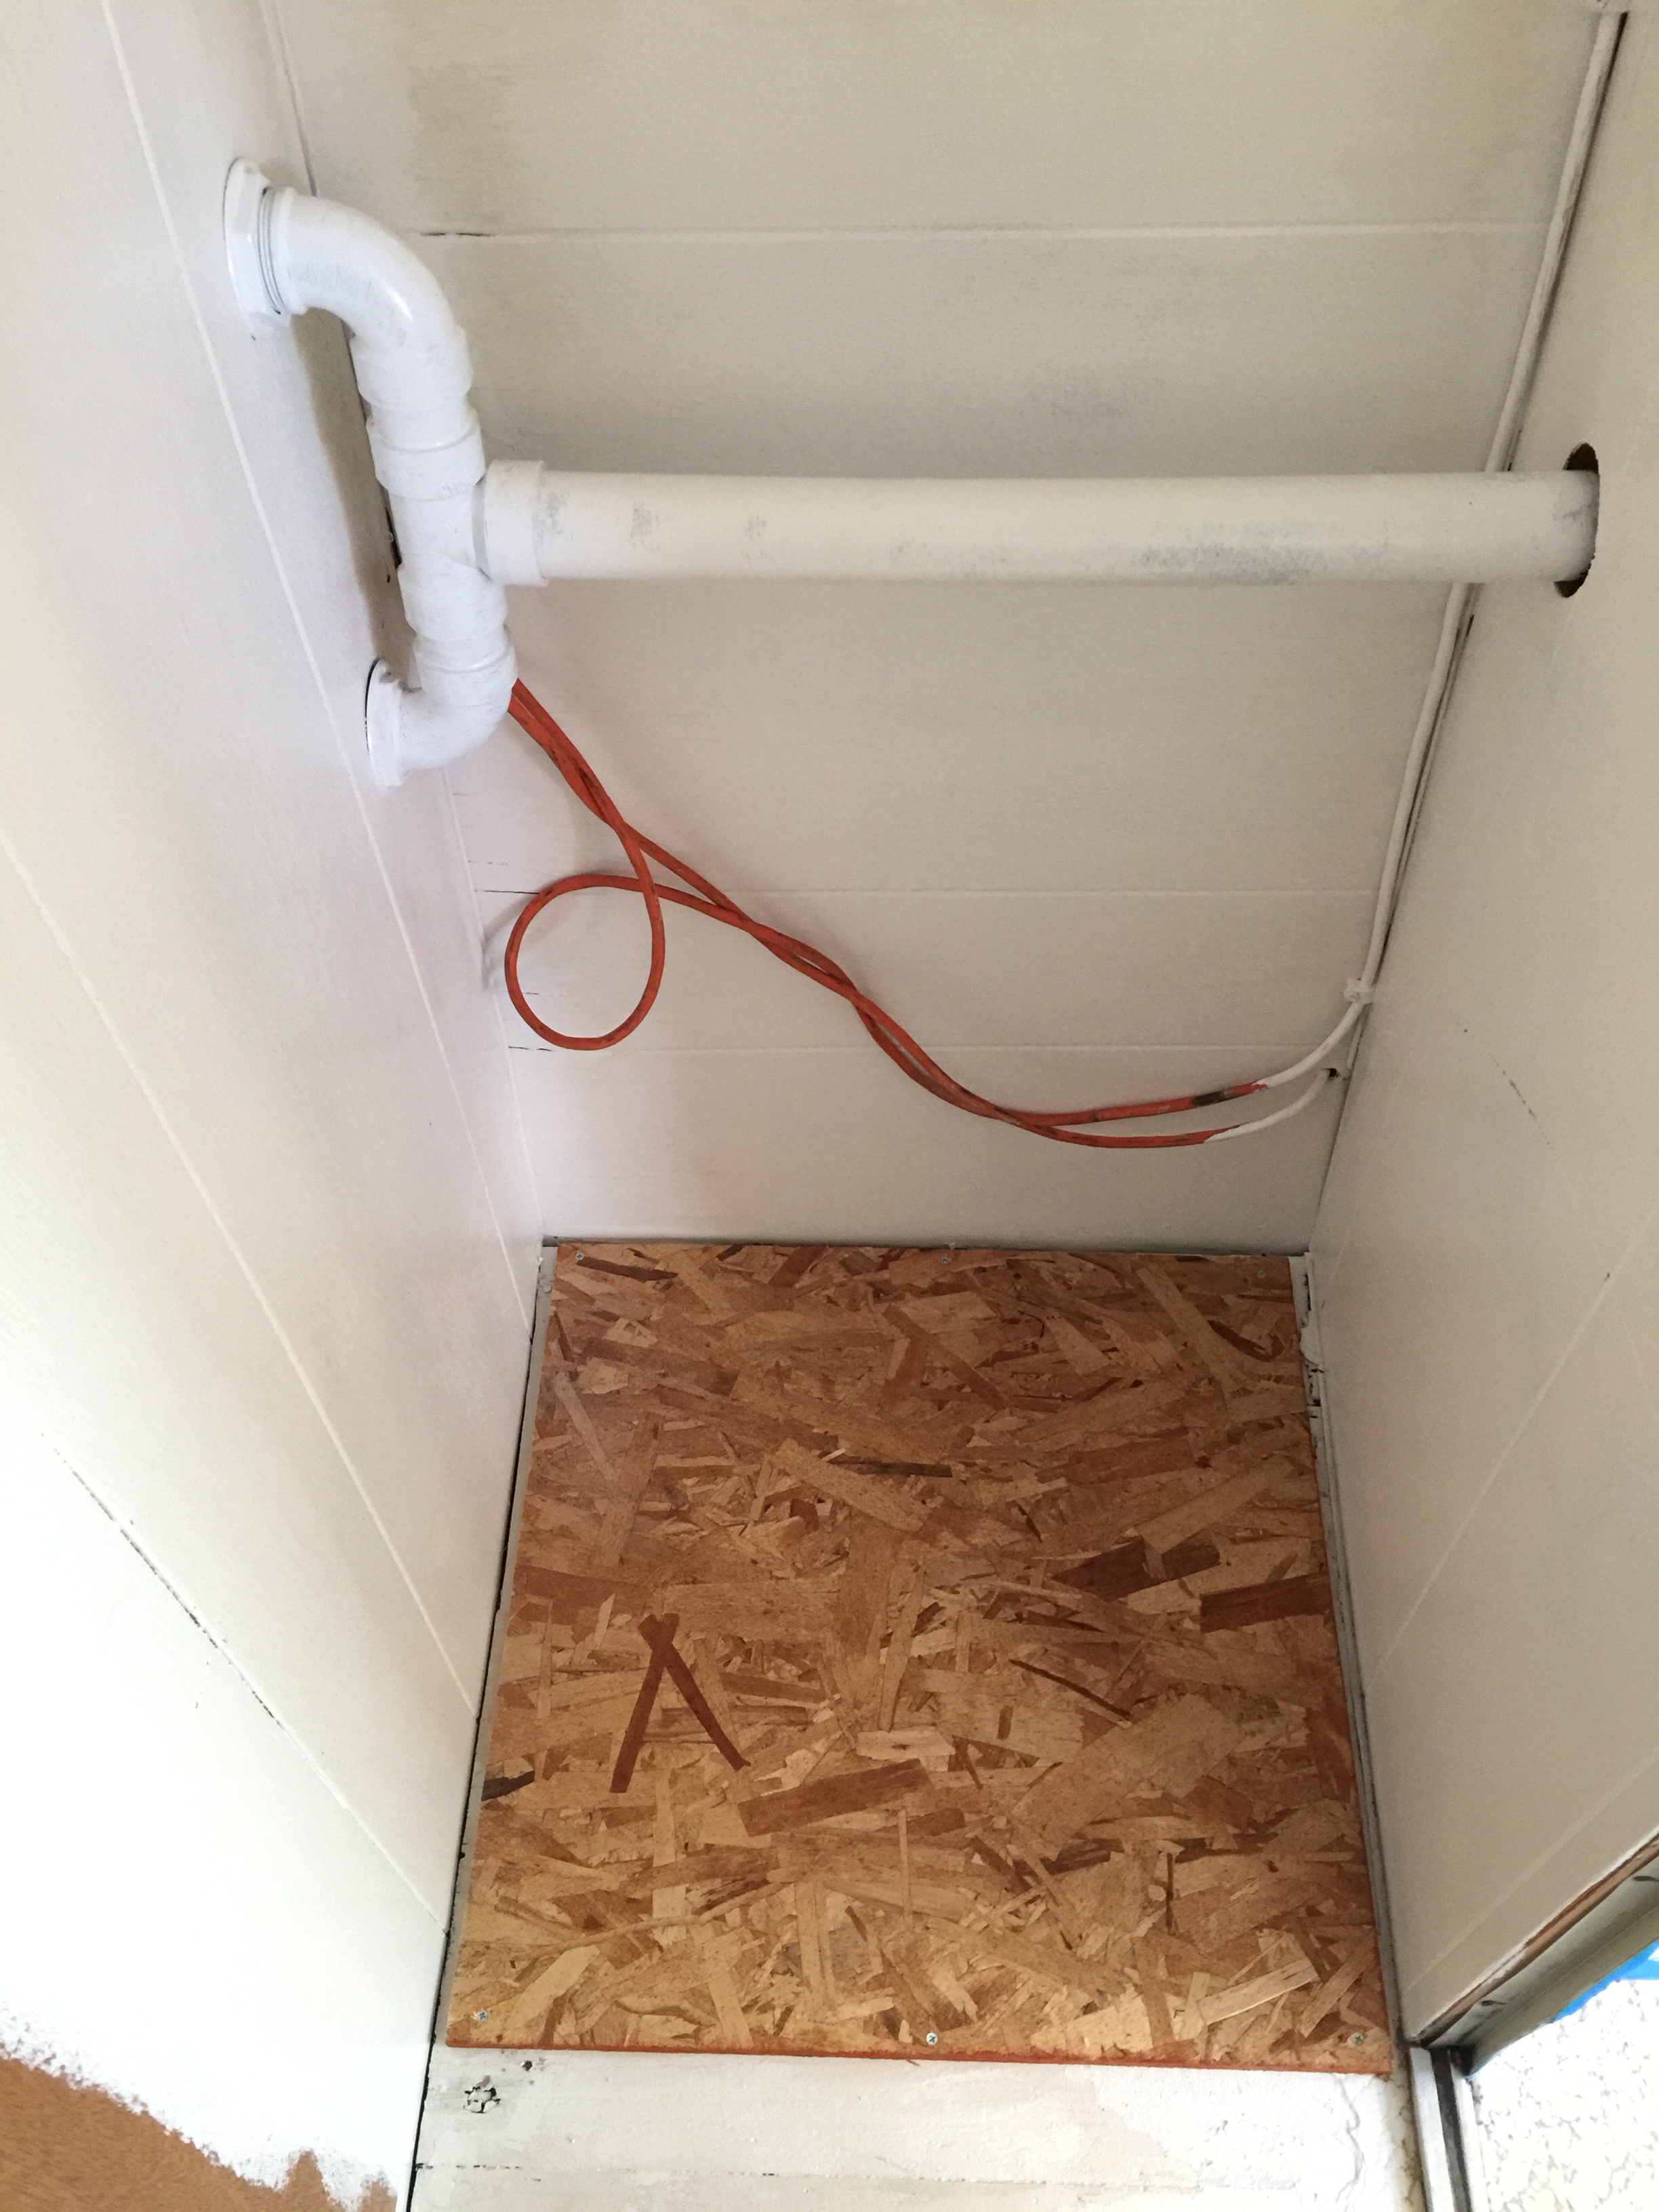
E’hem. I already knew the floor had a problem there. I even knew why -that’s where the leaky fresh water tank that we’d discovered under the kitchen sink and removed for repairs had directed its leaking water; it had probably been pooling there every camping trip the original old owners took for the last five years. I had, however, been pretending I didn’t know, to myself mostly, so I wouldn’t have to fix another floor spot. So much for that plan. Up came the linoleum, and the rotten floorboards, and in went mold inhibitor and fresh floorboards.
At least the youngest offspring is safe from falling through the floor while on the toilet, now. And the pretty aqua Porta-Potti looks darling on its little dais. Which sits on firm, new floorboards.

Along with the full interior paint job, a few more items needed attention as well. The water holding tank was, through some feat of geometric angling by my husband, removed (I’m pretty sure the entire kitchen was actually built around the water tank, so removing it without disassembling the kitchen was challenging). My husband found the leak, a tiny stress crack had opened near one of the pipe plug entries. He repaired this with some sort of ultra-strength automotive adhesive that is usually used by auto techs to adhere certain auto parts, so we’re hopeful the repair will hold.
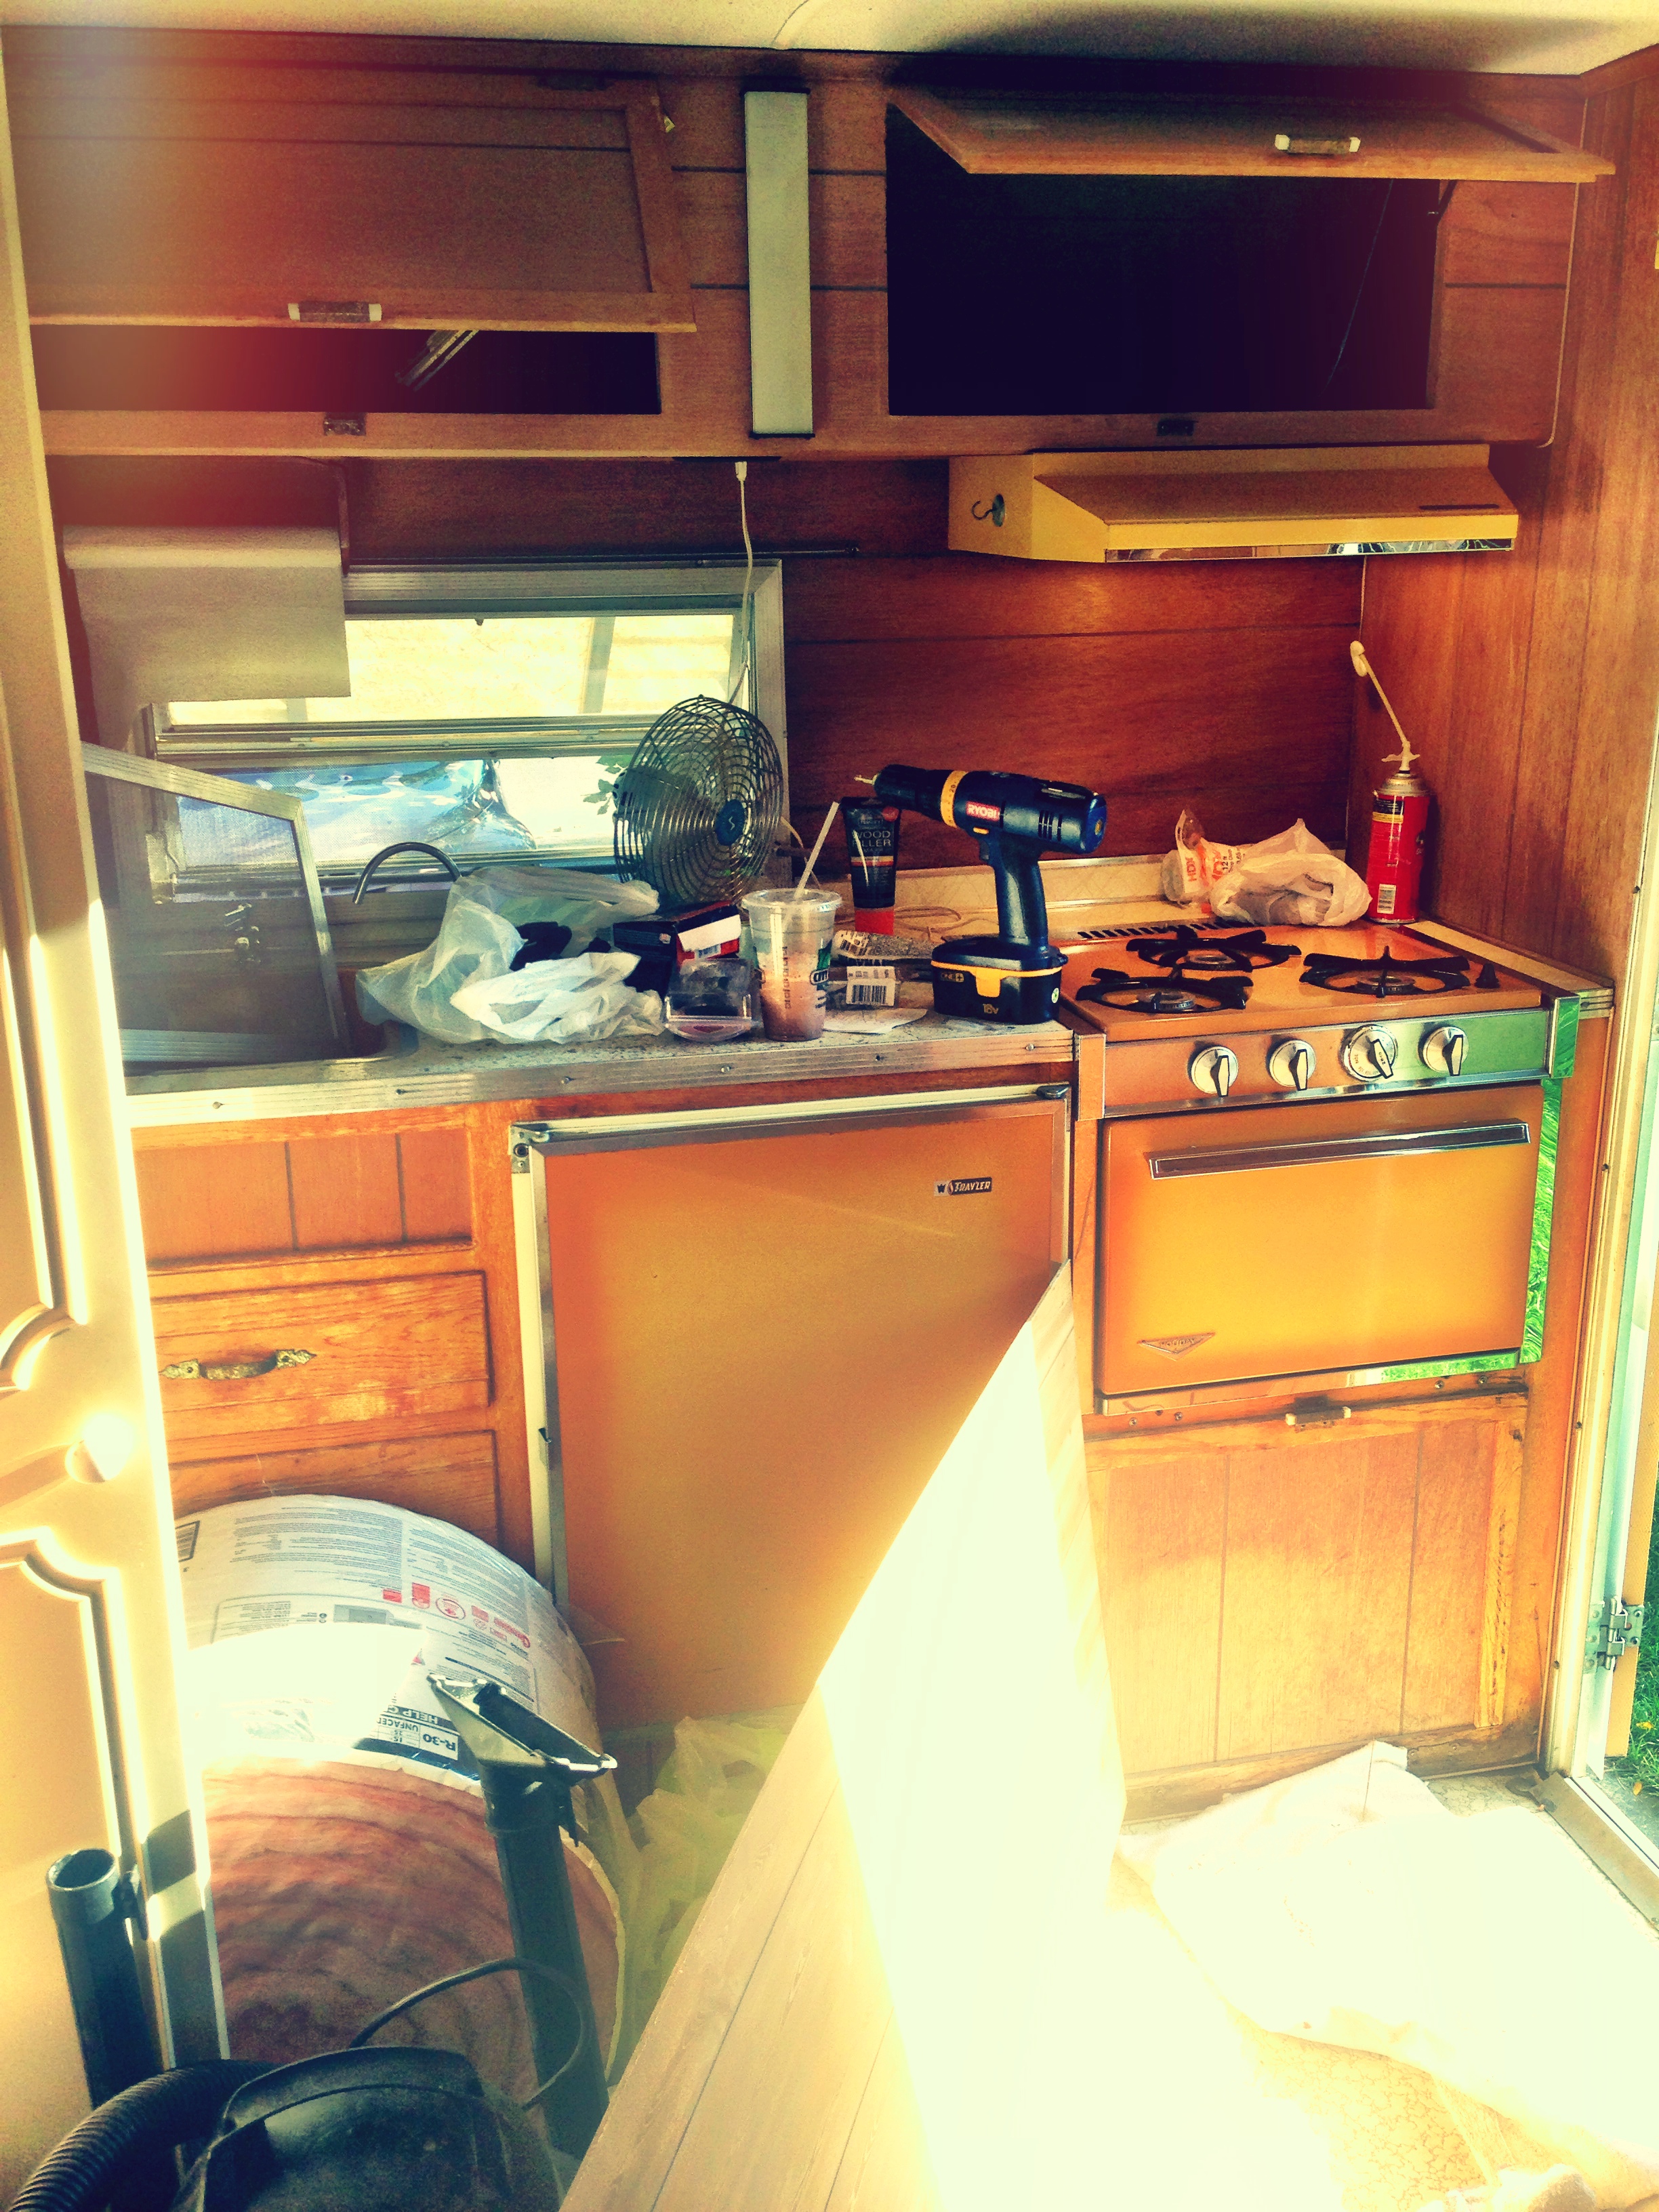
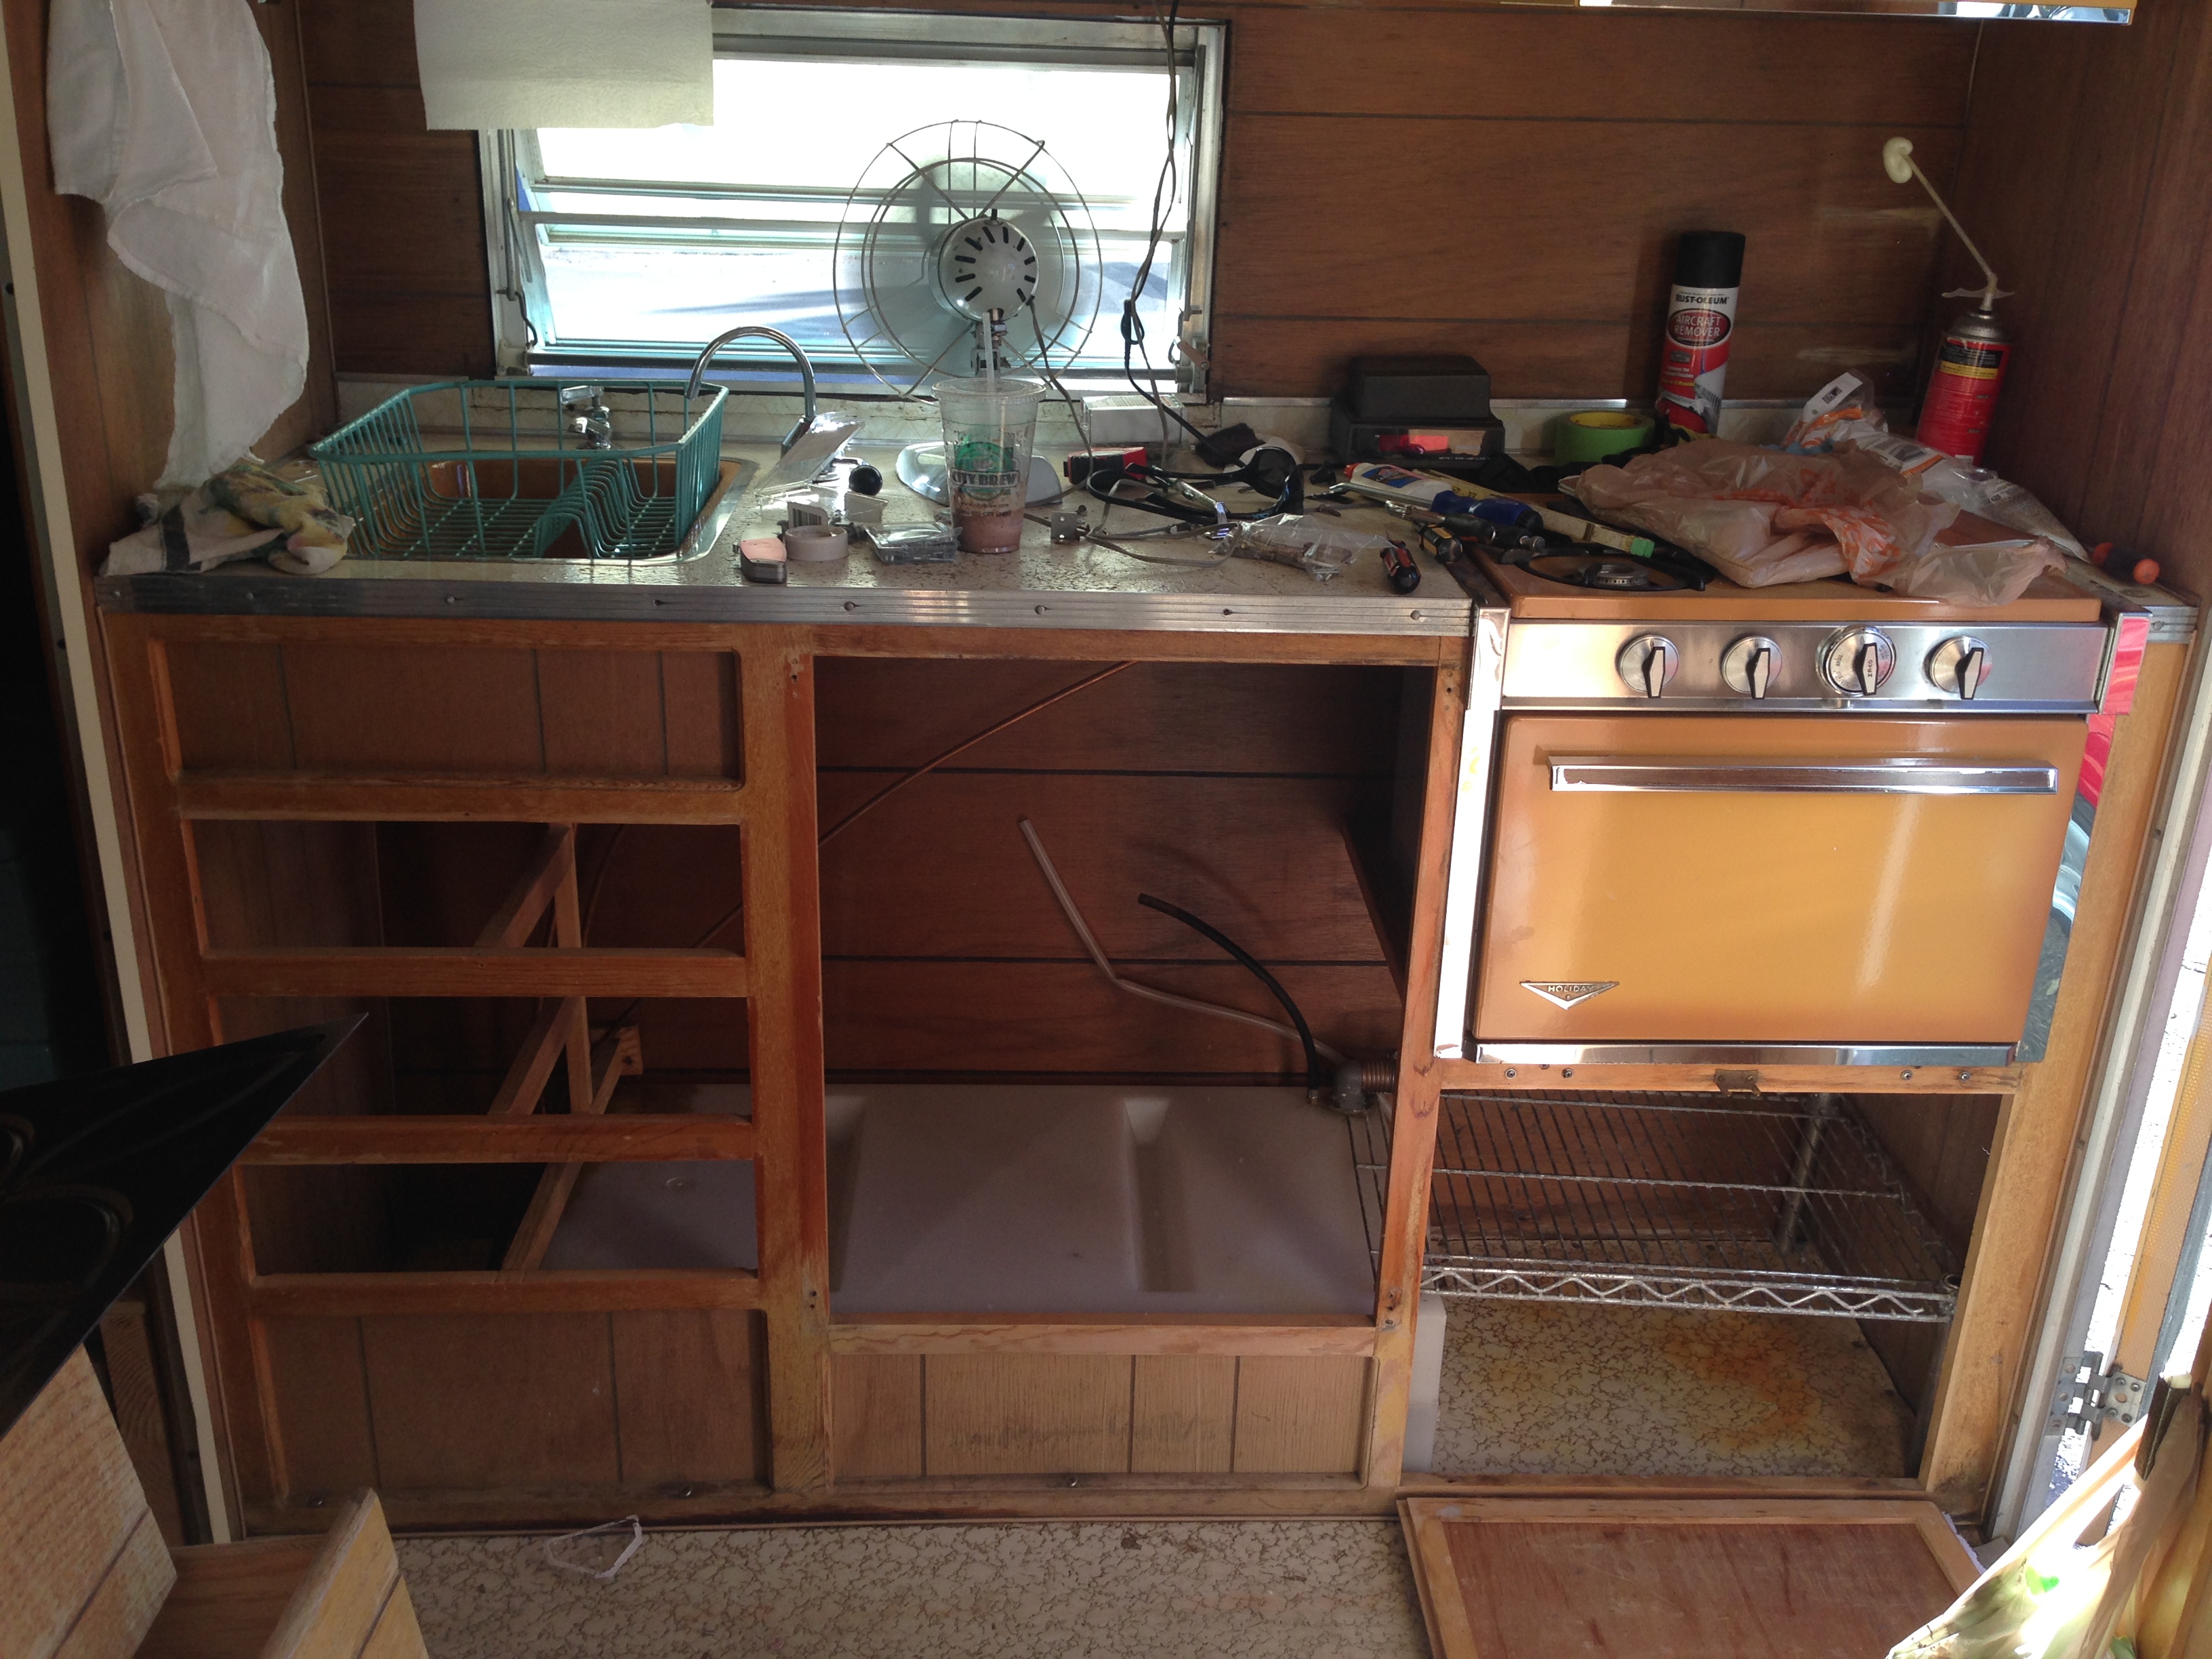
The kitchen counter was completely done-for, there were only shreds of the original Formica left. I considered, and discarded, several ideas for the counter top, and eventually just went with painting it, and then sealing with four or five coats of water based polyurethane clear gloss.
The same pattern of boomerang Formica made up Myrtle’s large dining table, but in the end, I removed this table and stored it in my garage, for two significant reasons. First, the table was so extremely large that when it was in place, moving around the back area of the camper was a complete impossibility. Even getting to the back-most seat behind the table was a challenge worthy of Olympic level gymnastics. Second, and the reason I was truly able to give up on having the original Formica table in place, the table had pretty much melded (not even exaggerating, my husband couldn’t even unscrew it with an impact wrench or whatever the hell type of wrench he tried on it) to the base pole, so it couldn’t be lifted off the pole any longer when you wanted to turn the seat cushions into the bed. What you ended up with was a very large table that you had to lay sideways in the kitchen area, with a big steel pole sticking out of it that was very hard to maneuver around. So the original is safely stored, and I replaced it with a sweet, lightweight, bistro style, folding, Eucalyptus wood table that I can store under the bed, out of the way, when we need the bed made out.
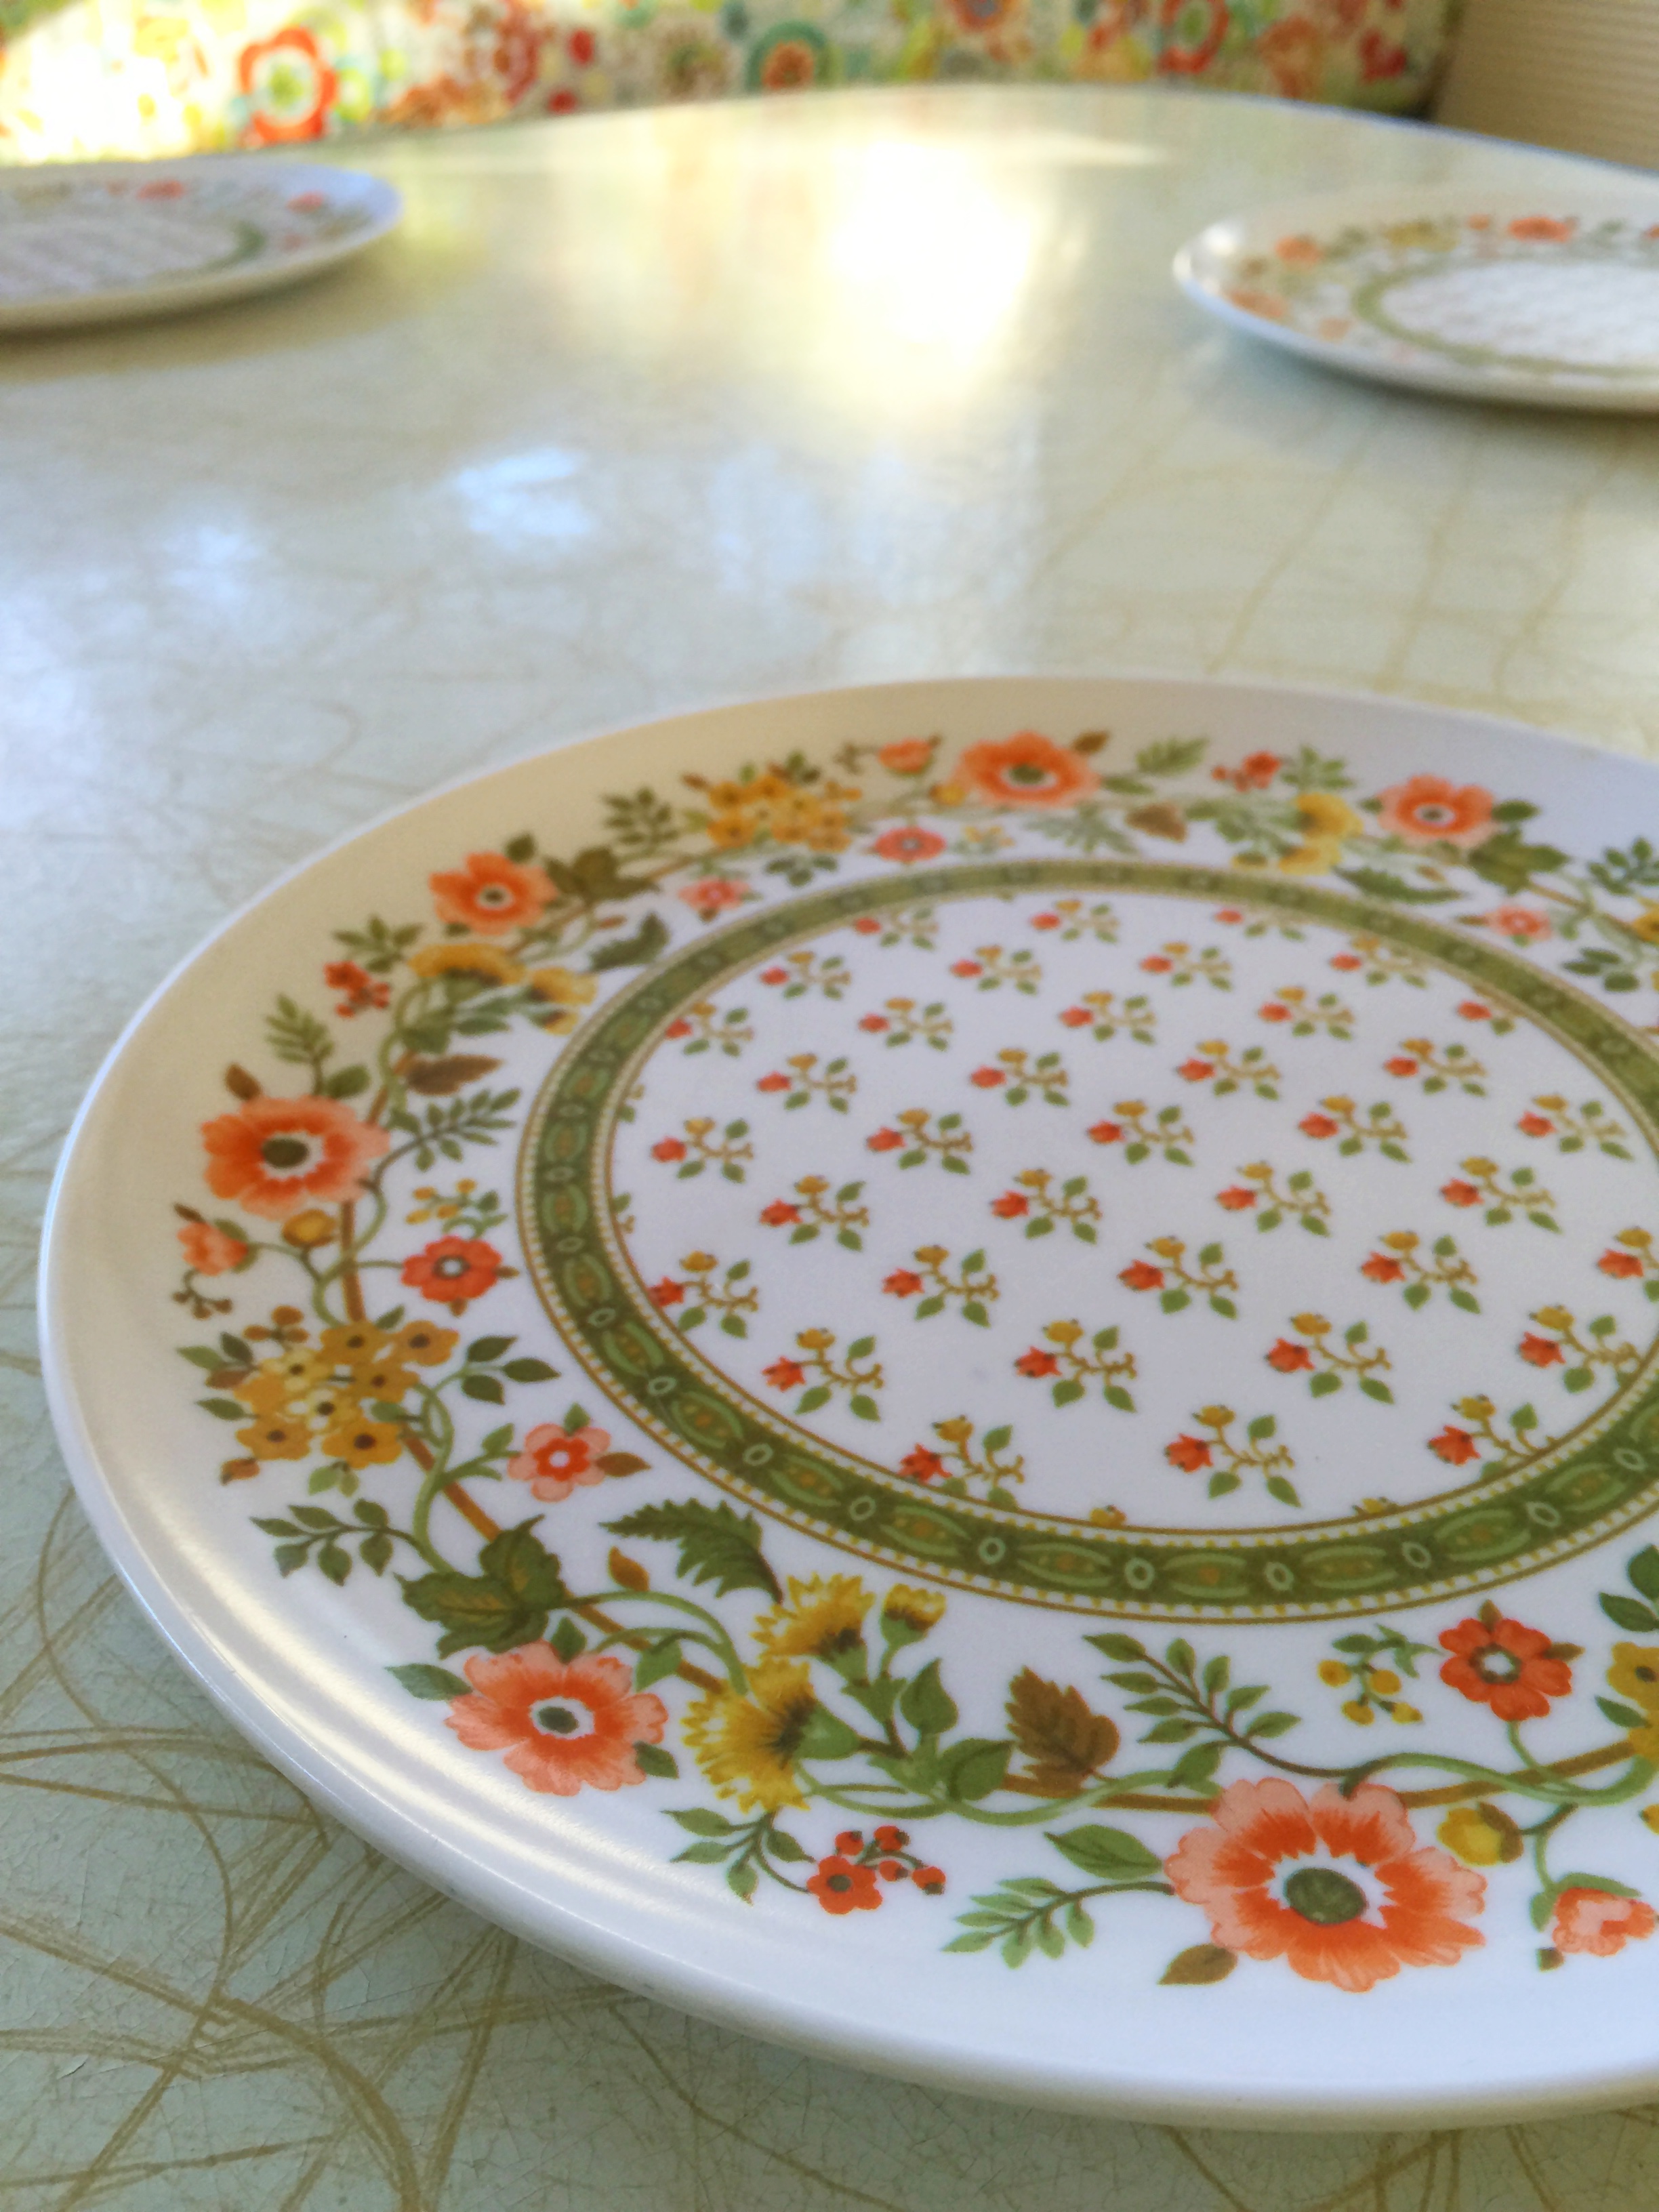
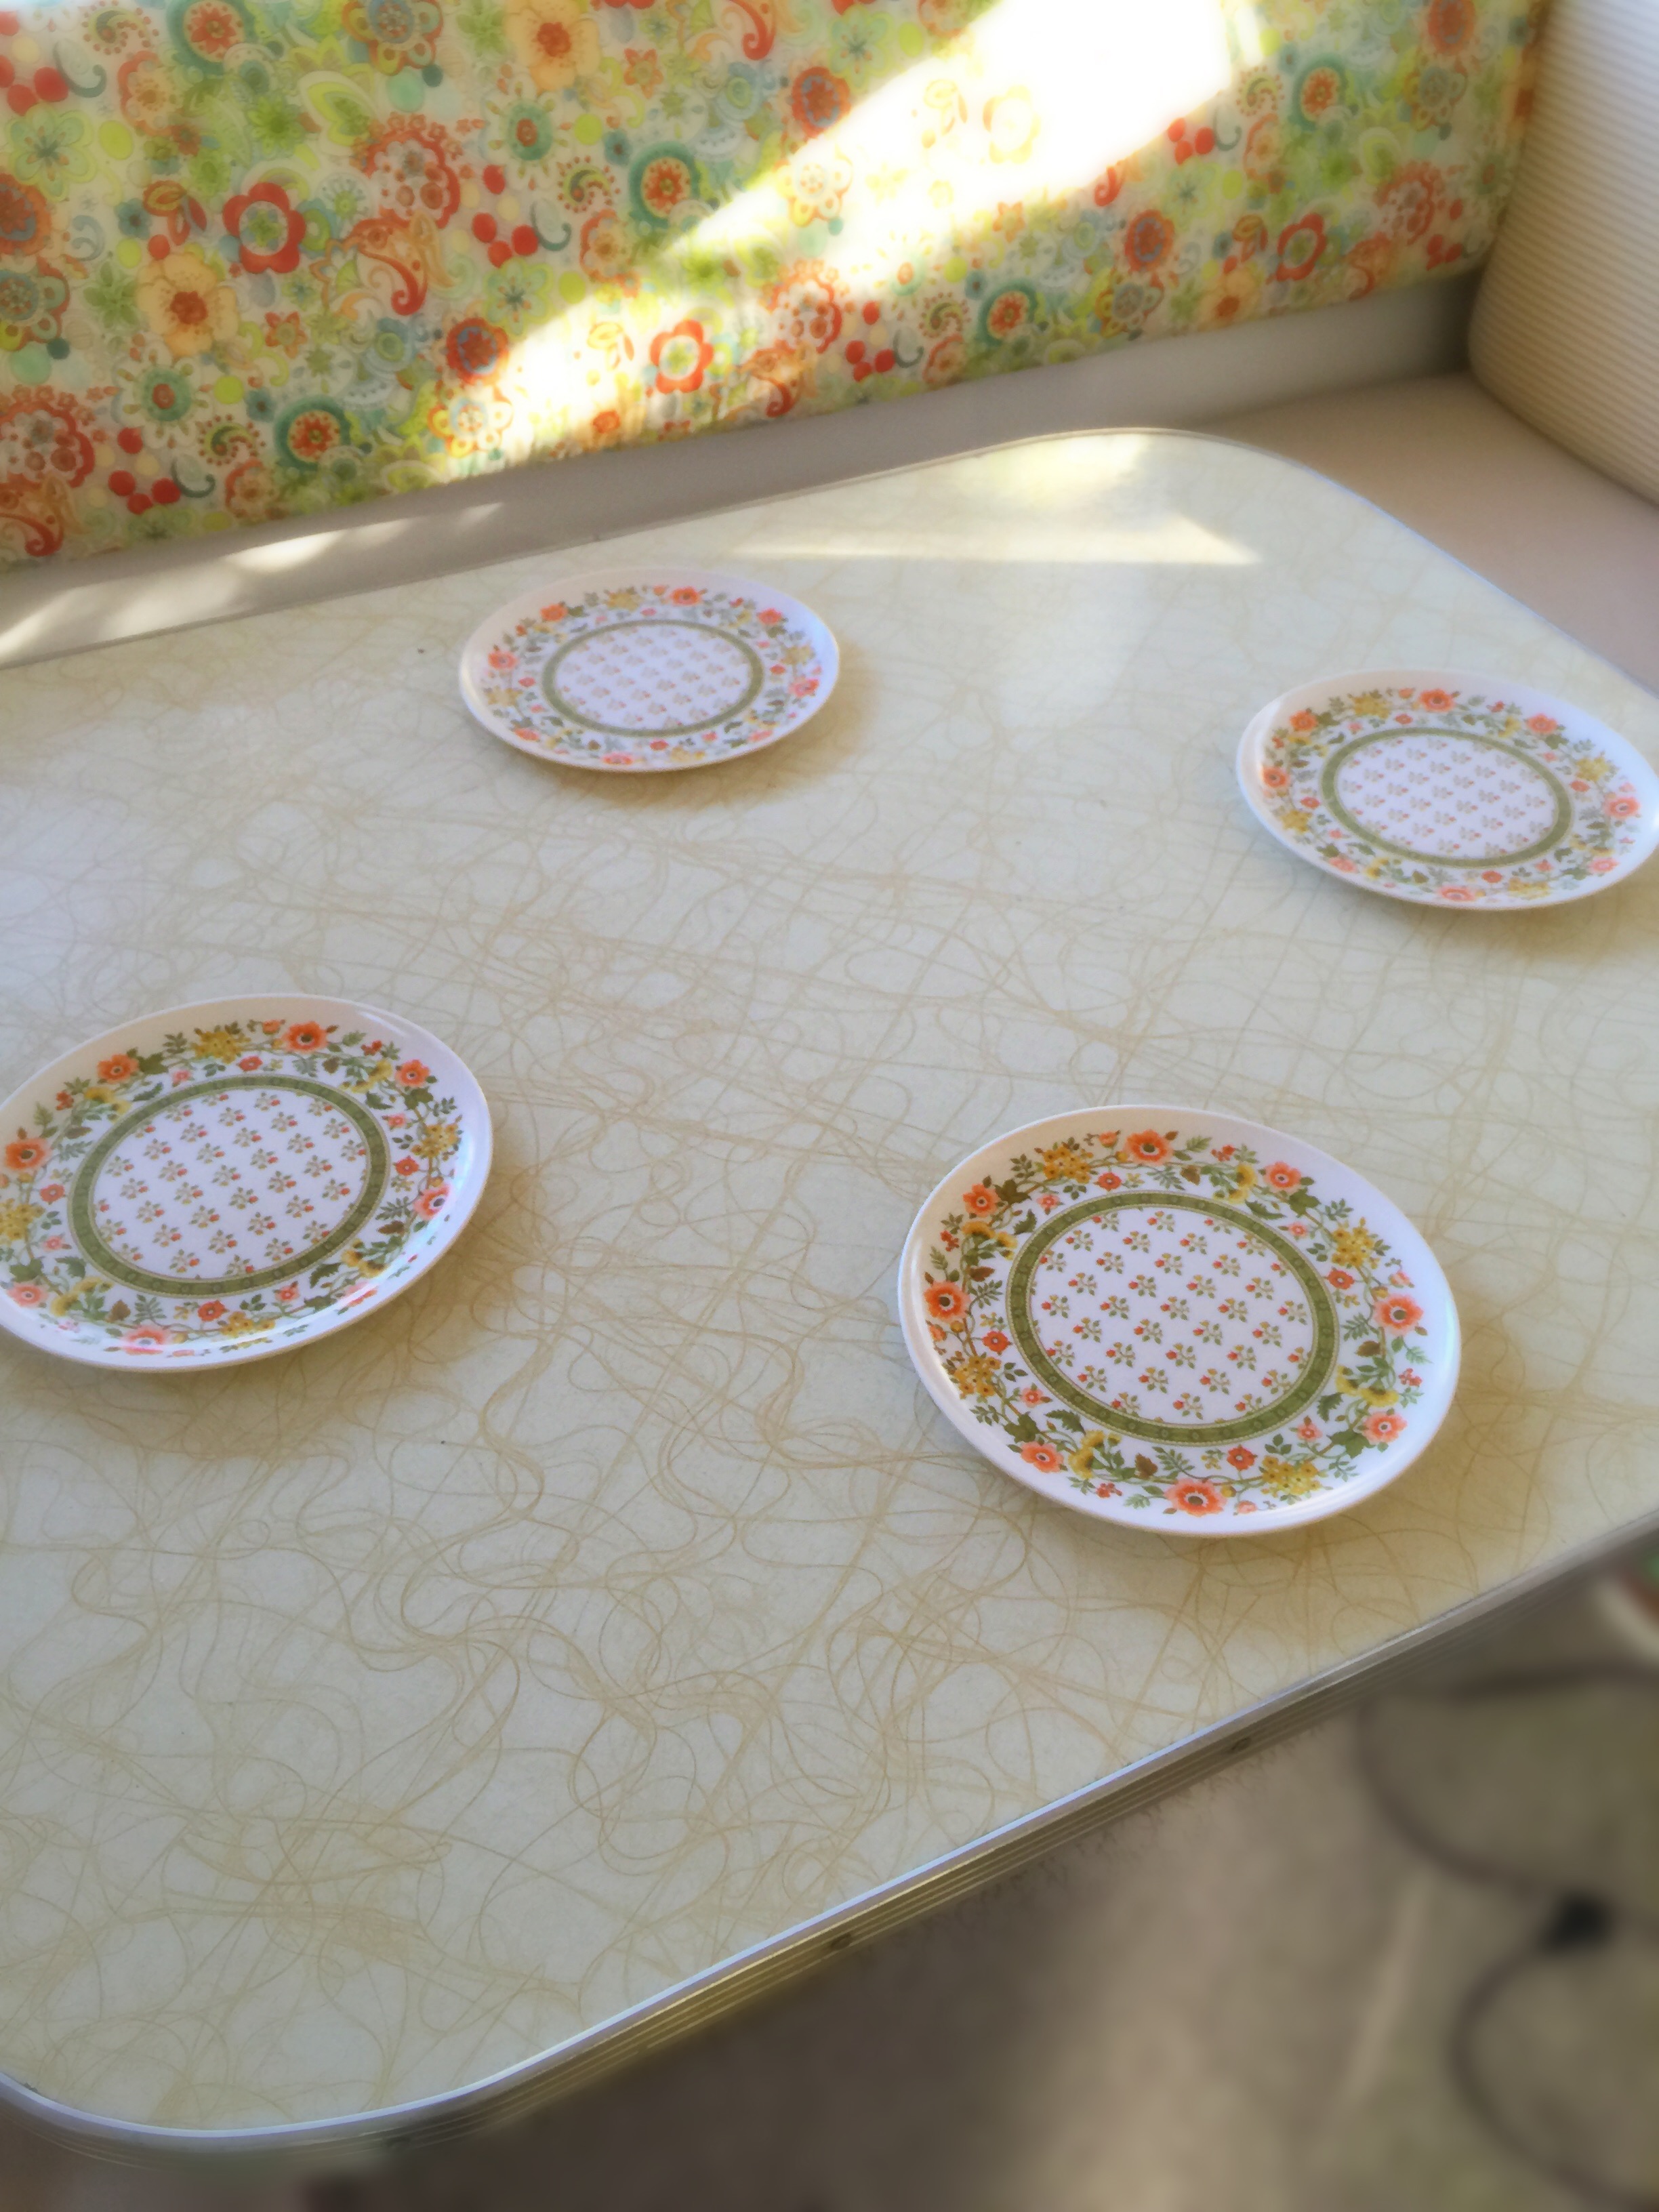
Vintage MelMac melamine!
Loved Myrtle’s boomerang Formica, but the table was just too big and cumbersome
The original table really took up the entire back end.
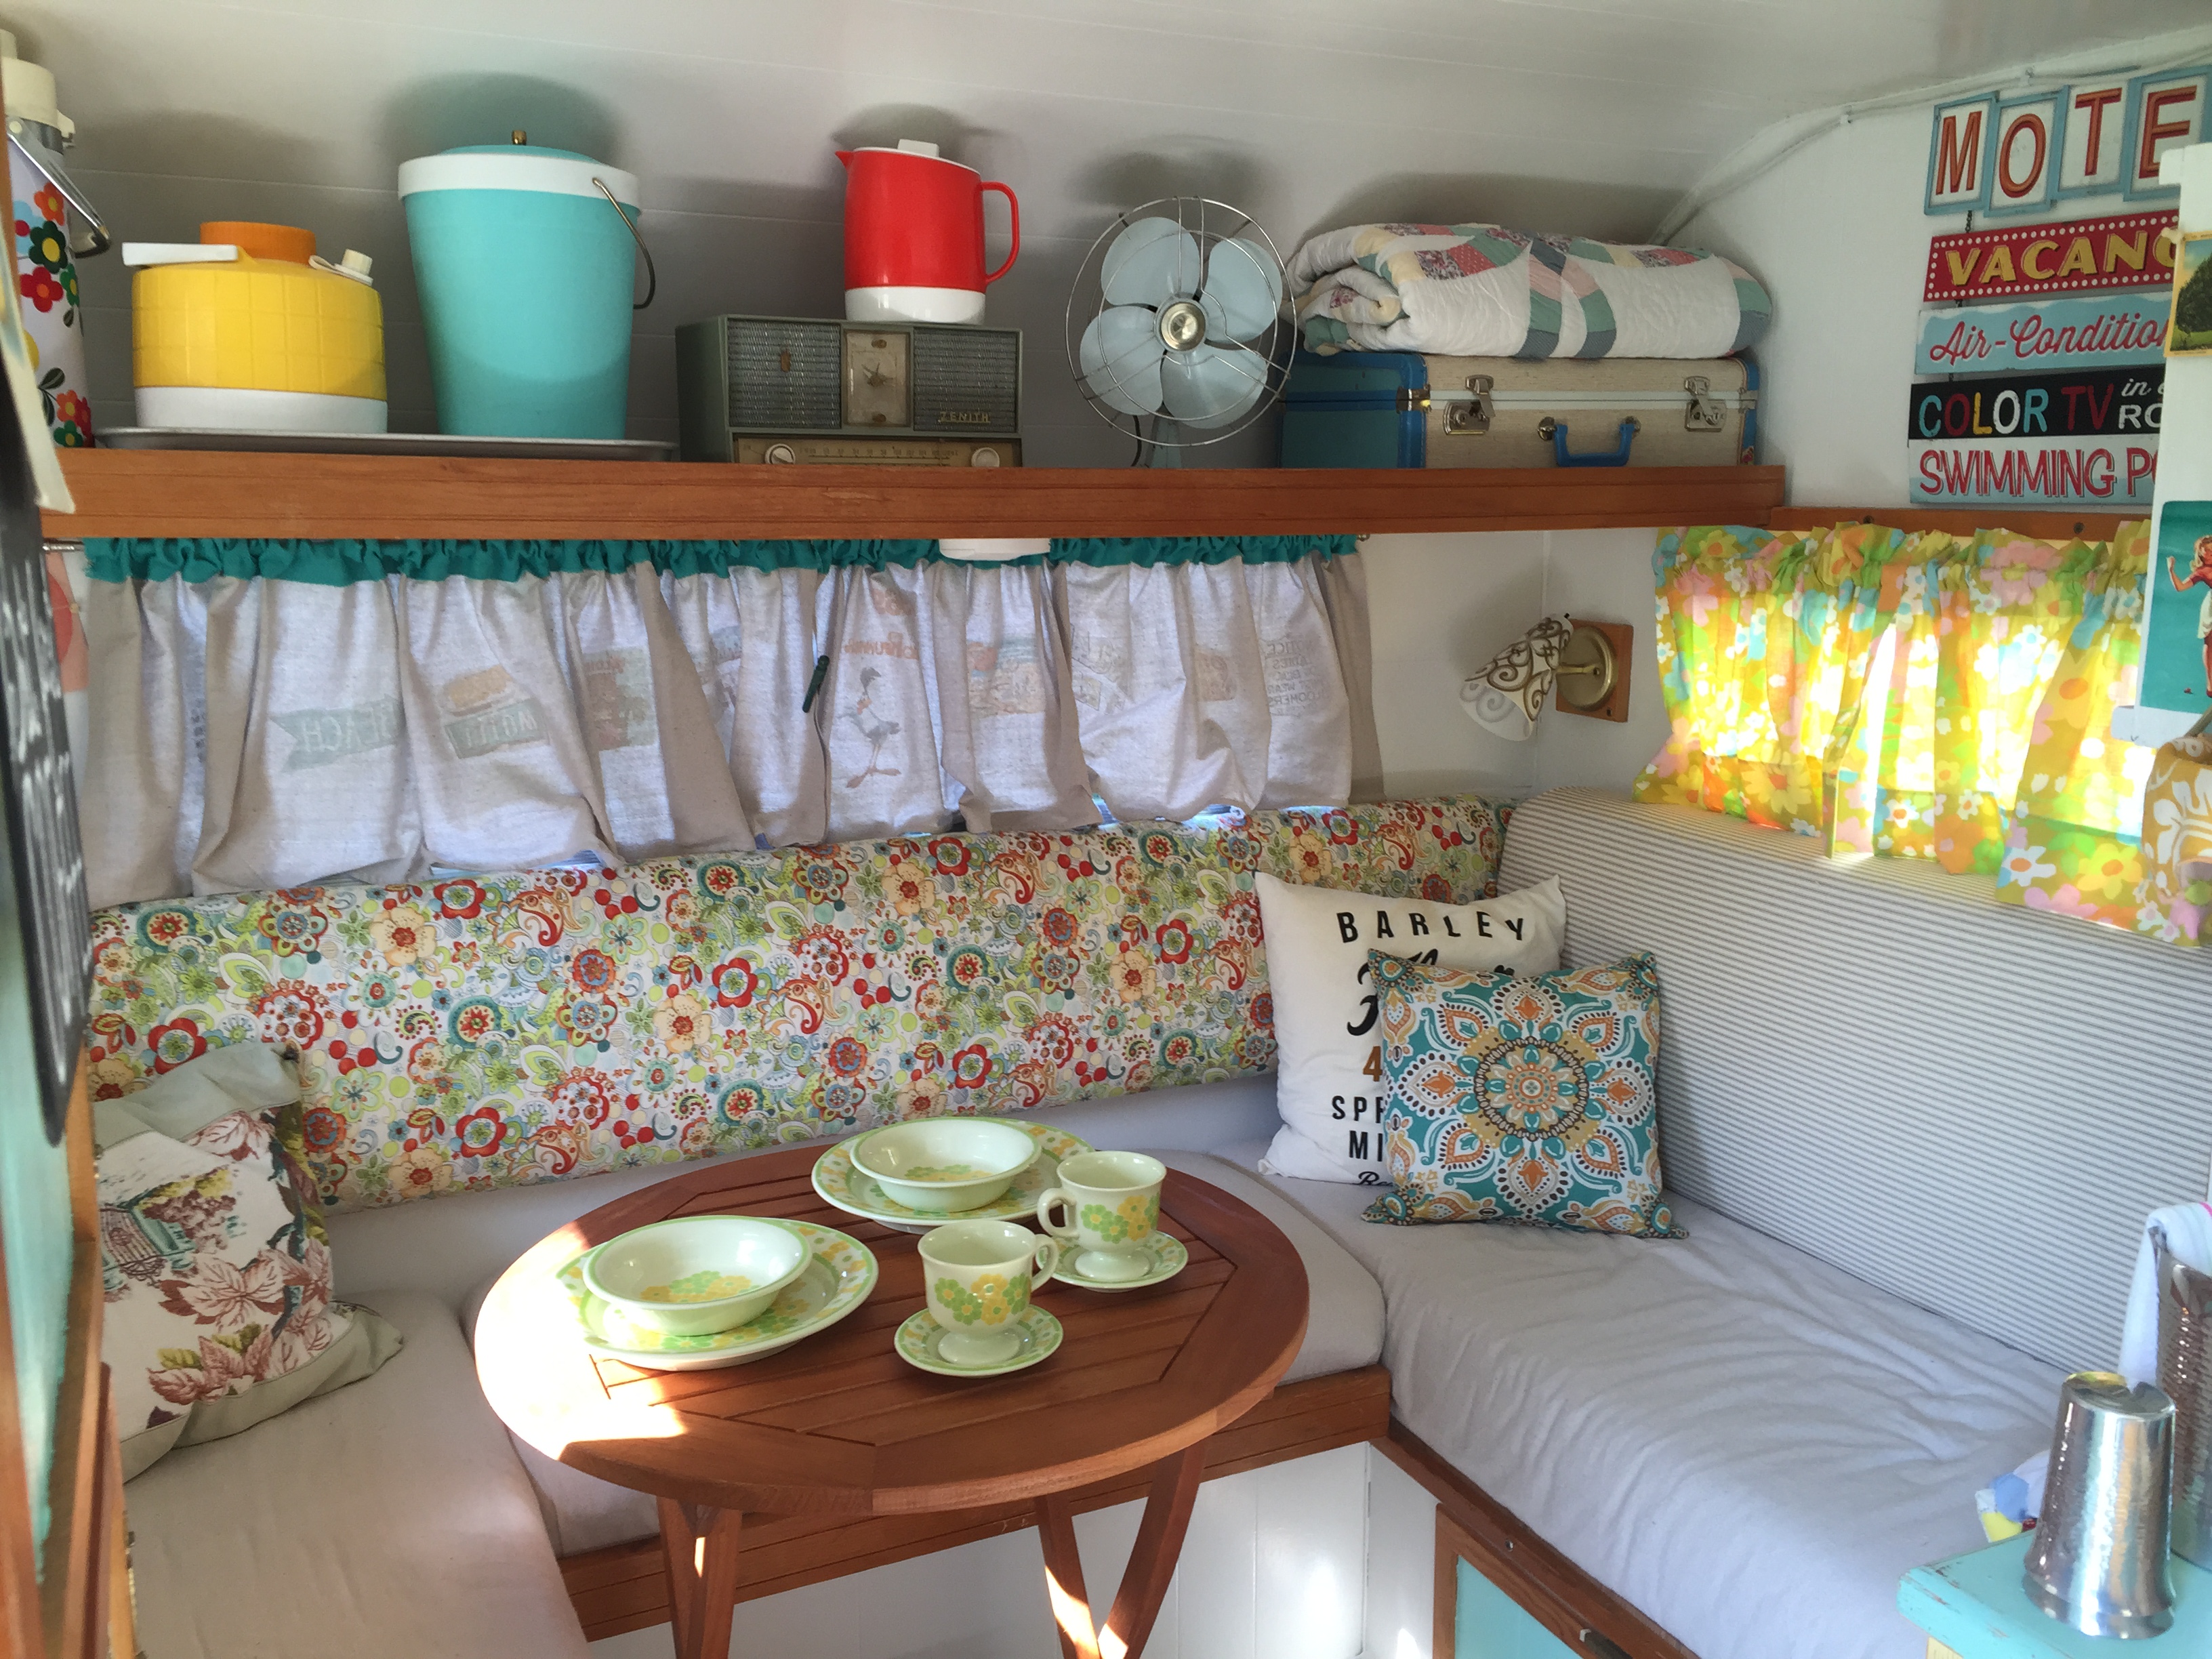
The round folding bistro table just opens up so much more space
Original countertop
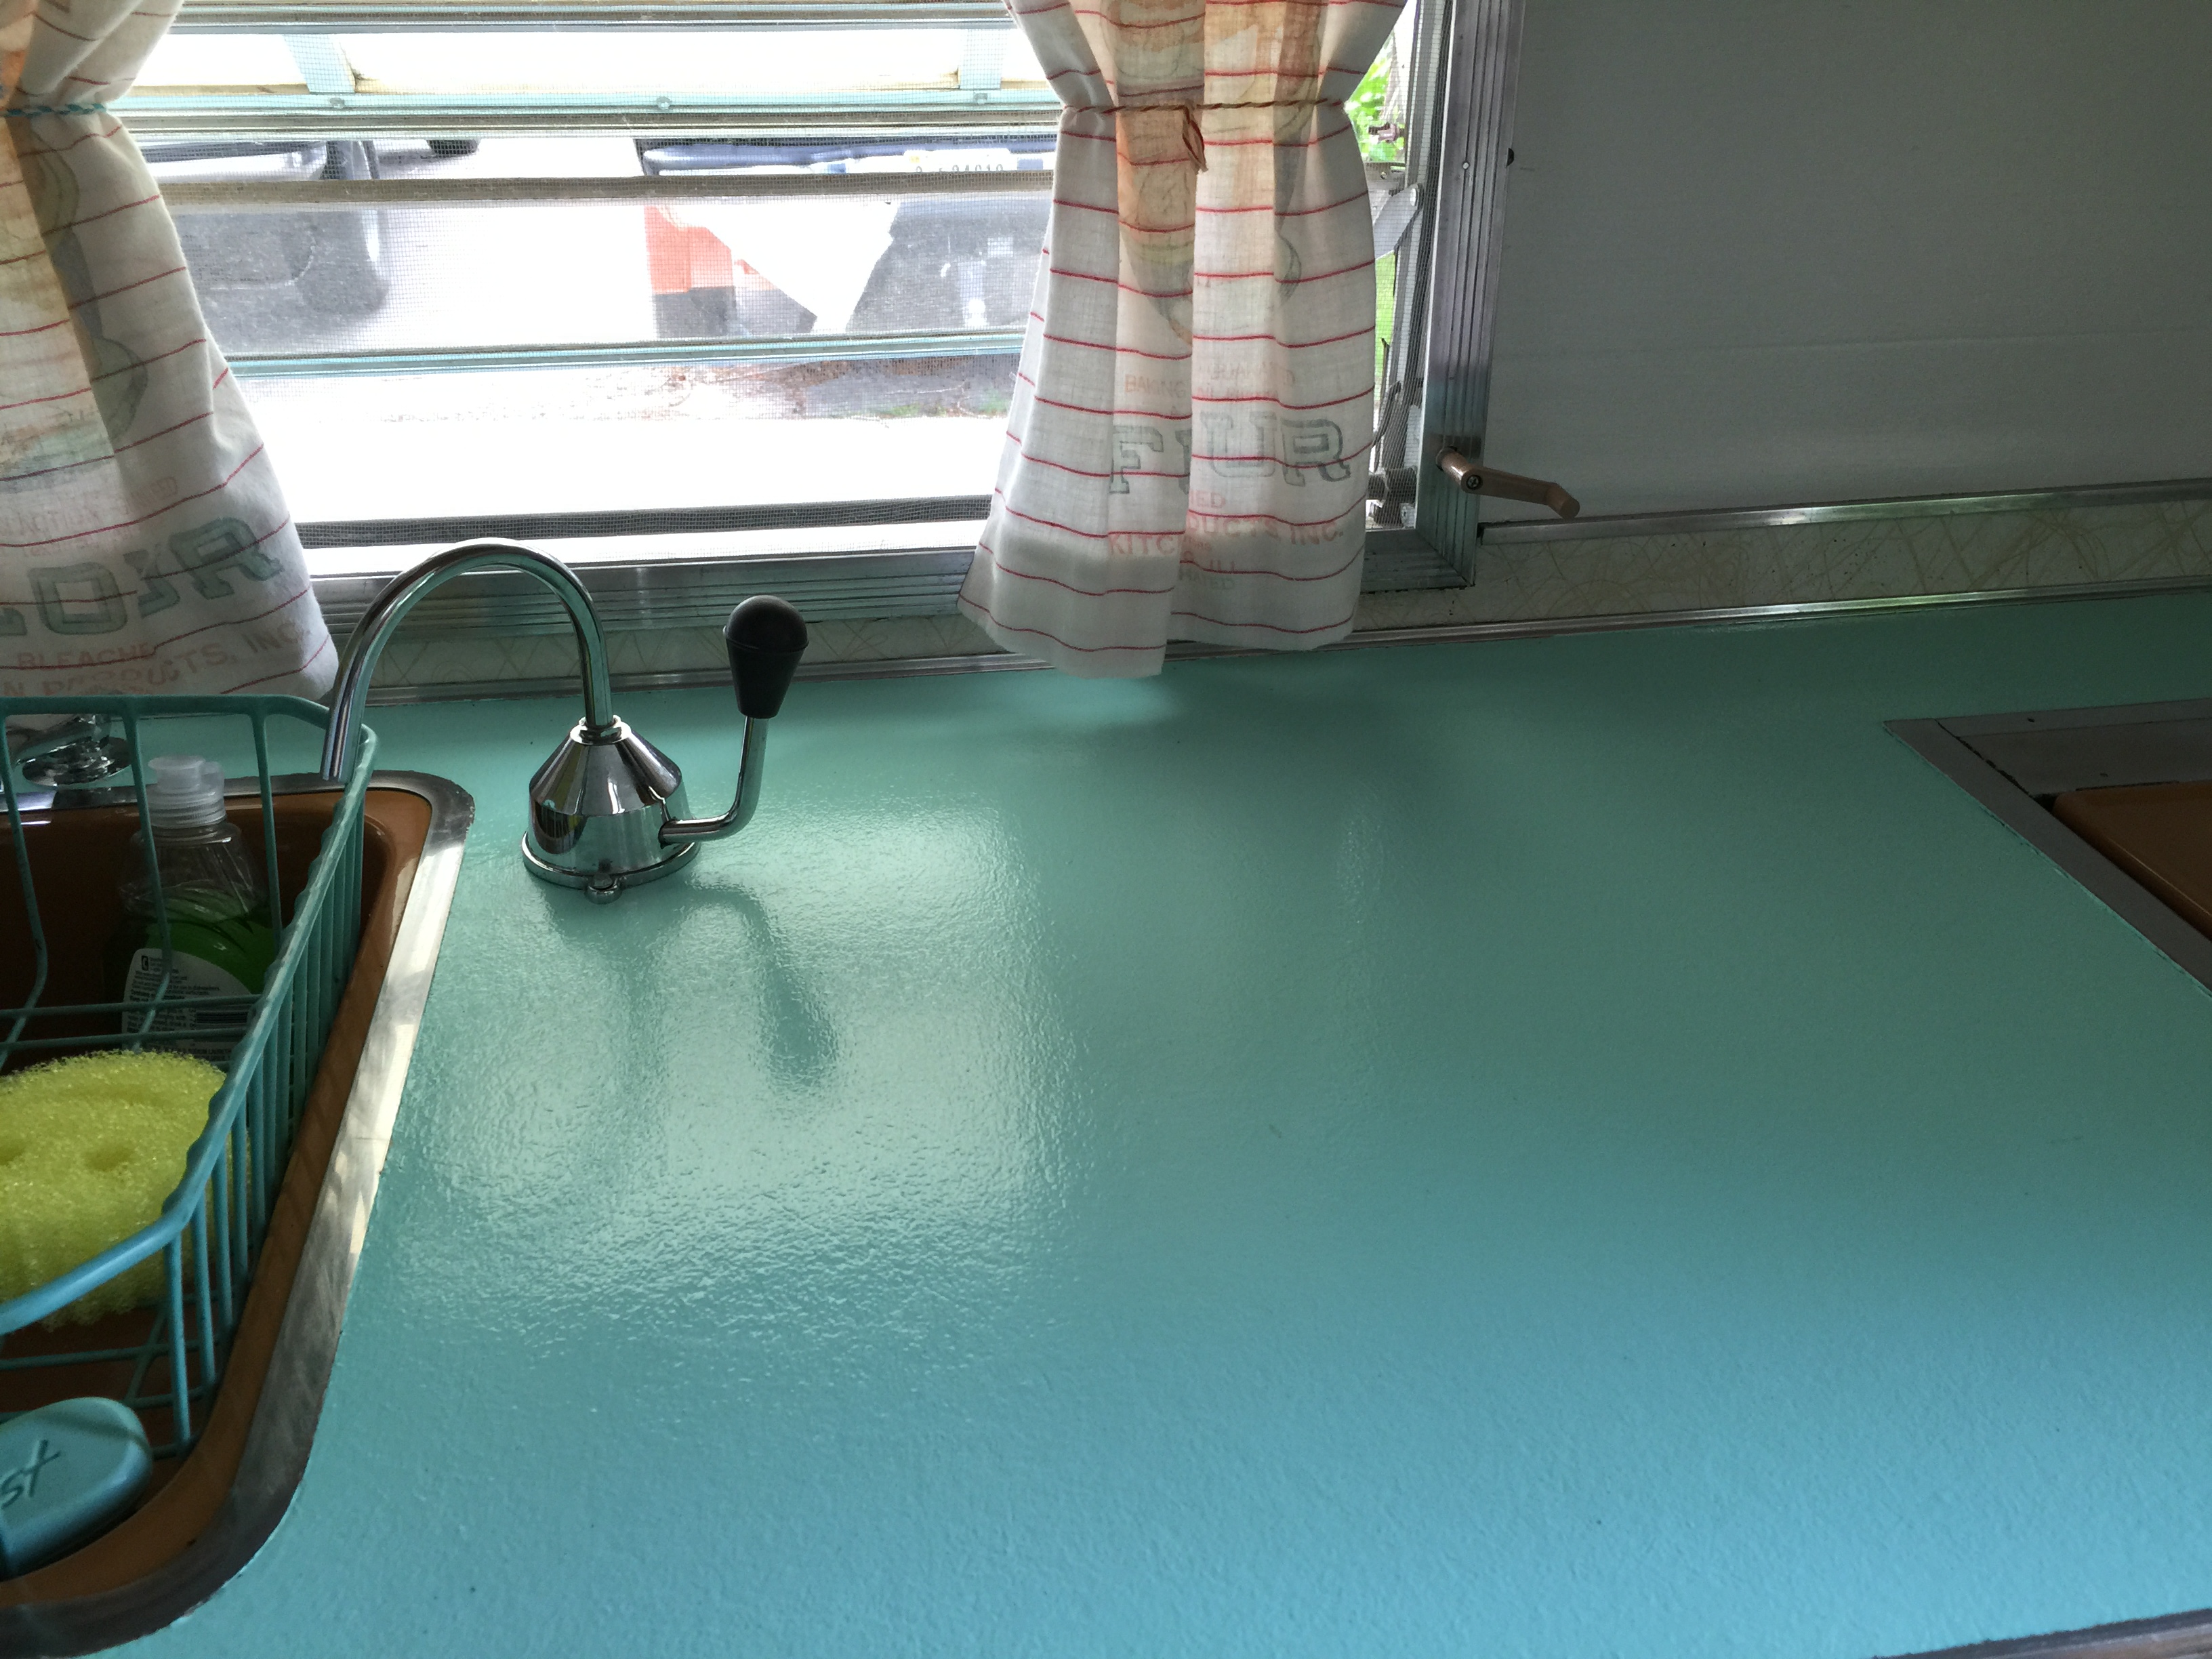
Painted & sealed countertop
Before
After -New flooring under the stove
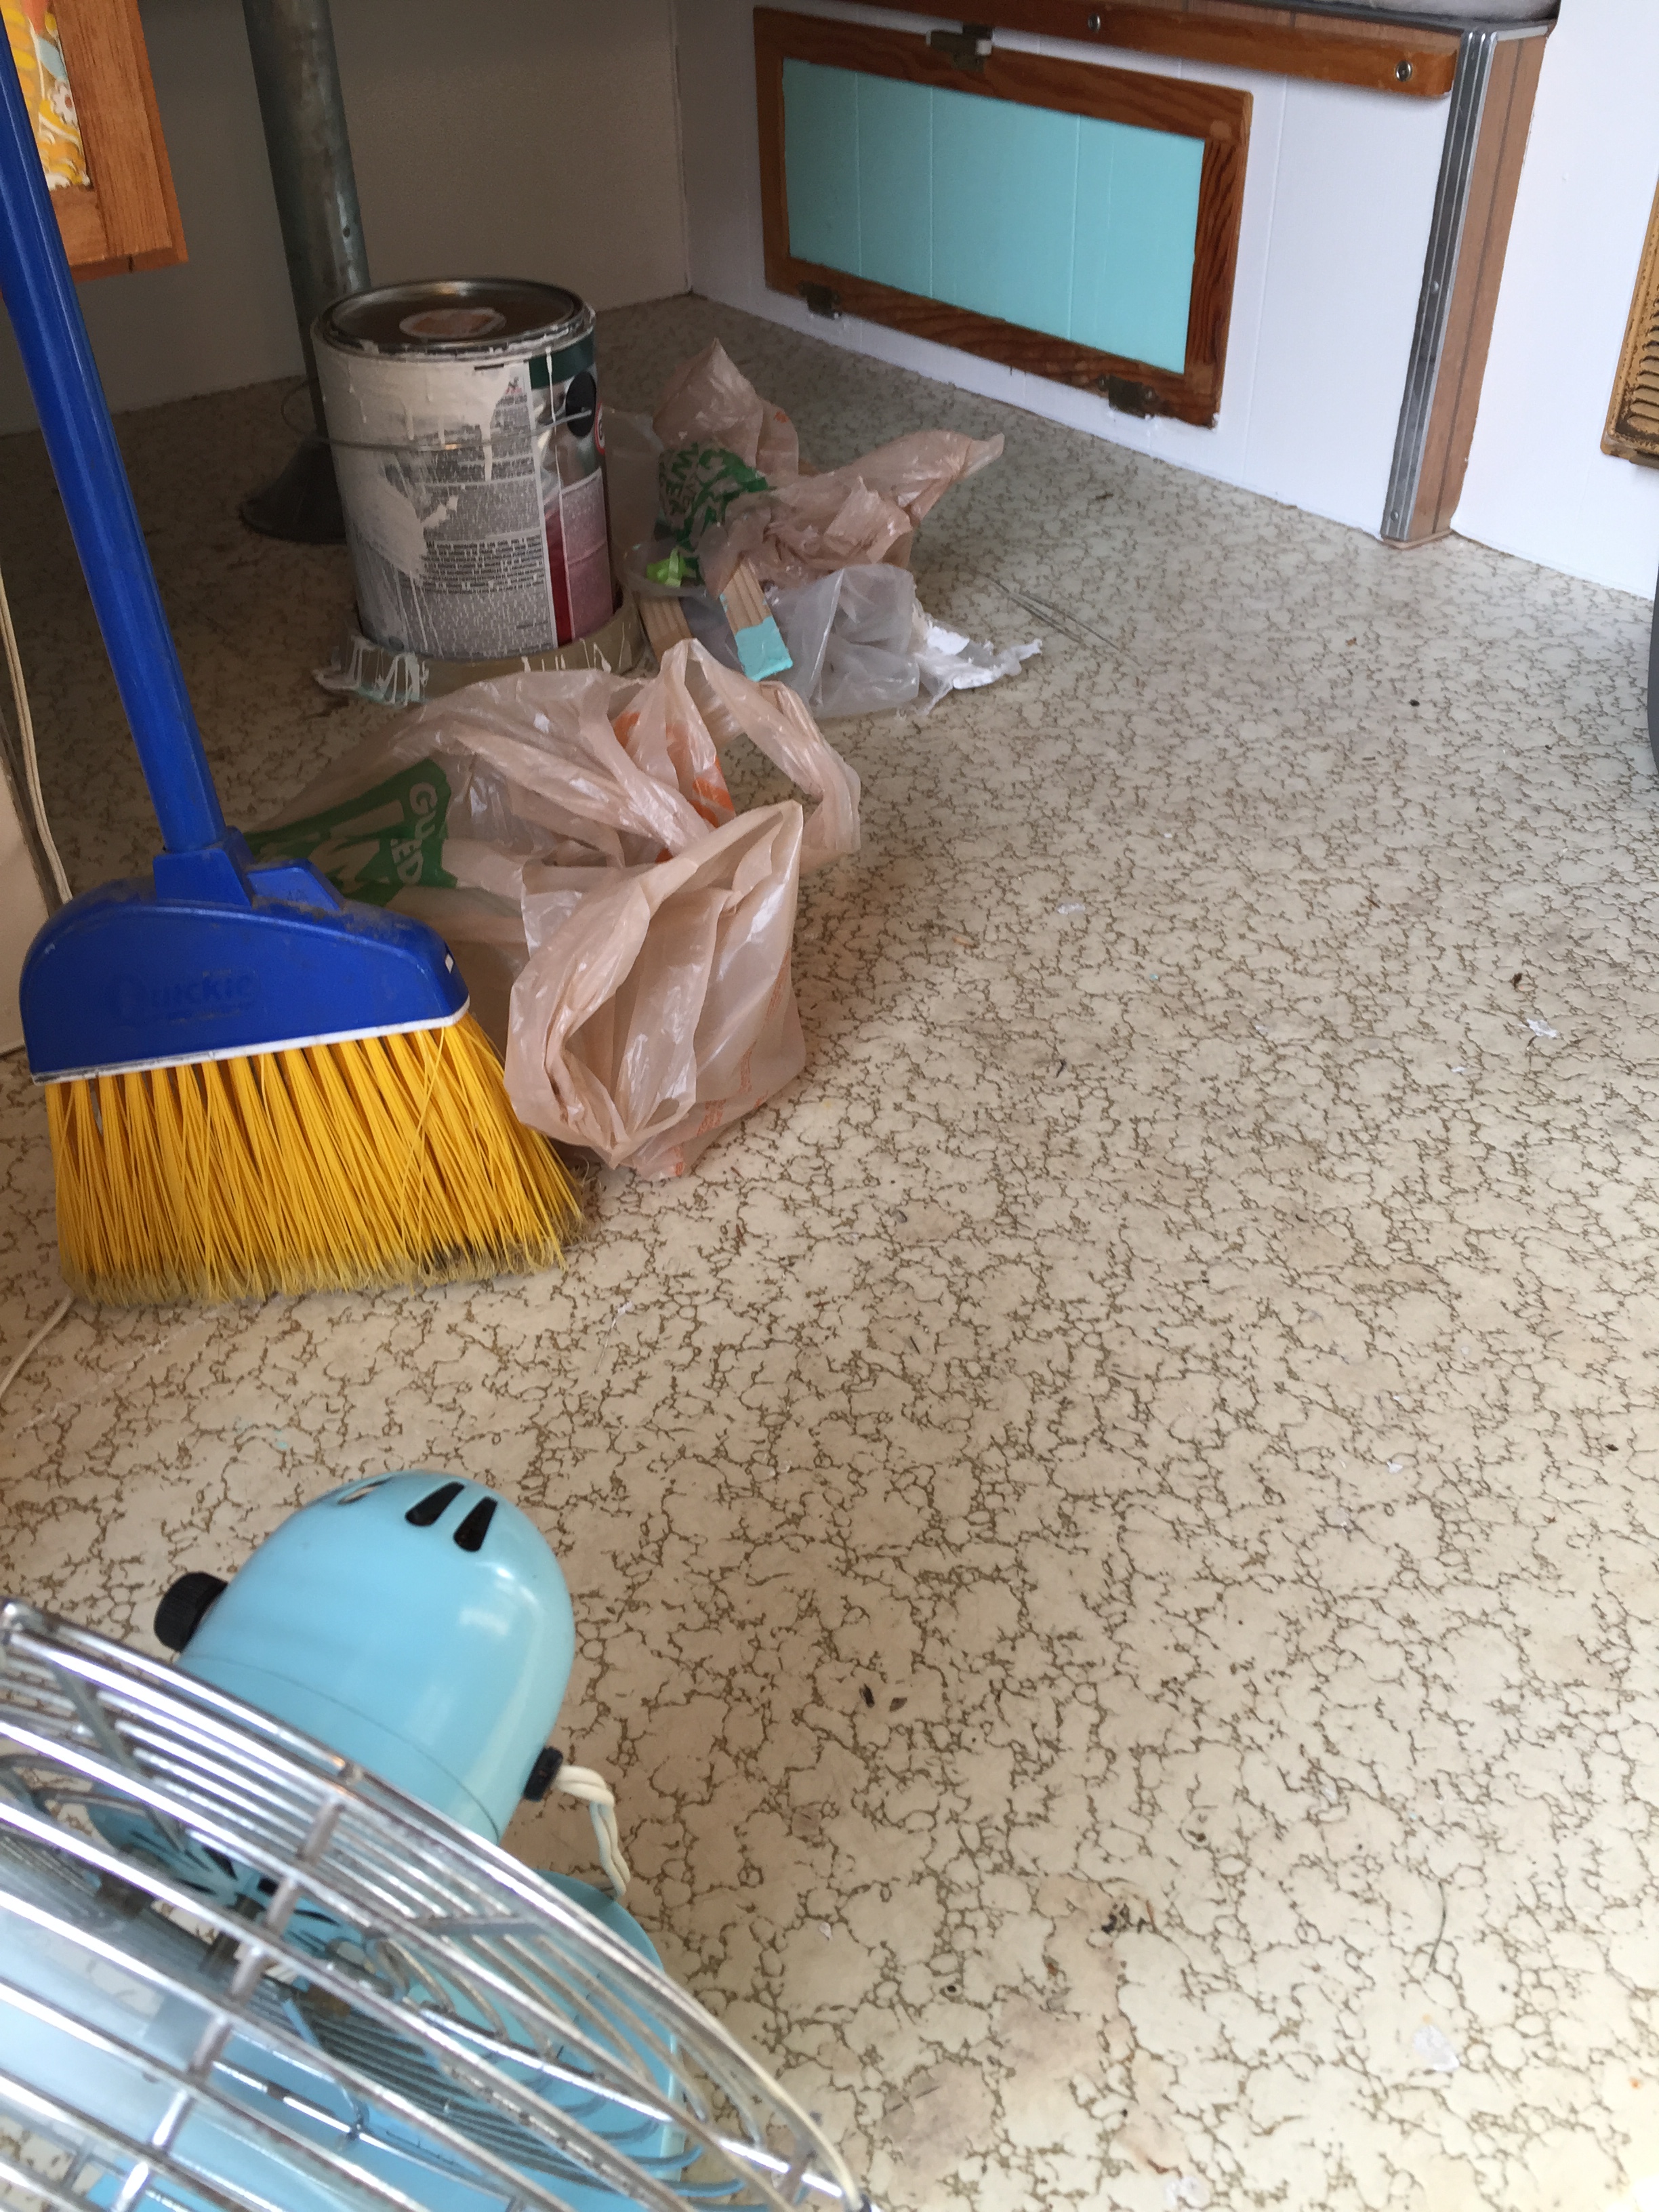
I also managed to pick up a roll of vintage 1960’s wallpaper at a yard sale that I just knew had to appear somewhere in Myrtle. In the end, I used it to wallpaper the inside of her upper cabinets and main area cupboards, as well as inside the porta-potty dais box drawer.
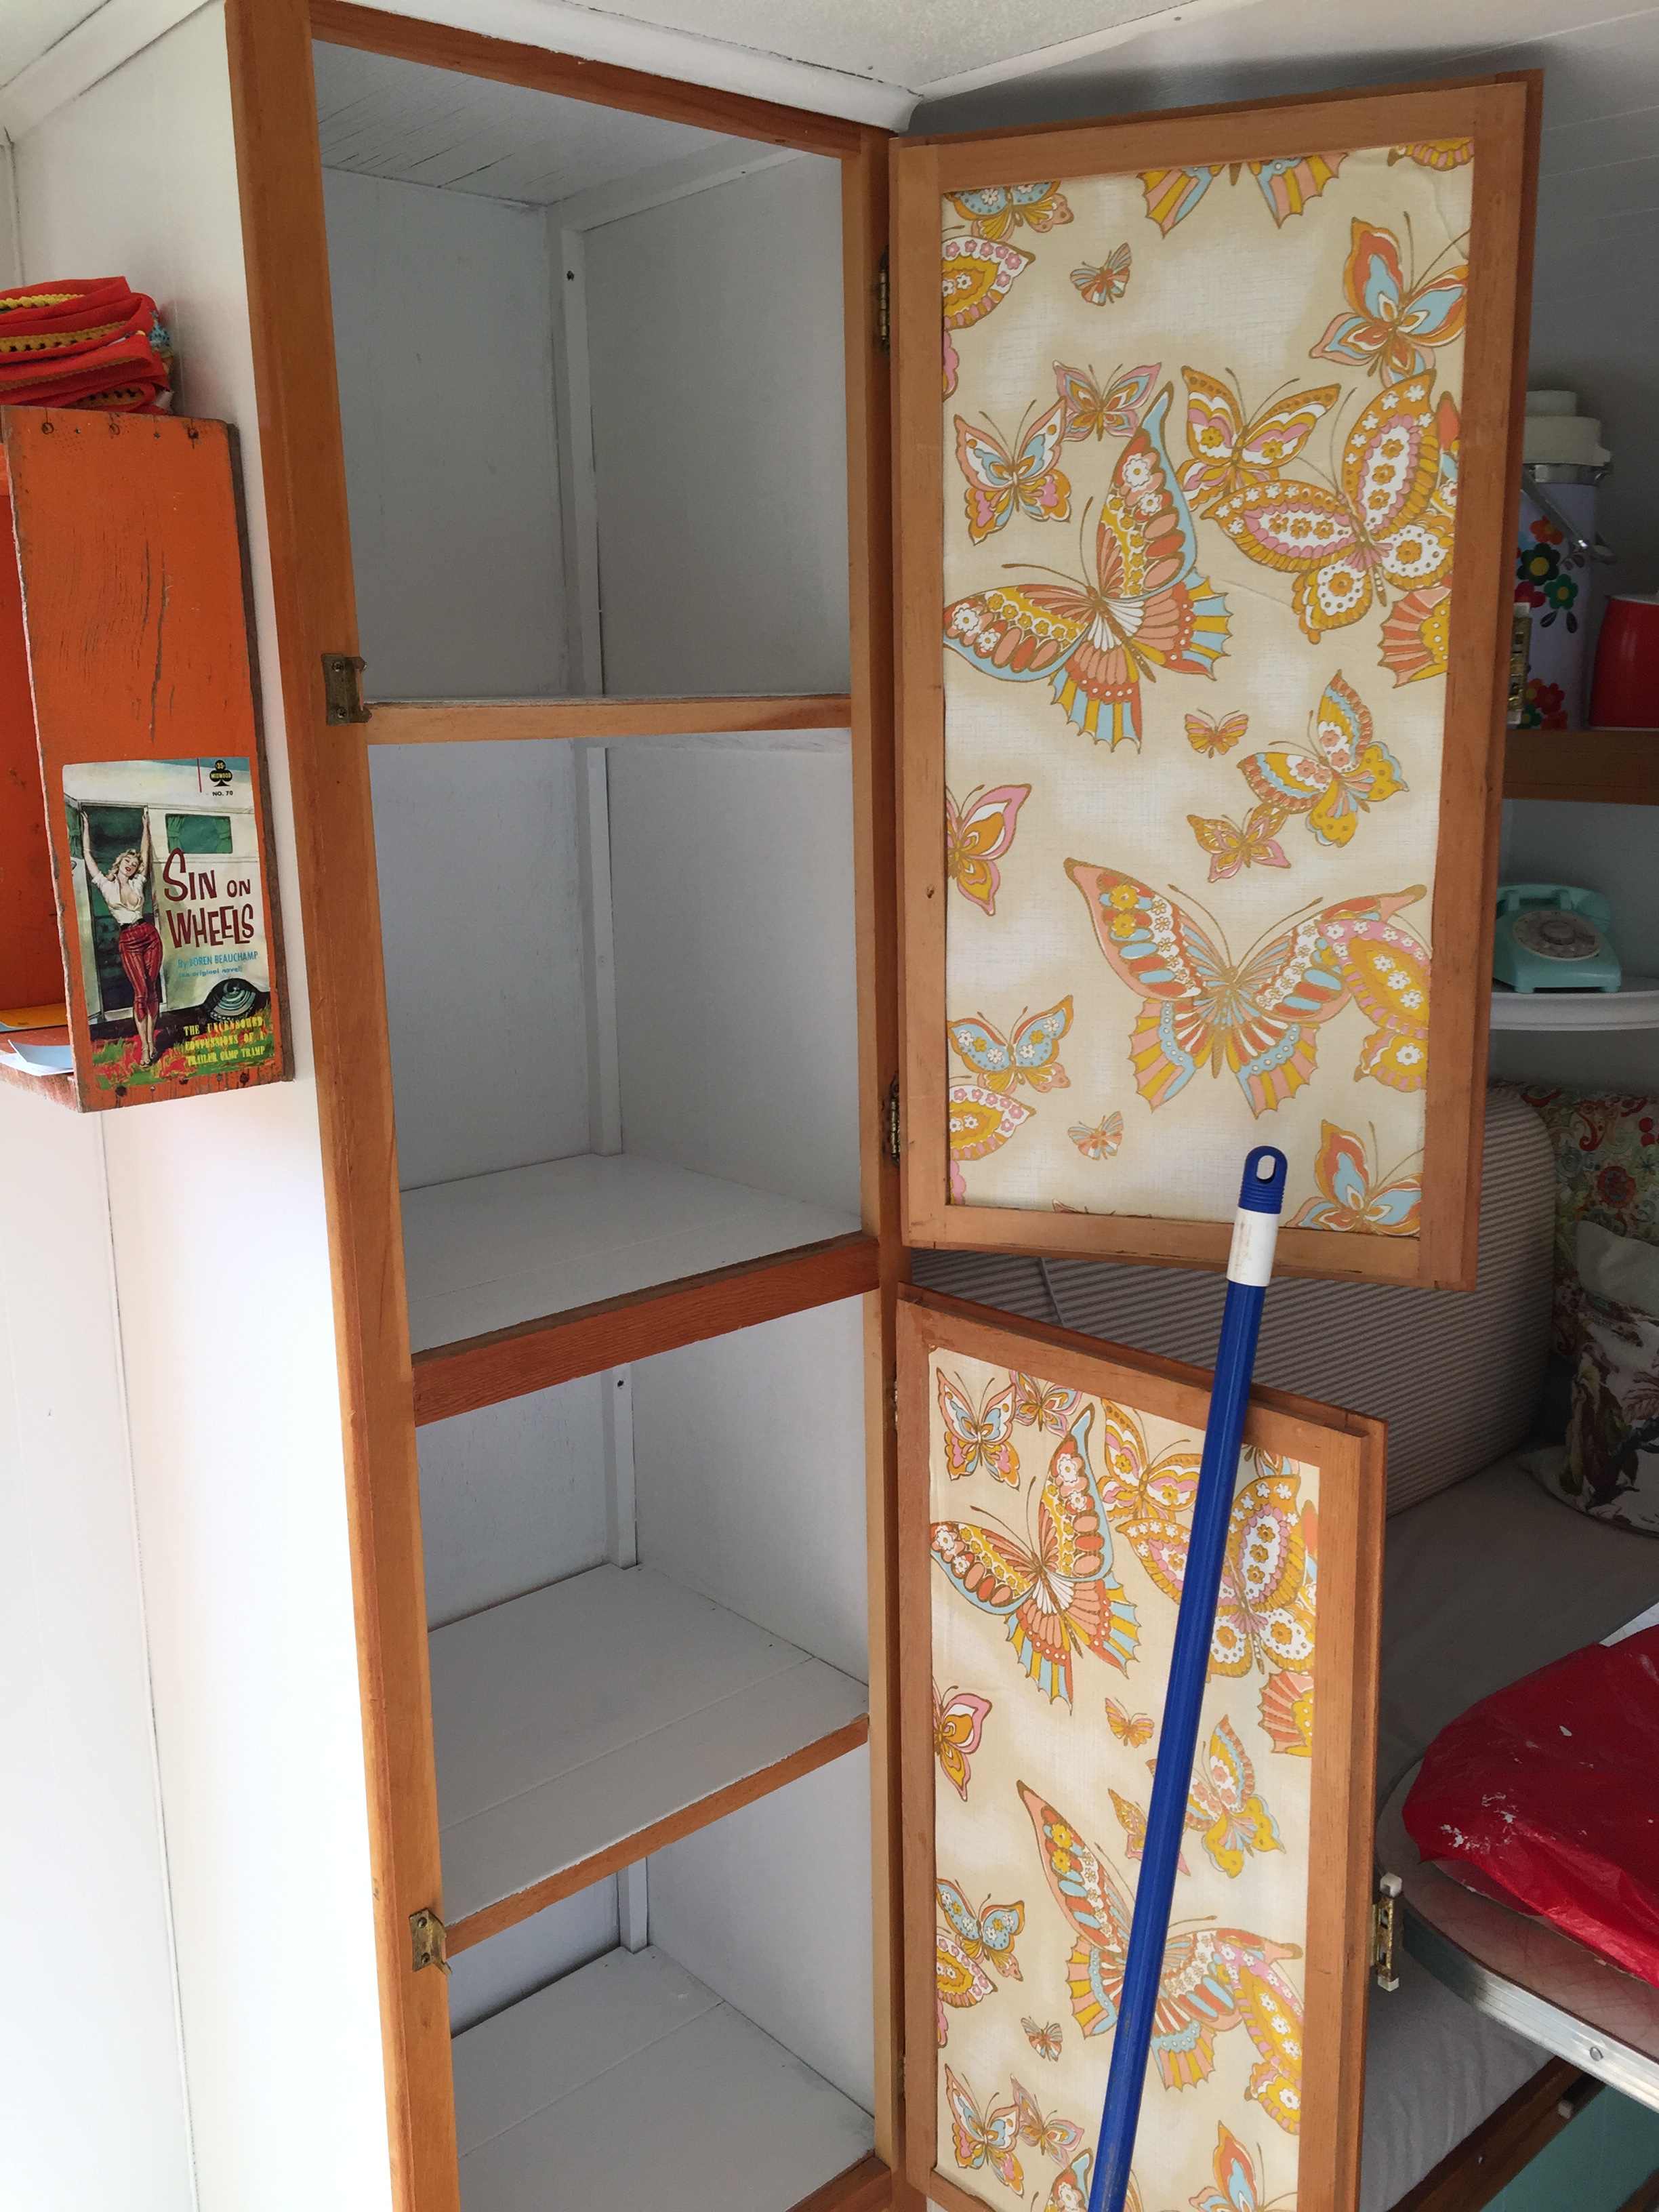
Vintage 1960’s wallpaper!!
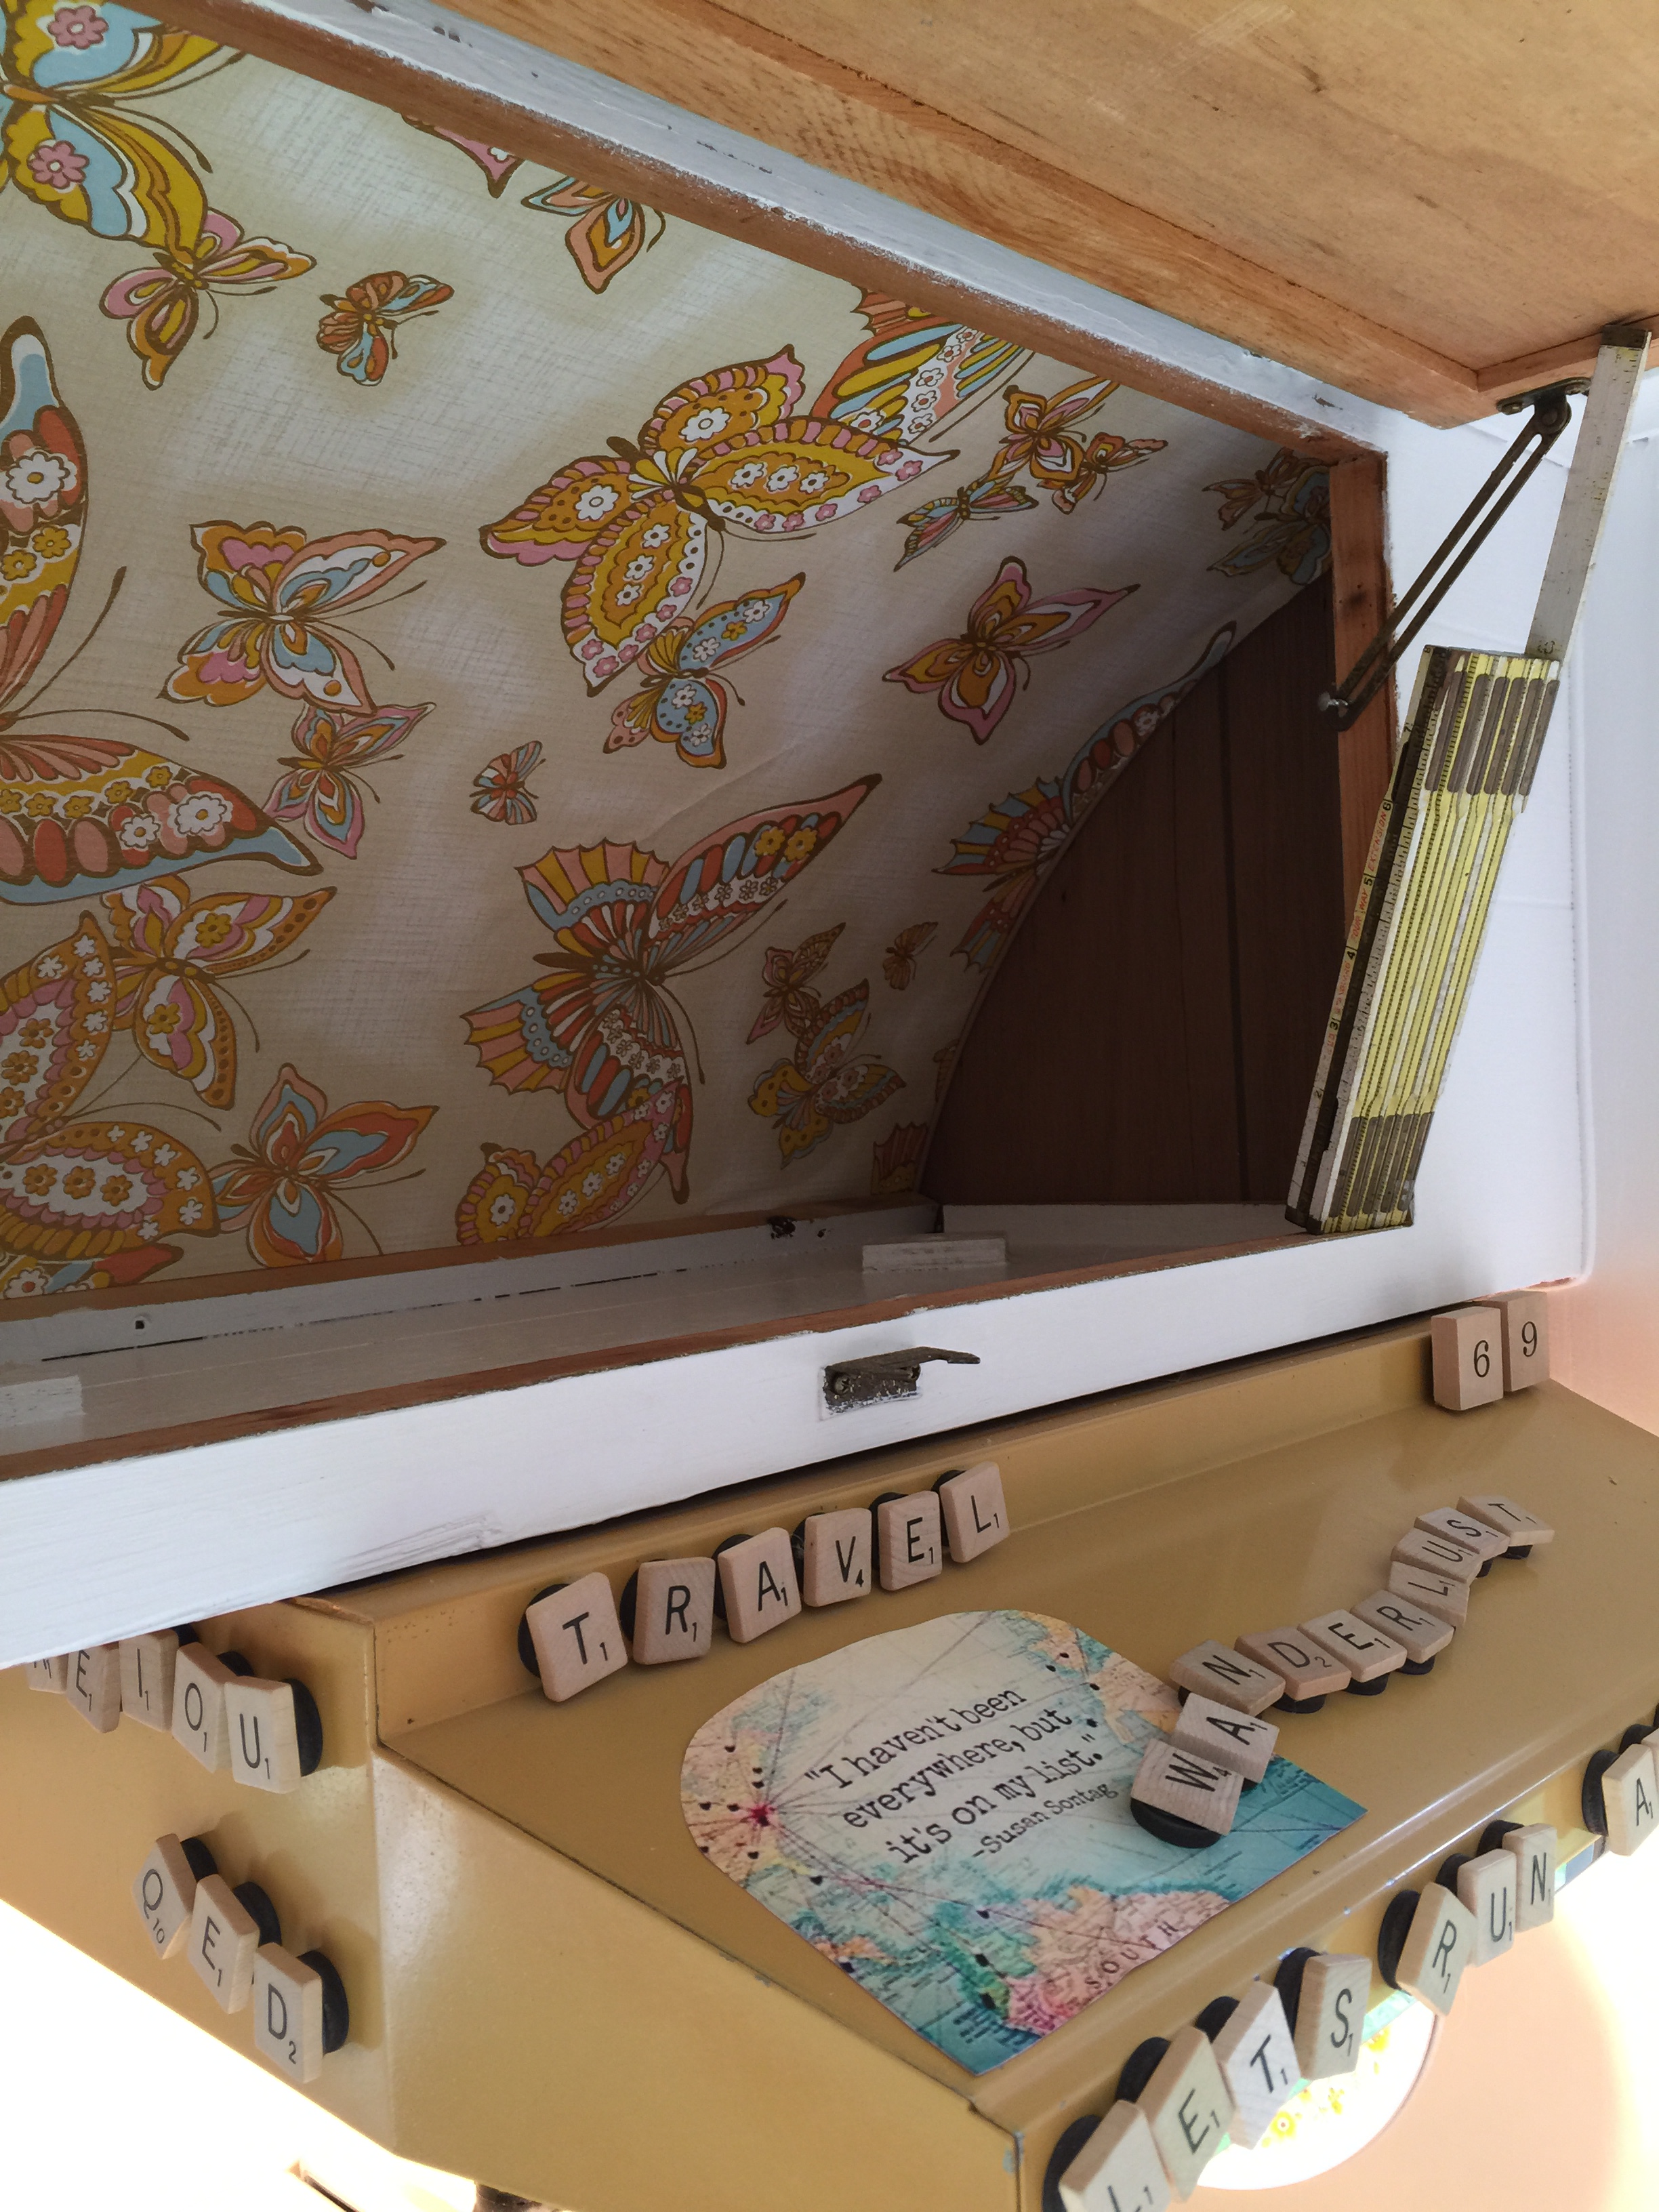
Scrabble tiles glued to small round magnets to decorate Myrtle’s rangetop
Before painting many areas in the camper, I first had to plan where I wanted to hang shelves, and the amazing, vintage, mirrored, turquoise medicine cabinet that I’d picked up at a flea market. Myrtle’s thin plywood walls could hold no hanging weight, so anytime something needed to be hung, I had to coordinate hanging something else on the opposite side of the wall so they could be screwed together through the wall, or else use a small piece of sturdy board on the back side of any wall so the shelf would have something to screw into. This took a bit of thinking ahead to work it all out.
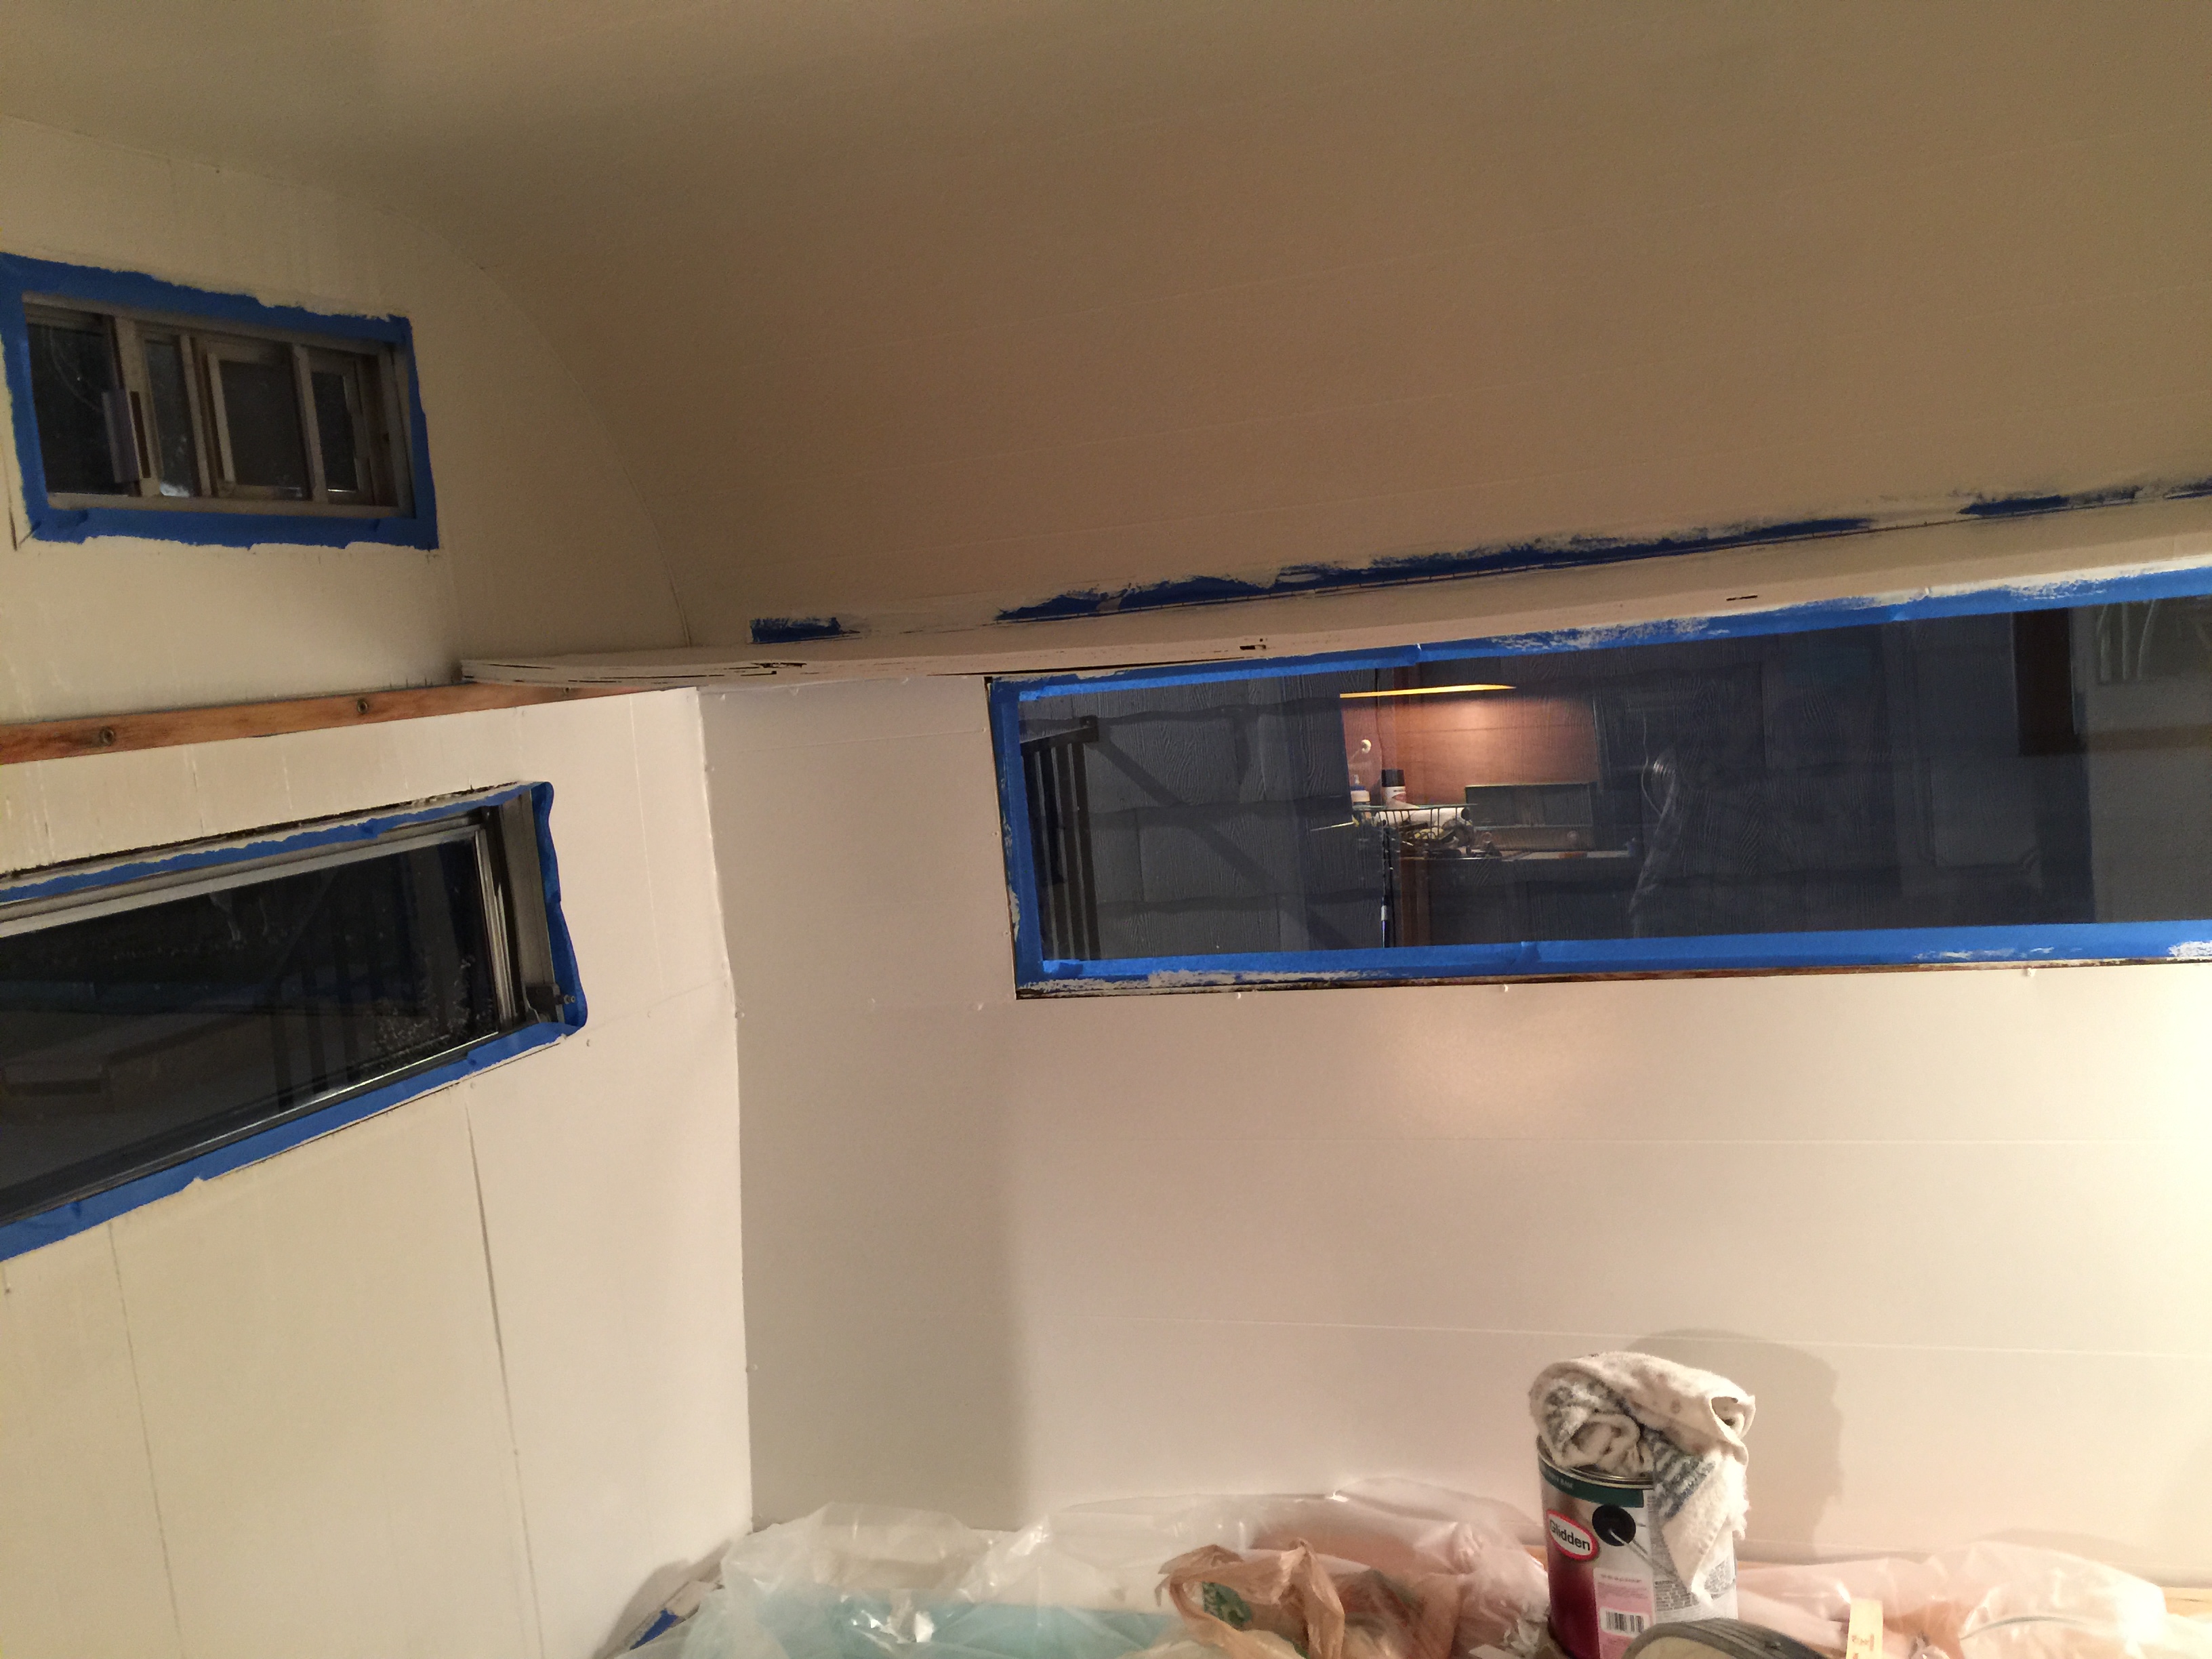
And then there was the painting. Soooo much painting. Endless painting. I think all of that dry wood paneling needed three coats minimum. For Myrtle’s interior colors I chose Glidden paint in Marshmallow White and Island Shores. I didn’t paint any of the real wood trim in Myrtle, though. All of the trim received a good treatment of Howard Feed-N-Wax Wood Conditioner, and that was it.
First coat
White paint brings more light into the bathroom
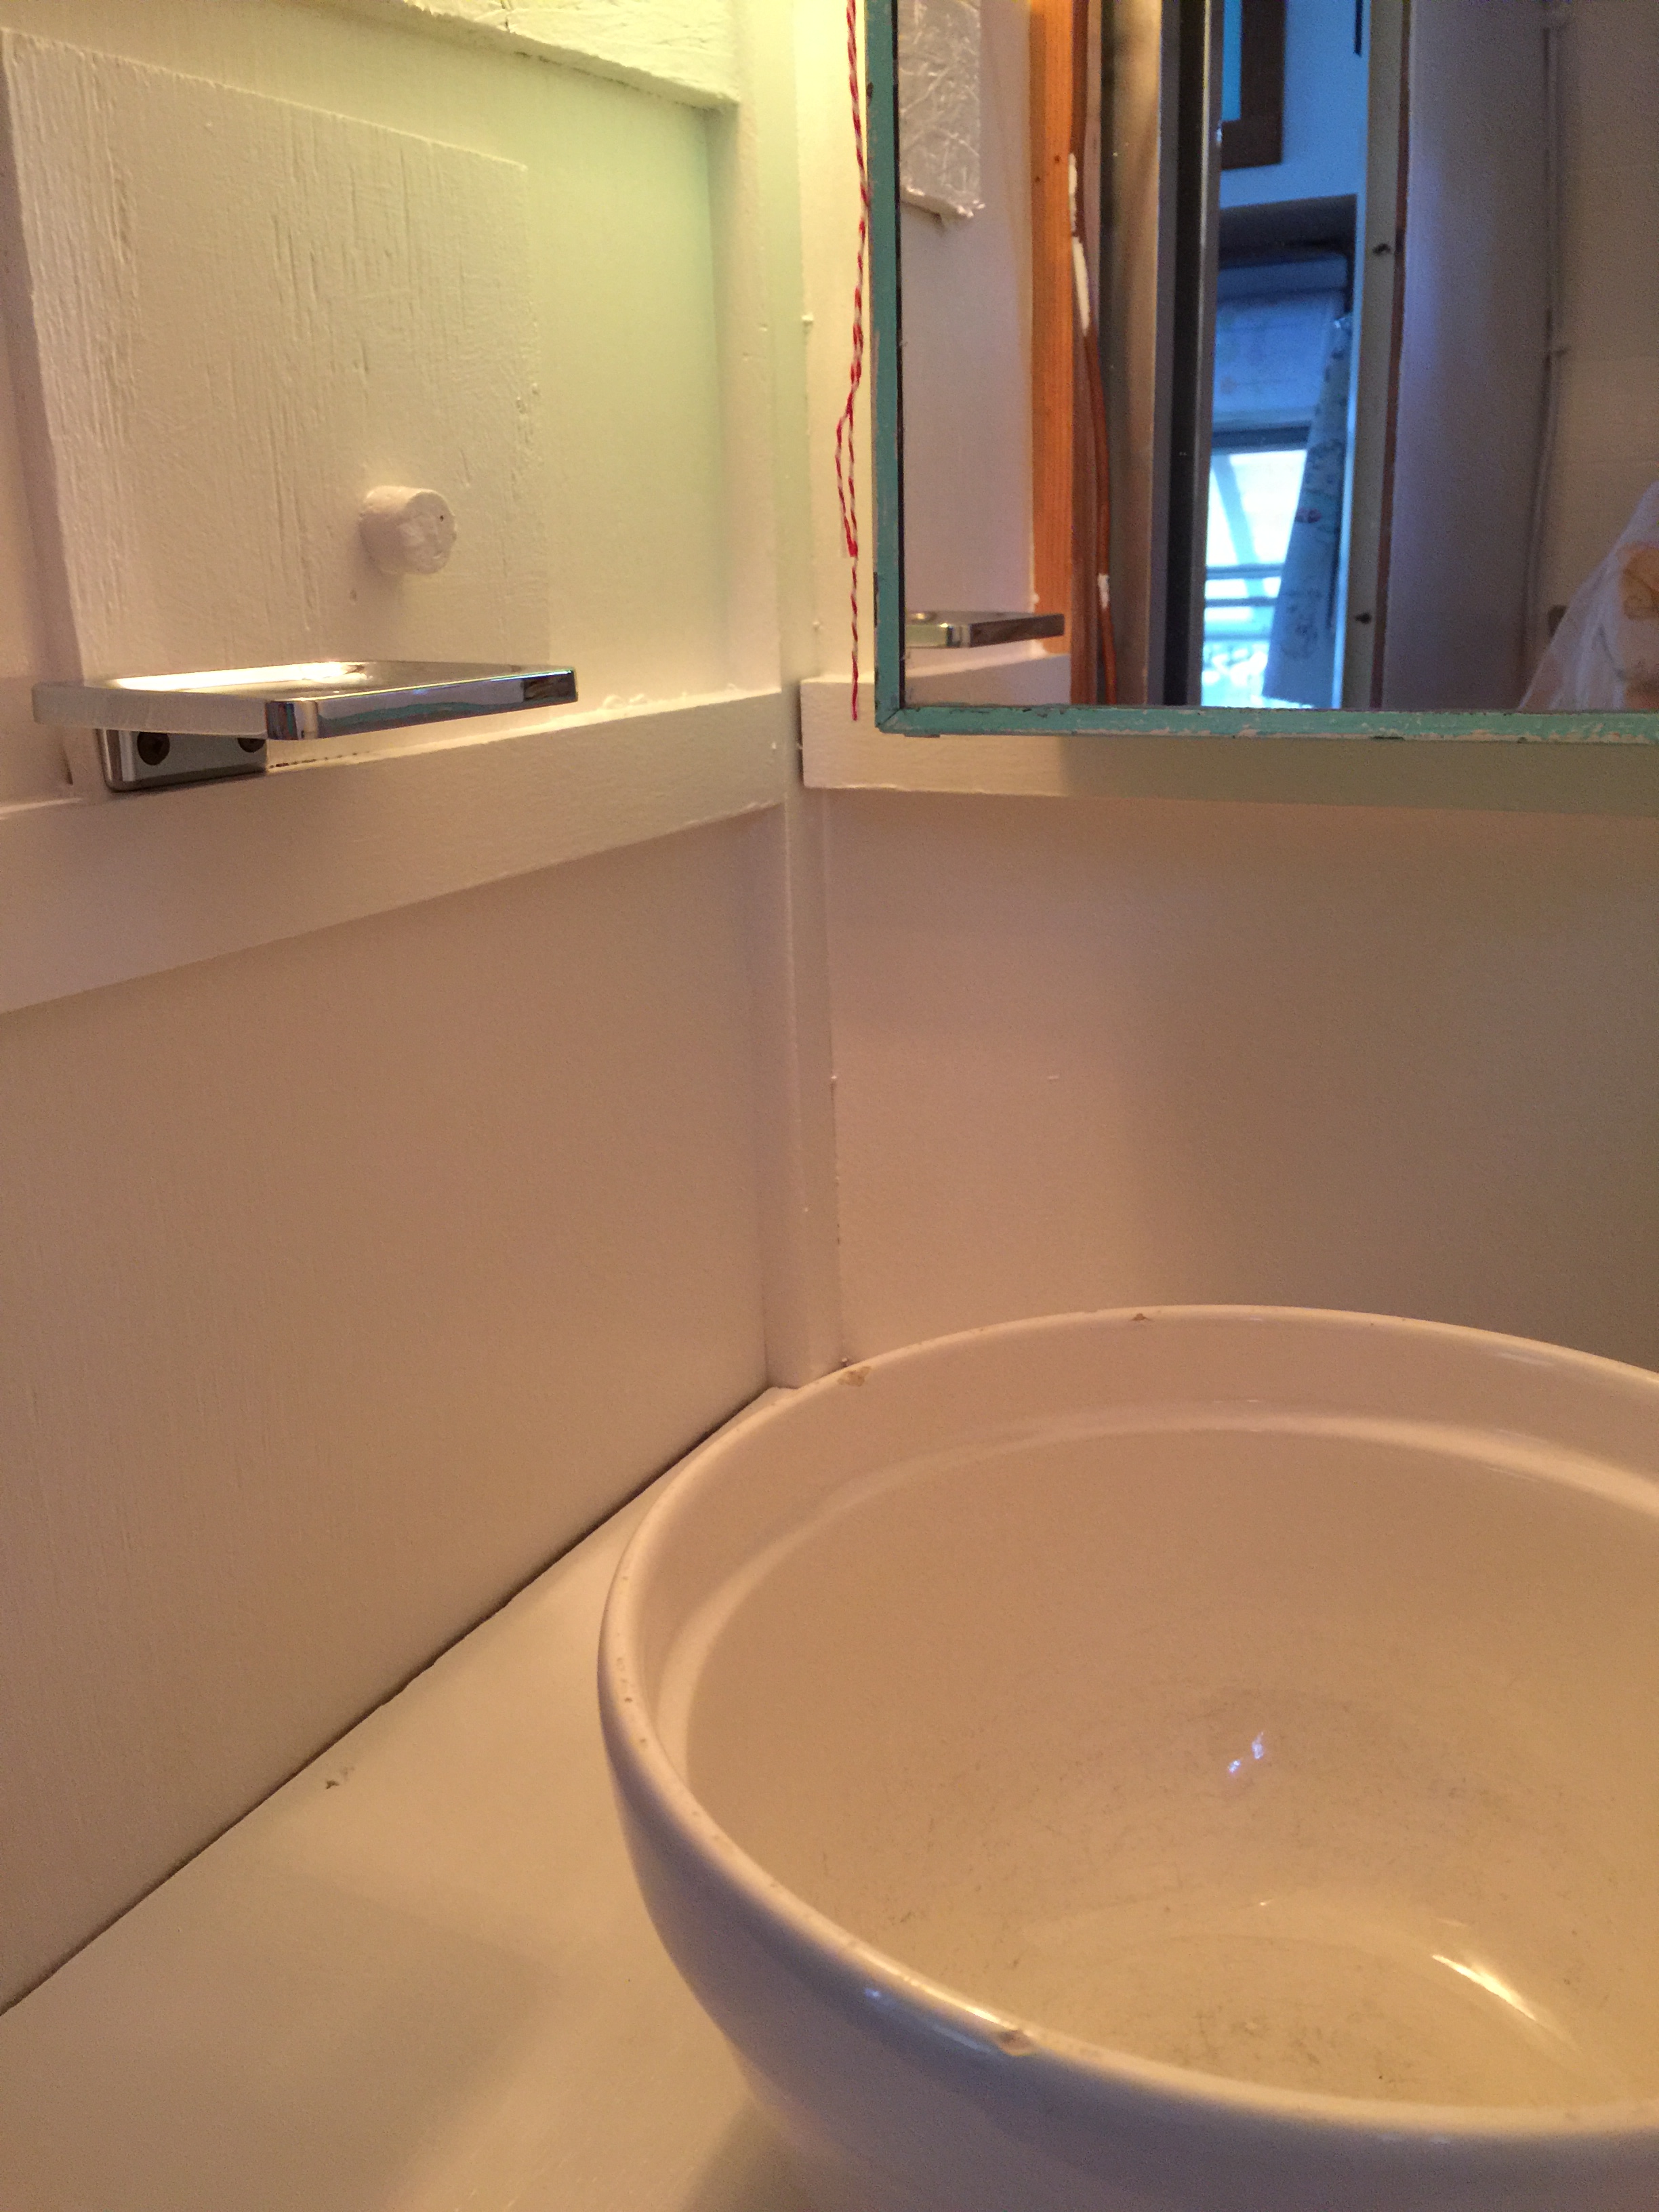
Beginning to resemble a bathroom
Original floor
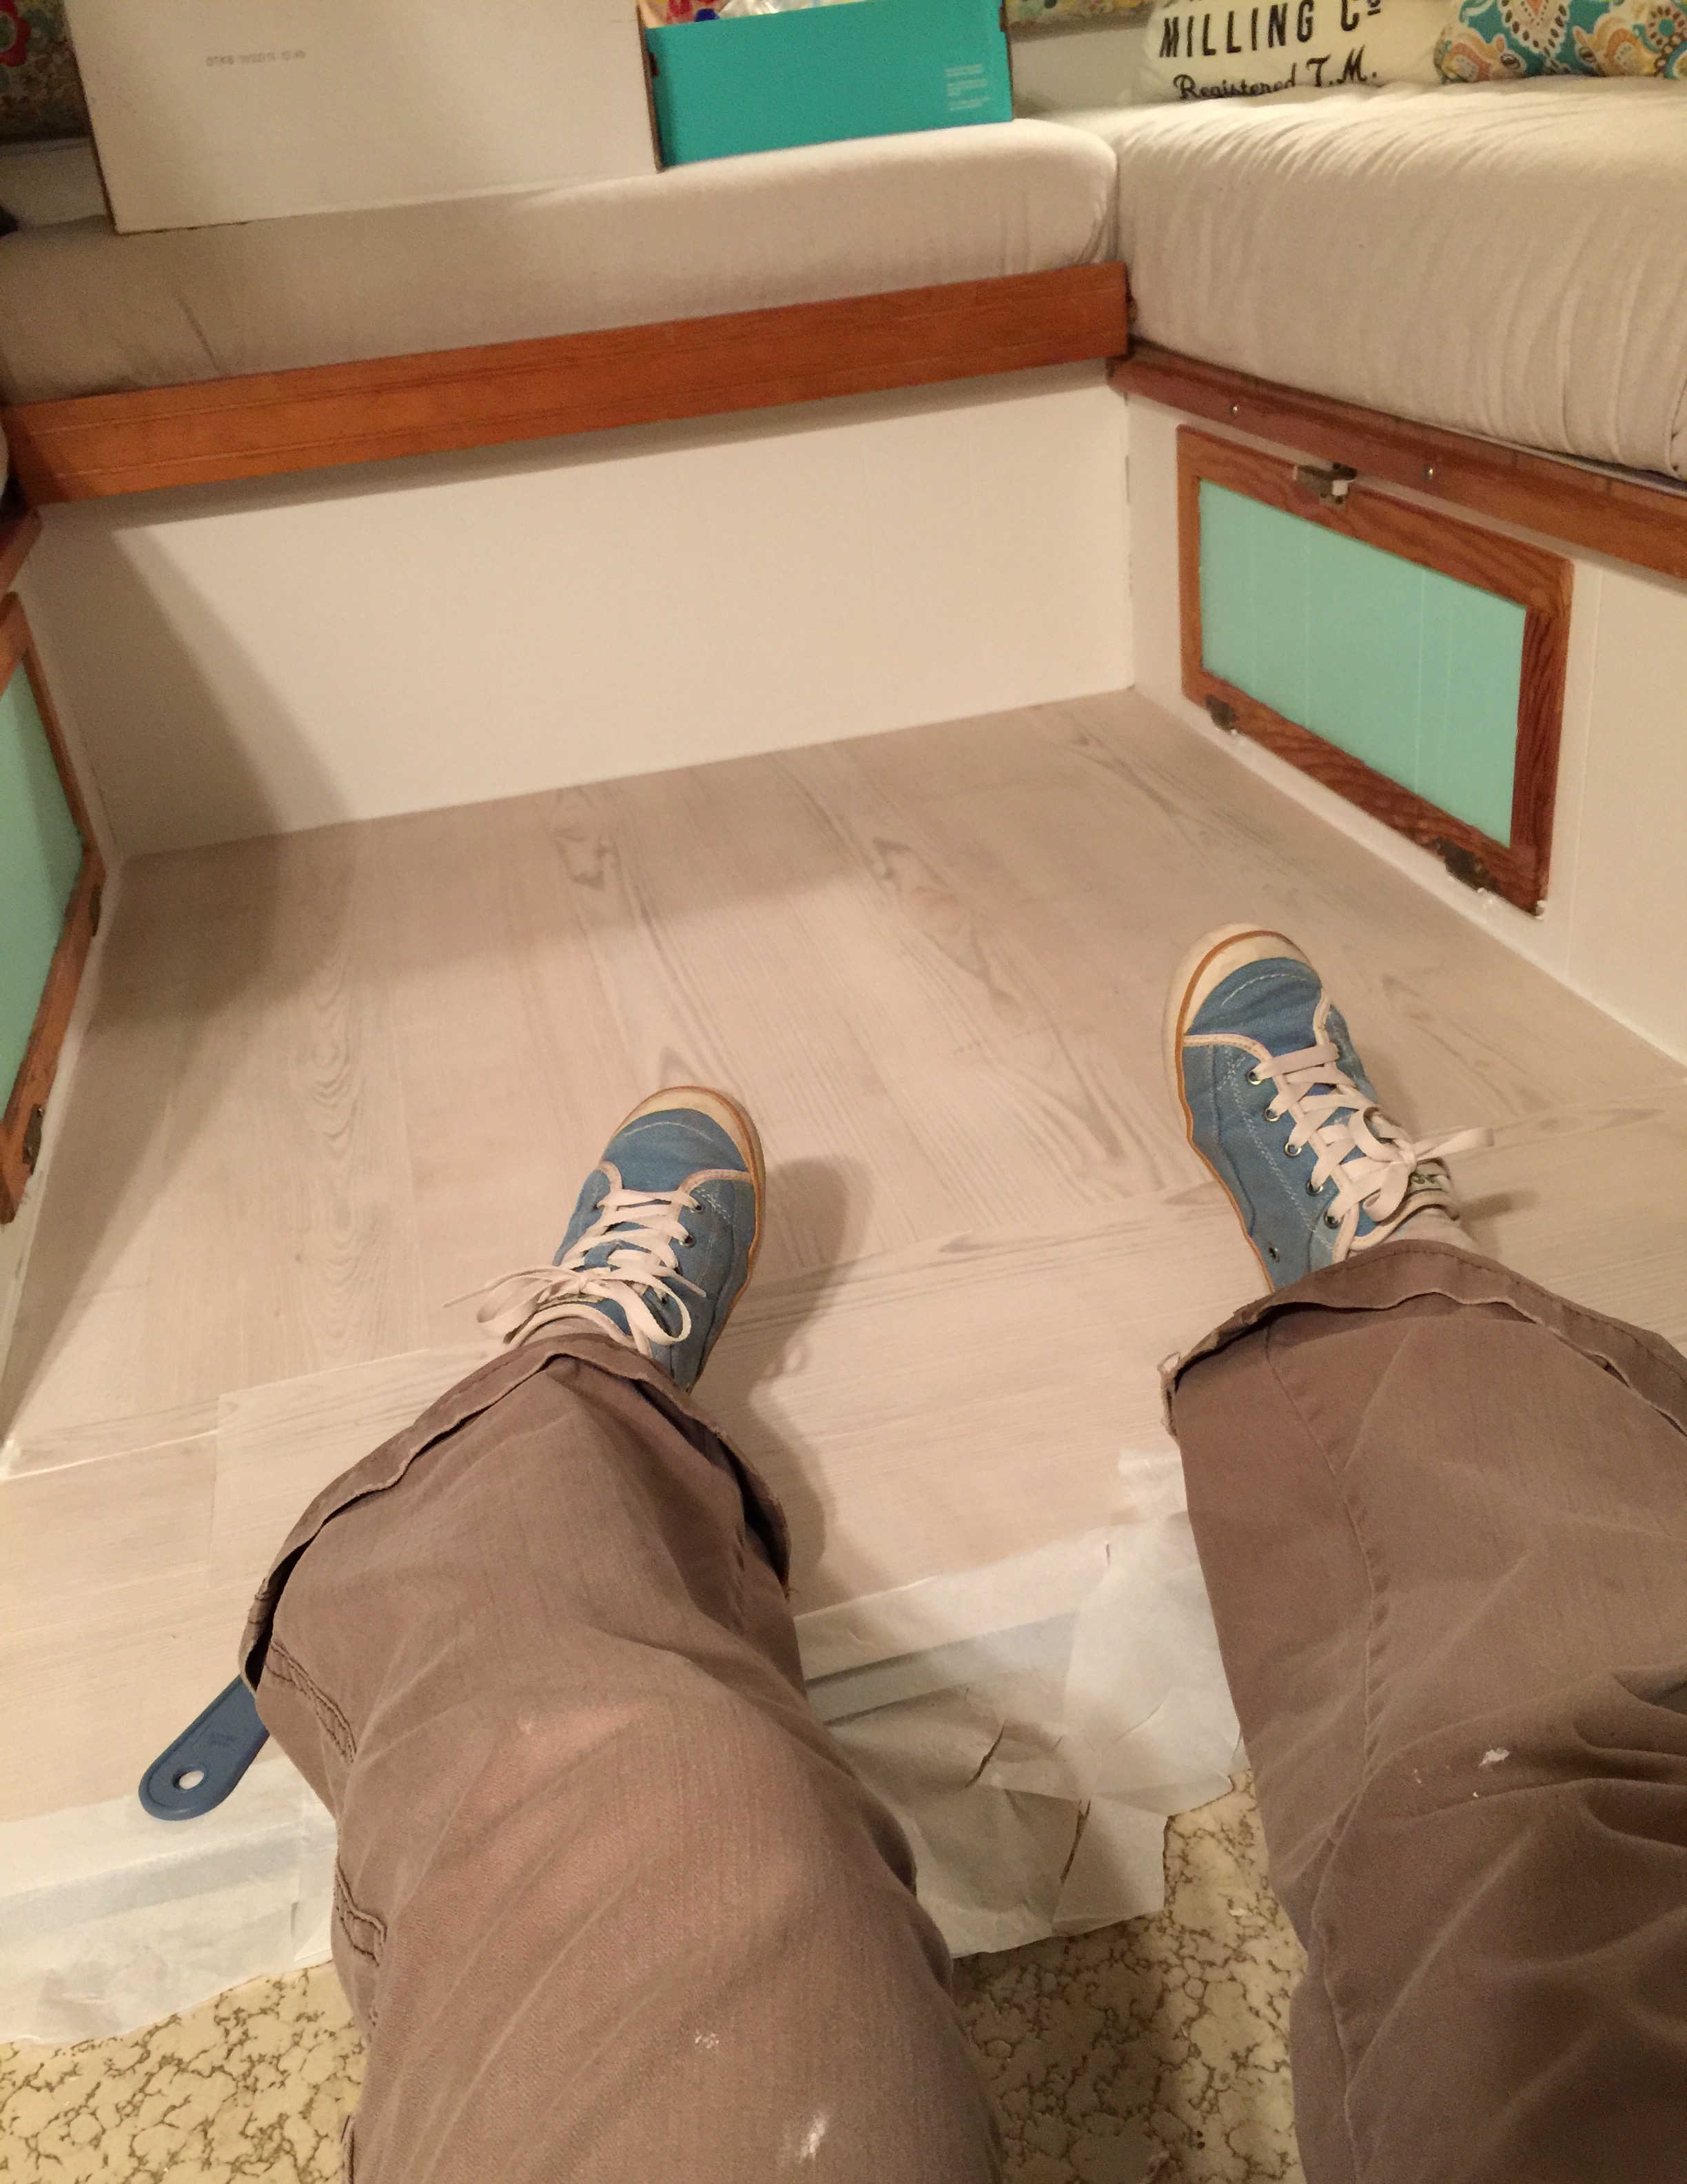
Once the interior painting was complete, it was time for Myrtle’s new floor. Her original linoleum was worn and stained, and sporting several rather obvious gouges and dings. For the flooring, I chose TrafficMaster Allure Resilient Vinyl Plank Flooring in Coventry Oak. This was pretty simple flooring to lay, requiring only a scoring blade and a straight edge. Still, it was a goodly amount of time crawling around on the floor. Oh, my poor knees. And back. Laying floor is not for the weak. Or the 40 something, apparently….
I like to listen to the oldies when I lay a floor. While listening, I think about how if this was the 1950’s, I would never be on my hands and knees constructing shit. I’d be busy in my mod kitchen, playing with my new Electrolux blender or something.

New floor in the bathroom
Halfway there…
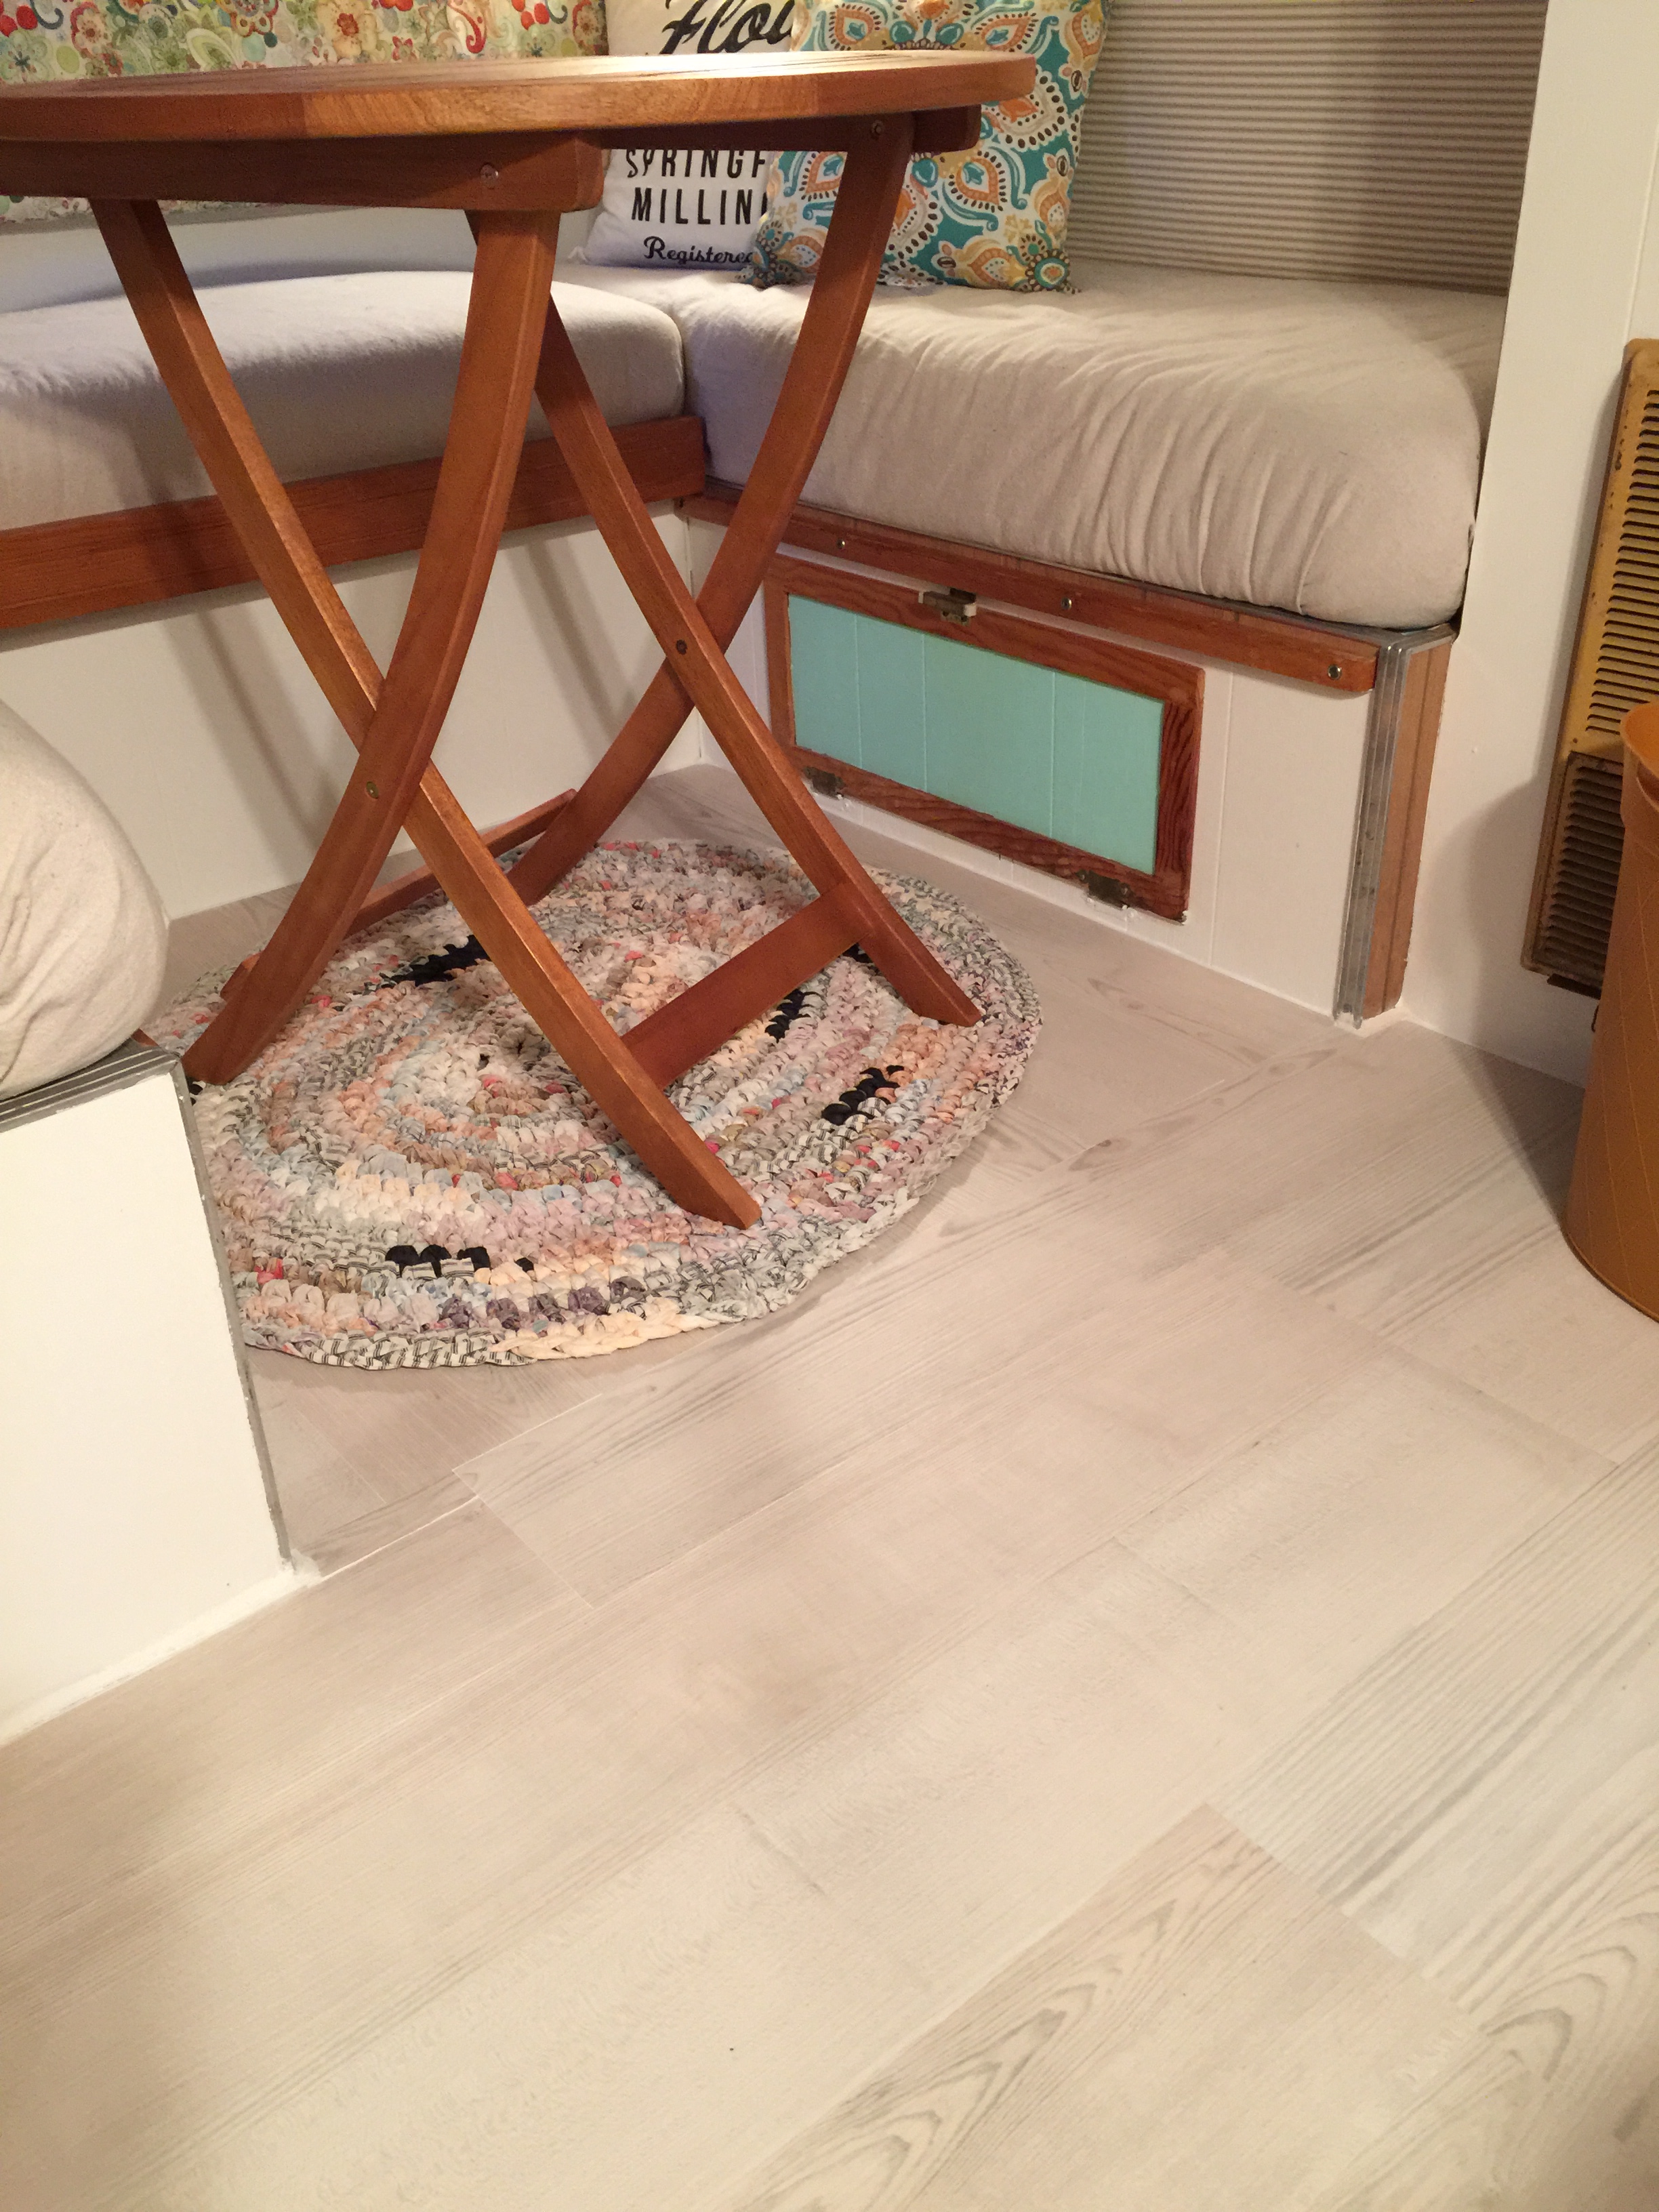
Beautiful new vinyl plank flooring with the look of weathered beach wood
The next entry should pretty much wrap up Myrtle’s pictorial journey of renovation. Final details will be revealed, such as the plethora of DIY no-sew curtains (I can’t sew, remember?), the installation of a vintage style rope and pole awning, re-webbing classic, vintage aluminum lawn chairs, and the addition of all of the vintage goodies and treasures that make stepping into Myrtle like stepping back in time 🙂

Wonderfully entertaining AND informative! 😍😍😍
Is this a Road Runner?
How do you use the dinette bed if you removed the table?
The table wasn’t a part of the bed. Under the very back seat cushion is a hinged board that folds out accordion style and rests on the small platform edging in front of the two longer cushions. Then the back rest cushions move to that center position, and voila!
We loved your post. We have a Roadrunner that we’re going to start rehabbing soon. We were especially glad to see the bathroom. One of the previous owners of our trailer removed the potty, and turned it into storage. It was awesome to see and get a glimpse of your set up. Your hard work paid off….looks awesome!!
What did you use to paint your contertop? How did you prep it? My formica is the same pattern as yours but in turquoise. I love my turquoise stove and sink, but with the formica countertop and matching back splash, it’s turquoise overload. I’ve been debating on whether to paint or use a vinyl contact paper. I just don’t want to have to remove or take anything apart if I can avoid it!
I just used Glidden interior paint from Home Depot -the paint+primer type, in gloss. I masked off the stove and sink, et cetera with painters’ tape, and painted three coats. The only prep was to clean and lightly sand the counters first. After painting, I sealed the countertops with four or five coats of water based polyurethane. They are holding up well and look great!
Did have plastic pipe trim at the joints between walls, cabinets, and ceilings? If so, did you paint them?
It did, and I did 🙂
Hi! Bit of a unique question… I’m a country musician & I came across one of your images, specifically the first exterior one. I was wondering if I have permission to use that image for a future album cover of mine… Thank you.
Hello Brady,
Could you please email me at mistybee3@gmail.com to discuss? Thank you!
Awesome blog you haave here
Thank you, I’m glad you enjoyed it!